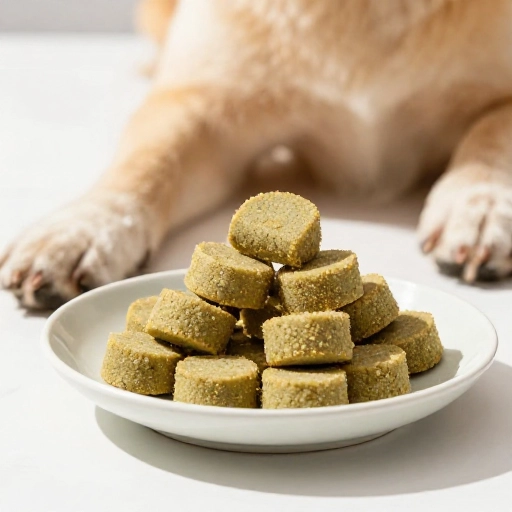
Easy DIY Greenies for Dogs: A Simple Recipe Your Pup Will Love
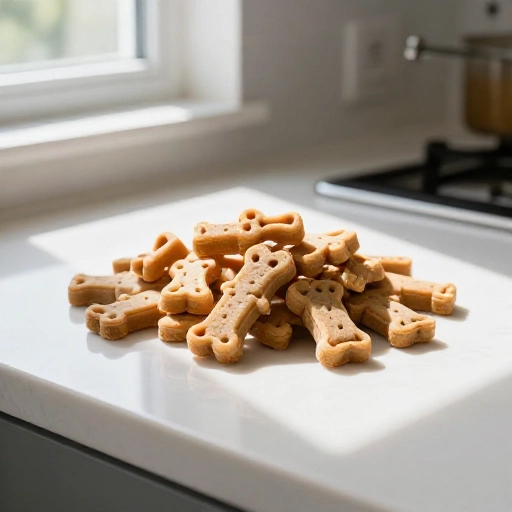
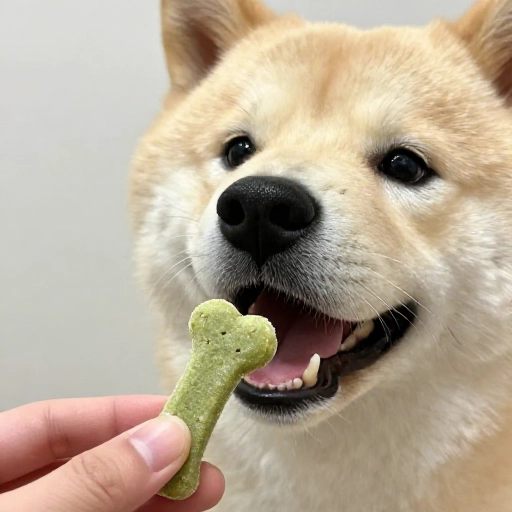
Let’s be honest—buying Greenies at the store can get expensive fast. And while my dog absolutely loves them, I started wondering if I could make something just as tasty at home. Turns out, you totally can! These homemade dog dental treats are easy, affordable, and use ingredients you probably already have in your kitchen.
I’ve been making these for my pup for months now, and she goes absolutely crazy for them. Plus, I love knowing exactly what’s going into her treats. No weird preservatives or mystery ingredients—just simple, wholesome stuff that’s good for her teeth and her tummy.
Why Make Your Own Greenies?
Store-bought dental chews can be pricey, and some contain ingredients that aren’t great for every dog. Making them at home gives you total control. You can adjust the texture, the flavor, and even sneak in some extra nutrients. Plus, it’s a fun little kitchen project that takes less than 30 minutes.
Another big win? No more running out mid-week. You can whip up a fresh batch whenever you need them, and they keep well in the fridge or freezer. Your dog won’t know the difference—they’ll just know they’re getting a yummy, chewy treat.
Equipment You’ll Need
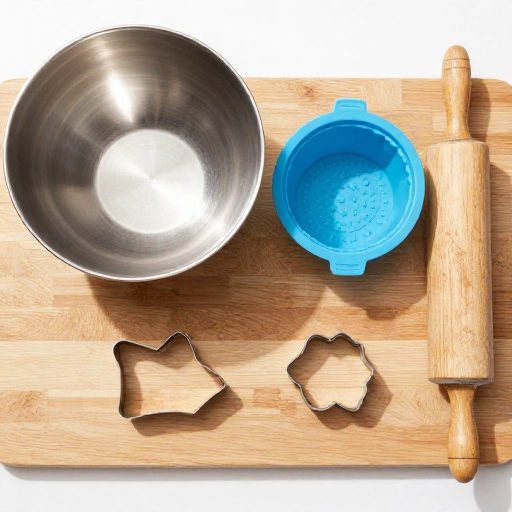
You don’t need anything fancy for this recipe. Here’s what I use:
- A mixing bowl
- A spoon or spatula
- A baking sheet lined with parchment paper
- An oven (or a dehydrator if you have one)
- A rolling pin (optional, but helpful)
- A knife or pizza cutter to shape the treats
That’s it! If you have these basics, you’re good to go. No special molds or gadgets required.
Ingredients for Homemade Greenies
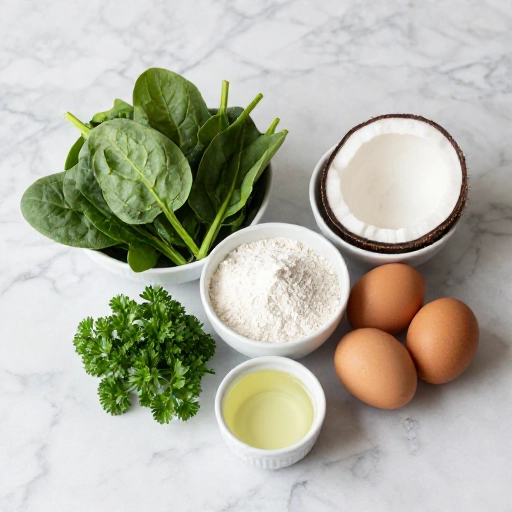
Here’s what you’ll need to make about 20–25 treats, depending on size:
- 1 cup whole wheat flour (or oat flour for a gluten-free option)
- 1/2 cup rolled oats
- 1/4 cup fresh parsley, finely chopped (great for fresh breath!)
- 1/4 cup unsweetened applesauce
- 1/4 cup coconut oil, melted
- 1 egg
- 1/4 cup chicken or beef broth (low sodium, no onion or garlic)
You can swap the broth for water if you prefer, but the broth adds extra flavor that dogs love. Also, make sure your applesauce has no added sugar or artificial sweeteners—xylitol is toxic to dogs!
How to Make DIY Greenies: Step-by-Step
Alright, let’s get to the fun part. Follow these simple steps:
- Preheat your oven to 350°F (175°C) and line a baking sheet with parchment paper.
- Mix the dry ingredients in a large bowl: flour, oats, and parsley.
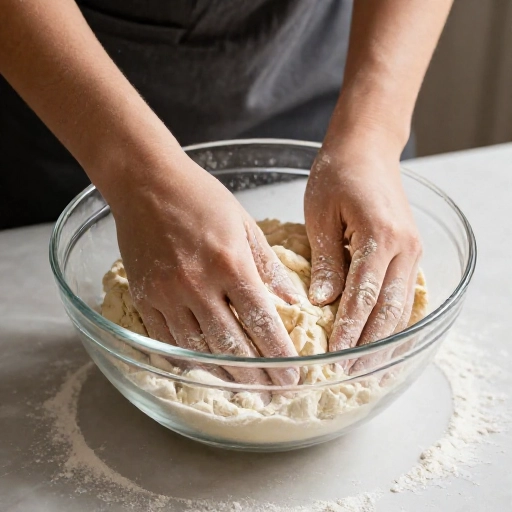
- Add the wet ingredients: applesauce, melted coconut oil, egg, and broth. Stir until a dough forms. It should be firm but not sticky. If it’s too dry, add a splash more broth.
- Roll out the dough on a lightly floured surface to about 1/4-inch thickness. Use a rolling pin or just press it flat with your hands.
- Cut into bone shapes using a cookie cutter, or simply slice into small rectangles with a knife or pizza cutter. I like making them about 2 inches long so they’re easy for my dog to chew.
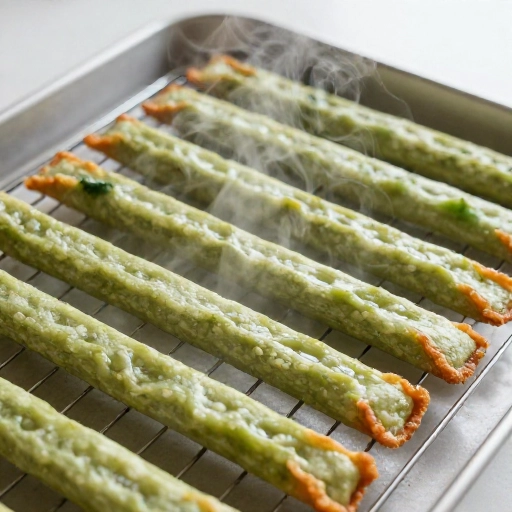
- Bake for 20–25 minutes, or until the treats are golden and firm to the touch. They’ll harden a bit more as they cool.
- Let them cool completely before serving. Store in an airtight container in the fridge for up to two weeks, or freeze for up to three months.
Pro tip: If you want them extra crunchy (which helps with cleaning teeth), turn off the oven and leave them inside for another 10–15 minutes as it cools.
Tips for Making the Best DIY Greenies
Here are a few things I’ve learned from making these over and over:
- Don’t skip the parsley—it really does help with doggy breath.
- Adjust the thickness based on your dog’s size. Smaller dogs need thinner, smaller treats.
- Use a dehydrator if you have one. Set it to 160°F and let it run for 4–6 hours for a really chewy texture.
- Test one treat first to make sure the texture is right for your dog. You want it chewy but not rock hard.
Also, remember that these are treats, not meals. I give my dog one a day, and she thinks she’s getting a special reward every time.
Conclusion
Making your own dog treats is one of those things that feels so rewarding. You get to see your pup’s tail wag like crazy over something you made with your own hands. These DIY Greenies are simple, budget-friendly, and actually good for your dog’s teeth. Plus, you can tweak the recipe to suit your dog’s preferences—add a little peanut butter, swap in pumpkin for the applesauce, or use different herbs like mint.
Give this recipe a try this weekend. Your furry friend will thank you with lots of sloppy kisses!
Frequently Asked Questions
Are these homemade Greenies safe for all dogs?
Yes, as long as your dog doesn’t have allergies to any of the ingredients. Always check with your vet if you’re unsure, especially if your dog has specific dietary needs.
How long do these treats last?
Stored in an airtight container in the fridge, they stay fresh for up to two weeks. You can also freeze them for up to three months—just thaw one at room temperature before giving it to your pup.
Can I use a different flour?
Absolutely! Oat flour, rice flour, or even coconut flour work well. Just keep in mind that coconut flour absorbs more moisture, so you may need to adjust the liquid.
Do these really help clean my dog’s teeth?
The chewy texture helps scrape off some plaque and tartar, similar to store-bought dental chews. They’re not a replacement for brushing, but they definitely help with fresher breath and cleaner teeth.
Can I make these without an oven?
Yes! If you have a dehydrator, you can dry them at 160°F for 4–6 hours. If you don’t have either, you can try air-drying them in a warm, dry spot for a day or two, but they won’t last as long.