DIY Dog Feeding Station: 10 Clever Tips for a Happier, Tidier Home
Let’s be honest, the dog bowl shuffle is a real thing. One minute the water dish is in the kitchen, the next it’s mysteriously in the living room, leaving a trail of splashes and kibble behind. I got tired of the mess and the constant rearranging, so I decided to build a dedicated feeding station. It was one of the best DIY projects I’ve ever done for my home and my pup.
A DIY feeding station isn’t just about containing the chaos (though that’s a huge perk!). It’s about creating a comfortable, designated space for your dog to eat and drink in peace. It can elevate bowls to a better height for their joints, keep their dining area clean, and even add a cute, personalized touch to your home decor. The best part? You can tailor it perfectly to your space and your dog’s needs.
Whether you’re a seasoned builder or a total newbie with a drill, there’s a project here for you. I’ve gathered my favorite tips and ideas, from super-simple upgrades to more involved builds, to help you create the perfect mealtime hub.
1. Start Simple: The Elevated Bowl Stand
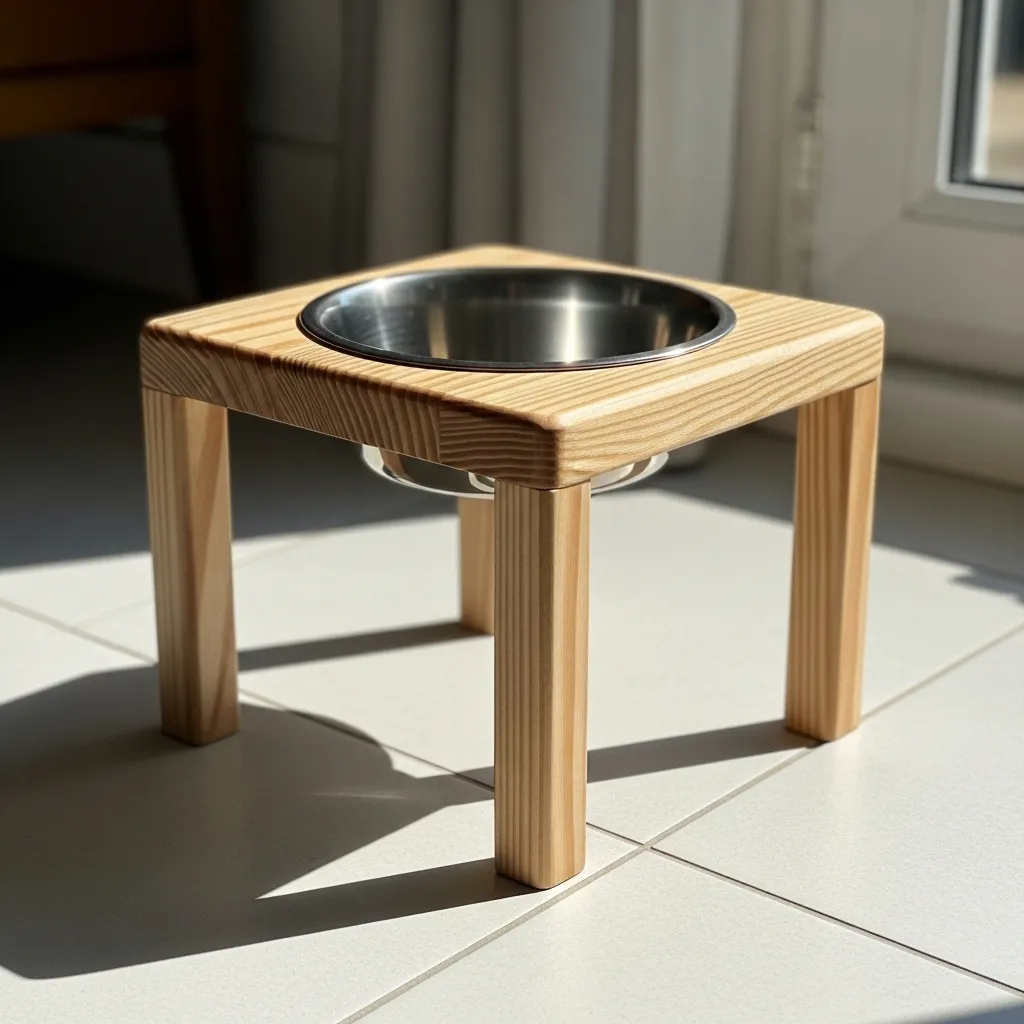
This is the perfect beginner project. An elevated stand raises your dog’s bowls to a more ergonomic height, which can aid digestion and reduce strain on their neck, back, and joints. It also keeps the bowls in one spot and looks instantly more organized.
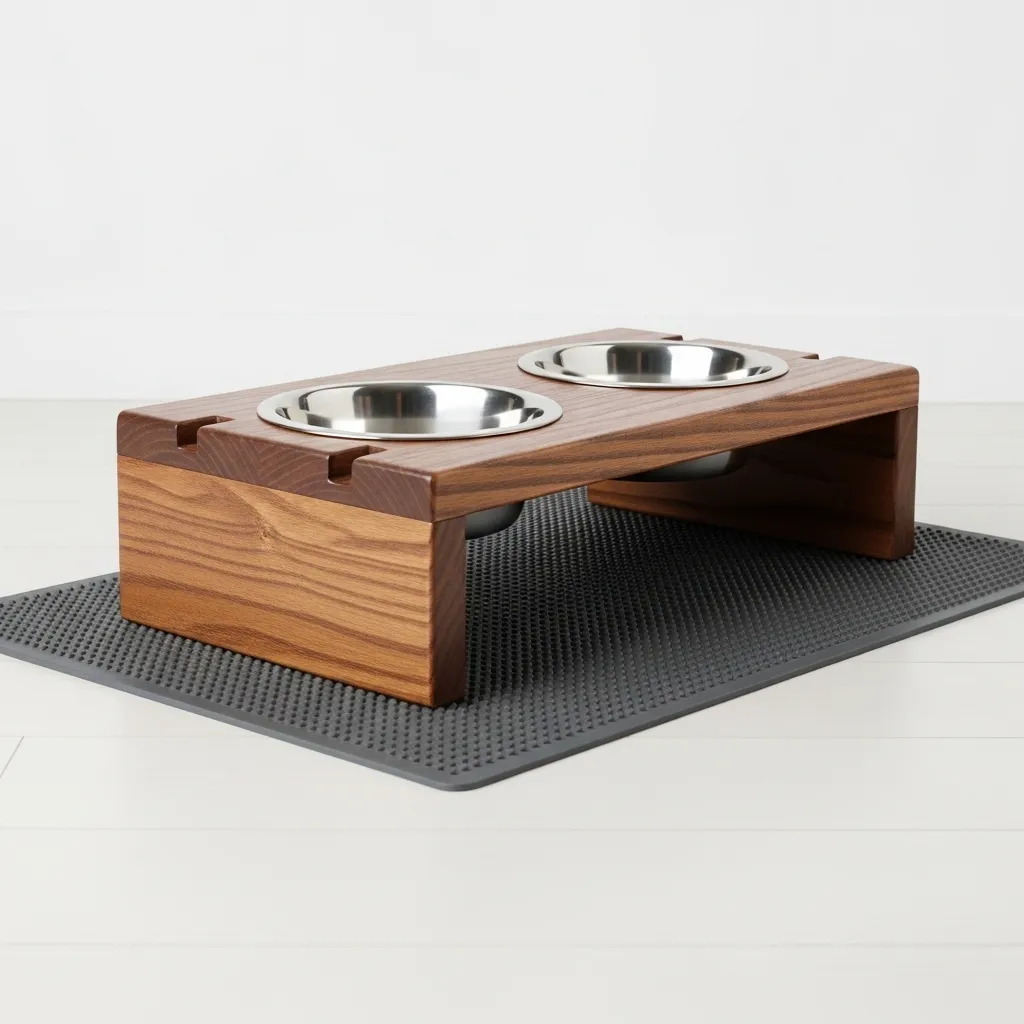
You can make a basic stand with just a piece of wood and some PVC pipes or pre-cut furniture legs from the hardware store. Simply attach the legs to the underside of your wood platform, sand everything smooth, and add a pet-safe finish. Measure your dog from the floor to their lower chest while standing—that’s your ideal bowl height.
2. Contain the Splash with a Tray Base
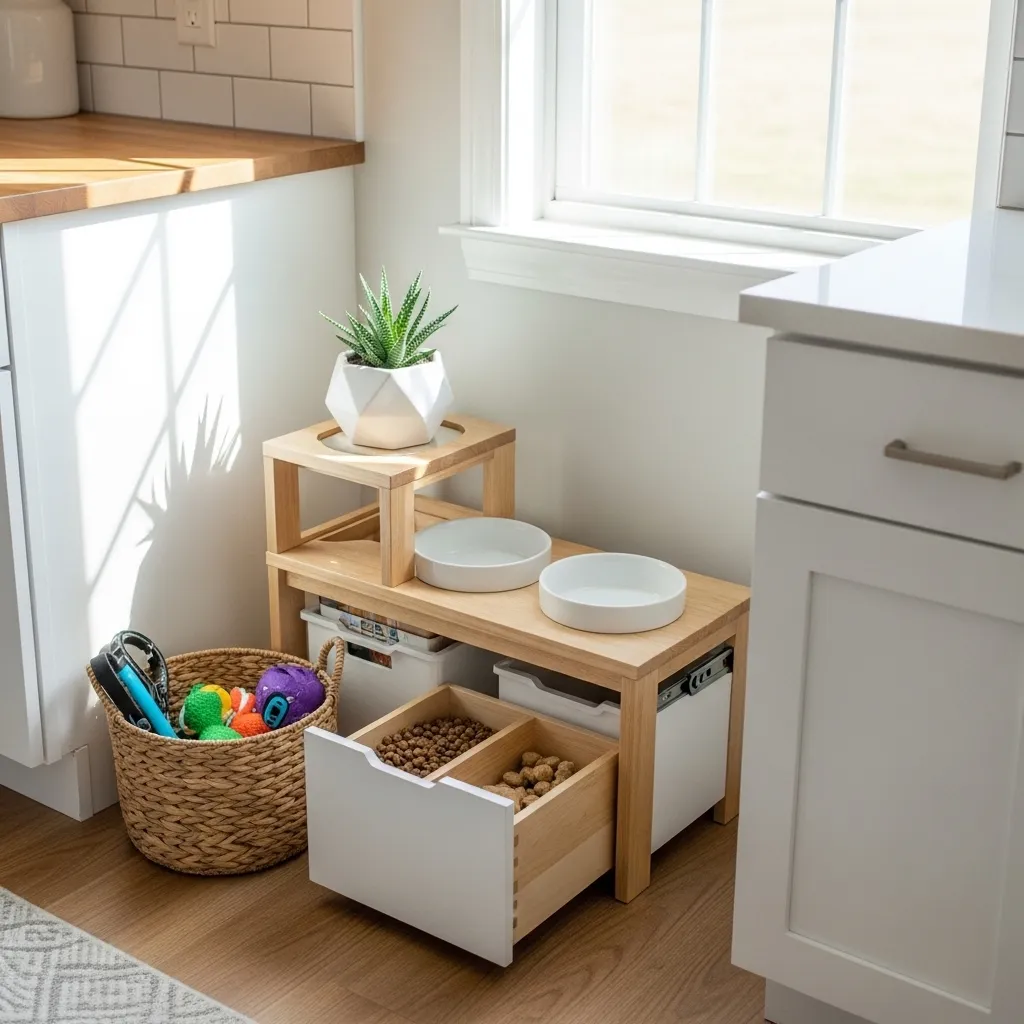
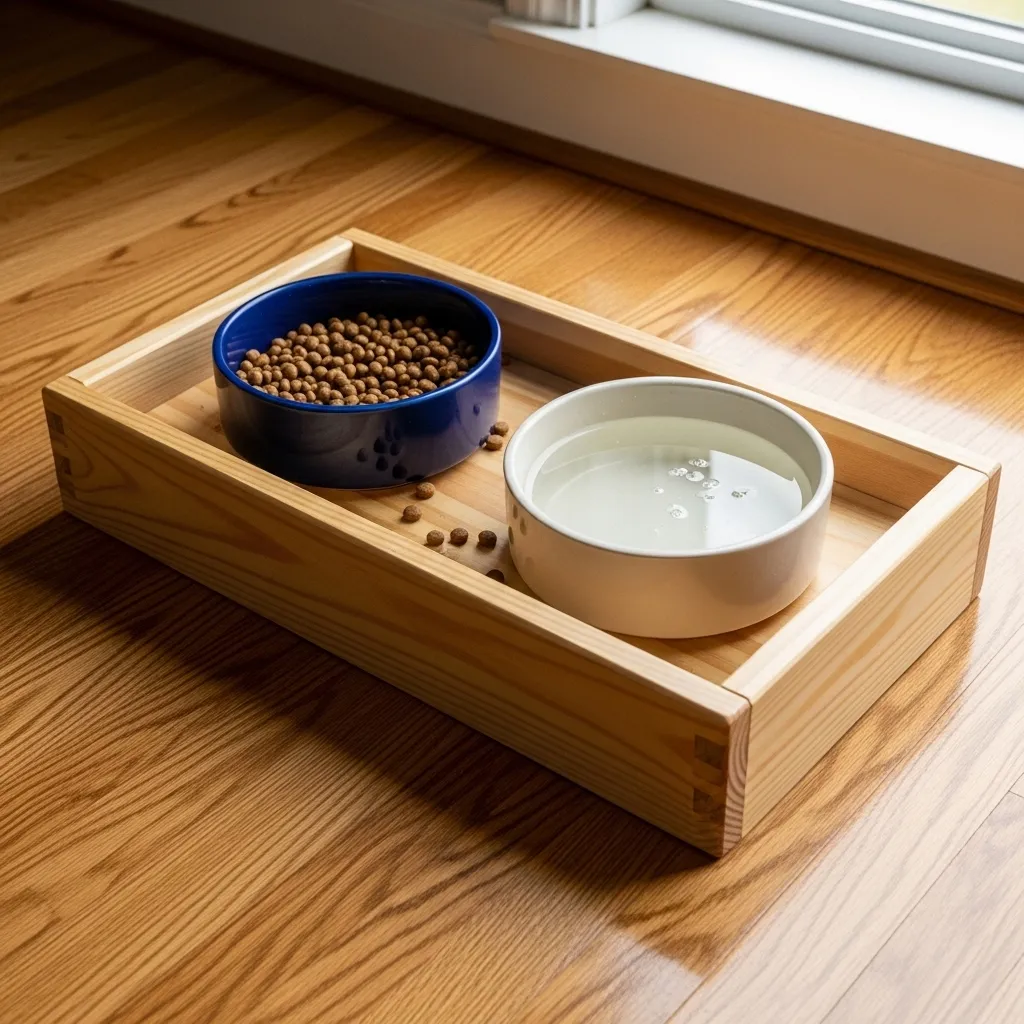
Water bowl slobber and enthusiastic kibble flicking are inevitable. The solution? Build your station on top of a large, lipped tray. This is my #1 tip for keeping your floors dry and clean.
You can use a boot tray, a large plastic serving tray, or even a shallow wooden box you line with a waterproof material. Place your elevated stand or bowls directly on the tray. Any spills, drips, or stray food bits are caught neatly in the tray, which you can simply pull out and wipe clean. It’s a game-changer for easy maintenance.
3. Repurpose Furniture for Instant Charm
Look around your house or at a thrift store with a creative eye. An old nightstand, a small cabinet, or a sturdy wooden crate can be transformed into a charming feeding station with minimal effort.
- Nightstand: Remove a drawer to create a cubby for bowls. The top surface is perfect for storing treats or a framed photo of your pup.
- Wooden Crate: Stand it on its side, add a shelf in the middle, and you have a two-bowl station with storage space below for food bags.
Just sand, paint with pet-safe paint, and seal for durability. This adds so much character!
4. Build a “Feeding Nook” in Unused Space
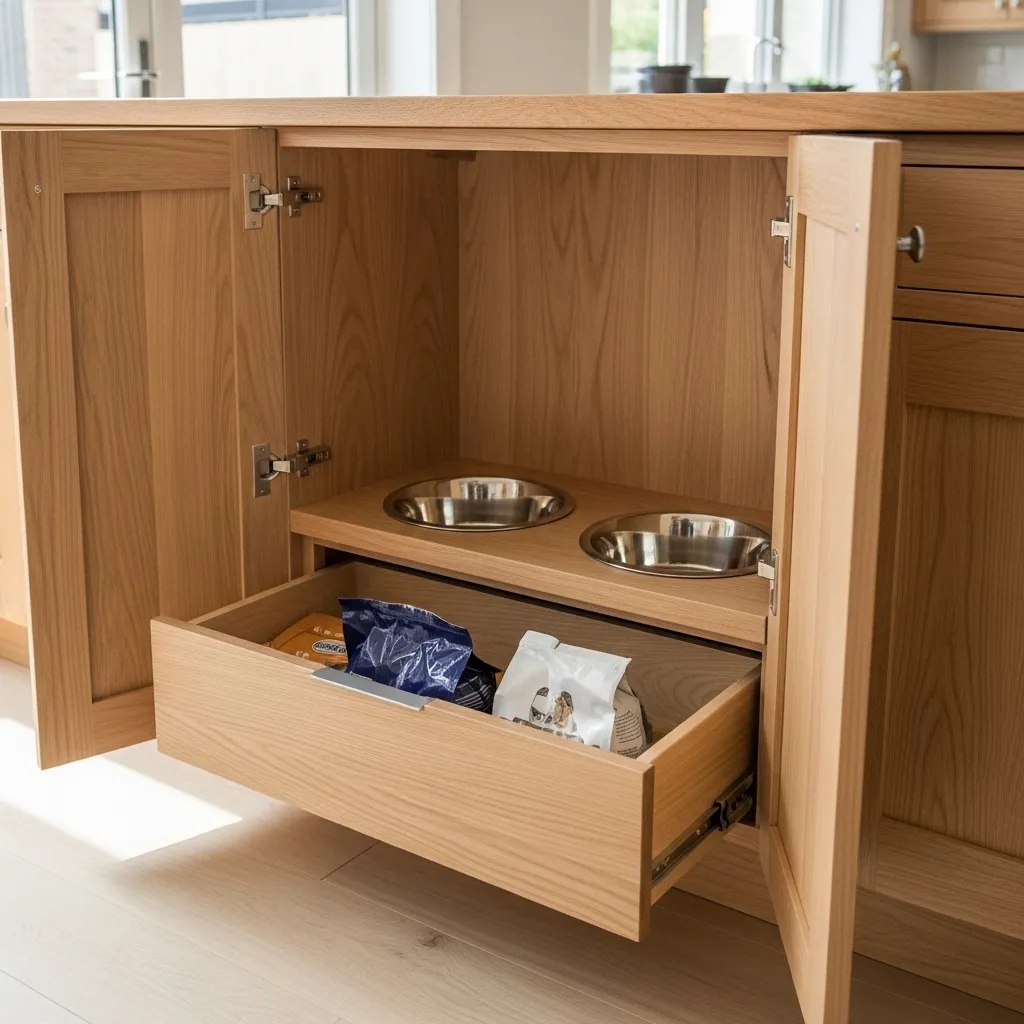
Do you have a weird, shallow gap next to the fridge or a dead corner in the kitchen? That’s prime real estate for a custom-built feeding nook! Building a simple shelf or cabinet that fits snugly into an awkward spot maximizes your space beautifully.
Design it to hold the bowls at the correct height, and consider adding a door or curtain to hide the bowls when not in use. This keeps the kitchen looking seamless and gives your dog a quiet, out-of-the-way spot to eat without being underfoot.
5. Incorporate Smart Storage Solutions
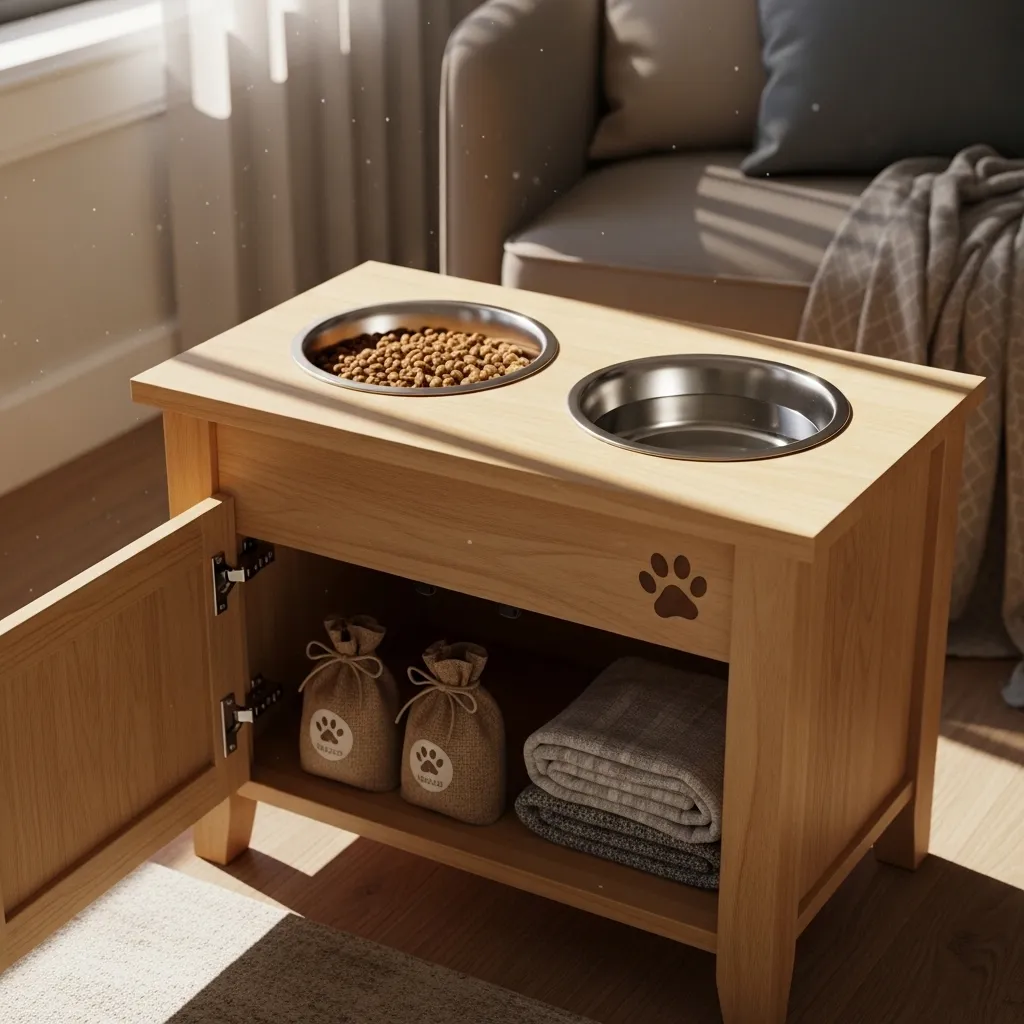
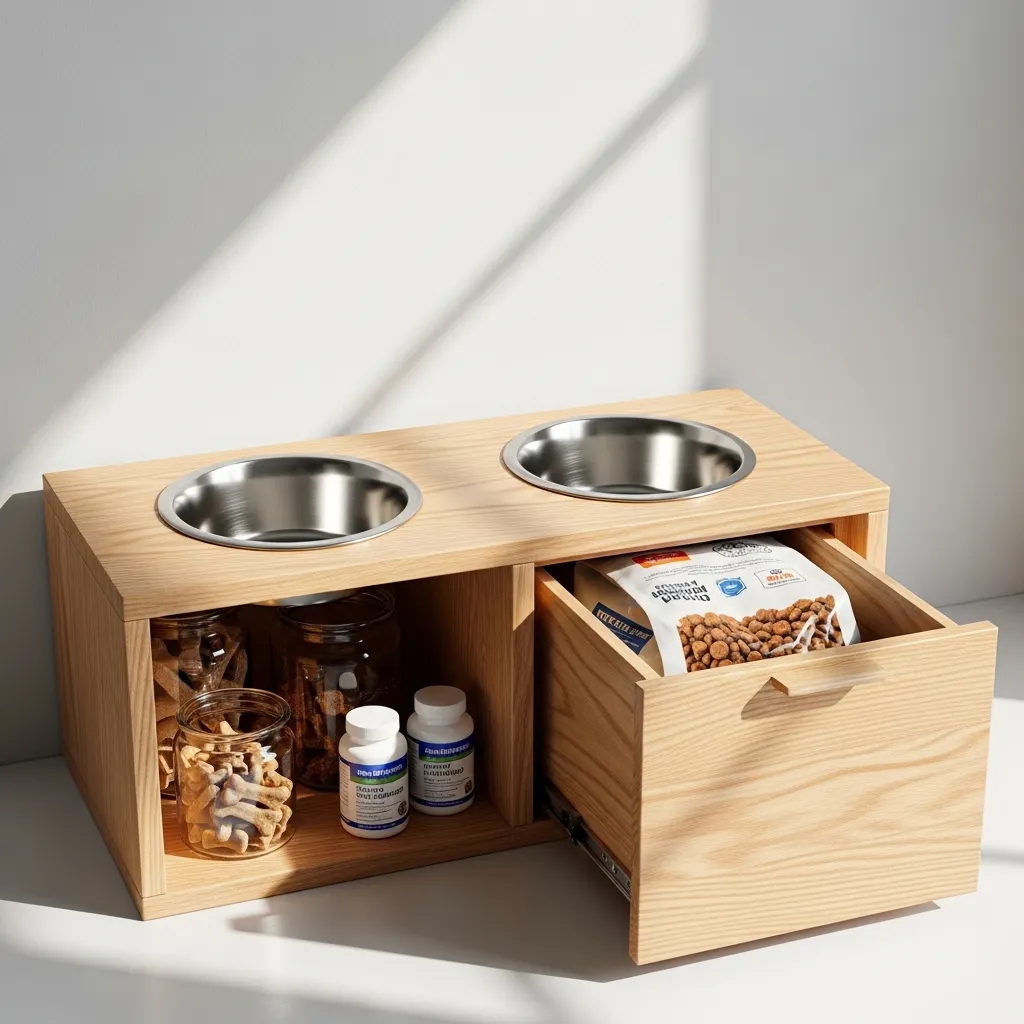
A great feeding station does more than hold bowls; it helps organize all the mealtime essentials. Think about what you need to store: kibble, treats, supplements, spare bowls, and maybe even leashes.
Design your station with built-in storage. This could be a cabinet below the bowls, a pull-out bin for food, hooks on the side for leashes, or a small shelf above for treat jars. Having everything in one dedicated spot saves you from rummaging through cabinets every meal time.
6. Choose the Right Materials for Durability
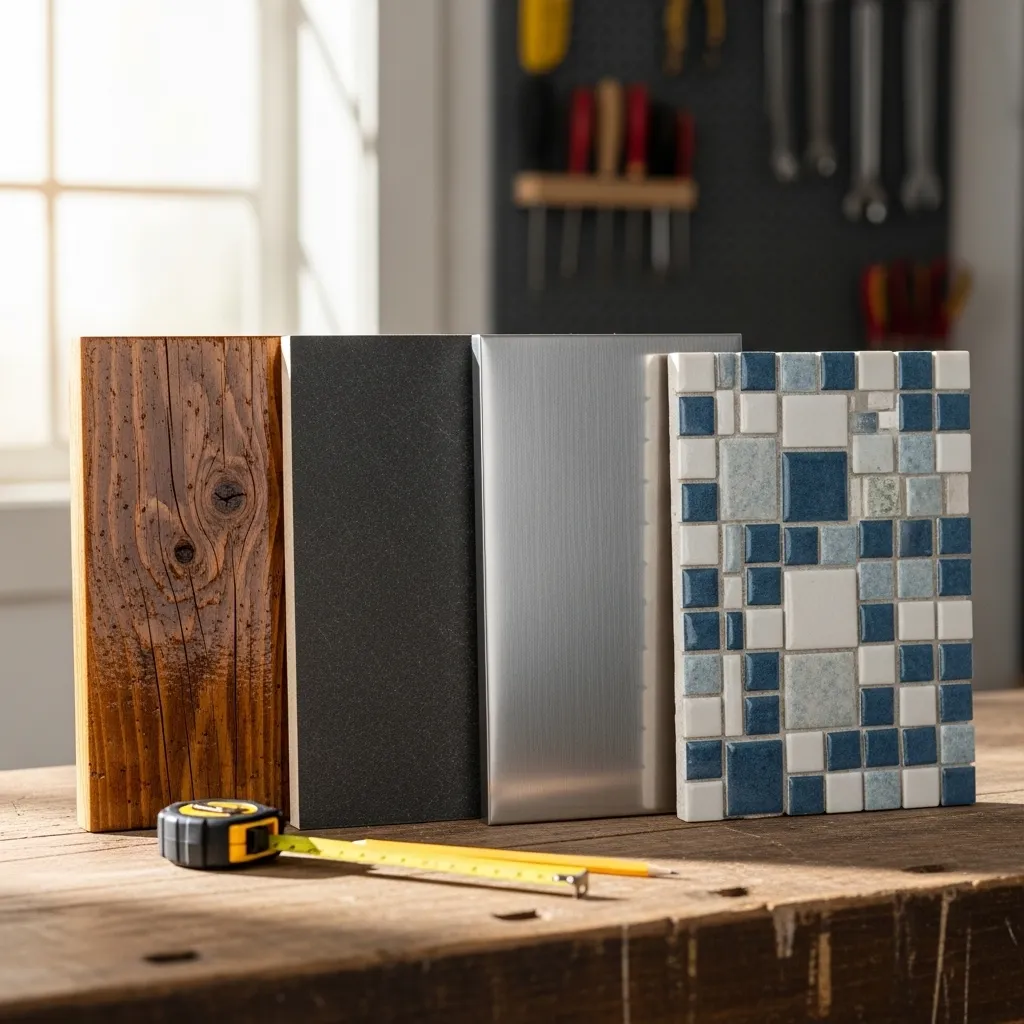
This area will get wet, dirty, and possibly chewed on. Choose your materials wisely! For wood, I recommend hardwoods like maple or oak, or a good quality plywood sealed with a waterproof, non-toxic polyurethane.
For easier cleanup, consider using tile, laminate, or even a vinyl sheet on the surface where the bowls sit. These materials wipe clean in seconds and are highly resistant to water damage and scratches. Always ensure any paint or finish is fully cured and pet-safe.
7. Personalize It for Your Dog’s Unique Needs
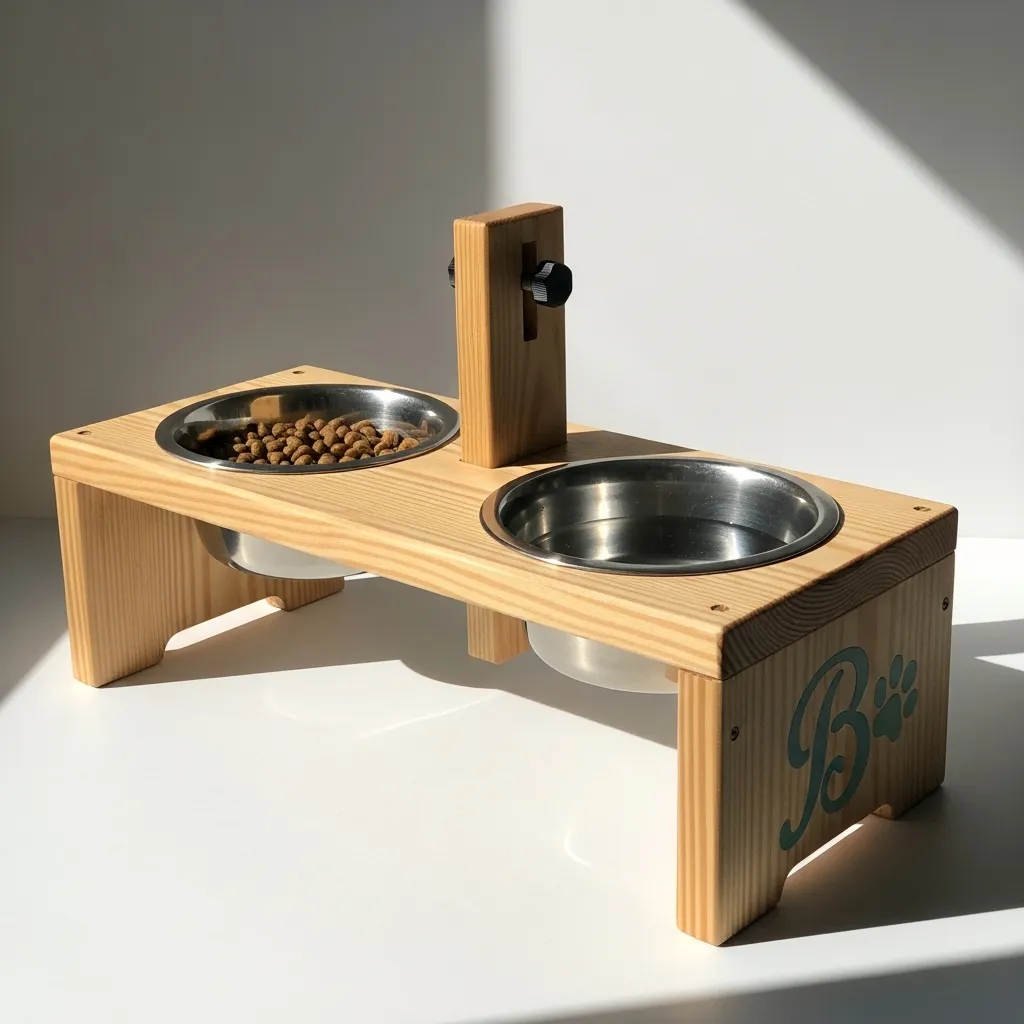
Is your dog a senior who needs extra comfort? Add a non-slip mat under the tray. Have a fast eater? Build a station that accommodates a slow-feeder bowl. Own a giant breed? Ensure your build is sturdy and wide enough for their large bowls.
Personalization makes the station truly functional. You can stencil their name on the side, use their paw print as a decoration, or choose a color that matches their collar. This is what turns a simple project into a special part of your home.
8. Make it Multi-Dog Friendly
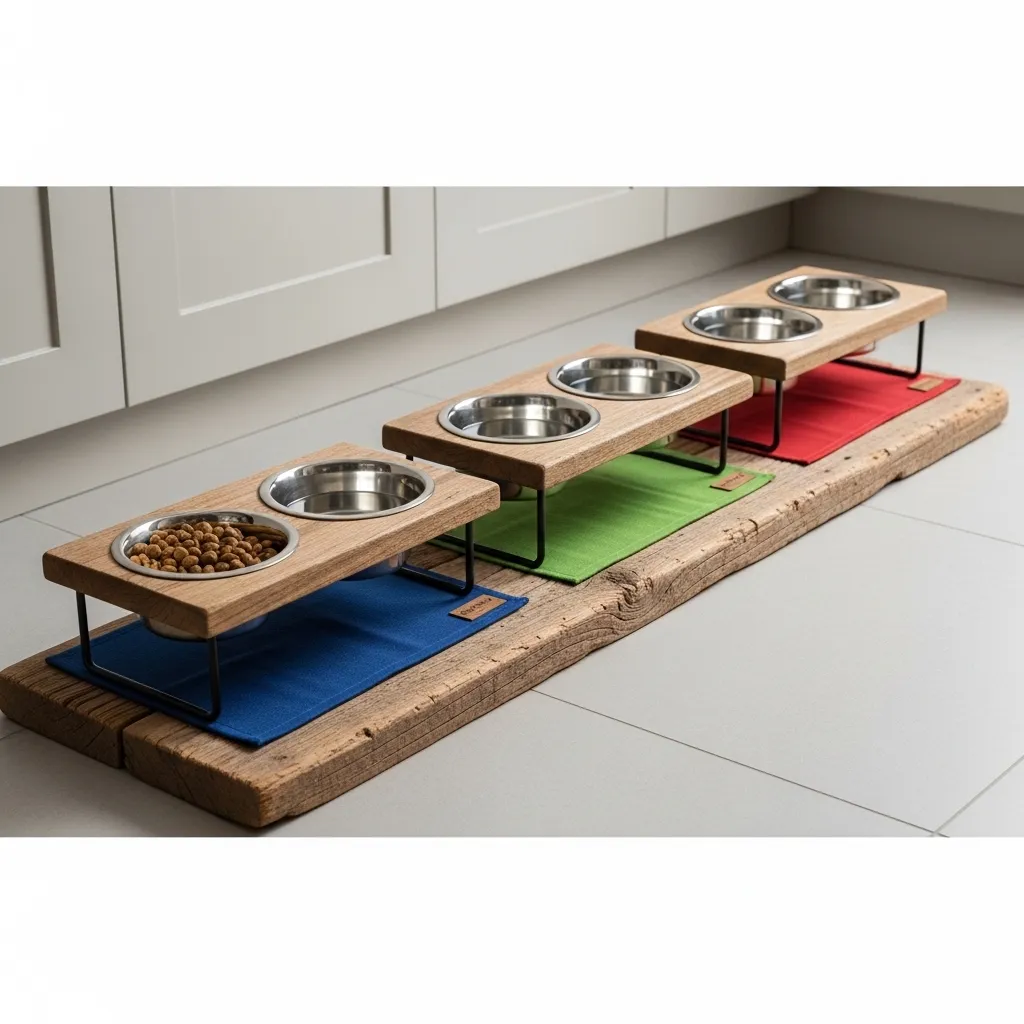
If you have more than one furry friend, a DIY station can help prevent resource guarding and establish peaceful mealtimes. The key is to create clear, separate spaces.
You can build a long bench with distinct, spaced-out bowl cutouts, or create a double-sided station where they eat back-to-back. Ensure there’s enough room between bowls so they don’t feel crowded. Adding dividers can also help each dog feel secure in their own dining “booth.”
9. Focus on Safety & Stability
A wobbly feeding station is a hazard. Whatever you build must be rock-solid. Use sturdy joinery, like pocket holes or strong brackets. Always secure freestanding units to the wall if there’s any chance of tipping, especially with large or energetic dogs.
Check for sharp edges or corners and sand them round. Ensure there are no small parts that could be chewed off and swallowed. A safe station is a successful station.
10. Add Final Touches for Easy Cleaning
The project isn’t done until you’ve thought about cleanup! My favorite hack is to use stainless steel bowls that fit into removable silicone or wooden holders. You can lift the whole bowl out for washing.
If you have bowl cutouts, make them slightly larger than the bowls so you can easily lift them in and out. A waterproof, wipeable paint on the interior surfaces and that all-important catch tray I mentioned earlier will make your life infinitely easier.
Wrapping Up Your Perfect Feeding Station
Creating a DIY dog feeding station is such a rewarding project. It solves a daily mess, benefits your dog’s health, and adds a personalized touch to your home. Start with an idea that matches your skill level, whether it’s a simple repurposed piece or a custom-built nook. Remember to measure your dog, choose durable materials, and always prioritize safety and stability. Your pup will thank you for their fancy new dining area, and you’ll love the tidy floors!
DIY Dog Feeding Station FAQ
Q: What’s the ideal height for an elevated feeder?
A: Measure from the floor to your dog’s lower chest (the bottom of their ribcage) while they are standing normally. Subtracting 4-6 inches from that measurement gives you a good target height for the top of the bowl rim.
Q: I’m not handy. Are there any easy options?
A: Absolutely! Start by simply placing your dog’s bowls on a large, lipped boot tray. You can also stack two sturdy storage cubes to create a quick and cheap elevated stand without any tools.
Q: How do I keep the station from sliding on my floor?
A: Add self-adhesive rubber furniture pads or a non-slip rug pad to the bottom of your station. This provides grip and protects your floors from scratches.
Q: What’s the best way to secure bowls so they don’t move?
A: Use silicone bowl holders or create cutouts in your station’s surface that are just slightly wider than the bowl’s base. The snug fit will prevent the “bowl skate” across your floor.
Q: Can I use leftover house paint on my project?
A: Only if it’s a zero-VOC, water-based paint. Once fully cured (check the can for timing), it should be safe. For extra peace of mind, use a non-toxic, pet-safe sealant over the top, especially on any surfaces near the bowls.