DIY Dog Treat Jar Labels That Are Cute, Easy, and Actually Stick
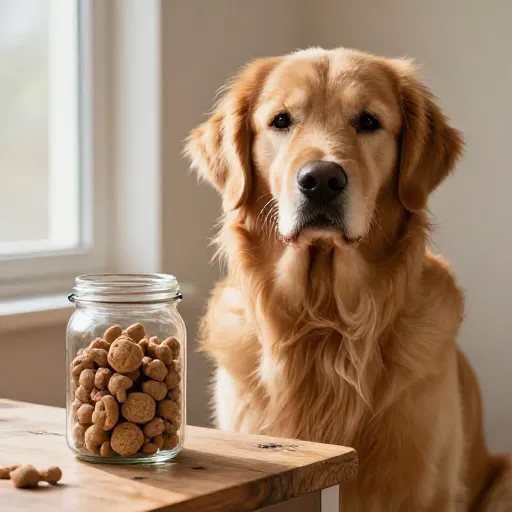
I don’t know about you, but my dog has a sixth sense for knowing exactly when the treat jar is full. And if I’m going to have a giant jar of biscuits sitting on my counter, it might as well look adorable. That’s where DIY dog treat jar labels come in. They’re the perfect little project that makes your kitchen feel organized and your pup feel extra special.
Honestly, making your own labels is way easier than you think. You don’t need fancy equipment or artistic skills. Just a few supplies, a little creativity, and maybe a photo of your furry friend’s face. Let’s dive into ten fun ideas that will have your treat jar looking like it belongs in a cozy farmhouse kitchen or a modern pet boutique.
1. The Classic Chalkboard Label
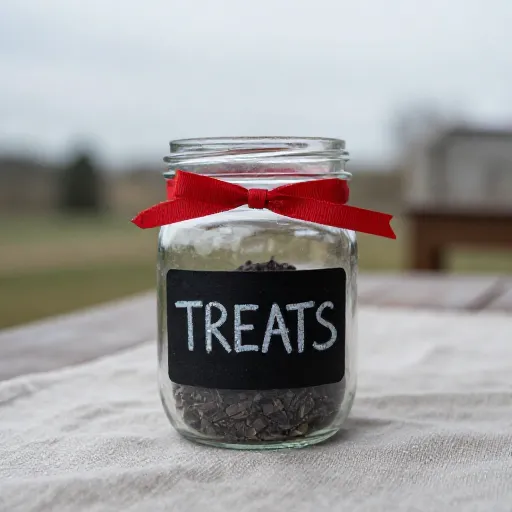
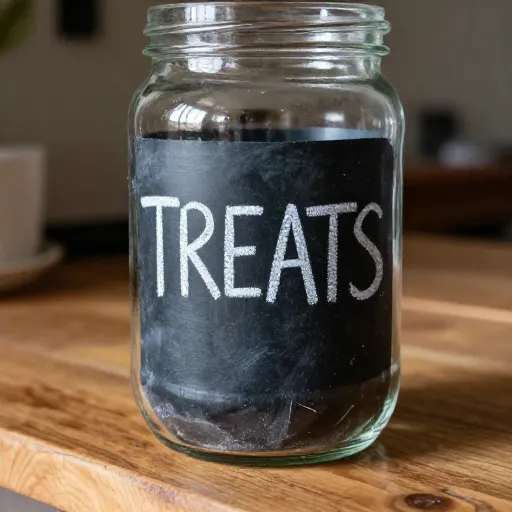
Chalkboard labels are my go-to for a reason. They’re timeless, easy to change, and look great on any jar. All you need is a sheet of chalkboard sticker paper or a small chalkboard tag tied with twine.
Write “Pup Treats” or your dog’s name in pretty chalk script. The best part? When you switch up the treats, just wipe it clean and write something new. It’s like having a fresh label every time without the hassle.
2. Paw Print Stamp Labels
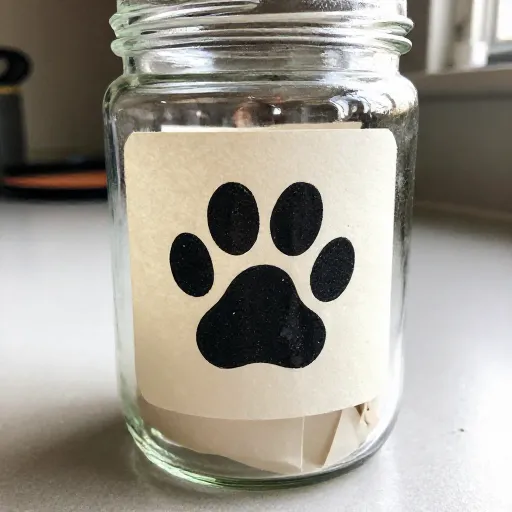
This one is so simple and so cute. Grab a small ink pad (pet-safe, of course) and your dog’s actual paw. Press their paw gently onto a piece of cardstock or a plain white label. Let it dry, then write “Treats” right next to the print.
You can also use a rubber paw print stamp if your pup isn’t into getting inky. It adds a personal touch that makes the jar feel like it belongs to them. Plus, it’s a fun little memory of their tiny paws.
3. Mason Jar with a Fabric Topper
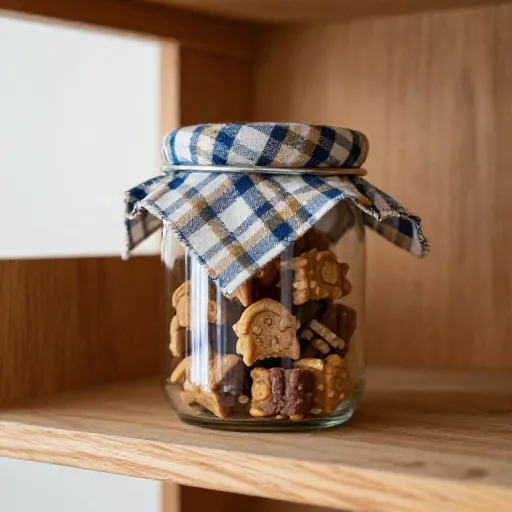
Take a plain mason jar and cut a circle of cute fabric slightly larger than the lid. Place the fabric over the lid and screw on the metal ring. Then, attach a small label to the front of the jar.
Use fabric with bones, paw prints, or even buffalo plaid for a cozy vibe. The fabric topper doubles as a little decoration and makes the jar feel handmade. It’s perfect for a rustic kitchen shelf.
4. Photo Label with Your Dog’s Face
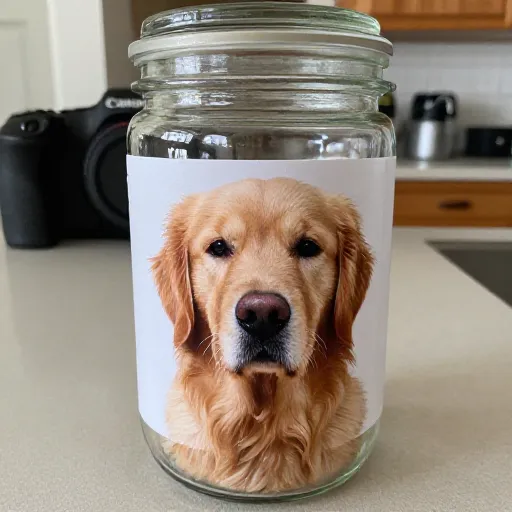
Okay, this one is my absolute favorite. Print a small photo of your dog’s face, cut it into a circle or oval, and glue it onto a piece of cardstock. Write “Treats” below the photo or on the photo itself.
Attach it to the jar with double-sided tape or a small clothespin. Every time you reach for a treat, you’ll see that sweet face looking back at you. It’s also a great conversation starter when guests come over.
5. Rustic Burlap and Twine Labels
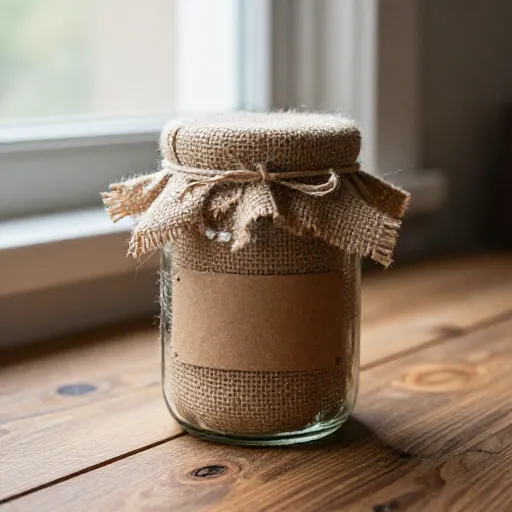
If you love a farmhouse aesthetic, this is for you. Cut a small rectangle of burlap and write your label text with a white paint pen or fabric marker. Then, tie it around the jar with a piece of twine.
The texture of burlap adds so much warmth. You can even layer it with a small wooden tag or a dried flower for extra charm. It looks like it came straight from a cozy country kitchen.
6. Simple Vinyl Decal Labels
Vinyl decals are perfect if you want a clean, modern look. Use a cutting machine like a Cricut or buy pre-cut vinyl letters. Apply the decal directly to the glass for a sleek, minimal design.
You can do just the word “Treats” or your dog’s name in a fun font. It’s waterproof and easy to wipe clean, which is great when your dog drools near the jar. Plus, it looks super professional.
7. Painted Chalkboard Jar
Instead of a sticker, paint a section of the jar directly with chalkboard paint. Use a small brush to create a rectangle or circle shape. Let it dry, then season it with chalk before writing your label.
This gives you a permanent chalkboard surface that’s part of the jar itself. You can change the message anytime, like “Good Boy Fuel” or “Snack Time.” It’s functional and fun.
8. Wooden Tag and Leather Cord
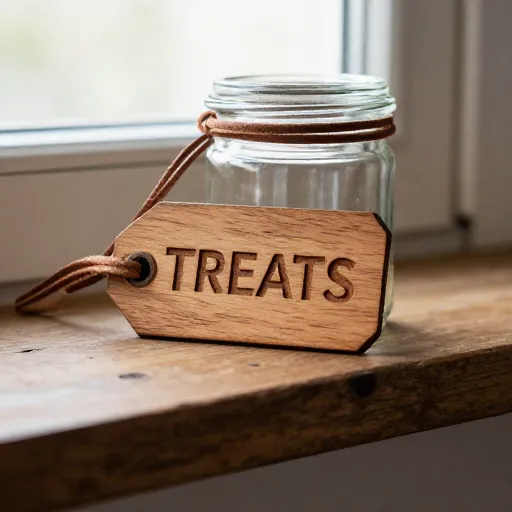
For a more natural, boho look, use a small wooden tag. Write your label with a wood-burning tool or a permanent marker. Thread a leather cord through the hole and tie it around the jar’s neck.
The wood and leather combo feels really organic and lasts forever. It’s also easy to swap out for a different jar if needed. This one looks great on a shelf next to plants and cookbooks.
9. Seasonal Swap Labels
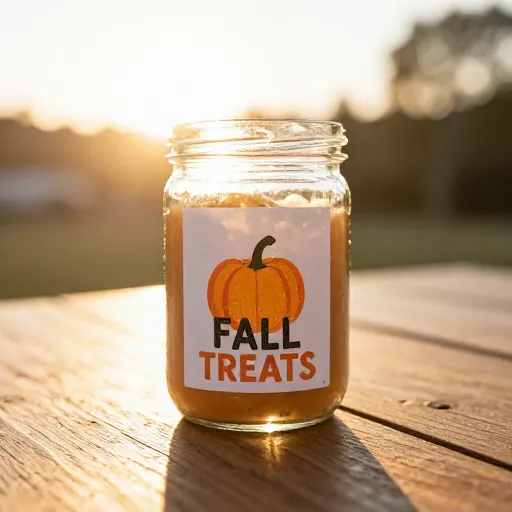
Make a set of labels for different seasons or holidays. Use a plain white label for the base, then decorate with small stickers or drawings that match the time of year. Think pumpkins for fall, hearts for Valentine’s, or snowflakes for winter.
Store the extra labels in a drawer and swap them out when the mood strikes. It’s a tiny way to celebrate the season without decorating the whole house. Your dog won’t care, but you’ll love it.
10. Minimalist Black and White Labels
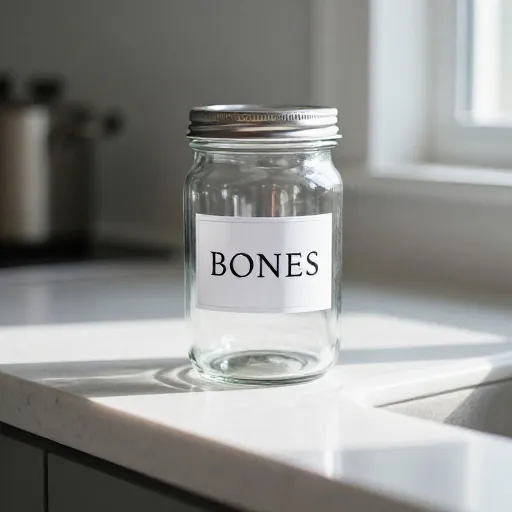
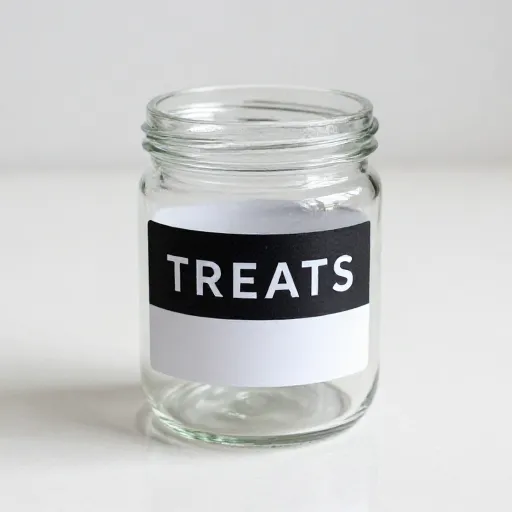
Sometimes less is more. Use a simple black permanent marker on a white adhesive label. Write in clean, straight letters or a simple script. Stick it on a clear glass jar for a crisp, modern look.
You can also use a white marker on a dark jar for contrast. This style fits into any kitchen decor and never feels cluttered. It’s the kind of label that looks good no matter what.
Making your own dog treat jar labels is one of those small projects that brings a lot of joy. It takes maybe ten minutes, costs almost nothing, and makes your kitchen feel a little more personal. Plus, your dog gets to look at their name or face every time they beg for a snack. It’s a win-win.
So grab a jar, some basic supplies, and let your creativity run. Whether you go for rustic burlap or a simple vinyl decal, your treat jar will be the cutest thing on the counter. And honestly, our pups deserve that kind of love.
FAQ
1. What kind of paper works best for treat jar labels?
Adhesive sticker paper or cardstock works great. If you use cardstock, attach it with double-sided tape or a clothespin so you can swap it out easily.
2. Can I use a regular marker on glass?
Yes, but it may smudge. For a more permanent look, use a paint pen or chalk marker. You can also seal it with a clear spray sealer if you want it to last.
3. How do I make the label waterproof?
Use vinyl decals or laminate your paper label with clear packing tape. You can also write on the inside of the jar with a paint marker for a waterproof option.
4. What size label should I use?
It depends on your jar. A small jar might only need a 2-inch label, while a larger jar can handle a 4-inch one. Measure your jar before cutting.
5. Can I reuse labels?
Absolutely. Chalkboard labels and wooden tags are easy to reuse. For paper labels, just peel them off and replace with a new design whenever you want a change.