DIY Slinky Dog Costume for Toy Story Fans: The Ultimate How-To Guide
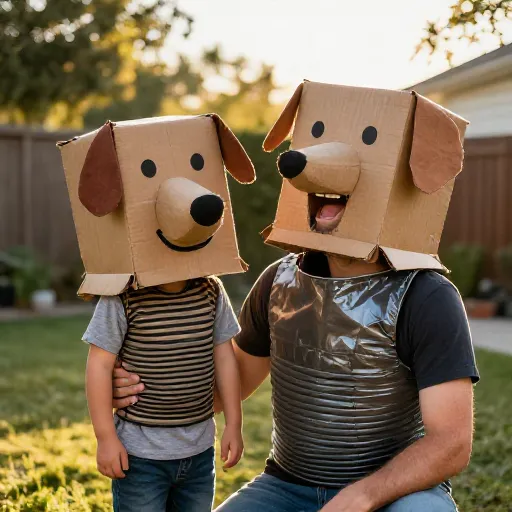
Okay, Toy Story fans, let’s talk about the most lovable dachshund in the toy box. Slinky Dog is iconic, with his springy middle, floppy ears, and that adorable puppy-dog face. If you’re planning a family Halloween costume or just want to win the best-dressed award at your next themed party, a DIY Slinky Dog costume is a guaranteed crowd-pleaser.
I have to be honest with you—when I first looked at making this costume, I thought it was going to be a total nightmare. How do you even make a spring out of cardboard? But after a lot of trial and error (and a few late nights with a hot glue gun), I figured out the easiest, most durable ways to bring this pup to life. Whether you are making this for a kid, a dog, or yourself, I’ve got you covered with ideas that range from super simple to seriously impressive.
Let’s dive into the best DIY methods to create a Slinky Dog costume that will make everyone say, “There’s a snake in my boot!” (Okay, wrong toy, but you get the vibe).
1. The Classic Cardboard and Duct Tape Method
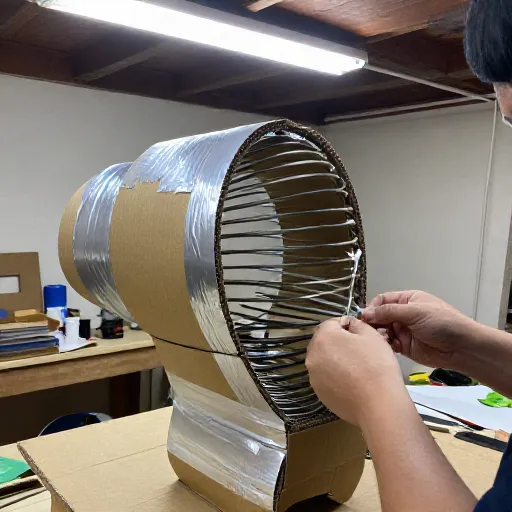
This is the most budget-friendly way to get that metallic spring look. You probably already have most of these supplies in your recycling bin. The key is to use corrugated cardboard because it bends easily without creasing too hard.
Cut long strips of cardboard, about 4–6 inches wide depending on the size of the wearer. You’ll want to accordion-fold them, but instead of perfect sharp folds, use a large dowel or a broomstick to curve the cardboard over. This gives you that rounded coil effect rather than a flat zig-zag.
Once you have your coils, cover them in silver duct tape. For an even better look, mix in some gray metallic tape to give it a “metal” sheen. Connect the coils with heavy-duty zip ties or strong twine so they can bend and move with the body.
2. Pool Noodle Slinky Body
If you want something lightweight that can actually be worn comfortably for hours, pool noodles are your best friend. They are cheap, easy to cut, and come in the perfect cylindrical shape. Look for the thin ones, not the thick water park ones.
Cut the noodle into 2-inch sections. String them onto a piece of rope or a belt that goes around the waist or over the shoulder. This creates a segmented look that mimics the metal spring perfectly.
- Spray paint the noodles silver before assembling.
- Leave small gaps between each noodle to show the “spring” wire.
- Use a black rope to simulate the wire coil.
This method is incredibly sturdy and forgiving. If you drop it, it won’t dent. It is the best option for toddlers who are going to be running around collecting candy.
3. The “Body Bag” Approach
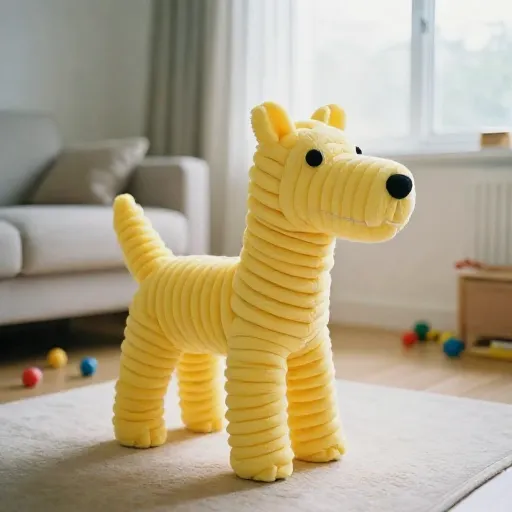
This is a clever hack that looks amazing from the side. Instead of making a 3D spring, you create a flat “tube” of fabric that hangs from the shoulders and connects to the back of the legs. It looks like you are inside the spring.
Use a silver metallic spandex or lycra fabric. Sew a long tube that covers the torso. Then, take black electrical tape or black fabric paint and create diagonal stripes down the length of the tube. This gives the illusion of the spiral coils.
Add a set of suspenders hidden inside the tube to hold it up. This is perfect for hot climates or indoor parties where you don’t want to be wrapped in cardboard. It is breathable and allows for full movement.
4. Craft Foam Coils for a Smooth Finish
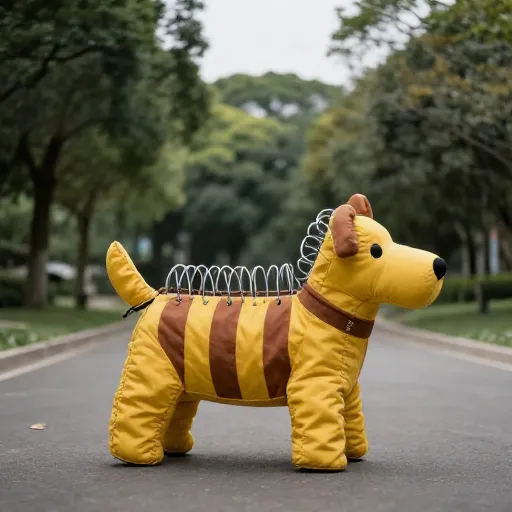
Foam sheets are a little more expensive than cardboard, but they offer a much cleaner, more professional finish. You can find large rolls of EVA foam at craft stores. It is flexible, durable, and paintable.
Cut the foam into long strips. Instead of folding, you are going to roll the foam around a large cylinder (like a paint can) to set the curve. Glue the edges to form a tube, then cut the tube into rings.
Connect the rings with small pieces of elastic. This allows the costume to stretch and flex without breaking. The foam paint finish looks exactly like the plastic toy, which is a huge win for accuracy.
5. The Headpiece: A Box of Puppy Love
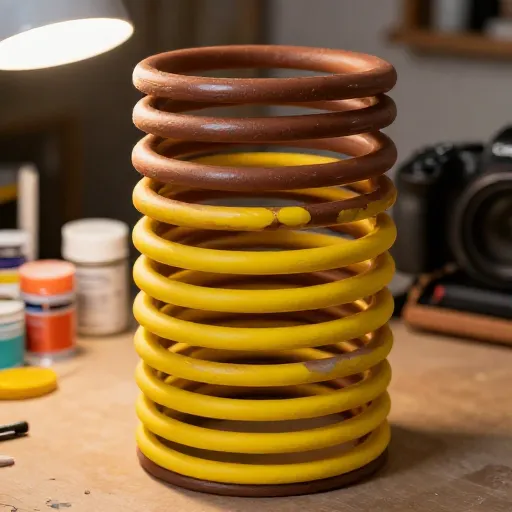
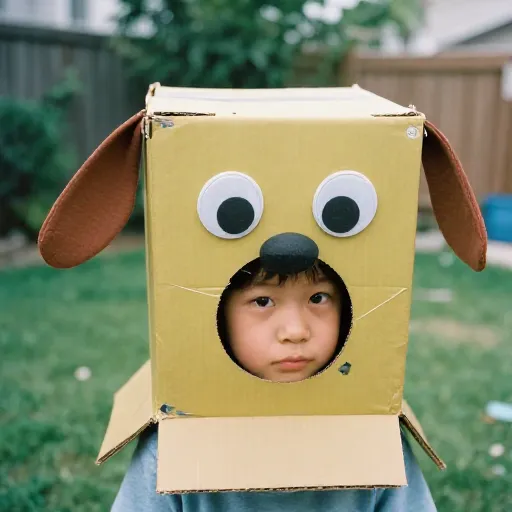
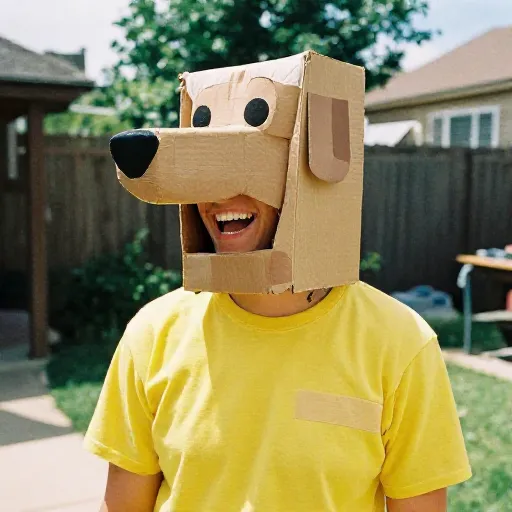
Now that the body is sorted, let’s talk about the face. Slinky’s head is essentially a brown dog face attached to a box. You can use a small cardboard box (like a tissue box for a kid, or a shipping box for an adult) as the base.
Cut out the bottom of the box so you can see through it, but keep the structure. Cover the box in brown felt or fabric. Add the floppy ears using cardboard pieces covered in brown fleece—they need to hang down, not stick up.
For the snout, use a smaller box (like a jewelry box) covered in the same brown material. Attach a black pom-pom to the tip for the nose. This is the most recognizable part of the costume, so take your time here.
6. The Floppy Ears and Snout Details
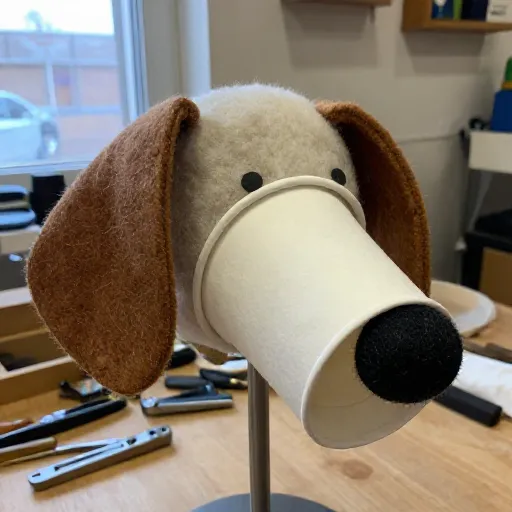
To get the perfect Slinky expression, the ears need to be floppy and long. Use flexible wire (like a coat hanger) bent into an oval shape. Wrap it in batting and then cover it with brown fabric. Attach them to the sides of the head box with a strong adhesive or stitching.
Don’t forget the eyebrows! Slinky has those distinct, slightly worried-looking brown eyebrows. Use a strip of darker brown felt and glue them above the eye holes. This adds so much character.
For the snout, make sure it is slightly darker than the rest of the face. A piece of black felt for the nose and a little red or pink tongue sticking out to the side will make it look playful and friendly.
7. The Tail: The Wagging Spring
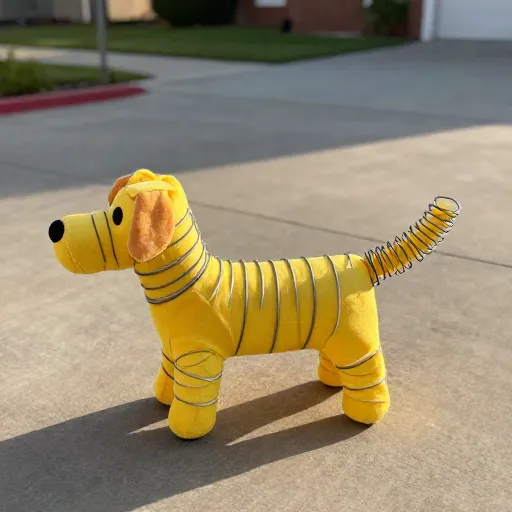
You can’t have Slinky without that little curly tail. Take a long piece of silver craft wire (the bendy kind) and wrap it around a broomstick to create a tight coil. Pull it off, and you have a spring.
Attach this spring to the back of the costume using a safety pin or by sewing it into the fabric. If you want it to be interactive, make the tail out of a thick pipe cleaner or wire that you can bend at the party.
For a playful touch, add a small red bow at the base of the tail. It is a subtle detail that fans will appreciate, and it adds a pop of color to all that silver and brown.
8. Group Costume Pairing: The Andy’s Room Theme
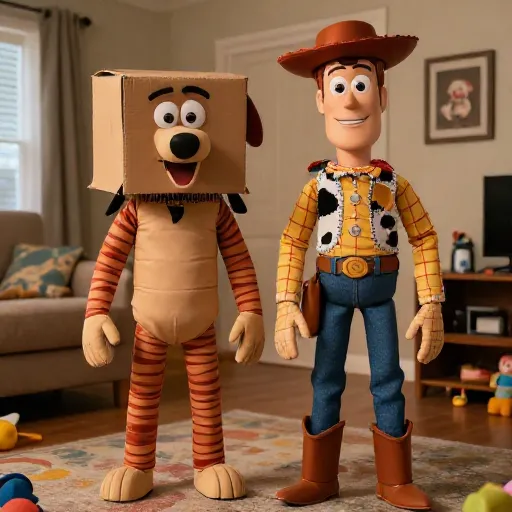
While Slinky is great solo, he is fantastic in a group. Pair this costume with a friend wearing a simple red “Andy” shirt and a cowboy hat to be Woody. Have another friend wear a space ranger suit to be Buzz.
If you are doing a family costume, put the baby in a potato sack with a green hat to be Mr. Potato Head. The contrast between the tall Slinky and the short Potato Head makes for incredible photos.
Don’t forget the “claw” machine. Have someone dress up as the Claw from the toy store. It is a deep cut reference that will make all the adults laugh.
9. Safety and Comfort Tips for Wearable Springs
Making the costume is half the battle; making it wearable is the other. Ensure that any cardboard or foam edges are covered with duct tape or fabric to prevent chafing. The neck area should be lined with soft fleece.
Visibility is crucial. Make sure the eye holes on the headpiece are large enough. You need a wide field of vision, especially for crossing streets at Halloween. Use a clear plastic mesh over the eyes to hide your face but keep vision clear.
If you are using the pool noodle method, ensure the internal rope is not too tight. You want to be able to sit down. Practice sitting in it before the big day.
10. No-Sew and Quick-Fix Alternatives
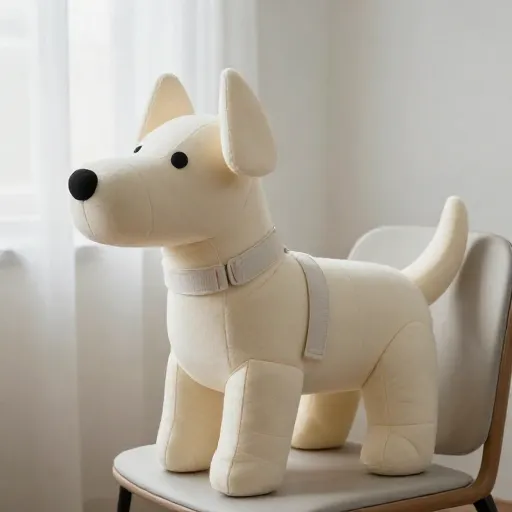
If you are in a time crunch, you can cheat this costume. Wear a silver sweater or a silver hoodie. Use black duct tape to create diagonal stripes on the sweater. It’s a minimalist look, but it reads as “slinky” instantly.
For the head, skip the box. Just wear a brown beanie and a brown face mask. Glue floppy ears onto the beanie. It is a cozy and cute alternative that takes thirty minutes to make.
Another quick fix is to use a large silver inflatable tube (the ones used for swimming). Wrap it around your torso like a sash. It’s not perfect, but it is hilarious and guaranteed to get a laugh.
Conclusion
Building a DIY Slinky Dog costume is about embracing the fun of making something with your hands. It doesn’t have to be perfect—it just has to be recognizable and fun. Whether you choose the detailed cardboard method or the cozy sweater hack, you are going to look amazing.
Remember, the best part of this costume is the joy it brings to people who see it. You are bringing a beloved childhood toy to life. So grab your glue gun, put on some Toy Story music, and get crafting. You’ve got a friend in me!
Frequently Asked Questions
Q: How long does it take to make a Slinky Dog costume?
A: It depends on the method. The sweater hack takes about 30 minutes. The cardboard or pool noodle method will take about 3 to 4 hours including drying time for paint.
Q: Can I make this costume for my dog?
A: Absolutely! You can make a small harness with silver fabric and a little headpiece. Just avoid using materials that restrict their movement or hearing. Keep it on for short photo sessions only.
Q: What is the best paint to use on cardboard?
A: Acrylic paint works best. Stay away from watercolors as they will warp the cardboard. If you are using spray paint, do it outside and make sure the cardboard is dry.
Q: How do I make the costume breathable?
A: If you are using the cardboard box head, cut large holes in the back to allow airflow. For the body, the pool noodle method allows air to circulate. Avoid plastic wrap or bags.
Q: Can I use this costume for a school play?
A: Yes, but I recommend the craft foam method for durability. It holds up better to repeated use and stage lights. Just ensure the costume is not too heavy for the actor to move around in.