Easy 3-Ingredient Peanut Butter Applesauce Dog Treats Your Pup Will Go Crazy For
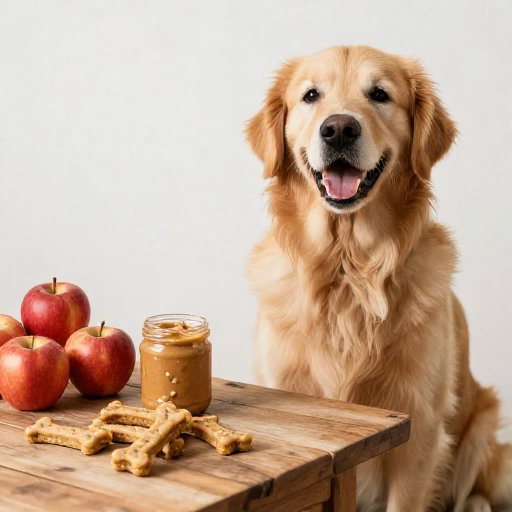
There’s something so special about watching your dog’s tail wag out of control when they know a treat is coming. But have you ever flipped over a store-bought bag and squinted at the ingredient list? Yeah, me too. That’s exactly why I started baking treats in my own kitchen. It’s simpler than you think, and the joy on their face when you pull out a fresh, homemade snack is absolutely priceless.
This peanut butter applesauce dog treat recipe is my absolute go-to. It only uses a handful of pantry staples, takes minutes to prep, and yields the most adorable, crunchy little cookies that dogs simply adore. No weird preservatives, no mystery fillers—just pure, wholesome goodness that makes your furry friend feel like the king or queen of the house. Let’s get baking!
Why You’ll Love These Homemade Dog Treats
Let’s be real—our dogs deserve the best. When you make treats at home, you have total control over what goes into their bodies. This recipe shines because it uses simple, clean ingredients that offer real health benefits, not just empty calories. Peanut butter provides healthy fats and protein for energy, while unsweetened applesauce adds natural sweetness and fiber, which is great for digestion.
Plus, this recipe uses no eggs or flour, making it a fantastic option for pups with certain food sensitivities. The texture comes out perfectly crunchy after baking, which is also great for their dental health. It’s a win-win—your dog thinks they’re getting a gourmet snack, and you feel amazing knowing exactly what’s in it. It’s a beautiful, healthy way to show your furry best friend a little extra love.
Kitchen Tools & Equipment You’ll Need
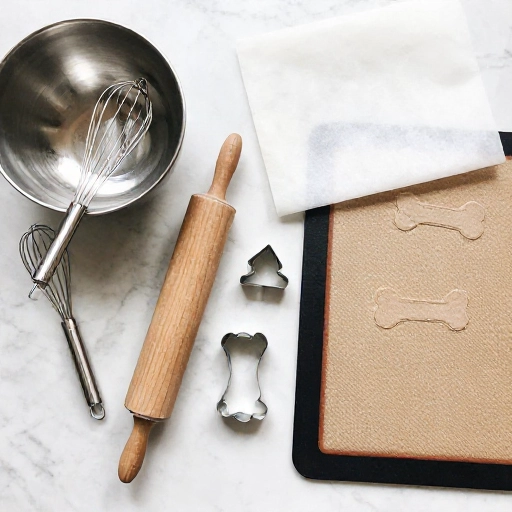
You don’t need a fancy bakery setup for this one. I love recipes that don’t require a million gadgets because it means less cleanup and more time playing fetch. Here’s the simple toolkit you’ll need to whip up a batch of these tasty treats.
- Mixing Bowl: A medium-sized bowl is perfect for combining your ingredients.
- Measuring Cups & Spoons: For accurate measurements, especially for the peanut butter.
- Spatula or Wooden Spoon: To mix the dough together thoroughly.
- Rolling Pin: Helps roll the dough out evenly. A clean glass bottle can work in a pinch!
- Cookie Cutters: Any fun shape you like—bones, paws, or just a classic round cutter. A knife works if you don’t have cutters.
- Baking Sheet: A standard baking sheet lined with parchment paper for easy removal.
- Oven: Preheated to the right temperature is key for that perfect crunch.
Simple Ingredients & Safe Substitutions
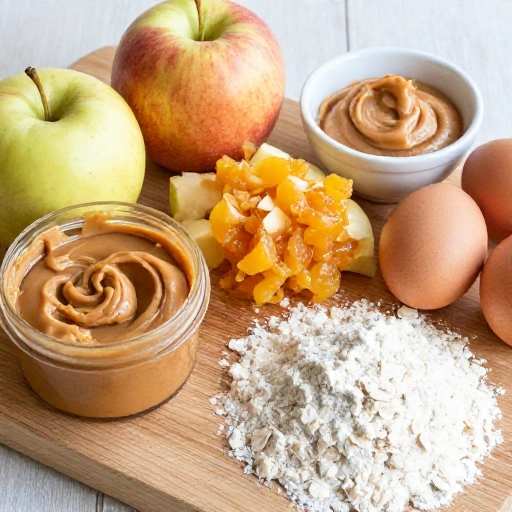
Here’s the magic—you only need three main ingredients to make these delicious snacks. I bet you already have most of these sitting in your kitchen right now. Let’s break down the superstar lineup and what you can swap if needed.
- 1 cup Natural Peanut Butter: Make sure it’s xylitol-free! Xylitol is extremely toxic to dogs. Look for brands with only “peanuts” on the label. Crunchy or smooth both work.
- 1 cup Unsweetened Applesauce: Always choose the no-sugar-added variety. Extra sugar is not good for our canine companions.
- 2 cups Whole Wheat Flour (or Oat Flour): Whole wheat gives a great texture. For a grain-free option, use oat flour or a gluten-free 1:1 baking blend.
Pro-Tip: If your dough feels too sticky, add a tablespoon more flour. If it feels too dry and crumbly, add a splash more applesauce. The dough should be firm but pliable, much like a playdough texture. Keep it simple and adjust as you go!
How to Make Peanut Butter Applesauce Dog Treats
Alright, let’s get to the fun part! This process is so easy, you can even get the kids involved. Just follow these simple steps, and you’ll have a tray full of happy little treats in no time.
- Preheat & Prep: Start by preheating your oven to 350°F (175°C). Line your baking sheet with parchment paper so the treats don’t stick.
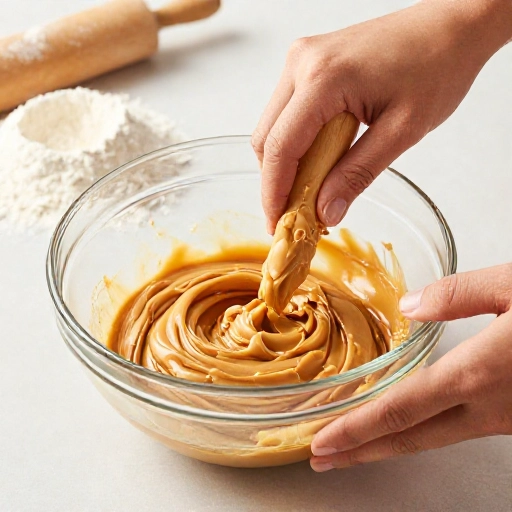
- Mix Wet Ingredients: In your mixing bowl, combine the peanut butter and applesauce. Stir them together until they are completely smooth and well blended.
- Add Dry Ingredients: Gradually add the flour to the wet mixture. Stir continuously until a dough begins to form. You’ll know it’s ready when it pulls away from the sides of the bowl.
- Knead the Dough: Turn the dough out onto a lightly floured surface. Knead it gently for about a minute until it’s smooth and holds together nicely.
- Roll & Cut: Using your rolling pin, roll the dough out to about ¼-inch thickness. Use your cookie cutters to press out fun shapes and place them on your prepared baking sheet.
- Bake to Perfection: Bake for 20-25 minutes, or until the edges are golden brown and the treats feel firm. For crunchier treats, you can turn off the oven and leave them inside for an extra 10-15 minutes.
Once done, remove them from the oven and let them cool completely on a wire rack. They will continue to harden as they cool, creating that satisfying crunch your dog will love.
Feeding Guidelines, Storage & Serving Tips
Now that you have a batch of delicious treats, let’s talk about the best way to store and serve them. Proper storage keeps them fresh and crunchy, so they last longer. And of course, we want to make sure we’re feeding the right amount!
Serving Size: Treats should only make up about 10% of your dog’s daily caloric intake. For small dogs, one small treat a day is plenty. For larger breeds, two to three treats is perfect. Always monitor your dog when giving them any new treat to ensure they chew properly.
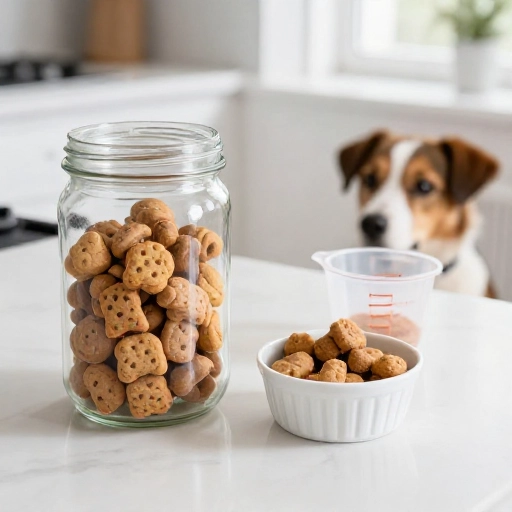
Storage Tips: Store the baked treats in an airtight container. They will stay fresh at room temperature for up to one week. For longer storage, pop them in the fridge for up to three weeks, or freeze them for up to three months. I love pulling a couple out of the freezer on a hot day for a cool snack!
Final Verdict & Why This Recipe Works
In my honest opinion, this is the gold standard for dog treat recipes. It’s forgiving, adaptable, and produces consistently amazing results. The combination of peanut butter and applesauce is universally loved by dogs, and the crunchy texture makes it a satisfying snack they’ll beg for again and again.
I love that I can make a big batch on the weekend and have healthy, affordable treats ready for the whole week. It saves money, reduces waste from plastic packaging, and gives me peace of mind knowing my furry best friend is eating something made with real love and real ingredients. Give this recipe a try—I promise your pup will thank you with extra sloppy kisses!
Frequently Asked Questions (FAQ)
Can I use regular peanut butter from a jar?
Yes, you can! Just double-check the label to ensure it does not contain xylitol. Xylitol is a sugar substitute that is highly toxic to dogs. Stick to brands that only list peanuts and maybe salt as ingredients.
Do I have to use cookie cutters?
Absolutely not! If you don’t have cookie cutters, you can simply roll the dough into small balls and flatten them with your hand or a fork, similar to making peanut butter cookies for humans. You can also cut the dough into small squares with a knife or pizza cutter.
How do I know when the treats are done?
They are finished when they are golden brown around the edges and feel firm to the touch. They will harden more as they cool. If you want an extra-crunchy treat, you can turn off the oven and let them sit inside the warm oven for another 15 minutes.
Can I make these treats grain-free?
Yes, you can easily swap the whole wheat flour for oat flour or a store-bought gluten-free all-purpose baking blend. Oat flour gives a slightly softer texture but works wonderfully and is gentle on sensitive stomachs.
How long will these treats stay fresh?
Stored in an airtight container at room temperature, they stay fresh for about a week. To maximize shelf life, keep them in the refrigerator for up to 3 weeks or freeze them in a zip-top bag for up to 3 months.