10 DIY Dog Crate Plans for Beginners
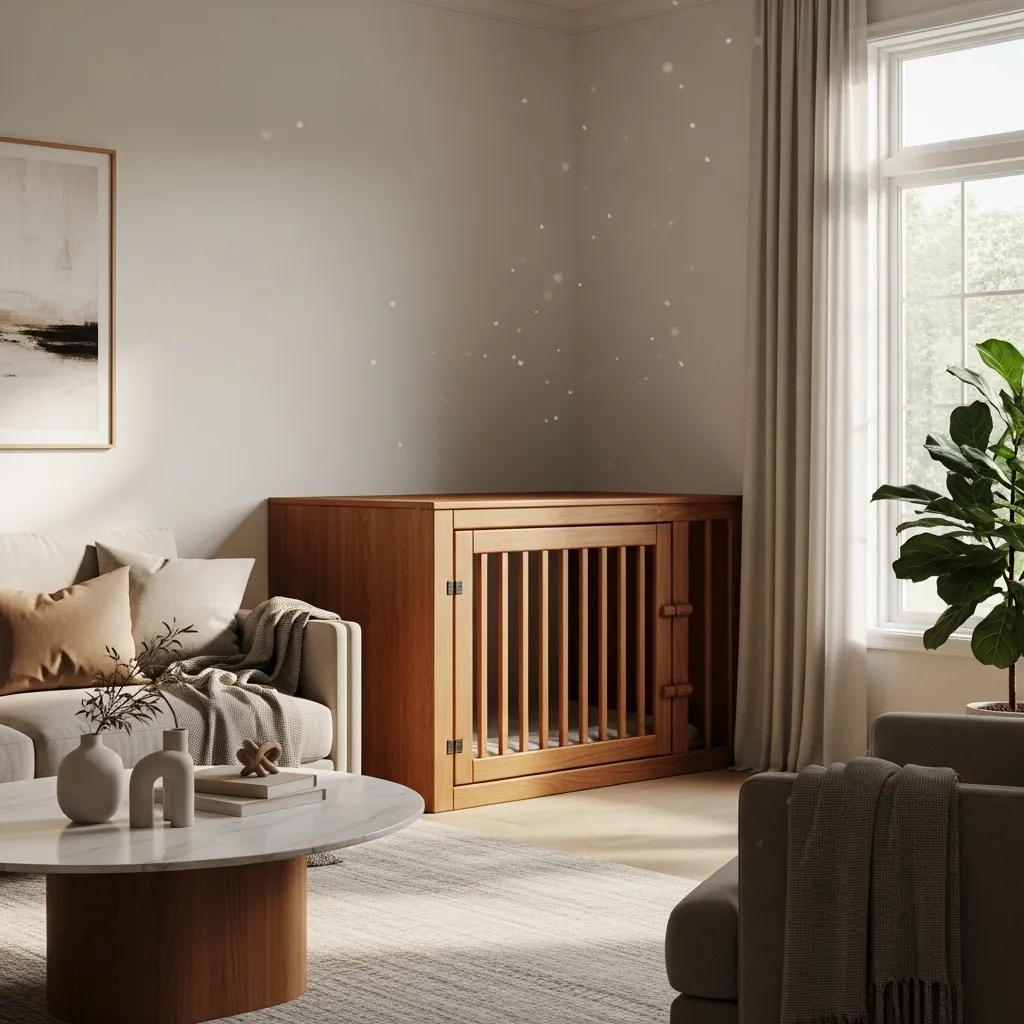
I remember staring at those expensive store-bought dog crates and thinking, “There has to be a better way.” The good news is, there is. Building your own dog crate isn’t just about saving money—it’s about creating something that fits your home and your dog’s personality perfectly. Whether you’re a total newbie with a hammer or someone who’s built a few things before, these plans are designed to be simple, practical, and fun.
I’ve gathered ten beginner-friendly crate ideas that use basic tools and materials you can find at any hardware store. No fancy woodworking skills required. Just a little patience, some measuring tape, and the desire to give your furry friend a cozy spot that’s truly one of a kind. Let’s get started.
1. The Simple Plywood Crate
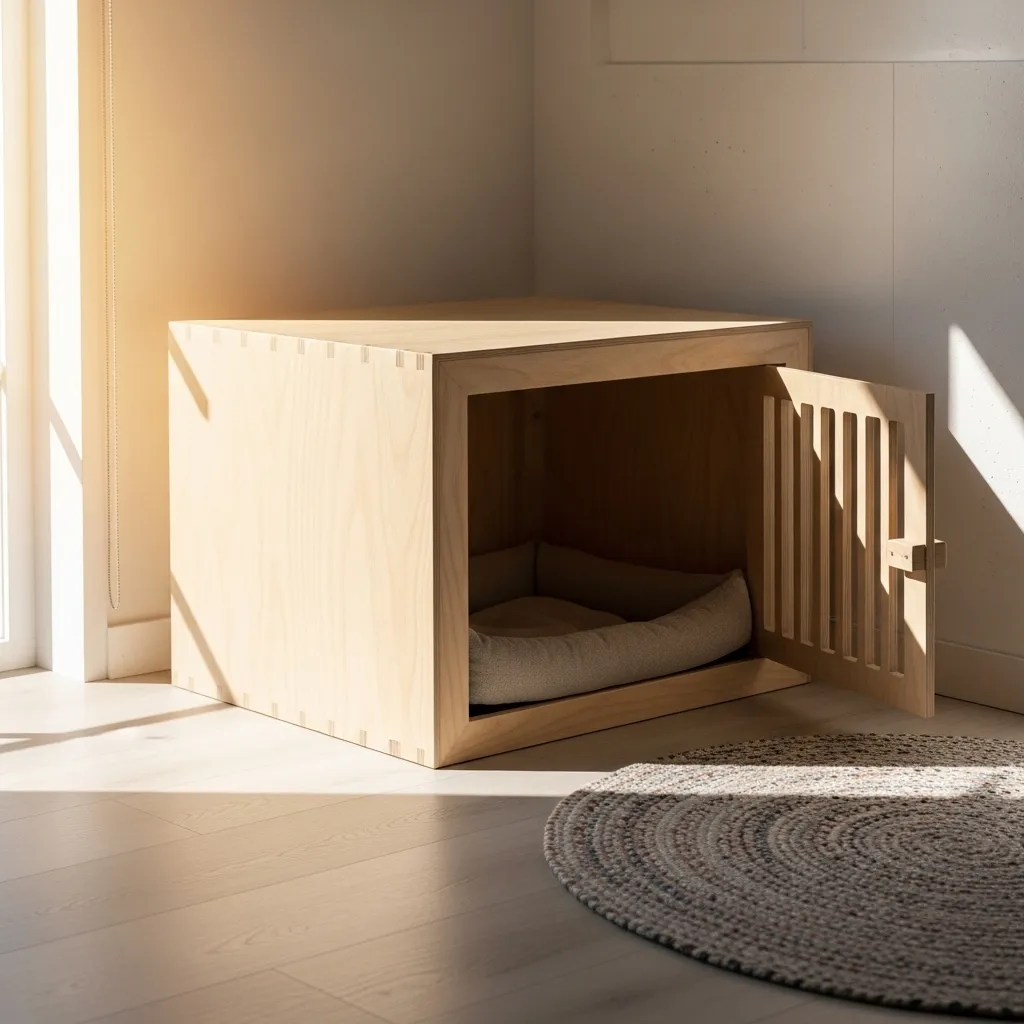
This is the perfect starter project. All you need is one sheet of plywood, a saw, and some screws. I like to keep the design boxy and straightforward—no angled cuts or complicated joins.
Measure your dog’s height and length, then add a few inches for comfort. Cut four sides, a bottom, and a top. Attach them with screws, and leave the front open or add a simple door. You can paint it any color to match your room.
This crate is sturdy, easy to clean, and costs a fraction of what you’d pay in a store. Plus, it’s a great confidence builder for your next project.
2. The Repurposed Nightstand Crate
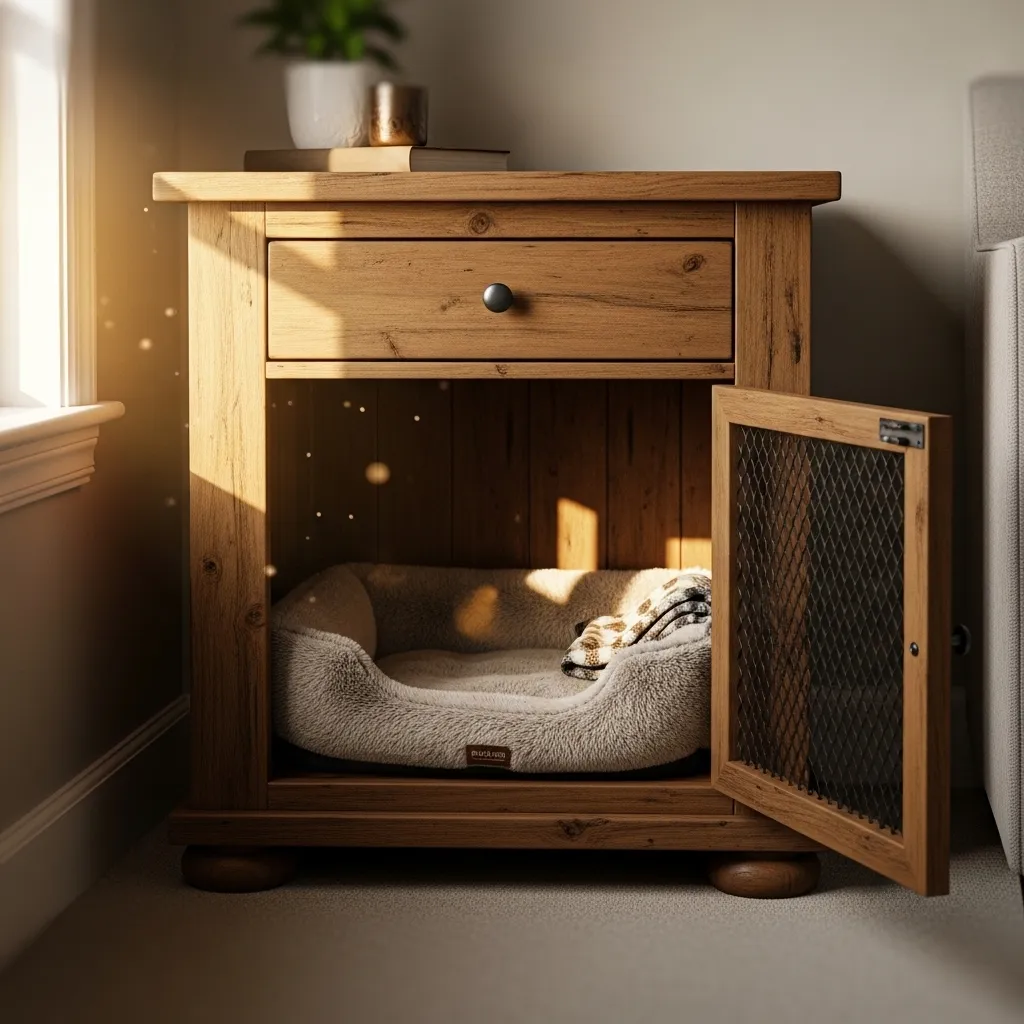
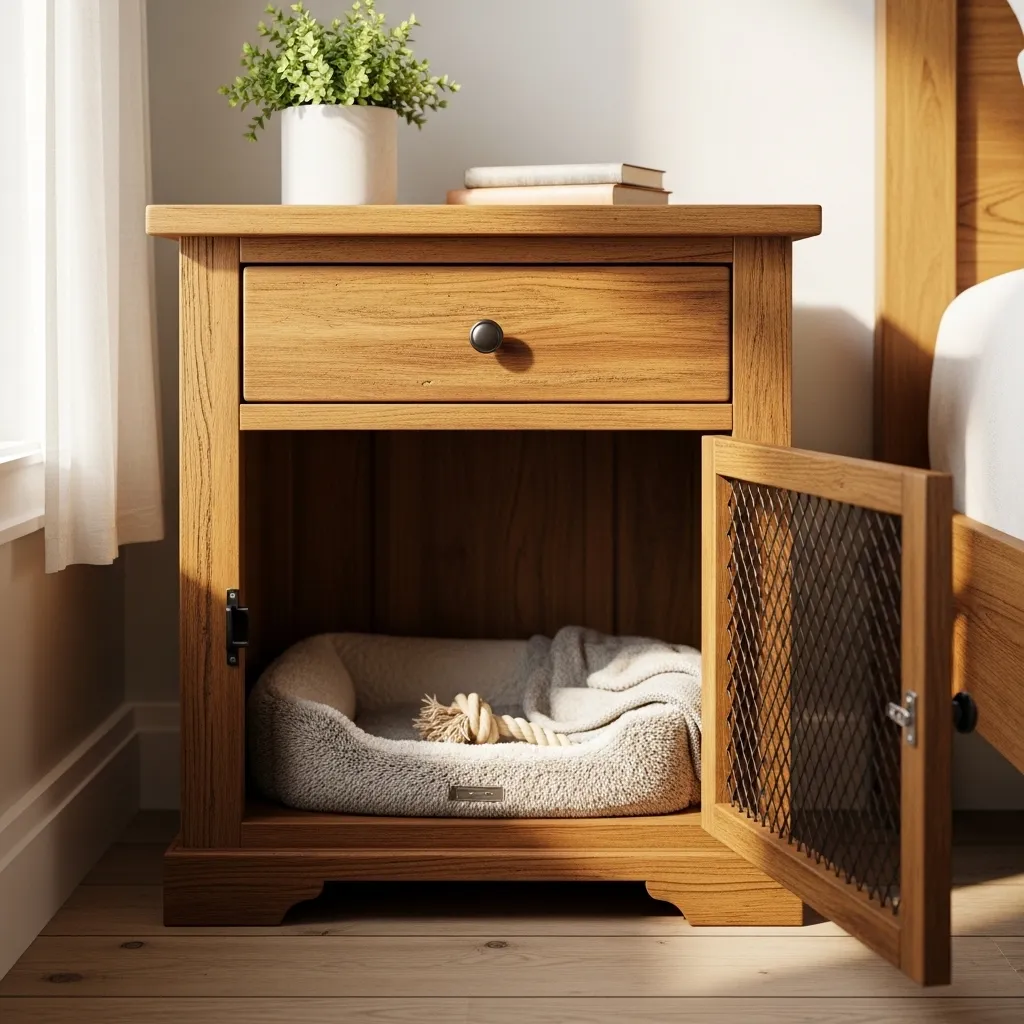
I love this idea because it turns an old piece of furniture into something useful. Find a solid wooden nightstand at a thrift store or garage sale. Remove the drawers and the back panel.
Cut a hole in the side for an entrance, or simply leave the front open. Sand down any rough edges and add a fresh coat of paint or stain. Your dog gets a stylish little den, and you get extra storage on top for books or plants.
This is a weekend project that looks like it cost hundreds. The best part? No one will guess it’s a dog crate at first glance.
3. The Pallet Wood Crate
Pallet wood is free, rustic, and surprisingly easy to work with. Start by finding clean, heat-treated pallets (look for the “HT” stamp). Break them down carefully using a pry bar.
Sand each plank well to avoid splinters. Build a simple box frame, leaving gaps between the slats for ventilation. You can add a hinged top or a front door made from more pallet wood.
- Pro tip: Use a staple gun to attach wire mesh inside if your dog is a chewer.
- This crate has a charming farmhouse look that fits any decor.
4. The Under-Table Crate
Do you have a sturdy table or desk that’s not being used? This plan turns empty space into a crate. Measure the area under the table and build a simple three-sided enclosure that slides underneath.
Attach a gate or a piece of plywood to the front. You can even add a cozy cushion inside. The tabletop becomes a useful surface for your coffee or laptop.
This is a genius space-saver for small apartments. Your dog gets a private spot without taking up floor space.
5. The Wire and Wood Hybrid
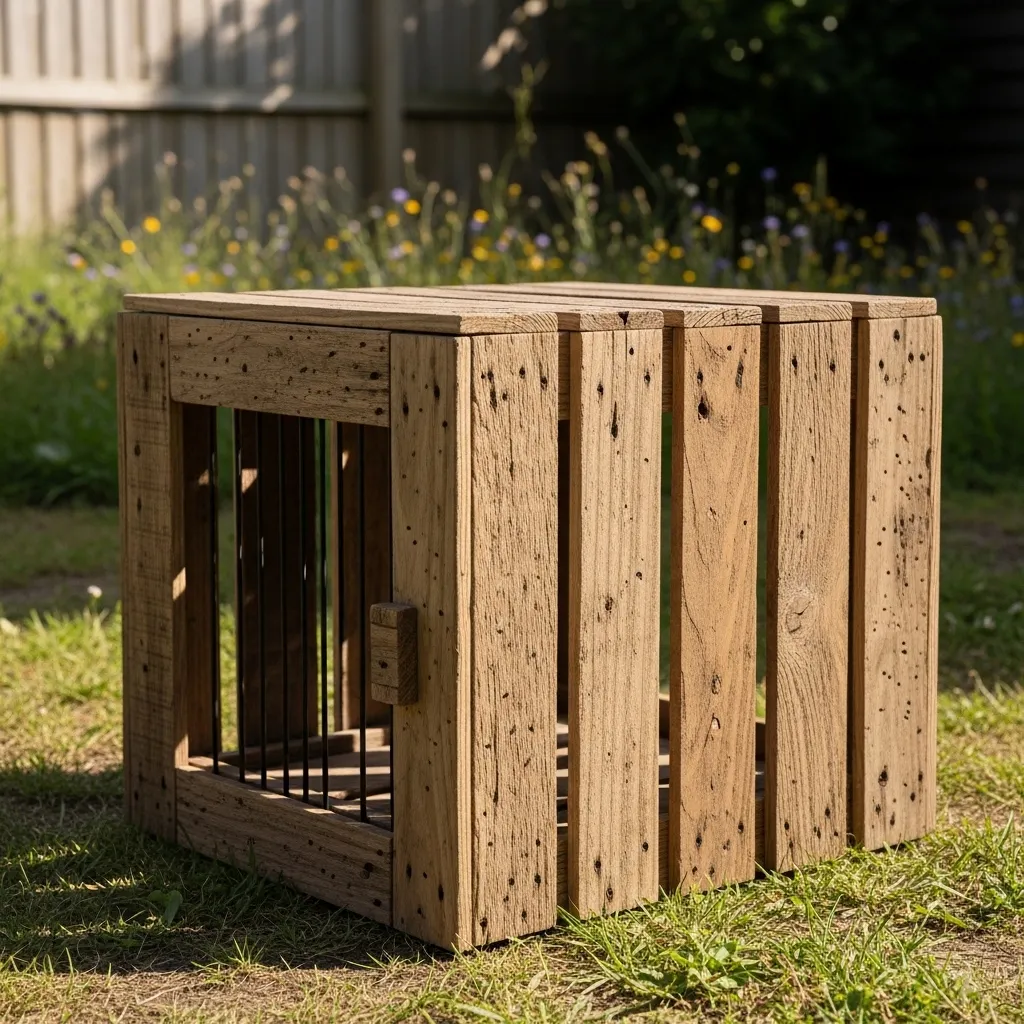
If you want something lightweight but sturdy, try combining a wooden frame with wire mesh panels. Build a simple rectangular frame from 2×2 lumber. Then staple or screw wire mesh to all sides except the front.
For the door, create a wooden frame with wire mesh and attach it with hinges and a latch. This design gives you great visibility and airflow, which is perfect for anxious dogs who like to see their surroundings.
It’s also very portable—you can lift it easily when you need to move it around the house.
6. The Foldable Travel Crate
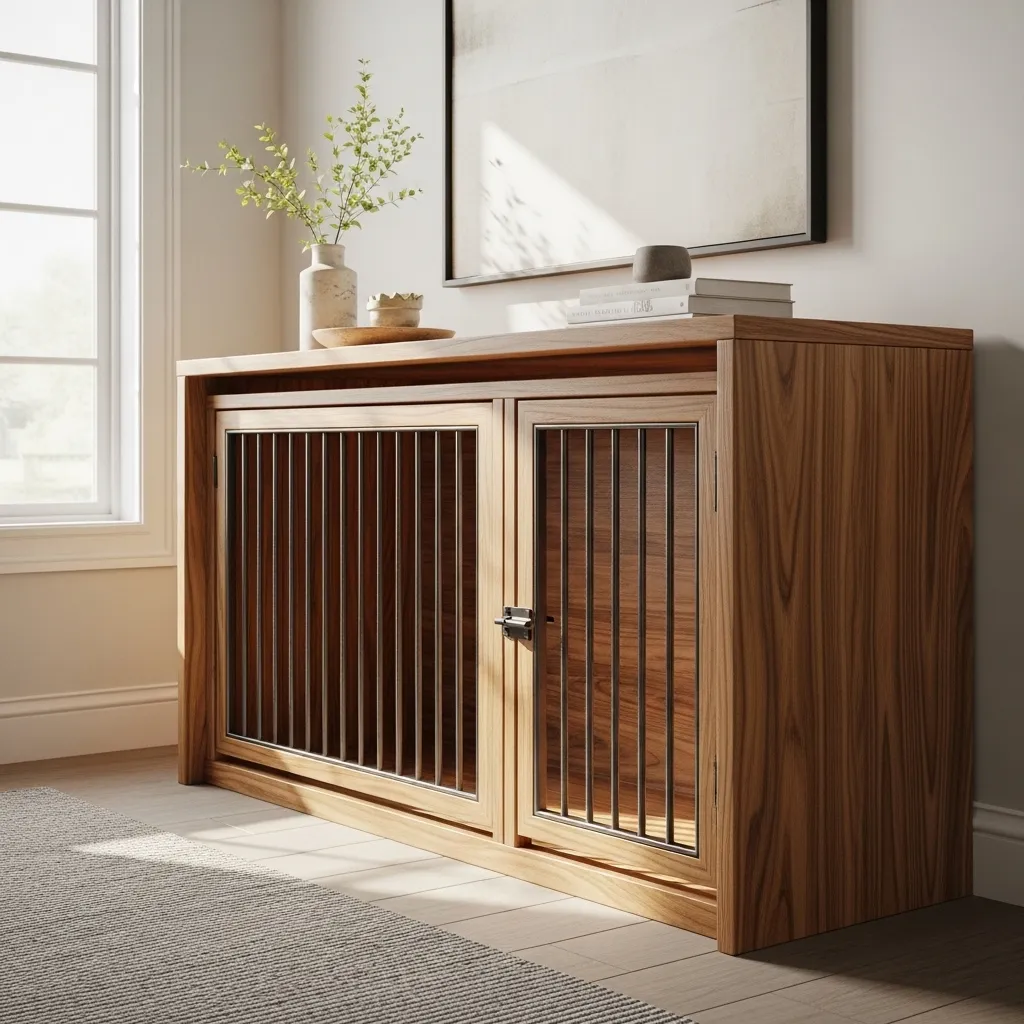
Traveling with your dog just got easier. Build a crate that folds flat using hinged panels. Cut four plywood pieces for the sides, and connect them with strong hinges at the corners.
Add a solid bottom piece and a top that attaches with simple latches. When you’re not using it, fold it down and store it under your bed or in the car trunk.
I made one of these for road trips, and it’s been a lifesaver. My dog feels safe in his familiar crate, even in a new place.
7. The Bench Crate with Cushion
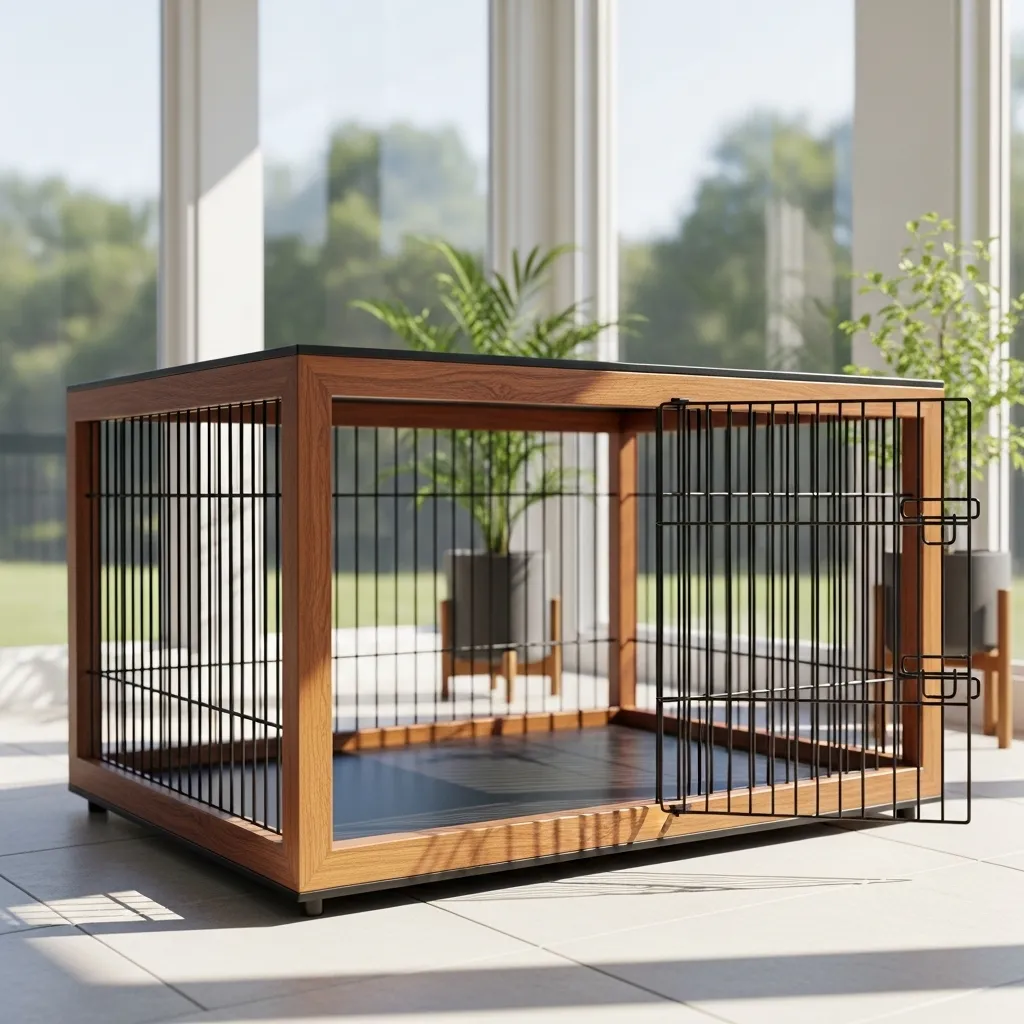
This is a two-in-one project: a comfortable bench for you and a cozy crate for your pup. Build a sturdy wooden box with a hinged top. Cut an opening on one side for the crate entrance.
Add a thick cushion on top of the lid, and you’ve got extra seating. Inside, place a soft bed for your dog. The bench can double as a window seat or a hallway accent piece.
I love how this design hides the crate completely. Your guests will just think you have a really nice bench.
8. The Crate with Built-In Storage
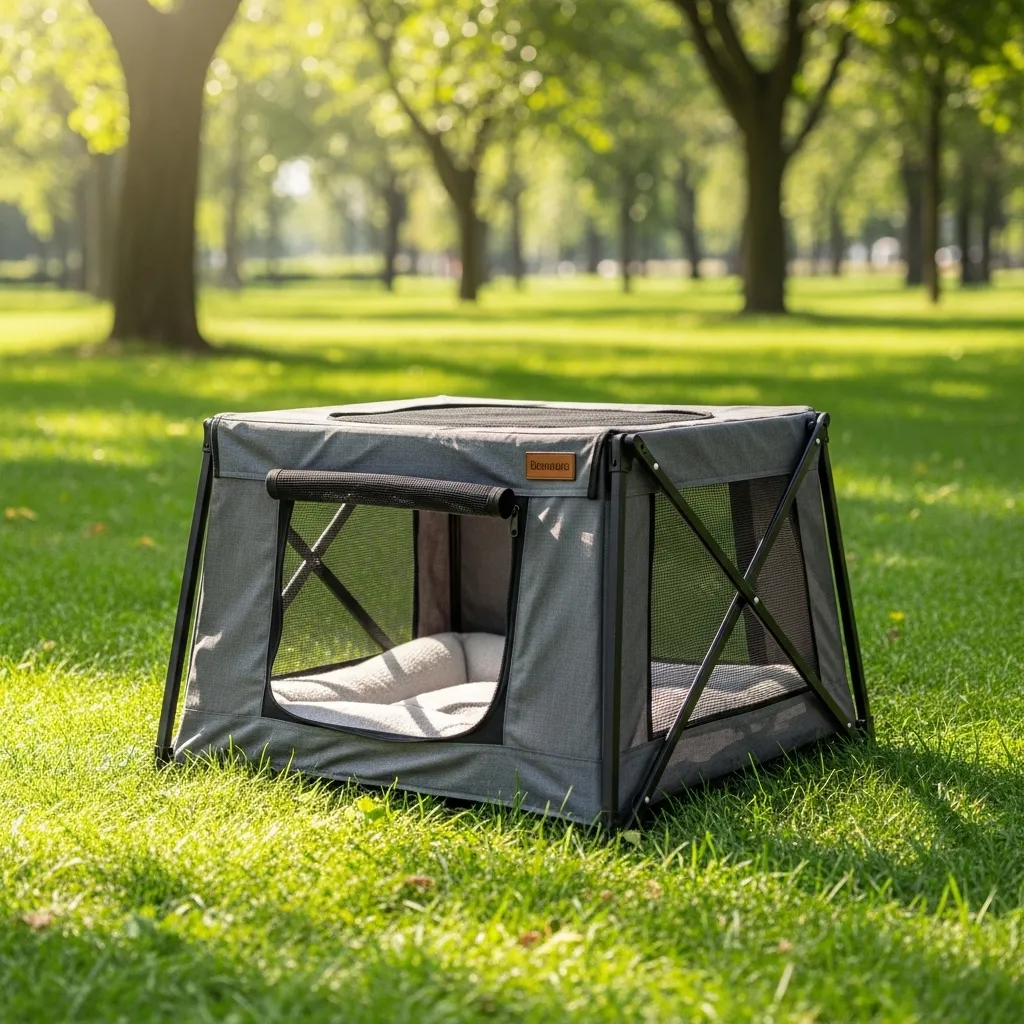
If your dog has toys, leashes, and treats everywhere, this plan is for you. Build a larger crate with a cabinet-style design. Use the upper half for storage shelves and the lower half for the crate space.
Add doors to the storage section to hide all the dog supplies. The crate area can have a simple gate or a wooden door. Paint it all the same color for a seamless look.
This keeps everything organized and makes your living space feel cleaner. Plus, your dog gets a fancy penthouse suite.
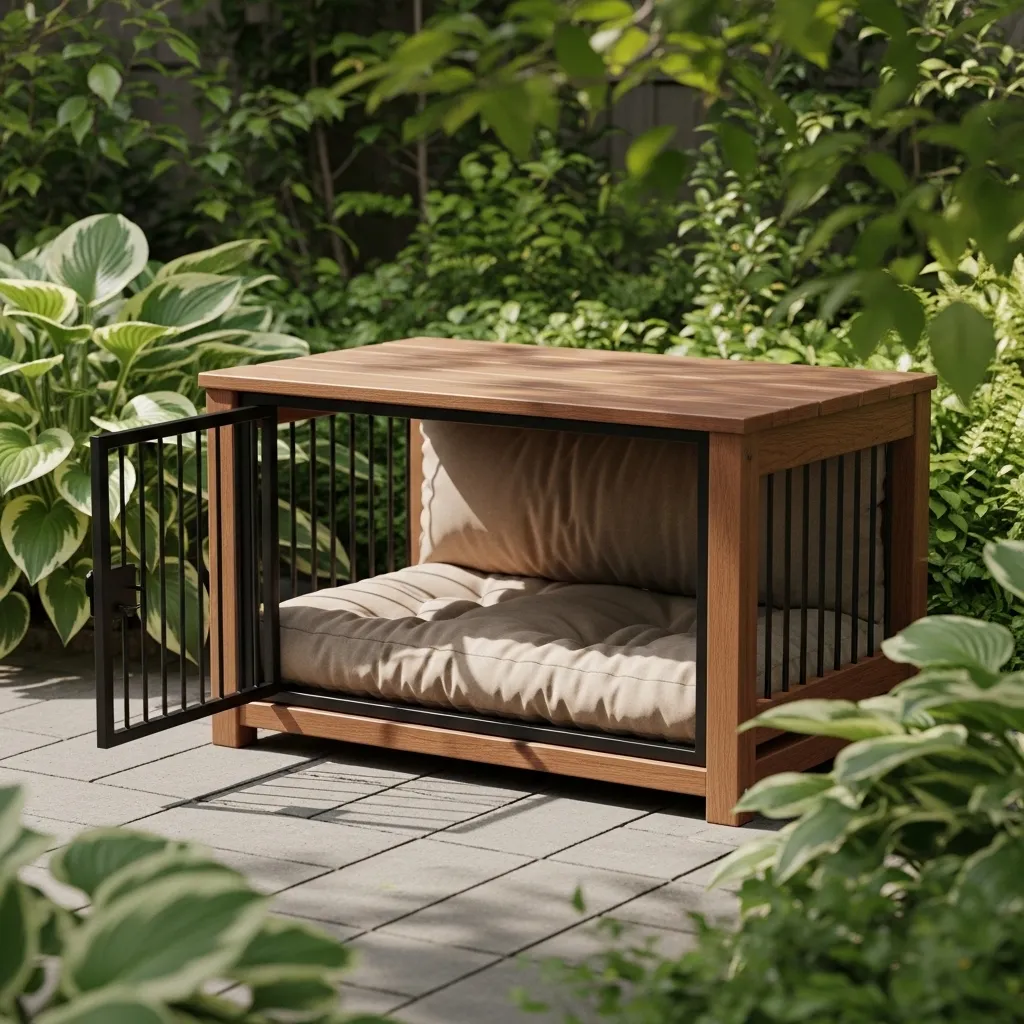
9. The Minimalist PVC Pipe Crate
For a truly beginner-friendly option, try PVC pipe. You don’t need any saws or power tools—just a PVC cutter or a hacksaw. Build a simple cube or rectangle frame using PVC pipes and connectors.
Cover the frame with fabric or mesh using zip ties. Leave one side open for a door. This crate is lightweight, waterproof, and easy to clean. You can even disassemble it and rebuild it in a different size later.
It’s not the prettiest crate, but it’s cheap, fast, and works great for travel or temporary use.
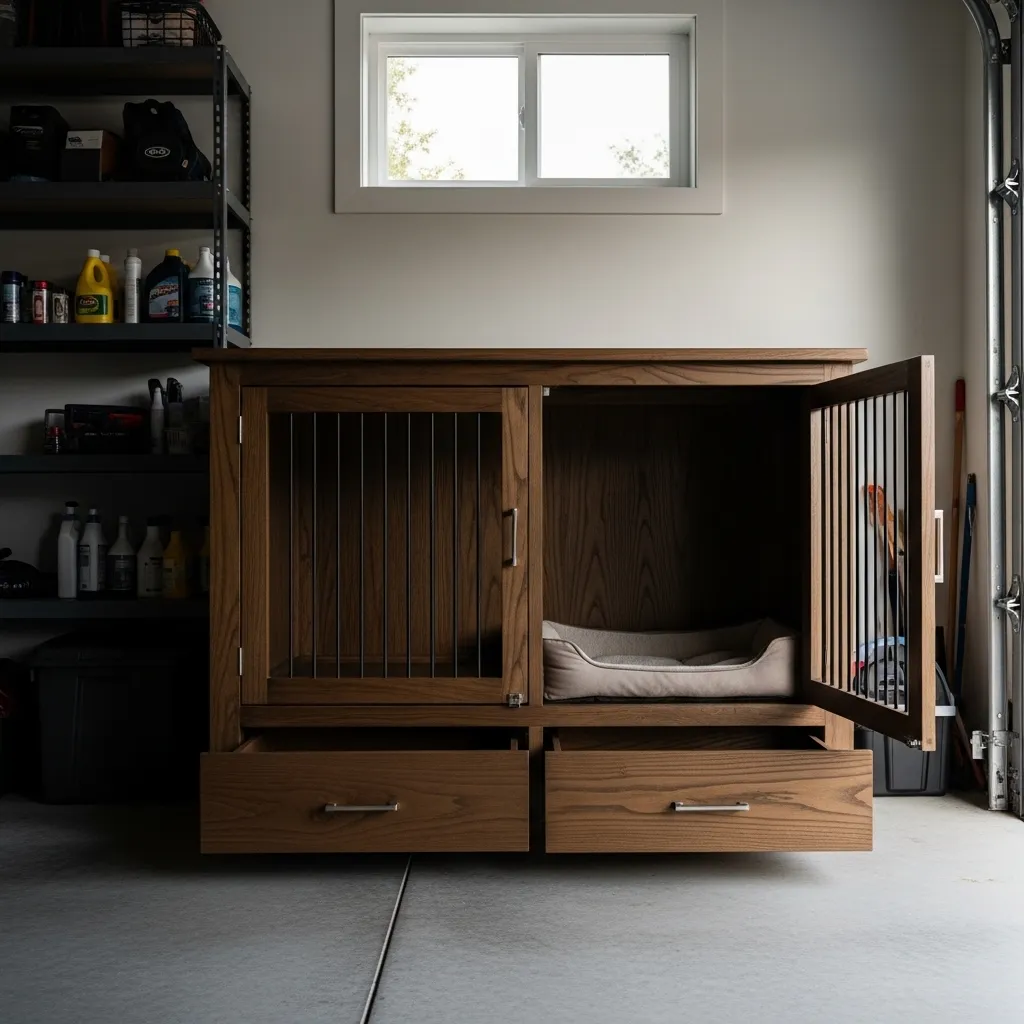
10. The Rustic Barn Door Crate
This one looks like it came from a farmhouse magazine. Build a solid wooden crate with a sliding barn door on the front. You’ll need a small sliding door track kit from the hardware store.
The door slides open and closed smoothly, which is fun for your dog to push with their nose. Use reclaimed wood or new lumber stained in a dark walnut color for that authentic rustic feel.
This project takes a little more time, but the result is stunning. It’s a conversation piece that also gives your dog a stylish retreat.
Conclusion
Building your own dog crate is one of those projects that feels intimidating at first but turns out to be incredibly rewarding. Each of these plans is beginner-friendly and can be customized to fit your dog’s size and your home’s style. Start with the simplest option, like the plywood crate, and work your way up to more complex designs as you gain confidence.
Your dog doesn’t care if the crate is perfect—they just want a safe, cozy space that smells like you. So grab some wood, measure twice, and enjoy the process. You’ve got this.
Frequently Asked Questions
What tools do I need for these dog crate plans?
Most plans require a saw (hand saw or circular saw), a drill, screws, measuring tape, sandpaper, and a staple gun. The PVC pipe plan only needs a pipe cutter and zip ties.
How do I choose the right size for my dog?
Measure your dog from nose to tail and from floor to the top of their head while standing. Add 4 to 6 inches to each measurement for comfort. Your dog should be able to stand up, turn around, and lie down easily.
What type of wood is best for a DIY dog crate?
Plywood is affordable and easy to work with. Pine is also good but softer. Avoid pressure-treated wood because it contains chemicals that can be harmful if chewed.
Can I use these plans for large dogs?
Yes, just scale up the measurements. For larger dogs, use thicker wood (3/4 inch plywood) and reinforce the corners with extra screws or brackets. The pallet and wire mesh designs work especially well for big breeds.
How do I make the crate safe for my dog?
Sand all wood surfaces to remove splinters. Use non-toxic paint or stain. Make sure there are no sharp edges or loose screws. If your dog is a chewer, cover any exposed wood edges with metal corner guards or use wire mesh.
[[IMG:IMG12]]