Homemade Dog Cookies That Actually Last: My 3-Week Shelf-Life Test (and the Recipe That Passed)
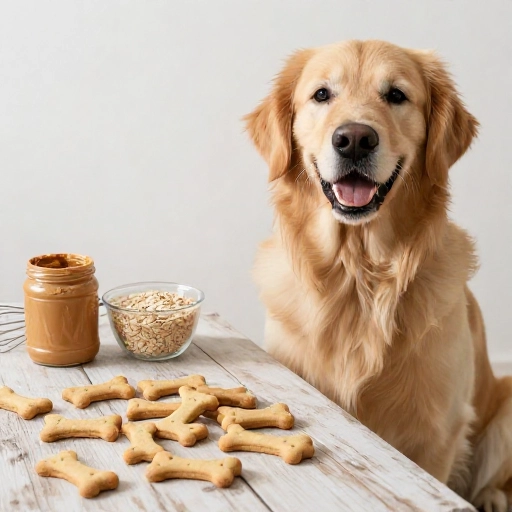
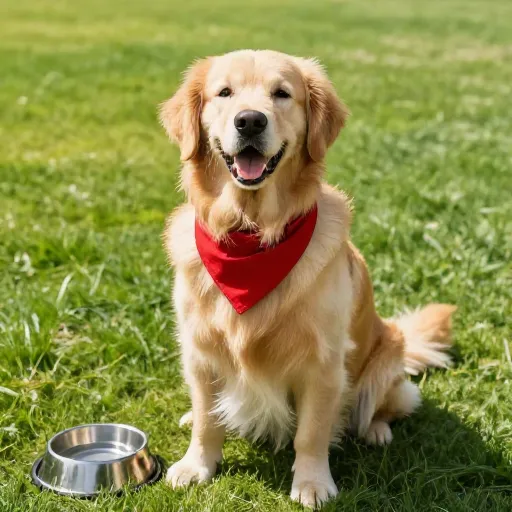
I’m going to be honest with you—I’ve baked a lot of sad, crumbly dog treats in my time. They’d go stale by Tuesday, or worse, turn into a rock-hard hockey puck that even my golden retriever, Biscuit, refused to touch. So when I set out to create a long-lasting homemade dog cookie recipe, I had one goal: something crunchy, simple, and durable enough to fill the treat jar for weeks without a single mold spot.
After about seven test batches (and one very patient pup), I finally cracked the code. The secret isn’t a fancy preservative—it’s the fat content and the double-bake method. These cookies have a satisfying snap, they’re made with dog-safe pantry staples, and they genuinely stay fresh for up to three weeks stored properly. Let me show you exactly how I make them.
Why These Are the Only Dog Cookies You’ll Want to Bake
First things first—why bother making your own when the store has a million options? Honestly, it’s about control. I know exactly what’s going into my dog’s body. No weird fillers, no artificial colors, no preservatives that I can’t pronounce.
These cookies are built to last because of the peanut butter and oil. That natural fat acts as a barrier to moisture, which is what usually causes treats to spoil. Plus, the double-bake (which I’ll get into) pulls all the moisture out of the center, giving you a shelf-stable biscuit that keeps its crunch.
My Biscuit does a happy dance every time I pull the baking sheet out. And honestly, the smell of peanut butter and oats filling the kitchen is a pretty good deal for me too.
Simple Kitchen Equipment & Tools You’ll Need
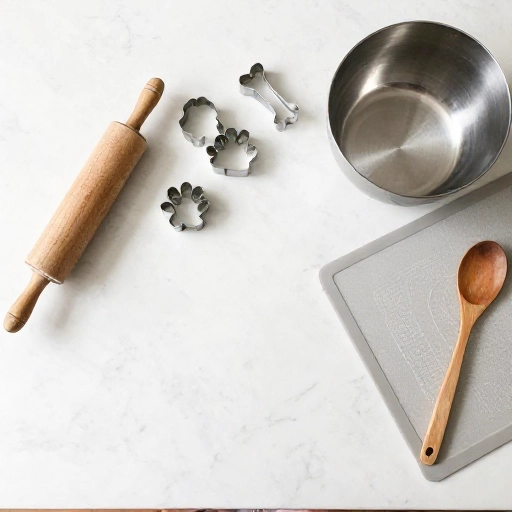
You don’t need a fancy dehydrator or specialty molds for this recipe. I like to keep it simple so that baking for your pup feels like a breeze, not a project. Here’s what I pull out of my drawers every single time.
- Mixing bowl: A large one—you’ll be getting your hands in there.
- Wooden spoon or sturdy spatula: For the initial stir before the dough gets too stiff.
- Rolling pin: Standard is fine. If you don’t have one, a clean wine bottle works in a pinch.
- Cookie cutters: Bone shapes are cute, but any small cutter works. I actually use a small round one most days.
- Baking sheets: Two, if you have them, so you can rotate batches.
- Parchment paper: Non-negotiable for me—it prevents sticking without extra flour.
- Cooling rack: This is crucial for the double-bake process to work correctly.
- Measuring cups and spoons: Dog recipes still need some precision, even if they’re forgiving.
That’s it. No hand mixer needed—this dough is thick and sturdy, and a little elbow grease is perfect.
The Ingredients List & Safe Substitutions
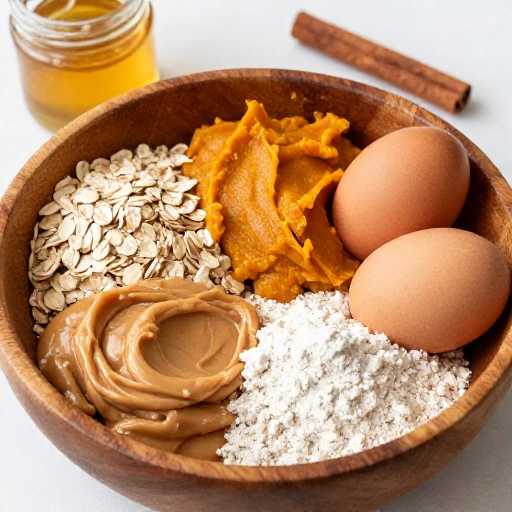
Alright, let’s talk ingredients. I’ve tested this specific combo and it works beautifully. The ratio of wet to dry is what gives you that long-lasting texture, so I’ll give you my base recipe plus a few swaps I’ve tried.
- 2 cups whole wheat flour: Gives structure. If your dog is sensitive, swap for oat flour or barley flour. Do not use coconut flour—it’s too absorbent and will crack.
- 1 cup old-fashioned rolled oats: Adds fiber and texture. Quick oats work, but the texture will be slightly less rustic.
- 1/2 cup natural peanut butter: Must be xylitol-free. I use the kind with just peanuts and salt. Unsalted is even better.
- 1/4 cup coconut oil, melted: This is my secret to longevity. It solidifies at room temp, trapping freshness. You can substitute with olive oil, but coconut adds a nice flavor.
- 1 large egg: Binds everything together. For an egg-free version, mix 1 tablespoon of ground flaxseed with 3 tablespoons of water and let it sit for 5 minutes.
- 1/2 cup low-sodium chicken or beef broth: Adds flavor and moisture. Water works if you’re out, but broth makes them irresistible.
A quick tip: Always check your peanut butter label. Xylitol is deadly to dogs, so I’m a broken record about it. Double-check it every single time.
Step-by-Step Instructions for Perfectly Crunchy Cookies
This is where the magic happens. The process is straightforward, but the double-bake is the hero that makes these cookies last. Trust the process, even if the first bake looks a little soft.
- Preheat and prep: Heat your oven to 350°F (175°C). Line two baking sheets with parchment paper.
- Mix the wet ingredients: In your large bowl, combine the peanut butter, melted coconut oil, egg, and broth. Whisk until smooth and glossy.
- Add the dry ingredients: Pour in the flour and oats. Stir with your wooden spoon until it gets too hard, then switch to your hands. Knead until a stiff, slightly crumbly dough forms. If it’s too dry, add a splash of broth. If it’s sticky, add a tablespoon of flour.
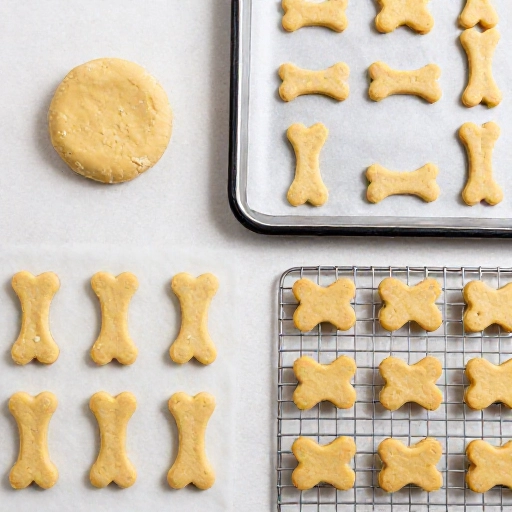
- Roll and cut: On a lightly floured surface, roll the dough out to about 1/4-inch thickness. The dough is forgiving, so don’t stress about perfect edges. Cut out your shapes and place them on the baking sheets about an inch apart—they don’t spread much.
- First bake: Bake for 25–30 minutes, or until the edges are just starting to turn golden brown. They will still feel slightly soft in the middle. This is normal. Don’t skip the time.
- The crucial double-bake: Turn the oven down to 200°F (95°C). Take the cookies out and let them cool completely on a cooling rack. Once cool, place them back on the baking sheets (still on the parchment) and return them to the low oven. Bake for 1.5 to 2 hours. This slow dehydration is what makes them shelf-stable and crunchy all the way through.
That low-and-slow final step is the difference between a cookie that goes soft and one that snaps. It’s a bit of a time investment, but it’s mostly hands-off.
Feeding Guidelines, Serving Size & Storage Tips
So, you’ve got a batch of golden, crunchy cookies. Now, how do you keep them that way? Proper storage is your best friend here. I learned this the hard way after ruining a batch by leaving them in a zip-top bag.
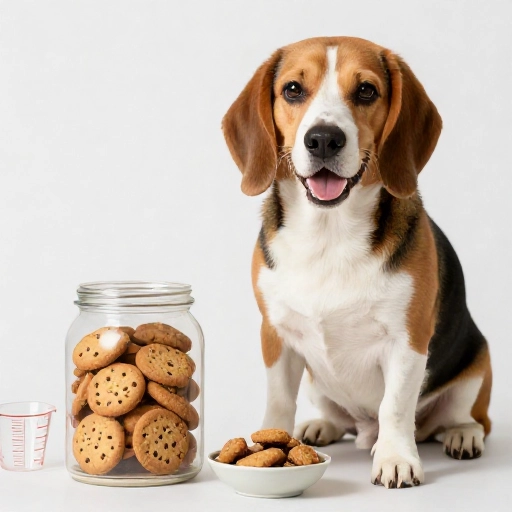
Storage: Once the cookies are completely cool, transfer them to an airtight container. I swear by a glass mason jar, but a plastic Tupperware works fine. Here’s the trick—toss a small, dry paper towel into the jar. It absorbs any lingering moisture. Swap it out every few days if you live in a humid climate. Stored this way, they’ll last 2–3 weeks at room temperature. For longer storage, pop the jar in the fridge for up to 6 weeks, or freeze for 3 months.
Feeding guidelines: Treats should only make up about 10% of your dog’s daily calories. For my 50-pound lab mix, I give him one large cookie per day. For small breeds, break a cookie into a few pieces. These are dense and filling, so a little goes a long way. Always have fresh water available.
A note on freshness: If you ever see any sign of mold or a weird smell, throw the whole batch out. When in doubt, toss it out. Your pup’s health is worth more than a cookie.
Final Verdict & Summary
I’m not going to say these are the prettiest cookies on the block—they’re a little rustic, a little crumbly around the edges. But they are hands-down the best long-lasting homemade dog cookie recipe I’ve tested. Biscuit literally sits by the oven door during the double-bake phase, just hoping I’ll drop one.
They’ve got that perfect crunch that dogs love, they’re packed with simple, wholesome ingredients, and they genuinely hold up in the treat jar. No more throwing away stale, wasted batches. I love that I can make a double batch on a Sunday and not have to worry about baking again for weeks.
If you’re looking for a treat that’s easy on your wallet, kind to your dog’s tummy, and built to last, this is the one. Give them a try, and watch your furry friend’s tail wag with approval. Happy baking!
Frequently Asked Questions
Can I substitute almond butter for peanut butter?
Yes, you can! Just make sure it’s xylitol-free and unsweetened. Almond butter has a slightly different fat content, so the cookies might be a touch softer, but they’ll still be delicious and last well.
How do I know the cookies are fully dehydrated?
The cookie should be hard and snap cleanly when you break it in half. If it bends or feels soft in the center, pop it back in the low oven for another 30 minutes. It’s better to over-bake than under-bake for storage.
Can I make these treats grain-free?
Absolutely. Swap the whole wheat flour for a 1:1 gluten-free flour blend that contains xanthan gum, or use coconut flour—but if you use coconut flour, reduce the amount to 1 1/2 cups and add an extra egg. Coconut flour is super absorbent.
My dog is a senior with few teeth. Can I soften these?
Definitely. Just soak a cookie in a little warm water or broth for a minute before serving. It will soften up nicely while still holding its shape. For senior pups, you might also want to roll the dough a bit thinner.
Why did my cookies go stale after a week?
It almost always comes down to moisture. Either the cookies weren’t baked long enough in the low-heat phase, or the container wasn’t completely airtight. Also, make sure you’re not storing them near a heat source or in direct sunlight, which can cause condensation inside the jar.