Homemade Dog Food Topper Recipe They Will Beg For (Healthy & Easy!)
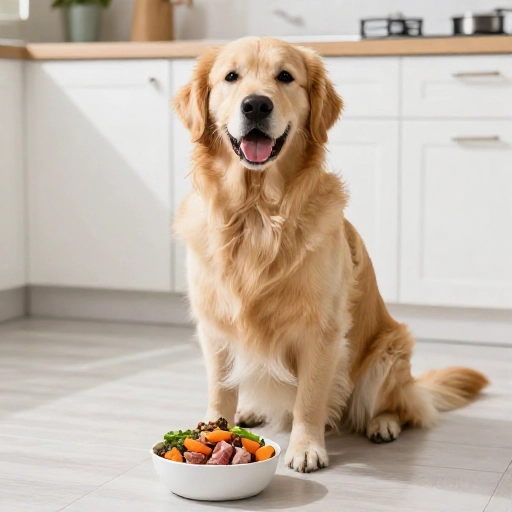
You know that look—the one where your dog stares at their boring kibble like it’s a punishment. We’ve all been there. After a long day, the last thing you want is a dinner-time battle with a picky pup. But here’s the thing: you don’t need to cook a separate gourmet meal for your furry best friend to make them happy.
This is the exact recipe I use to turn my dog from a food sniffer into a food demolisher. It’s a simple, healthy, and incredibly delicious topper that takes about 15 minutes to whip up. Made with real, whole ingredients, it’s packed with flavor and nutrition that will have them licking the bowl clean—and begging for more.
This isn’t just about taste, though. It’s about giving your dog a little extra love and nutrition in every single bite. Let’s dive into the easiest way to upgrade your dog’s dinner game.
Why Make This Topper? Health & Nutritional Benefits for Dogs
Adding a homemade topper to your dog’s regular kibble is a fantastic way to boost their meal’s nutritional value without overcomplicating things. Kibble is convenient, but it can get a little boring, and sometimes it lacks that fresh, wholesome punch that real food provides.
This recipe is loaded with lean protein to support strong muscles, healthy fats for a shiny coat, and fiber-rich veggies for good digestion. Plus, the warm, savory aroma is an instant appetite stimulant for senior dogs or those who are just feeling a little under the weather.
You have total control over what goes into it, so you can avoid the preservatives, artificial flavors, and excess salt found in many store-bought toppers. It’s a small act of love that makes a big difference in their overall well-being and happiness at mealtime.
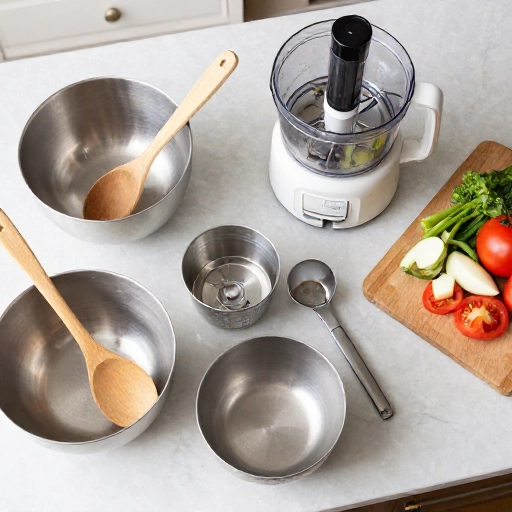
Kitchen Equipment & Tools You’ll Need
Before you start, let’s make sure you have everything handy. This recipe is super forgiving, so you don’t need any fancy gadgets. Just a few basics that you probably already have in your kitchen drawers.
Here is the simple lineup to get you going:
- A large pot or Dutch oven
- A wooden spoon for stirring
- A cutting board and a sharp chef’s knife
- Measuring cups and spoons
- A vegetable peeler (if using carrots)
- Airtight glass containers or mason jars for storage
That’s it! No blenders, no food processors, nothing crazy to clean up. Just simple tools for simple, wholesome cooking.
Ingredients List & Safe Substitutions
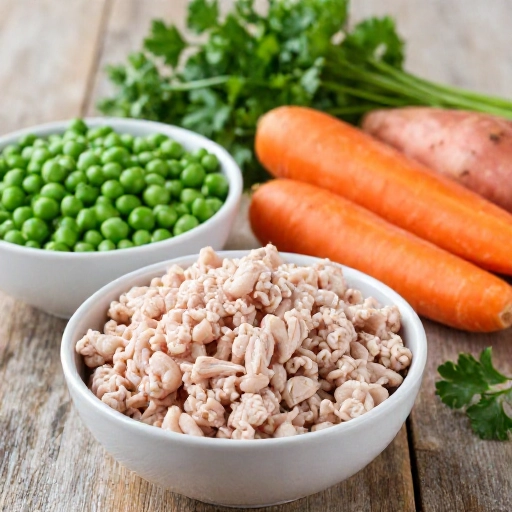
The beauty of this recipe is its flexibility. I’m giving you the base formula that my dog goes wild for, but you can easily swap things in and out based on what you have on hand or what your pup prefers. Always double-check that any ingredient is safe for dogs before adding it.
Here’s what you’ll need for a batch that lasts about a week:
- 1 lb lean ground turkey or chicken (or beef, if your dog prefers a richer flavor)
- 1 medium sweet potato, peeled and diced small
- 1 large carrot, finely shredded or diced
- 1/2 cup frozen peas and carrots mix (make sure no onions or garlic!)
- 1 cup chopped spinach (packed full of iron)
- 1/2 cup low-sodium chicken or beef broth (just enough to help it simmer)
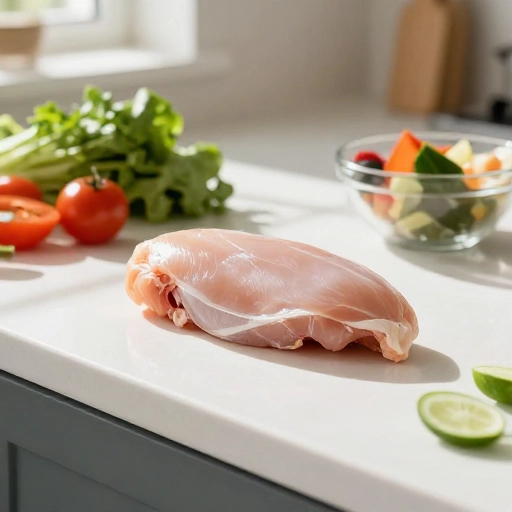
Substitutions: If your dog has a sensitive tummy, swap the turkey for plain boiled chicken breast. For veggies, zucchini, green beans, or broccoli florets are all excellent choices. Just remember to steam or boil them so they’re soft and easy to digest. Never use onions, garlic, grapes, or xylitol—these are toxic to dogs.
How to Make It: Step-by-Step Preparation Guide
Okay, let’s get cooking! This comes together so fast, you’ll have dinner (for them) ready in no time. The key is to cook everything until it’s tender and the flavors have melded together beautifully.
Follow these simple steps:
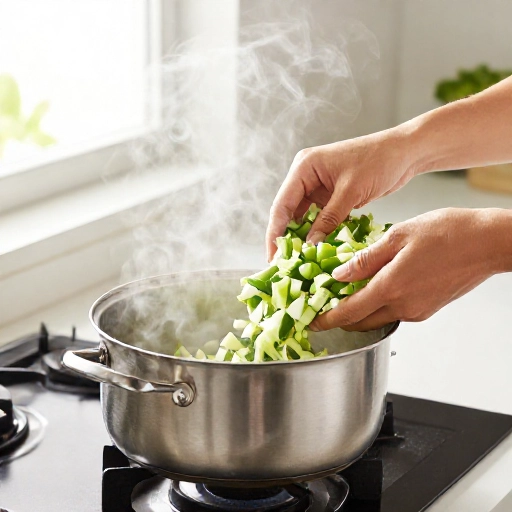
- Brown the meat: Place your large pot over medium-high heat. Add the ground turkey (or your chosen protein) and cook, breaking it up with your wooden spoon, until it’s fully browned and no longer pink. This should take about 5–7 minutes.
- Add the veggies: Toss in the diced sweet potato, shredded carrot, and the frozen peas and carrots. Give everything a good stir to combine.
- Pour in the broth: Pour the low-sodium broth over the meat and veggies. This creates a little steam and keeps everything moist while it cooks.
- Simmer: Bring the mixture to a gentle boil, then reduce the heat to low. Cover the pot and let it simmer for about 10-15 minutes, or until the sweet potatoes are fork-tender.
- Add the greens: Stir in the chopped spinach and let it wilt for the final 2-3 minutes of cooking.
- Cool completely: This is super important! Turn off the heat and let the mixture cool completely to room temperature before serving or storing.
Once it’s cool, it’s ready to be spooned right over their kibble. The smell alone will have them doing their happy dance.
Feeding Guidelines, Serving Size & Storage Tips
Now that you have a batch of this amazing topper, let’s talk about how to serve it. Portion control is key to keeping your pup at a healthy weight. This is a supplement to their regular diet, not a replacement.
As a general rule of thumb:
- Small dogs (under 20 lbs): 1 to 2 tablespoons per meal.
- Medium dogs (20-50 lbs): 2 to 4 tablespoons per meal.
- Large dogs (50+ lbs): 1/4 to 1/2 cup per meal.
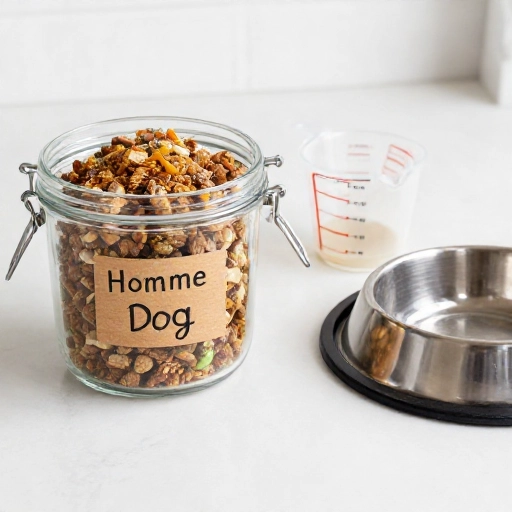
For storage, keep the topper in an airtight container in the refrigerator. It should stay fresh for up to 5 days. You can also freeze it in an ice cube tray or small freezer bags for up to 3 months. Just thaw it in the fridge overnight before serving. I like to warm it slightly in the microwave for about 15 seconds to release the aromas—it makes it even more irresistible!
Always start with a small amount to see how your dog’s tummy adjusts, and if you have any concerns, a quick chat with your vet is always a good idea.
Final Verdict & Summary
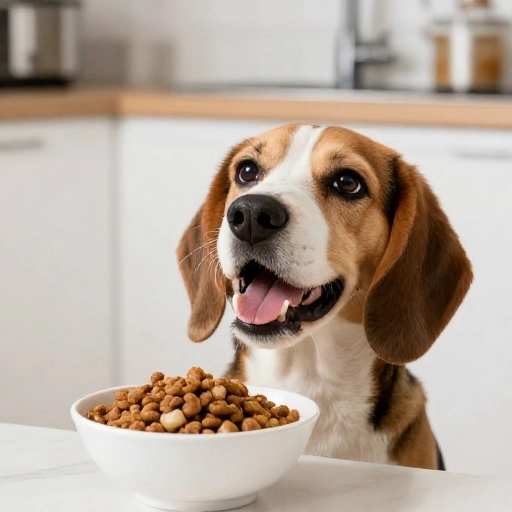
This homemade dog food topper has honestly been a game-changer in our house. What used to be a sad, ignored bowl of kibble is now a spotless, licked-clean dish. It’s incredibly satisfying to know exactly what my dog is eating, and the joy on their face is priceless.
It’s simple, affordable, and packed with love and nutrition. Whether you have a picky eater, a senior dog who needs a little extra encouragement, or you just want to spoil your furry friend, this recipe is an absolute winner. I promise you, once they get a taste of this, they will absolutely beg for it.
Give it a try this weekend. Your dog will thank you with endless tail wags and sloppy kisses. Happy cooking, and give your pup an extra belly rub for me!
Frequently Asked Questions (FAQ)
Still have a few questions? I’ve got you covered. Here are some of the most common questions I get about making homemade toppers for dogs.
Can I use this topper as the main meal instead of kibble?
No, this is designed to be a topper, not a complete and balanced meal. It doesn’t have all the essential vitamins and minerals your dog needs for their daily diet. It’s best to mix it with their regular high-quality kibble to ensure they’re getting complete nutrition.
Is it okay to give this topper to my puppy?
Yes, but always introduce new foods gradually. Puppies have sensitive stomachs, so start with a very small amount and monitor them closely. It’s always best to consult with your vet before introducing new foods to puppies under 6 months old.
My dog has allergies. Can I adjust the recipe?
Absolutely! This recipe is super flexible. You can swap the turkey for a novel protein like duck or salmon, and choose vegetables that your dog tolerates well. Just be sure to avoid any known allergens. This is a great way to make a custom meal for your specific pup.
How long does the topper last in the fridge?
Stored in an airtight container in the refrigerator, this topper will stay fresh for about 4 to 5 days. If you don’t think you’ll use it all in that time, I highly recommend freezing the rest in portion-sized containers for later use.
What if my dog is overweight?
If your dog is on a weight management plan, you’ll need to be mindful of the extra calories. Reduce the serving of their regular food slightly to account for the topper, and try using a leaner protein like ground chicken breast. Also, always measure the topping rather than estimating to keep calories in check.