Homemade Dog Cheddar Treats: The Crunchy, Cheesy Snack Your Pup Will Absolutely Love
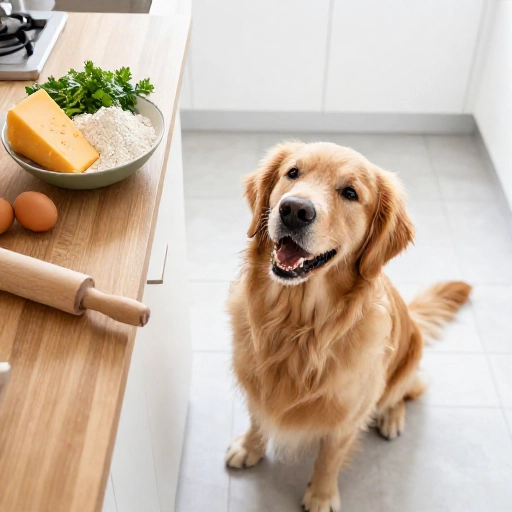
There is something so special about watching your dog’s tail go into full helicopter mode the second they realize something amazing is happening in the kitchen. And let me tell you, when that something amazing is a batch of warm, golden, cheddar-scented treats fresh out of the oven, you become the absolute hero of the house. Forget store-bought biscuits filled with ingredients I can’t pronounce; this is about pure, simple love baked right in.
These DIY dog cheddar treats are my go-to for a rainy afternoon project. They are ridiculously easy to throw together with pantry staples, they make your whole home smell like a cheesy bakery, and the ingredient list is so short, you can actually read it without a magnifying glass. Whether you are looking for a training reward, a birthday surprise, or just a way to say “you’re the best girl” on a random Tuesday, this recipe is about to become your secret weapon. Trust me, once you see that happy crunch, you’ll never go back.
Why Make This Recipe: The Health & Bonding Benefits
Honestly, the biggest reason to make these treats is the look on your dog’s face. But beyond the pure joy, baking at home gives you total control. You know exactly what is going into your dog’s belly—no weird by-products, no artificial colors, and no excessive salt or sugar. Just good, wholesome ingredients that make you feel like a superstar pet parent.
These treats are also fantastic for training. Because they are crunchy, they break into small pieces easily, making them perfect for rewarding good behavior without blowing up your dog’s daily calorie count. Plus, the act of baking for your pet is a wonderful way to strengthen your bond. It’s a quiet, happy activity that ends with a delicious payoff for your furry best friend.
And let’s not forget the nutritional perks! Whole wheat flour provides fiber for healthy digestion, while cheddar cheese offers a boost of protein and calcium for strong bones and teeth. The addition of a little olive oil helps keep their coat shiny and skin healthy. It’s a win-win-win.
Kitchen Equipment & Tools You’ll Need
Before we get our hands messy, let’s make sure we have the right gear. The beauty of this recipe is that you don’t need any fancy, specialized equipment. I use stuff I already have in my kitchen drawers, and you probably do too. It keeps cleanup simple so we can get right to the fun part.
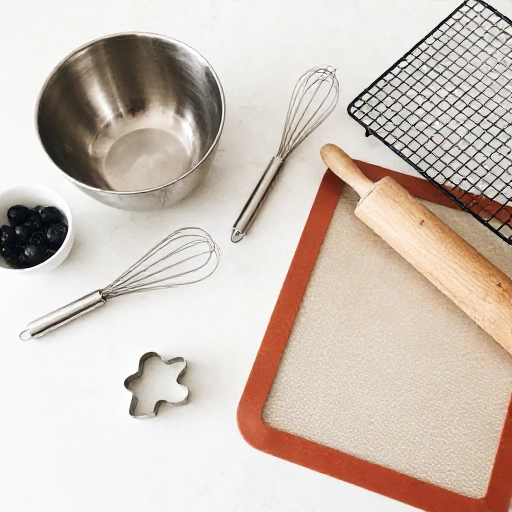
- Mixing Bowls: One large bowl for the dough and maybe a small one for whisking the egg.
- Rolling Pin: To get that perfect, even thickness. If you don’t have one, a clean wine bottle works in a pinch, but a rolling pin is easier.
- Cookie Cutters: This is where you can get creative! Bone shapes are classic, but I love using little hearts, stars, or even just a simple pizza cutter for squares. Anything goes.
- Baking Sheet: A standard cookie sheet lined with parchment paper. This is crucial for easy removal.
- Oven: Preheated to the right temperature is key for that perfect crunch.
That’s honestly it. No stand mixer required, though you can use one if you prefer. Just a little elbow grease and some love is all we need. Let’s get prepped.
Ingredients List & Safe Substitutions
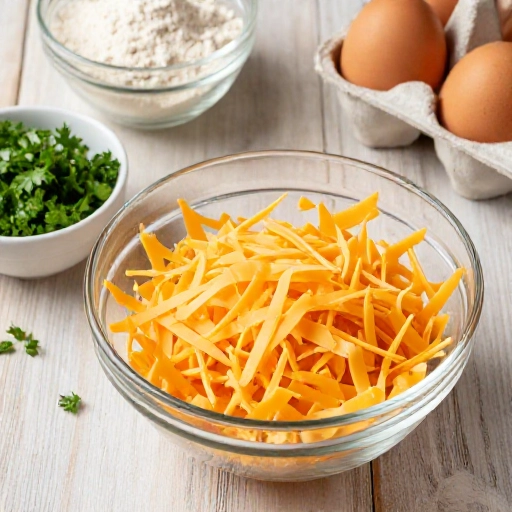
This is the star of the show. The ingredient list is beautifully short, which is exactly what we want. I always double-check that my cheese is fresh and sharp because stronger cheddar means a more flavorful treat for your pup. Remember, these are for dogs, so we keep it simple and safe.
- 1 ½ cups Whole Wheat Flour: This provides a hearty texture. If your dog has a grain sensitivity, you can substitute oat flour or brown rice flour, but the texture will be slightly different.
- 1 cup Shredded Cheddar Cheese: Use sharp cheddar for the most robust flavor. Make sure it’s real cheese, not a processed cheese product. Low-fat cheese can be used, but it might make the treats a bit drier.
- ½ cup Plain Unsweetened Applesauce: This adds moisture and a touch of natural sweetness without needing extra sugar. You can substitute with canned pumpkin (not pumpkin pie filling!) for a different flavor profile.
- 1 large Egg: This acts as a binder to hold everything together. If you need an egg-free version, you can mix 1 tablespoon of flaxseed meal with 3 tablespoons of water and let it sit for 5 minutes to form a “flax egg.”
- 1 tablespoon Olive Oil: This adds healthy fats for a shiny coat. Coconut oil is a great substitute, just make sure it’s melted.
That’s all you need! No salt, no sugar, no preservatives. Just pure cheesy goodness. These ingredients are probably already in your fridge and pantry, which makes this a perfect spur-of-the-moment surprise for your furry friend.
Step-by-Step Instructions: The Preparation Guide
Alright, let’s get baking! I promise this process is so simple, you’ll have the dough ready before the oven even finishes preheating. Just follow these steps, and you’ll have a happy dog and a kitchen full of amazing smells in no time.
- Preheat and Prep: First things first, preheat your oven to 350°F (175°C). Line your baking sheets with parchment paper so the treats don’t stick. This makes cleanup a breeze.
- Mix the Wet Ingredients: In your large bowl, combine the shredded cheddar cheese, applesauce, egg, and olive oil. Stir everything together until it’s well combined. It’s going to look a bit lumpy, and that’s perfectly fine.
- Add the Dry Ingredients: Pour the whole wheat flour into the wet mixture. Use a sturdy spoon or your hands to mix everything into a cohesive dough. It will start out crumbly, but keep working it until it forms a ball. If it feels too sticky, add a little more flour; if it’s too dry, add a teaspoon of water.
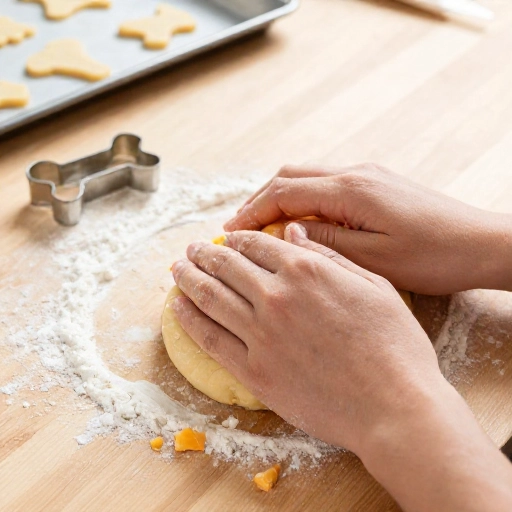
- Roll It Out: Lightly flour your countertop to prevent sticking. Place the dough ball down and roll it out to about ¼ inch thickness. Not too thin, or they’ll burn, and not too thick, or they won’t get crunchy.
- Cut Your Shapes: Now for the fun part! Press your cookie cutters into the dough. Gently remove the excess dough around the shapes. Re-roll the scraps and repeat until you’ve used all the dough. Place the cut-out treats on your prepared baking sheet.
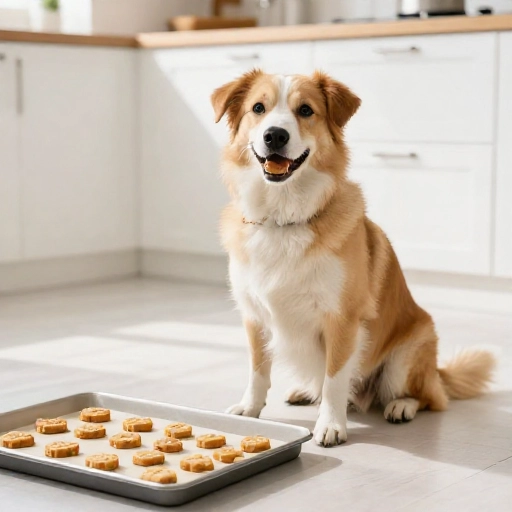
- Bake to Perfection: Pop the baking sheets in the oven and bake for 20-25 minutes, or until the treats are golden brown and firm to the touch. The edges will start to look darker. Let them cool completely on a wire rack. They will harden more as they cool.
That’s it! Simple, fast, and totally rewarding. The hardest part is waiting for them to cool down enough for your dog to safely enjoy one.
Storage & Serving: Feeding Guidelines and Tips
Once your treats have cooled completely, it’s time to think about storage. Because we aren’t using preservatives, these homemade goodies won’t last as long as store-bought ones, but they’ll still stay fresh for a good while if stored properly. The crunch is what dogs love, so keeping them crisp is key.
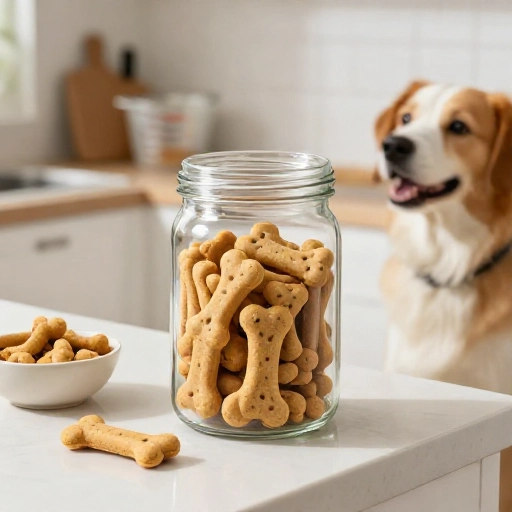
Store the treats in an airtight container in the refrigerator. They will stay fresh for up to two weeks. For longer storage, you can pop them in the freezer for up to three months. Just thaw them out as needed—they defrost quickly at room temperature. I like to keep a small jar in the fridge for daily treats and a bag in the freezer for emergencies.
When it comes to serving, moderation is key. These treats should be considered a special snack, not a meal replacement. For small dogs, one or two treats a day is plenty. For larger breeds, you can give them three or four. Always break them into smaller pieces if you are using them for training. And of course, always make sure your dog has access to fresh, clean water, especially after enjoying a crunchy snack.
Final Verdict & Summary
If you are looking for a way to show your dog just how much you care, this is it. These DIY cheddar treats are everything you could want in a homemade pet snack: simple, affordable, and absolutely irresistible to your four-legged friend. The look of pure bliss on their face when they take that first crunchy bite is payment enough for the twenty minutes of effort.
I love that this recipe is foolproof. It’s forgiving, adaptable, and uses ingredients that I always have on hand. You can easily double the batch for a birthday party or a playdate with other pups. It’s more than just a recipe; it’s a way to create a special moment with your pet. It’s about the wagging tail, the eager eyes, and the shared joy of something made with love.
So go ahead, preheat that oven and get ready to become your dog’s favorite chef. This is one treat that will definitely make your dog’s day, and honestly, it will make yours too. Happy baking, and give your pup a big scratch behind the ears for me.
Frequently Asked Questions
Can I use a different type of cheese?
Absolutely! While cheddar is the classic choice, you can use other dog-safe cheeses like mozzarella, parmesan, or even gouda. Just make sure it’s real cheese and not a processed cheese product, which can be high in sodium and additives.
My dough is too crumbly. What did I do wrong?
Don’t worry, this happens! It usually means the dough is a little dry. Just add a teaspoon of water or applesauce at a time and keep mixing until it comes together into a ball. The humidity of your flour can change the consistency, so a little adjustment is normal.
How long do these treats stay fresh?
When stored in an airtight container in the refrigerator, they will stay fresh and crunchy for up to two weeks. If you want to keep them longer, you can freeze them for up to three months. Just make sure they are fully cooled before storing to prevent moisture buildup.
Can I make these treats grain-free?
Yes, you can! Simply swap the whole wheat flour for a grain-free alternative like oat flour, coconut flour, or chickpea flour. Just keep in mind that these flours absorb liquid differently. You may need to adjust the amount of applesauce or add a little water to get the right dough consistency.
Are these treats safe for puppies?
Generally, yes, but it’s always a good idea to check with your vet before introducing new foods to a puppy. The treats are soft enough to chew once baked, but you might want to break them into smaller, bite-sized pieces for very young pups to prevent any choking hazards.