Easy 3-Ingredient Peanut Butter & Banana Dog Treats Recipe – A Healthy Homemade Snack Your Pup Will Love
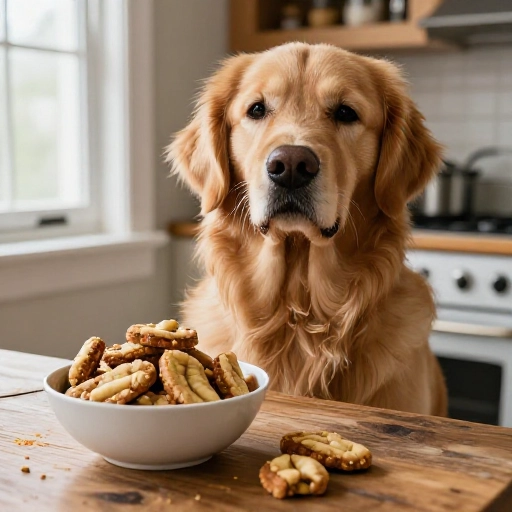
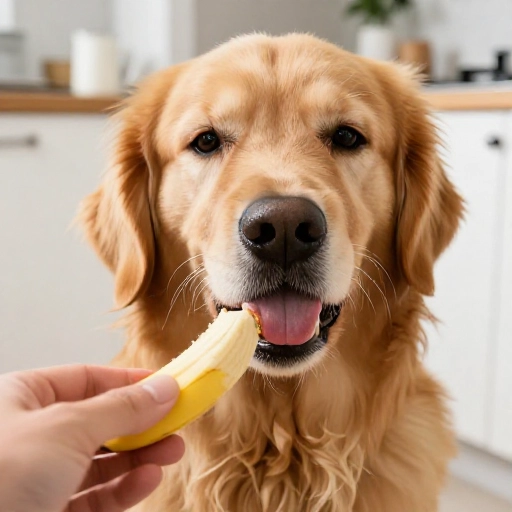
There’s something truly special about making treats for your dog from scratch. You know exactly what’s going into every bite, and the tail wags are the best reward. These 3-ingredient peanut butter and banana dog treats are my go-to recipe when I want something simple, healthy, and irresistibly tasty for my furry friend.
With just three pantry staples—ripe banana, natural peanut butter, and oats—you can whip up a batch of soft, chewy treats that are free from preservatives, artificial flavors, and fillers. Your dog will go crazy for the sweet, nutty flavor, and you’ll love how easy they are to make. No fancy equipment, no complicated steps, and cleanup is a breeze. Let’s get baking!
Why Your Dog Will Love This Recipe
These treats are a win-win for you and your pup. Here’s why they’re such a hit:
- Irresistible taste: The natural sweetness of ripe bananas pairs perfectly with creamy peanut butter. Most dogs can’t resist the combo.
- Wholesome ingredients: You control what goes in—no weird additives, excess sugar, or questionable fillers. Just real food your dog’s body recognizes.
- Digestive benefits: Bananas are a great source of potassium and fiber, while oats provide gentle, soluble fiber that supports healthy digestion.
- Perfect for training or a quick treat: Soft and easy to break into smaller pieces, these treats work wonderfully for training sessions or just as a special afternoon snack.
- Grain-free friendly: If your dog prefers a grain-free diet, you can swap the oats for oat flour or even coconut flour for a different texture.
Homemade treats like these also strengthen the bond between you and your dog. Every time you reach for the jar, they’ll know something good is coming.
Equipment & Tools Needed
You likely have most of these items in your kitchen already. Here’s what you’ll need:
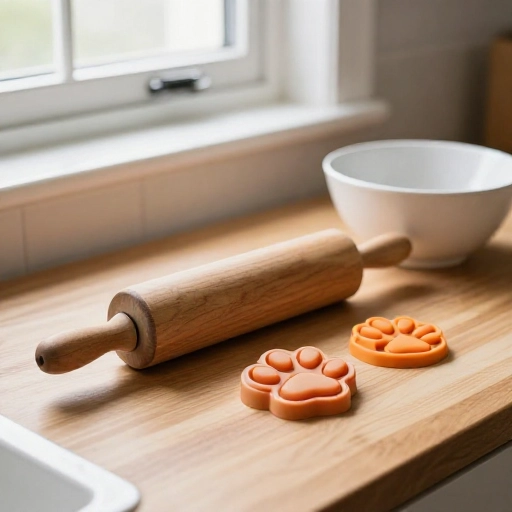
- Large mixing bowl – for combining ingredients
- Fork or potato masher – to mash the banana smoothly
- Silicone spatula or wooden spoon – for mixing the dough
- Baking sheet – lined with parchment paper or a silicone baking mat
- Measuring cups and spoons – for accurate ingredient portions
- Small cookie scoop or tablespoon – to portion out the dough evenly
- Fork – to press a crisscross pattern on top (optional but cute)
- Cooling rack – so treats cool evenly after baking
That’s it! No food processor or mixer required—just a little elbow grease and love.
Ingredients You’ll Need
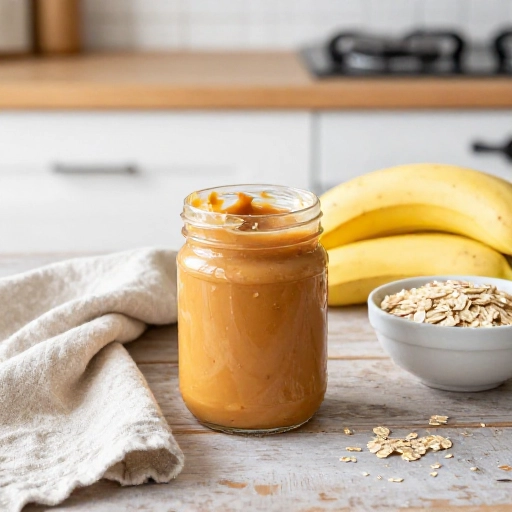
Here’s the simple trio that makes these treats so special. Always check labels to ensure ingredients are dog-safe.
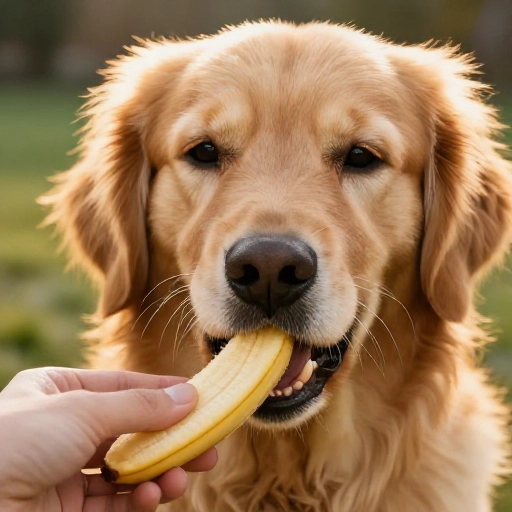
- 1 large very ripe banana – The riper the banana, the sweeter the treat. Bananas are rich in potassium, vitamin B6, and fiber, which support heart health and digestion.
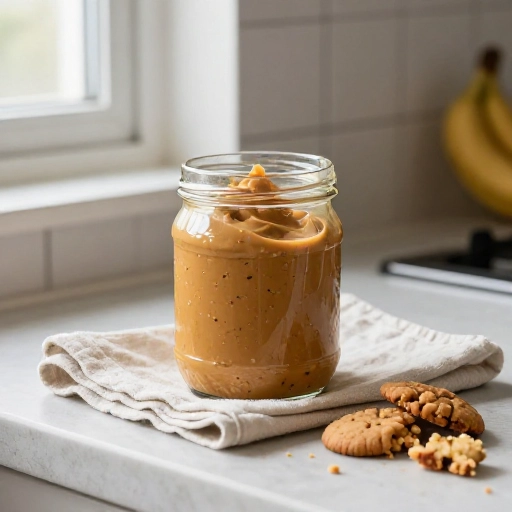
- ½ cup natural creamy peanut butter – Look for brands with no added sugar, salt, or xylitol (xylitol is toxic to dogs!). Just peanuts and maybe a touch of salt is perfect.
- 1 cup rolled oats (or quick oats) – Oats provide a gentle source of fiber and help bind the dough. For a grain-free version, use certified gluten-free oat flour or coconut flour.
Substitution ideas: If your dog has a peanut allergy, try sun butter or pumpkin seed butter. You can also swap the banana for unsweetened applesauce (reduce the oats slightly if the dough seems too wet).
Step-by-Step Instructions: How to Make It
- Preheat your oven to 350°F (175°C) and line a baking sheet with parchment paper or a silicone mat.
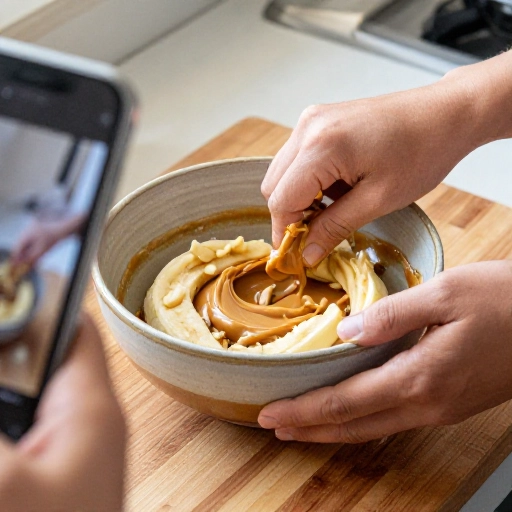
- Mash the banana in a large bowl until smooth with no large chunks. A fork or potato masher works great.
- Add the peanut butter and stir until fully combined with the banana. The mixture should look creamy and uniform.
- Stir in the oats gradually, mixing until a soft, slightly sticky dough forms. If the dough seems too wet, add an extra tablespoon of oats. If too dry, add a splash of water.
- Scoop out tablespoon-sized portions of dough and roll them into balls. Place them on the prepared baking sheet about an inch apart.
- Flatten each ball gently with a fork, pressing a crisscross pattern on top. This helps them bake evenly and gives them that classic cookie look.
- Bake for 10–12 minutes, until the edges are lightly golden and the treats are firm to the touch. They will continue to firm up as they cool.
- Let cool completely on the baking sheet for 5 minutes, then transfer to a wire rack. Once fully cool, serve one to your happy pup and store the rest.
These treats are soft and chewy—perfect for dogs of all ages, including seniors with sensitive teeth.
Feeding Guidelines & Serving Sizes
Treats should only make up about 10% of your dog’s daily calorie intake. Here’s a general guideline based on your dog’s size:
- Small dogs (under 20 lbs): 1 treat per day, or break into smaller pieces for training.
- Medium dogs (20–50 lbs): 2–3 treats per day, depending on activity level.
- Large dogs (over 50 lbs): Up to 4 treats per day, but adjust based on their overall diet.
Always introduce new treats gradually, especially if your dog has a sensitive stomach. Watch for any signs of allergies, and consult your vet if you have concerns about ingredients.
Storage & Freezing Tips
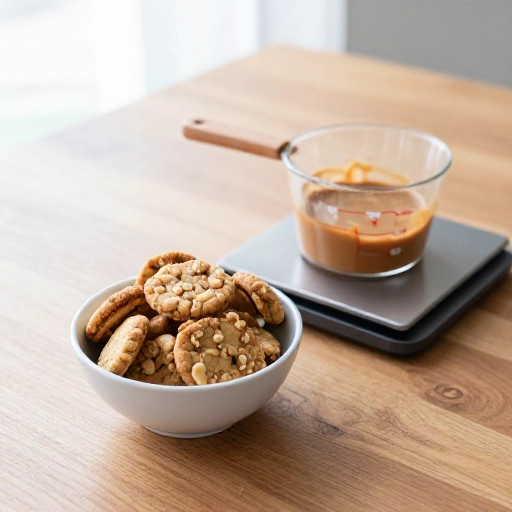
These treats are moist and don’t contain preservatives, so proper storage is key to keeping them fresh.
- Refrigerator: Store in an airtight container for up to 1 week. The cool temperature helps maintain their soft texture.
- Freezer: For longer storage, place treats in a single layer on a baking sheet and freeze for 1 hour. Then transfer to a zip-top bag or freezer-safe container. They’ll keep for up to 3 months.
- Thawing: Simply take out a treat and let it sit at room temperature for 5–10 minutes before serving. You can also serve them frozen as a cool chew toy on warm days.
Pro tip: Keep a small stash in the fridge for daily treats and freeze the rest in portion-sized bags so you always have some on hand.
Final Verdict
These easy 3-ingredient peanut butter and banana dog treats are a game-changer for any dog parent who wants to spoil their pup without the guilt. They’re quick to make, use ingredients you probably already have, and deliver a flavor that dogs absolutely adore. The best part? You know exactly what’s in every single bite—no mystery ingredients, just pure, simple goodness.
Whether you’re making them for a special occasion, a training session, or just because your dog gave you those irresistible puppy eyes, this recipe never disappoints. I love seeing how excited my dog gets when he hears the treat jar open. Give them a try, and I promise you’ll be making batch after batch.
Can I use crunchy peanut butter instead of creamy?
Absolutely! Crunchy peanut butter adds a little texture, but make sure it’s still natural and free from xylitol. Some dogs love the extra crunch.
Can I make these treats without oats?
Yes, you can substitute oat flour, coconut flour, or even almond flour. Keep in mind that different flours absorb moisture differently, so you may need to adjust the amount to achieve a workable dough.
Are these treats safe for puppies?
Yes, these treats are safe for puppies, but always supervise them while eating. Break the treats into smaller pieces to prevent choking, especially for very small puppies.
How do I know if my peanut butter contains xylitol?
Check the ingredient list carefully. Xylitol is sometimes listed as “birch sugar” or “wood sugar.” When in doubt, choose a brand that explicitly states “no xylitol” on the label. Many natural peanut butters are safe.
Can I double the recipe?
Absolutely! This recipe doubles beautifully. Just make sure your baking sheet has enough space between treats for even baking, and you may need to bake in batches or use multiple sheets.
[[IMG:IMG09]]