Easy Apple Oat No-Bake Dog Treats: The 15-Minute Homemade Recipe Your Pup Will Beg For
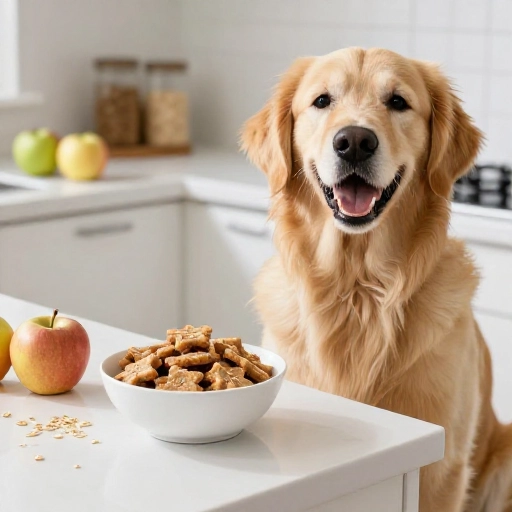
Let’s be honest, our dogs are family. And just like the rest of the family, they deserve a special treat every now and then—especially one that’s good for them. I used to buy those mystery-meat treats at the store, but once I realized how simple (and fun!) it is to whip up a batch in my own kitchen, I never looked back. Today, I’m sharing my absolute favorite recipe: Apple Oat No-Bake Dog Treats.
These little bites are crunchy, naturally sweet, and packed with fiber. Best of all? There’s zero oven time. That means no preheating, no baking sheets to scrub, and no waiting forever for them to cool down. If you can stir a bowl, you can make these. Your furry friend is going to be doing zoomies around the kitchen just smelling the apples and peanut butter!
Why Make This Recipe: Health & Nutritional Benefits for Dogs
Before we even get to the “how,” let’s talk about the “why.” I love this recipe because it’s not just a tasty distraction; it’s genuinely beneficial for your dog’s health. You control every single ingredient, so you know exactly what’s going into their body—no preservatives, no artificial colors, no weird fillers.
Apples are a fantastic source of vitamins A and C, plus they’re great for your dog’s teeth (the crunch helps scrape away plaque!). Oats are a gentle, gluten-free grain that supports healthy digestion and provides slow-releasing energy. And a tiny bit of peanut butter? That’s the “glue” that holds it all together, plus it adds healthy fats and protein for a shiny coat.
This is the perfect treat for dogs with sensitive stomachs or those on a simple diet. It’s a wholesome, natural snack that makes you feel like a super-awesome pet parent every time you pull the jar out of the fridge.
Kitchen Equipment & Tools You’ll Need
Grab a few things from your kitchen drawers, and you’re ready to go. Don’t overthink this—you probably already own everything on this list. It’s a very low-mess, low-fuss operation that takes less than twenty minutes from start to finish.
- Box Grater or Food Processor: You’ll need to shred that apple. A box grater works perfectly, but a food processor saves you a bit of elbow grease.
- Large Mixing Bowl: Big enough to get your hands in there to mix everything together.
- Measuring Cups & Spoons: Accuracy is key for getting the perfect doughy texture.
- Parchment Paper: This is crucial for easy cleanup and preventing sticking while they chill.
- Airtight Container: To keep your finished treats fresh in the fridge.
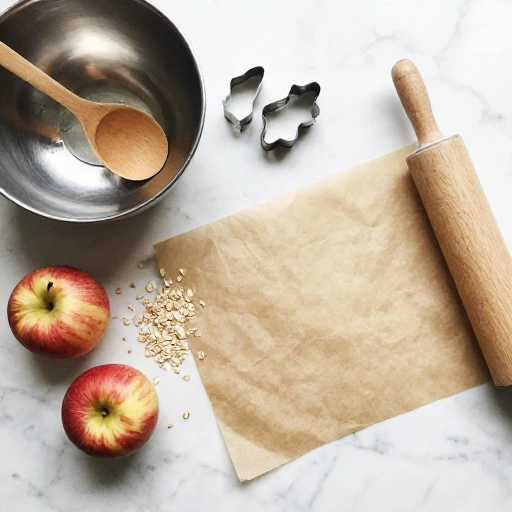
- Cookie Cutters (Optional): If you want to make fun shapes (bones and hearts are my favorite!), you can use them. Otherwise, freeform drop treats work just fine.
Ingredients List & Safe Substitutions
Only three main ingredients! That’s the beauty of this recipe. It’s incredibly forgiving, so feel free to tweak it based on what you have on hand. Always remember to check with your vet if you have any concerns about new foods, but these are generally very safe for most pups.
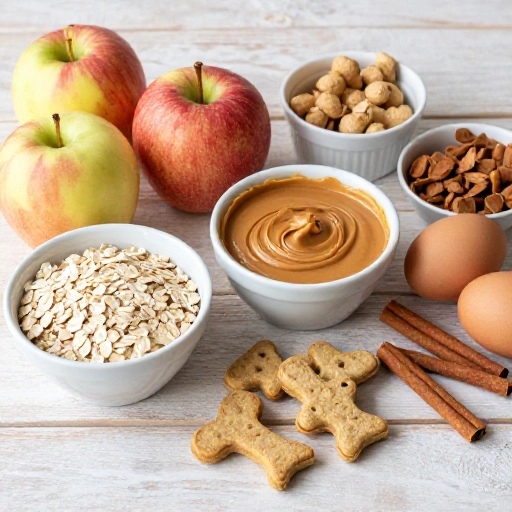
- 1 large apple (Gala or Honeycrisp work great): Make sure to wash it thoroughly. You can leave the peel on for extra fiber, but remove the core and seeds completely. Apple seeds contain cyanide and are toxic to dogs, so we never feed those!
- 1 ½ cups rolled oats (old-fashioned): Quick oats work in a pinch, but they make the texture a bit mushier. If your dog is gluten-sensitive, be sure to use certified gluten-free oats.
- ⅓ cup natural peanut butter: This is non-negotiable! It MUST be xylitol-free. Xylitol is a sugar substitute that is extremely toxic to dogs. Look for “natural” peanut butter with only peanuts and maybe a little salt as the ingredients.
- 1-2 tablespoons water (as needed): Just to help bring the dough together if it feels too dry.
Substitutions: No apple? Use a ripe, mashed banana instead. It’s slightly stickier, so you might need a touch more oats. You can also swap the peanut butter for unsweetened applesauce or pumpkin puree—just note that these will make the dough softer, so you may need to add extra oats to compensate.
Step-by-Step Instructions & Preparation Guide
Alright, let’s get to the fun part! This is so quick and easy, you’ll be done before your dog even realizes what’s happening. Follow these simple steps, and you’ll have a happy, tail-wagging pup in no time.
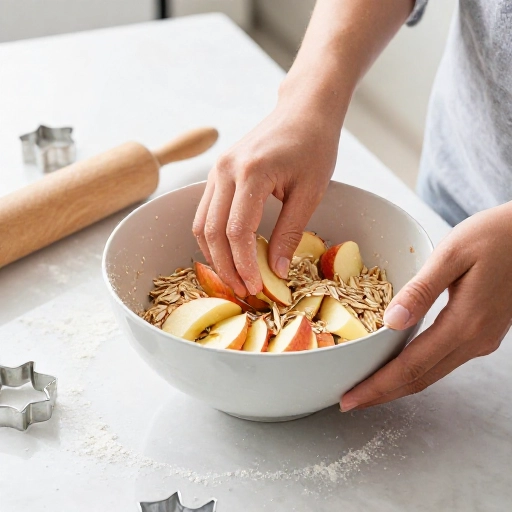
- Prep the Apple: Wash your apple. Cut it into quarters and remove the core and seeds. Using a box grater or a food processor with a shredding disc, grate the apple. You want it finely shredded so it mixes easily. You should end up with about 1 cup of shredded apple.
- Mix the Dry: In your large bowl, add the rolled oats. If you have a picky eater, you can pulse the oats in the food processor first to make a finer flour, but I like the texture of whole oats.
- Combine Everything: Add the shredded apple and the peanut butter to the bowl with the oats. Use a spatula or your clean hands to mix everything together until it forms a thick, slightly sticky dough. If it seems too crumbly, add the water one tablespoon at a time until it clumps together.
- Shape the Treats: Line a baking sheet or large plate with parchment paper. Roll the dough into small, bite-sized balls (about the size of a marble or a little bigger). Alternatively, you can press the dough flat onto the parchment paper and use cookie cutters to make fun shapes.
- Chill to Set: This is the “no-bake” secret! Place the tray of treats in the refrigerator for at least 30 minutes. This helps them firm up and hold their shape. For an even crunchier texture, you can leave them in the fridge for a few hours or overnight.
Once they’re chilled, they are ready to serve! The smell is amazing—like a fresh apple pie, minus the sugar. I guarantee your dog will be doing the “sit pretty” trick the moment you grab the container.
Feeding Guidelines, Serving Size & Storage Tips
These treats are meant to be just that—treats! They shouldn’t replace your dog’s regular, balanced meals. Think of them as a special reward for good behavior, a training aid, or a little “dessert” after dinner.
How Much to Give: For a small dog (under 20 lbs), one or two treats a day is plenty. For a medium dog (20-50 lbs), two to three treats are fine. For a large breed (50+ lbs), you can go up to four or five, but always start with a smaller amount to see how their stomach handles it.
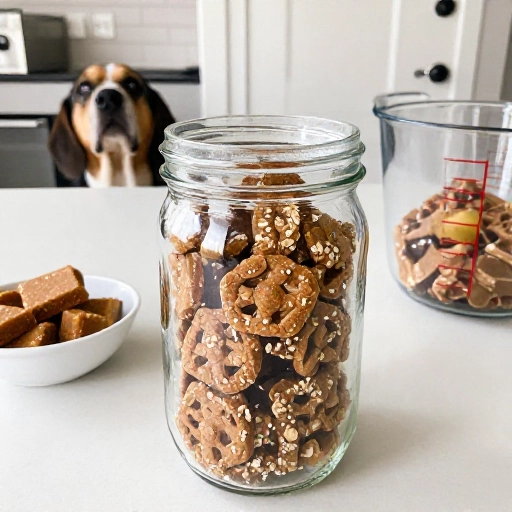
Storage: Because these are no-bake and contain fresh apple, they must be stored in the refrigerator. Keep them in an airtight container. They will stay fresh for up to one week. You can also freeze them! Place them in a freezer-safe ziplock bag and they’ll keep for up to three months. Just thaw a few in the fridge overnight before giving them to your pup (or give them frozen on a hot day—they love that!).
Pro-Tip: Since they are a bit soft and chewy, they’re perfect for senior dogs who might struggle with hard, crunchy biscuits.
Final Verdict & Summary
I absolutely love this recipe because it’s the perfect combination of simple, healthy, and wildly popular with my own two dogs. There’s no heat involved, which means you can make these even in the middle of summer without sweating over a hot oven. The ingredients are cheap, and you probably already have them in your pantry.
The texture is slightly chewy with a nice crunch from the oats, and the natural sweetness of the apple shines through. It’s a guilt-free snack that’s packed with fiber and real fruit. Watching my pups gobble these up gives me so much joy, knowing I made something with love right in my own kitchen.
If you’re looking for a quick, foolproof, and vet-approved (always double-check!) treat that doesn’t require a trip to the store or a complicated baking process, this is the one. Give it a try this weekend, and I promise you’ll have a very happy, very loyal taste-tester at your feet. Happy treating!
Frequently Asked Questions (FAQ)
Can I use apple sauce instead of a fresh apple?
Yes! You can use 1 cup of unsweetened applesauce in place of the shredded fresh apple. Just be aware that applesauce has more moisture, so you’ll likely need to add ¼ to ½ cup more oats to get a dough that holds together.
Is peanut butter safe for all dogs?
Peanut butter is safe for most dogs, but you must check the label! The biggest danger is xylitol, an artificial sweetener that is highly toxic. Always choose a natural peanut butter with no added sugars or sweeteners. Also, be mindful of sodium content.
Can I bake these instead of refrigerating them?
Absolutely! If you prefer a crunchy biscuit, you can bake them at 300°F (150°C) for 15-20 minutes until they are firm and slightly golden. This will give them a longer shelf life, but I find the no-bake version is simpler and just as delicious.
How long do these treats stay fresh?
In the refrigerator, they’ll stay fresh for about 5 to 7 days. If you want to keep them longer, pop them in the freezer. They can be frozen for up to 3 months, which makes them perfect for making a big batch ahead of time.
My dog is overweight. Are these treats okay?
Treats should make up less than 10% of your dog’s daily calorie intake. These treats are relatively low in calories, but you should still factor them into their daily food allowance. You can also make them smaller to reduce the portion size.