Easy Homemade Dog Treats: The Only Beginner Recipe You’ll Ever Need
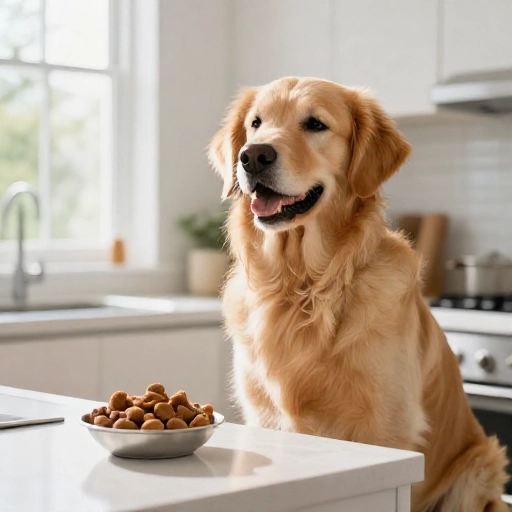
Let me guess—you saw those adorable, overpriced bone-shaped cookies at the pet store and thought, “I could totally make those.” Well, you’re absolutely right! Baking for your furry best friend is one of the most rewarding (and surprisingly simple) kitchen projects you can start. No fancy skills, no complicated techniques, just pure love mixed with a few pantry staples.
I remember the first time I baked for my golden retriever, Max. I was terrified I’d mess it up. But the look on his face when he tasted that first warm, homemade cookie? Priceless. This recipe is forgiving, budget-friendly, and uses ingredients you probably already have in your kitchen. Trust me, if you can make a batch of basic cookies, you can make these. Let’s get those tails wagging!
Why Make This Recipe? The Real Health Benefits for Your Dog
Here’s the thing: store-bought treats are often packed with preservatives, artificial colors, and fillers that do nothing for your pup. When you bake at home, you have complete control over what goes into that little tummy. It’s a simple act of love that pays off in a big way for their overall health.
This recipe is built on just three simple ingredients: peanut butter, pumpkin, and oats. Pumpkin is a superstar for digestion, helping with both diarrhea and constipation. Peanut butter provides healthy fats for a shiny coat, and oats are a great source of fiber to keep them feeling full and satisfied. It’s a gut-friendly, skin-loving combo that your dog will go crazy for. Plus, it’s a fantastic weekend activity when you want to spend quality time with your furry best friend.
Kitchen Equipment & Tools You’ll Need
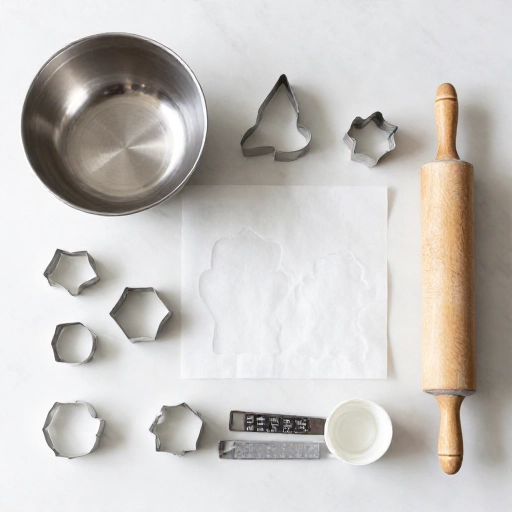
Don’t overthink this part. You don’t need a fancy dog-bone cookie cutter to make these treats (though it’s fun if you have one). You just need the basics that are probably already in your kitchen drawers. Keep it simple and stress-free.
- Mixing bowl (any size works)
- Fork or whisk for mixing
- Measuring cups and spoons
- Rolling pin (or a clean empty wine bottle works in a pinch!)
- Cookie cutter (bone shapes are adorable, but a simple glass rim or a pizza cutter works perfectly)
- Baking sheet
- Parchment paper (absolutely essential for easy cleanup)
Ingredients List & Safe Substitutions
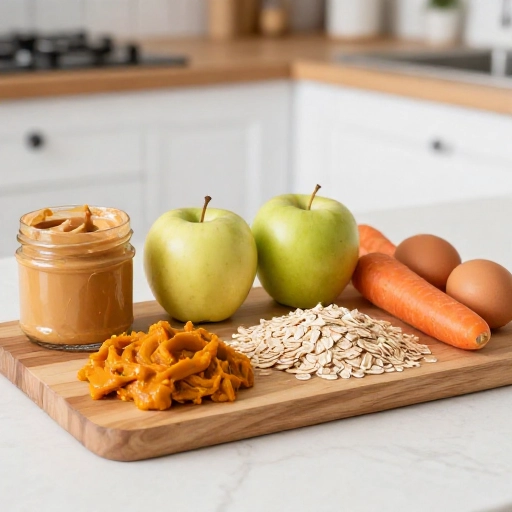
The beauty of this recipe is its simplicity. You literally need three main ingredients. But it’s super important to get the right kind of peanut butter. Look for one that is xylitol-free. Xylitol is an artificial sweetener that is highly toxic to dogs, even in tiny amounts. Always double-check the label!
Here is exactly what you’ll need to gather:
- 2 cups whole wheat flour (or oat flour for a gluten-free option)
- 1 cup canned pumpkin (make sure it’s 100% pure pumpkin, not pumpkin pie filling)
- 1/2 cup natural peanut butter (smooth, no added sugar or salt, xylitol-free)
- 1/4 cup water (you may need a little more or less)
If your dog has a sensitive stomach, you can swap the whole wheat flour for oat flour or even brown rice flour. And if you don’t have pumpkin, unsweetened applesauce works as a great substitute, though the texture might be slightly different. Don’t be afraid to experiment!
How to Make Them: Step-by-Step Instructions
Alright, let’s get to the fun part! This is a no-bake dough that comes together in minutes. The whole process takes about 30 minutes from start to finish, and most of that is just baking time. Here’s how you do it:
- Preheat and Prep: Preheat your oven to 350°F (175°C). Line your baking sheet with parchment paper so the treats don’t stick.
- Mix the Wet Ingredients: In a large bowl, combine the pumpkin and peanut butter. Stir them together until they’re completely smooth and well combined.
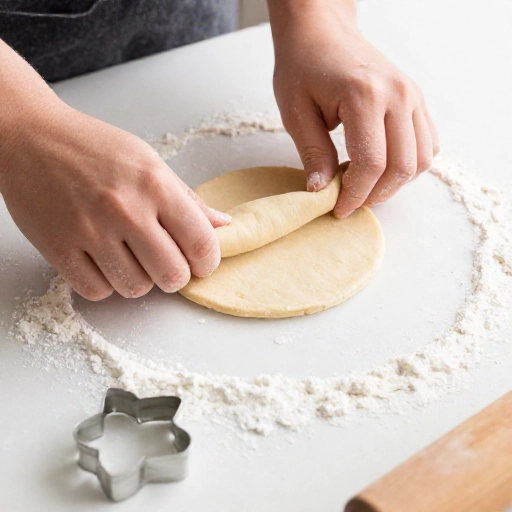
- Add the Dry Ingredients: Pour in the flour and mix everything together. Use your hands at the end to knead the dough until it forms a solid ball. If it’s too crumbly, add a splash of water (one tablespoon at a time) until it comes together.
- Roll Out the Dough: Lightly flour your countertop and roll the dough out to about 1/4-inch thickness. You want them thin enough to get crunchy but thick enough to have a nice bite.
- Cut Your Shapes: Use your cookie cutters to press out fun shapes. Gather the scraps, re-roll, and repeat until all the dough is used.
- Bake to Perfection: Place the treats on your prepared baking sheet. Bake for about 20-25 minutes, or until they are firm and slightly golden on the edges. Let them cool completely on a wire rack. They will harden as they cool.
Storage & Serving: Feeding Guidelines and Tips
So, how many should you give? That depends on the size of your dog. A good rule of thumb is one treat per 10 pounds of body weight per day. For a small chihuahua, maybe half a treat is plenty. For a big lab, one or two full treats is perfect. Remember, these are a snack, not a meal replacement!
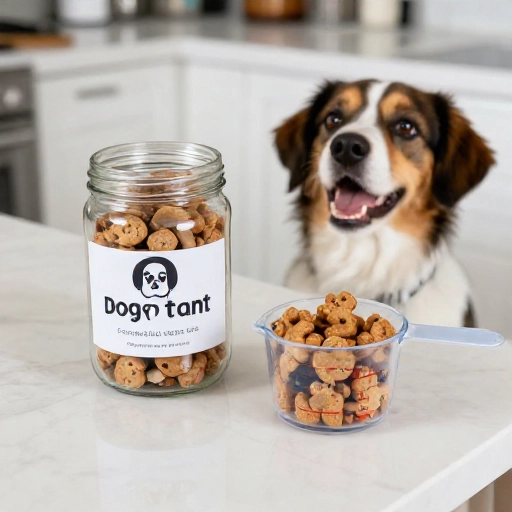
For storage, keep them in an airtight container in the refrigerator. They’ll stay fresh for up to two weeks. If you want to make a big batch, these freeze beautifully! Just pop them in a zip-top freezer bag and they’ll last for up to three months. You can even give them frozen on a hot day for a refreshing chew.
Always make sure fresh water is available when you give your dog any treat, and watch them the first time you introduce any new food to ensure they don’t have a reaction.
Final Verdict & Summary
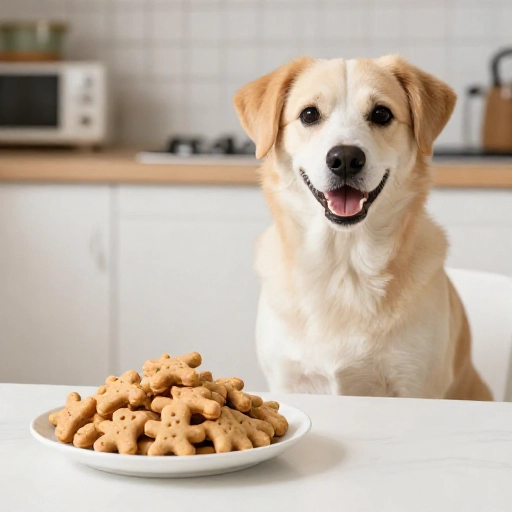
This is, hands down, the easiest and most reliable dog treat recipe I’ve ever made. It’s perfect for a beginner because it’s nearly impossible to mess up. The dough is forgiving, the ingredients are forgiving, and the end result is a crunchy, savory cookie that dogs absolutely devour.
The best part? You’ll know exactly what’s in every single bite. No hidden ingredients, no questionable by-products, just pure, wholesome goodness. It’s about 15 minutes of active prep time for a happy, healthy, and incredibly grateful pup. I guarantee you’ll feel like a rockstar when you see that excited tail wagging at the sound of the cookie jar opening.
Frequently Asked Questions
Can I use crunchy peanut butter?
Yes, absolutely! Crunchy peanut butter works fine and adds a little texture. Just make sure it’s xylitol-free and doesn’t contain added sugar or salt.
My dough is too sticky. What should I do?
Don’t panic! Just sprinkle a little more flour onto your countertop and knead it into the dough. Sticky dough is usually just caused by excess moisture in the pumpkin.
Can I make these treats grain-free?
Yes, you can easily swap the whole wheat flour for oat flour or even coconut flour. Keep in mind that coconut flour absorbs more liquid, so you might need to add an extra splash of water to get the right consistency.
How long do these treats last?
Stored in an airtight container in the fridge, they’ll last for up to two weeks. You can also freeze them for up to three months to extend their shelf life.
My dog is a picky eater. Will he like these?
It’s highly likely! The combination of peanut butter and pumpkin is irresistible to most dogs. If your pup is extra picky, you can add a tiny pinch of cinnamon to the mix for an extra aromatic flavor boost.