Easy No-Bake Dog Treats: 4-Ingredient Peanut Butter & Pumpkin Bites Your Pup Will Love
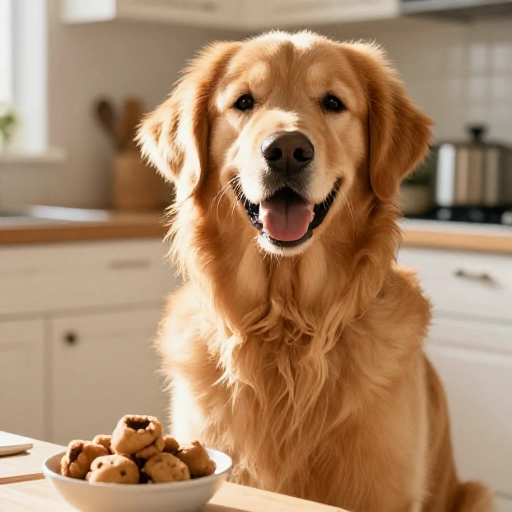
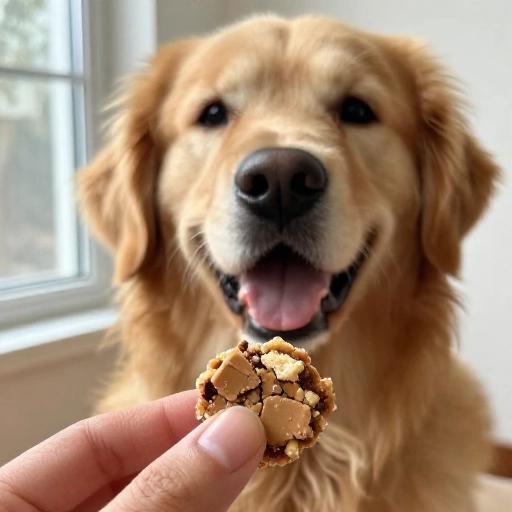
There are days when I want to spoil my dog rotten but don’t want to turn on the oven. That’s exactly why I created these no-bake dog treats. They come together in minutes, use ingredients you probably already have in your pantry, and my golden retriever, Daisy, does a happy spin every time she sees me pull out the peanut butter jar.
These treats are soft, chewy, and packed with flavor that dogs absolutely crave. The best part? No baking means no waiting—just mix, shape, and serve. Whether you’re a seasoned homemade treat maker or trying for the first time, this recipe is practically foolproof. Let’s get started!
Why Your Dog Will Love This Recipe
First off, the taste. Peanut butter and pumpkin are a powerhouse combo that most dogs find irresistible. The natural sweetness of pumpkin paired with the savory richness of peanut butter makes these treats a tail-wagging favorite.
Beyond flavor, these treats are genuinely good for your pup. Pumpkin is packed with fiber and beta-carotene, which supports healthy digestion and a strong immune system. Peanut butter (the unsalted, xylitol-free kind) provides healthy fats and protein that give your dog energy and help maintain a shiny coat. Oats are a gentle, gluten-free grain that many dogs tolerate well, making these treats suitable for sensitive stomachs.
Homemade treats also mean you control every single ingredient. No preservatives, no artificial colors, no mystery fillers—just real, whole foods your dog deserves. Plus, the no-bake method preserves more nutrients than baking would, so your pup gets maximum benefits from every bite.
Equipment & Tools Needed
This recipe keeps things simple. You don’t need any fancy gadgets, but having the right tools makes the process even easier. Here’s what you’ll need:
- Mixing bowl – A medium-sized bowl works perfectly.
- Fork or spoon – For mashing and mixing everything together.
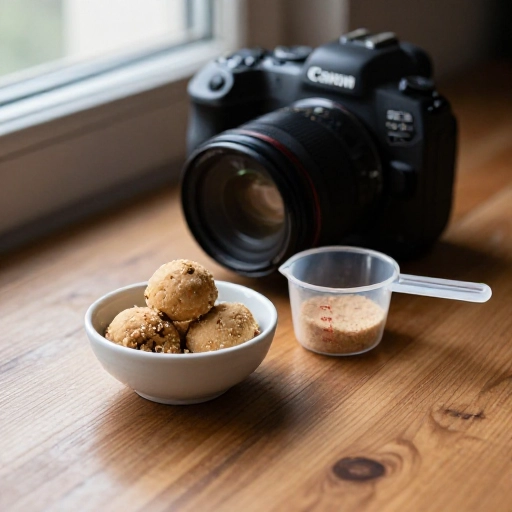
- Measuring cups and spoons – Accurate measurements matter, especially for the peanut butter and pumpkin.
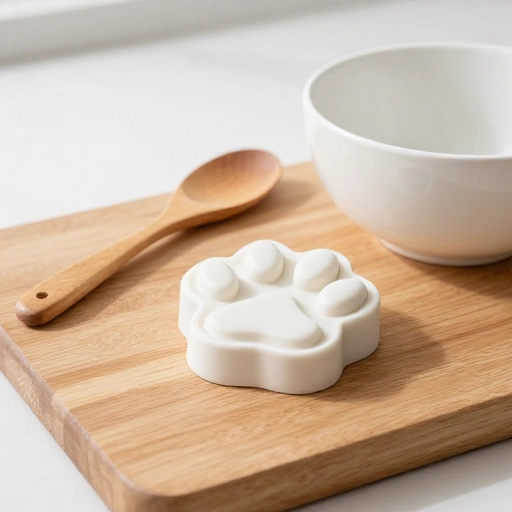
- Silicone molds or a baking sheet – Use fun-shaped silicone molds (bones, paws, hearts) or simply roll the mixture into balls and place them on a parchment-lined baking sheet.
- Cookie scoop or tablespoon – For uniform-sized treats, which helps with portion control and even setting.
- Parchment paper – Keeps treats from sticking while they chill in the fridge or freezer.
- Optional: Food processor – If you want a finer texture for the oats, a quick pulse in the food processor makes everything blend more smoothly.
Ingredients You’ll Need
Here’s the short and sweet ingredient list for these no-bake dog treats. Each one was chosen for both taste and nutrition.
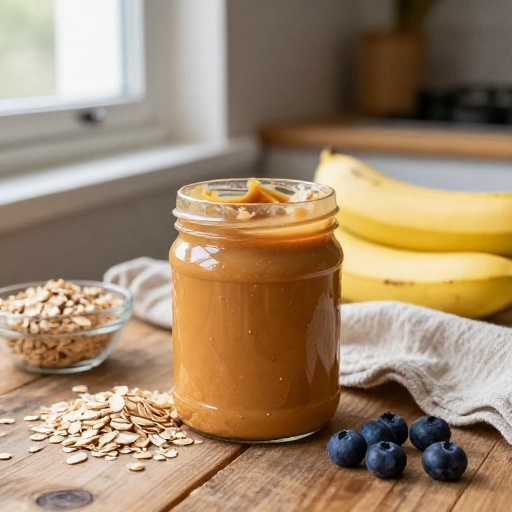
- 1 cup pumpkin puree (unsweetened, not pumpkin pie filling) – Pumpkin is a digestive superstar. It can help firm up loose stools and soothe an upset tummy. Make sure it’s 100% pure pumpkin with no added sugar or spices.
- ½ cup natural peanut butter (unsalted, no xylitol) – This is the glue that holds everything together. Look for peanut butter with just peanuts (and maybe salt) on the ingredient list. Xylitol is toxic to dogs, so double-check that label.
- 1½ cups rolled oats (or quick oats) – Oats provide a gentle source of carbohydrates and fiber. If your dog has a grain sensitivity, you can substitute with oat flour or even finely ground coconut flour (start with 1 cup and adjust).
- 2 tablespoons ground flaxseed (optional but recommended) – Flaxseed adds omega-3 fatty acids for a healthy coat and joints. It also helps bind the treats together. No flax? You can skip it or use chia seeds instead.
Substitution ideas: For a grain-free version, swap oats for finely shredded unsweetened coconut or almond flour. If your dog is allergic to peanuts, try sunflower seed butter or pumpkin seed butter instead.
Step-by-Step Instructions: How to Make It
This is where the magic happens. Follow these steps, and you’ll have a batch of treats ready in under 15 minutes.
- Gather your ingredients. Measure out the pumpkin puree, peanut butter, oats, and flaxseed (if using). Having everything ready makes the process smooth and mess-free.
- Mix the wet ingredients. In a medium bowl, combine the pumpkin puree and peanut butter. Stir until they form a smooth, creamy mixture. If your peanut butter is thick, warm it slightly in the microwave for 10–15 seconds to make blending easier.
- Add the dry ingredients. Pour in the rolled oats and ground flaxseed. Mix thoroughly until the dough comes together. It should be slightly sticky but firm enough to hold its shape when pressed. If it’s too wet, add a tablespoon more oats. If it’s too dry, add a splash of water or extra pumpkin.
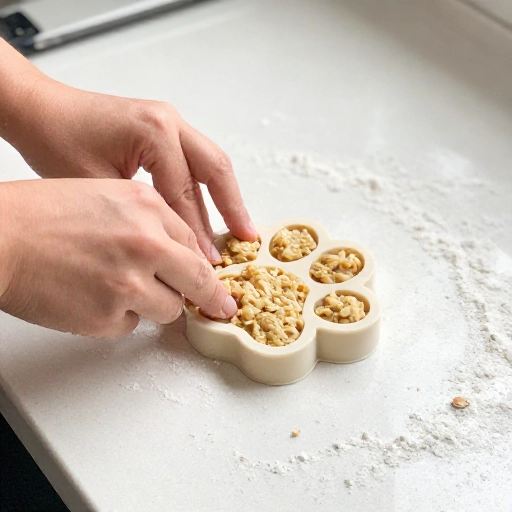
- Shape the treats. Roll the dough into small balls (about 1 inch in diameter) using your hands, or press the mixture firmly into silicone molds. If using a baking sheet, place the shaped treats on a parchment-lined tray. For extra fun, flatten them slightly with a fork to create a classic cookie look.
- Chill to set. Place the tray or molds in the refrigerator for at least 30 minutes. This step is crucial—it firms up the treats and gives them that perfect chewy texture. If you’re in a hurry, pop them in the freezer for 15 minutes.
- Serve and enjoy. Once set, the treats are ready to go. Watch your dog’s excitement as they get their first taste. Store leftovers in the fridge (see storage tips below).
Feeding Guidelines & Serving Sizes
Treats are wonderful, but they should always be part of a balanced diet. Here’s how to keep portions safe and appropriate for your dog’s size.
- Extra-small dogs (under 10 lbs): 1 treat per day. These little ones have tiny tummies, so go easy.
- Small dogs (10–25 lbs): 1–2 treats per day.
- Medium dogs (25–50 lbs): 2–3 treats per day.
- Large dogs (50–75 lbs): 3–4 treats per day.
- Extra-large dogs (75+ lbs): Up to 5 treats per day.
Remember, treats should make up no more than 10% of your dog’s daily calorie intake. If your pup is on a special diet or has health conditions (like diabetes or pancreatitis), check with your vet before introducing new treats. And always supervise your dog when they’re enjoying a treat, especially if it’s their first time trying a new ingredient.
Storage & Freezing Tips
These no-bake treats are best kept cold, which also makes them a refreshing snack on warm days. Here’s how to store them properly:
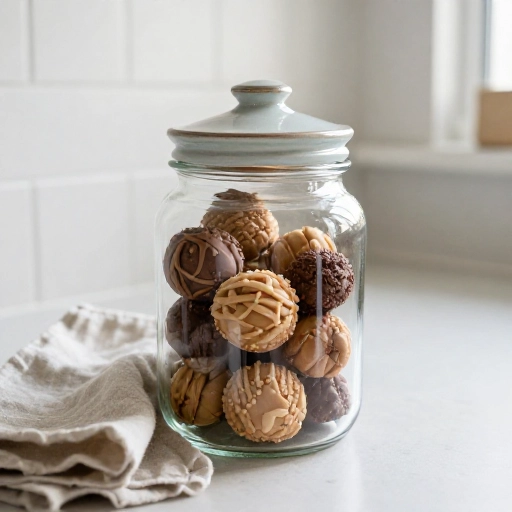
- Refrigerator: Store in an airtight container for up to 1 week. The treats will stay soft and chewy. If they seem too firm straight from the fridge, let them sit at room temperature for 5 minutes before serving.
- Freezer: These treats freeze beautifully. Place them in a single layer on a baking sheet and freeze for 1 hour, then transfer to a freezer-safe bag or container. They’ll keep for up to 3 months. Frozen treats are especially enjoyable for teething puppies or for cooling down on a hot day.
- Thawing: No need to thaw—just pull a treat from the freezer and give it to your dog. If you prefer a softer texture, let it sit at room temperature for 10 minutes. For a quick thaw, microwave for 5–10 seconds (check that it’s not too hot before serving).
Final Verdict
These no-bake dog treats have become a staple in our kitchen, and I think they’ll become one in yours too. They’re quick, wholesome, and made with love—literally. Every time I make a batch, I feel good knowing exactly what’s going into my dog’s body. No preservatives, no weird additives, just simple, real food.
The best part? Seeing that joyful look on your dog’s face when they taste something you made just for them. It’s a small act that strengthens the bond between you and your furry best friend. So go ahead, whip up a batch, and enjoy those happy tail wags. You’ve earned them.
Can I use canned pumpkin pie filling instead of pure pumpkin?
No, please don’t. Pumpkin pie filling contains added sugars, spices (like nutmeg and cinnamon in large amounts), and sometimes preservatives that can upset your dog’s stomach. Stick with 100% pure pumpkin puree for a safe, healthy treat.
My dog has a peanut allergy. What can I use instead?
Great question! You can substitute the peanut butter with sunflower seed butter, pumpkin seed butter, or even tahini (sesame seed paste). Just make sure whichever you choose is unsalted and free of xylitol. Coconut butter also works but may make the treats a bit firmer.
How long do these treats last at room temperature?
Because these treats are no-bake and contain fresh ingredients, they shouldn’t be left at room temperature for more than 2 hours. Always store them in the fridge or freezer to keep them fresh and safe. If you’re traveling, pack them in a cooler with an ice pack.
Can I make these treats grain-free for my dog?
Absolutely! Swap the rolled oats for finely shredded unsweetened coconut, almond flour, or coconut flour. Start with 1 cup of your chosen substitute and add more if needed to reach a dough-like consistency. Coconut flour absorbs more liquid, so you may need to adjust the amount of pumpkin slightly.
My dog is a picky eater. Will they like these?
Most dogs go crazy for the peanut butter-pumpkin combo, but every dog has their own taste. If your pup is extra picky, try adding a small amount of plain, unsweetened applesauce or a sprinkle of freeze-dried liver powder to the mix. You can also use a cookie cutter to make fun shapes—sometimes presentation really does matter to a dog!