Easy Treat Recipes Every Dog Owner Needs: 3-Ingredient Homemade Dog Snacks That Take 15 Minutes
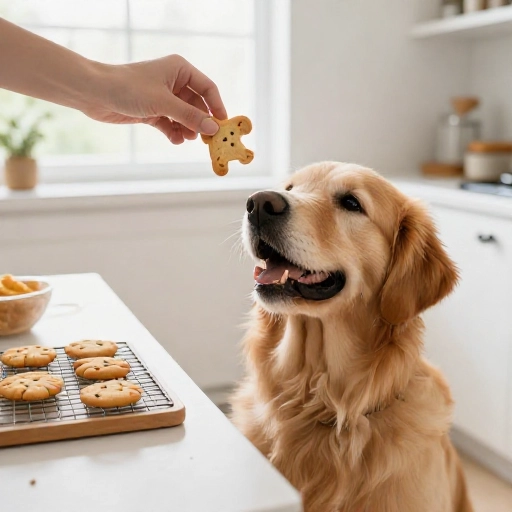
If your dog gives you those big, hopeful eyes every time you open the fridge, it’s time to grab a mixing bowl. I started making homemade dog treats after reading too many ingredient labels at the pet store and realizing I couldn’t pronounce half of them. Now I whip up a batch on Sunday, and my pup sits by the oven like it’s his favorite TV show.
These easy dog treat recipes are beginner-friendly, budget-friendly, and made with real ingredients you probably already have in your kitchen. No weird preservatives, no mystery meat meal—just simple, tail-wagging snacks that make you feel like the best dog parent on the block.
Why Make These Easy Dog Treat Recipes?
Most store-bought dog treats are loaded with fillers, artificial colors, and enough sodium to make me raise an eyebrow. When I switched to homemade, I noticed my dog’s coat got shinier, his breath improved, and his energy stayed steady instead of spiking and crashing after a treat.
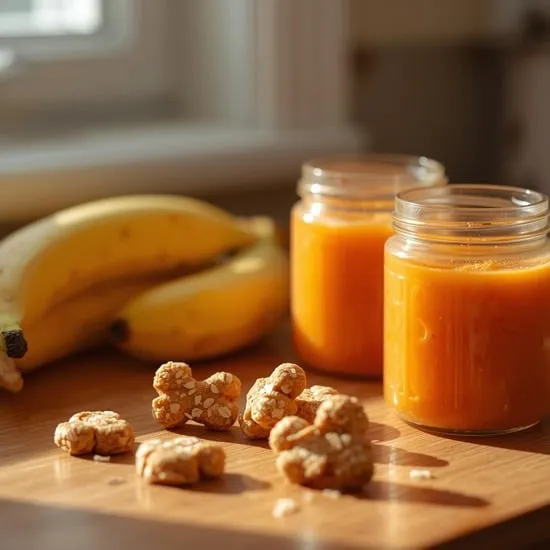
- Pumpkin supports digestion and is super gentle on sensitive stomachs.
- Peanut butter (the xylitol-free kind) adds protein and healthy fats dogs love.
- Oat flour provides fiber without wheat, making these great for dogs with grain sensitivities.
They’re also insanely cheap. A batch costs less than a fancy coffee and makes enough treats for two weeks of happy tail wags.
Kitchen Equipment & Tools You’ll Need
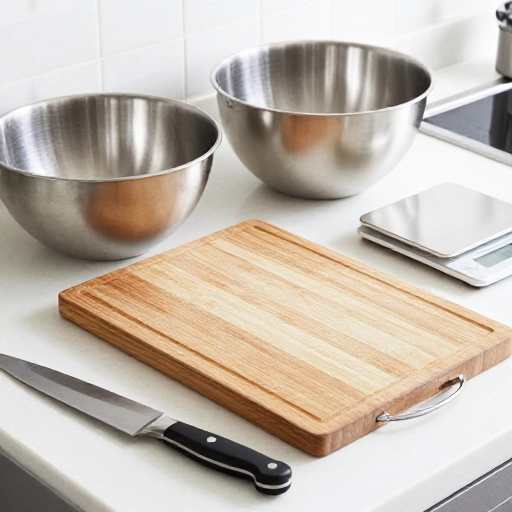
You don’t need a stand mixer, a dehydrator, or any fancy gadgets. Honestly, if I can make these in a tiny apartment kitchen with a dog underfoot, you can too.
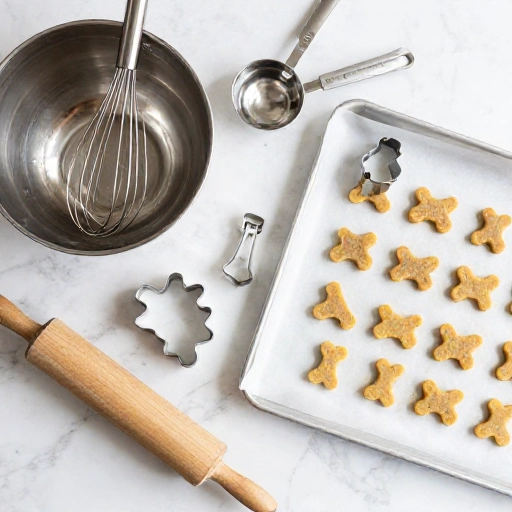
- Mixing bowl
- Fork or spatula
- Measuring cups and spoons
- Rolling pin (or a clean wine bottle)
- Cookie cutters (bone shape is cute, but a small glass works)
- Baking sheet
- Parchment paper
If you want super thin, crunchy treats, a sharp knife works just as well as cutters. I keep it simple because my dog doesn’t care if the bones are perfect—he just wants the snack.
Ingredients List & Safe Substitutions for Dogs
This base recipe uses three core ingredients, but I’ll give you safe swaps so you can mix it up based on what’s already in your pantry. No last-minute store runs required.
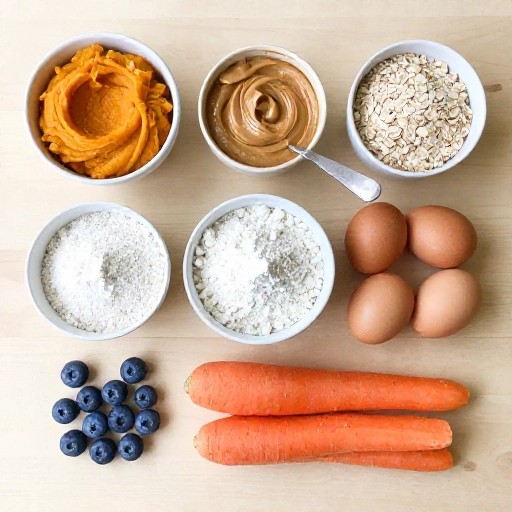
- 1 cup oat flour (or rolled oats blended into flour)
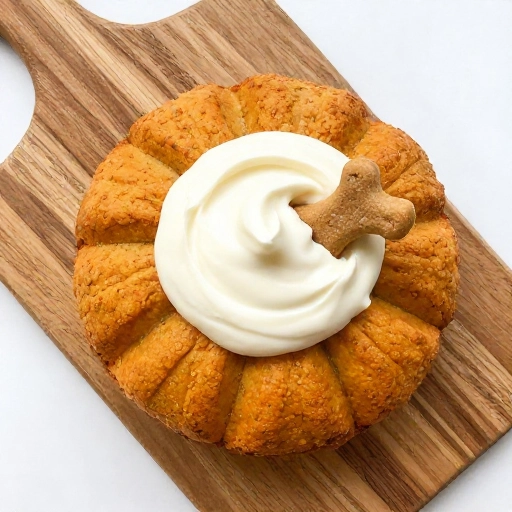
- 1/2 cup canned pumpkin puree (not pumpkin pie filling)
- 1/4 cup natural peanut butter (must be xylitol-free)
- Optional add-ins: 1 egg, a pinch of cinnamon, or shredded carrots
No pumpkin? Use mashed sweet potato or unsweetened applesauce. No peanut butter? Try sunflower seed butter or skip it and add an extra tablespoon of pumpkin. Just avoid xylitol, chocolate, grapes, raisins, onions, and macadamia nuts.
Step-by-Step Instructions for Easy Homemade Dog Treats
Okay, let’s make these. The dough comes together in about five minutes, and the hardest part is waiting for the treats to cool while your dog gives you the sad, hungry eyes.
- Preheat your oven to 350°F (175°C) and line a baking sheet with parchment paper.
- In a large bowl, mix the pumpkin and peanut butter until smooth.
- Add the oat flour gradually, stirring until a soft dough forms. If it’s too sticky, add a little more flour.
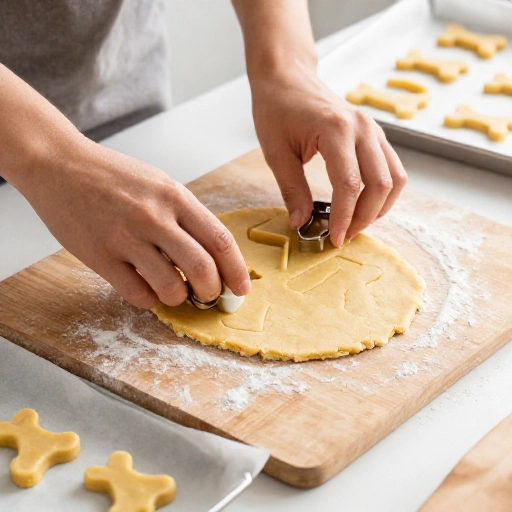
- Roll the dough out on a lightly floured surface to about 1/4-inch thick.
- Cut into shapes with cookie cutters or slice into small squares with a knife.
- Place on the baking sheet and bake for 15–18 minutes, or until the edges are golden and the treats feel firm.
- Let them cool completely on a wire rack before serving.
For softer treats for senior dogs, bake for 10–12 minutes instead. For extra crunch, leave them in the oven after turning it off for another 20 minutes so they firm up as the oven cools.
Storage, Serving Size & Feeding Tips for Dog Treats
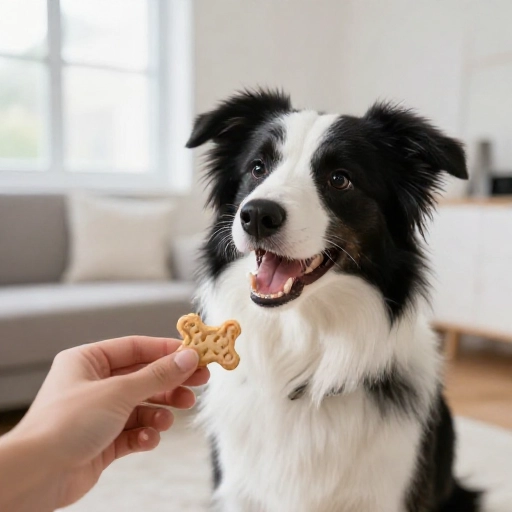
These treats are rich, so keep portion sizes small. I give my 45-pound dog one or two treats a day, and I break them into tiny pieces for training rewards. That way a single batch lasts longer and his waistline stays healthy.
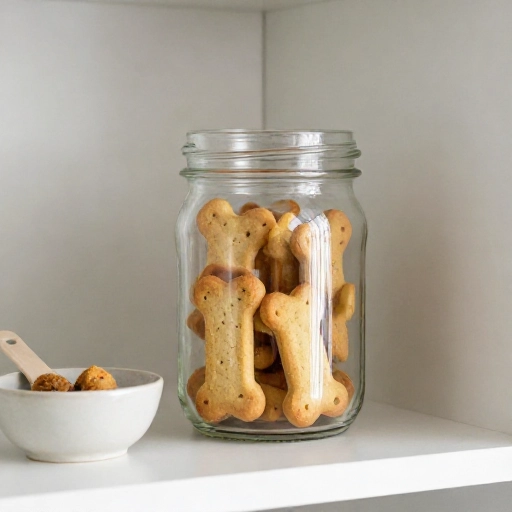
- Store in an airtight container in the fridge for up to 1 week.
- Freeze for up to 3 months in a zip-top bag.
- Thaw frozen treats at room temperature for 15 minutes before serving.
- Always provide fresh water alongside treats.
If I make a double batch, I freeze half right away. That way I always have a healthy reward ready without another baking session, and my dog thinks every day is treat day.
Final Verdict: Are These Easy Dog Treats Worth It?
Absolutely. Homemade dog treats have become a weekly ritual in my kitchen. I know exactly what goes into them, my dog goes bananas for the smell, and my wallet stays happy compared to premium store-bought snacks.
Even if you’re not a confident baker, this recipe is nearly impossible to mess up. Your pup will think you’re a gourmet chef, and you’ll feel good about every crumb you hand over.
FAQ: Homemade Dog Treat Questions
Can I use all-purpose flour instead of oat flour?
Yes, but whole wheat or oat flour is preferred. All-purpose flour works in a pinch, but oat flour gives more fiber and a softer texture that most dogs love.
What if my dog has a peanut allergy?
Swap the peanut butter for sunflower seed butter or pumpkin seed butter. Just double-check that no xylitol is listed on the jar.
How do I know if peanut butter is safe for dogs?
Read the label. If it lists xylitol (sometimes called birch sugar), do not use it. Most natural peanut butters with just peanuts and salt are perfectly fine.
Can I make these treats crunchy?
Yes. Bake them for the full 18 minutes, then turn off the oven and leave the treats inside for 20–30 minutes as the oven cools. They’ll firm up nicely.
How many treats can I give my dog per day?
It depends on your dog’s size and activity level. For a small dog, one treat is plenty. For a large active dog, two or three treats spread throughout the day works well. Always account for extra calories in their daily intake.