Homemade Dehydrated Dog Treats: The Easy, Healthy Recipe Your Pup Will Love

I remember the first time I opened a bag of store-bought dog treats and actually read the ingredients. There were preservatives, fillers, and words I couldn’t pronounce. That’s when I decided to try making my own dehydrated dog treats at home. It changed everything for my pup—and for my peace of mind.
Dehydrating dog treats is simpler than you think. You don’t need fancy equipment, just a little time and a few wholesome ingredients. The result? Crunchy, flavorful snacks that your dog will go crazy for, without any of the junk. Plus, making them yourself means you control exactly what goes into every bite.
In this post, I’ll walk you through my go-to recipe for perfect dehydrated dog treats. It’s foolproof, budget-friendly, and your furry friend will thank you with every happy tail wag.
Why Homemade Dehydrated Treats Are a Game-Changer
Store-bought treats can be expensive and full of artificial stuff. When you dehydrate at home, you’re locking in natural flavors and nutrients. The low heat preserves enzymes and vitamins that high-temperature baking destroys. Plus, the texture is perfect for training—crunchy enough to satisfy, but not so hard that it’s a choking hazard.
Another win? Dehydrated treats last for weeks without refrigeration. That makes them ideal for hikes, road trips, or just keeping a stash in your treat pouch. And honestly, watching your dog’s nose twitch as the dehydrator runs is pure joy.
Equipment You’ll Need
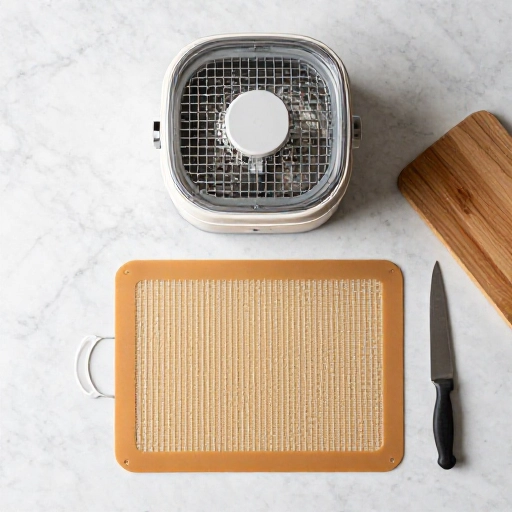
You don’t need a professional kitchen to pull this off. Here’s what I use:
- A food dehydrator (or your oven on the lowest setting with the door cracked)
- A sharp knife or mandoline slicer for even cuts
- A cutting board
- Parchment paper (optional, for sticky ingredients)
- Airtight storage containers or mason jars
If you’re using an oven, just set it to 150°F (65°C) or the lowest possible temperature. Prop the door open with a wooden spoon to let moisture escape. It works, but a dehydrator is more consistent.
Simple Ingredients for Healthy Treats
The beauty of this recipe is its flexibility. Here’s my base list, but feel free to swap based on what your dog loves:
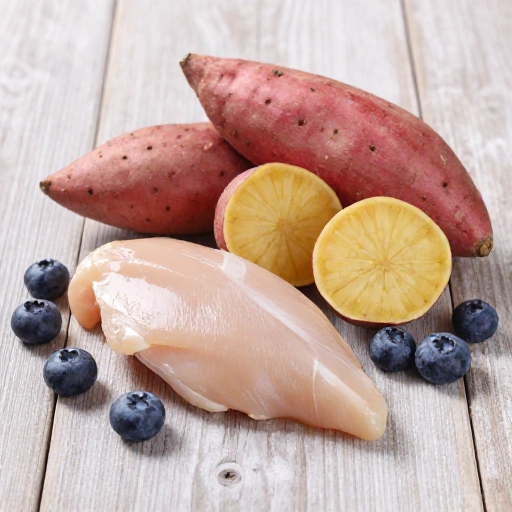
- 1 pound lean meat (chicken breast, beef liver, or turkey work great)
- 1 medium sweet potato (optional, for sweetness and fiber)
- 1 tablespoon coconut oil (helps with shine and digestion)
- A pinch of turmeric (anti-inflammatory bonus)
That’s it. No salt, no sugar, no weird additives. If your dog has allergies, you can easily substitute: use duck instead of chicken, or skip the sweet potato. Always check with your vet before introducing new ingredients.
How to Make Perfect Dehydrated Dog Treats
Let’s get to the fun part. Here’s my step-by-step method:
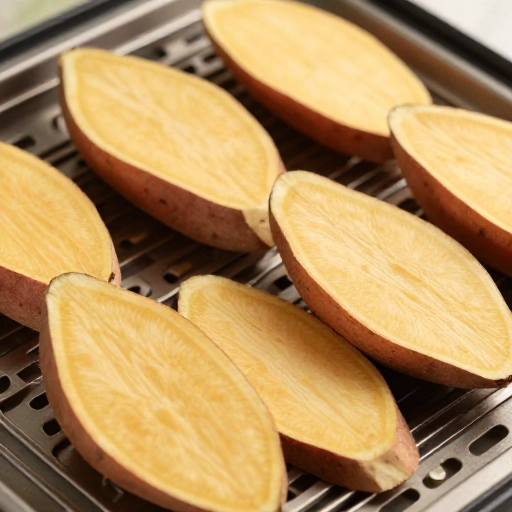
Step 1: Prep your meat. Slice chicken breast or liver into thin, even strips—about ¼ inch thick. Thinner slices dehydrate faster and more evenly. If using sweet potato, peel and slice into rounds or sticks.
Step 2: Season (lightly). Rub the slices with a little coconut oil and a tiny sprinkle of turmeric. Don’t go overboard; dogs have sensitive taste buds and stomachs.
Step 3: Arrange on trays. Lay the pieces in a single layer on your dehydrator trays, leaving a little space between each for airflow. No overlapping.
Step 4: Dehydrate. Set your dehydrator to 160°F (70°C) for meat. Sweet potato needs about 135°F (57°C). Let it run for 6–10 hours, depending on thickness. Check at the 6-hour mark—they should be dry to the touch and bend slightly without breaking.
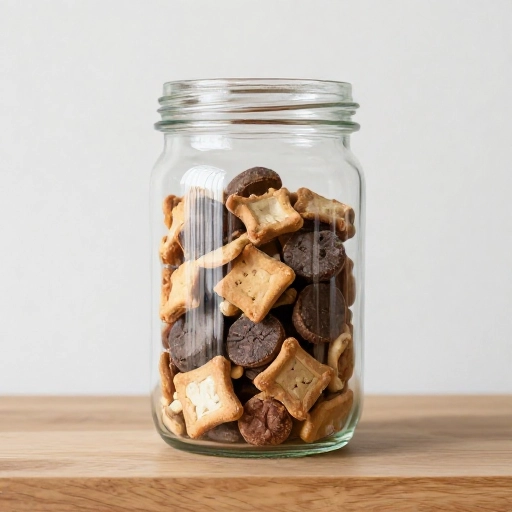
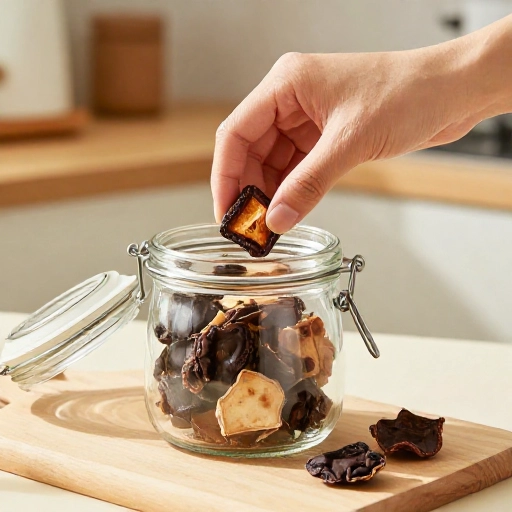
Step 5: Cool and store. Let the treats cool completely on a wire rack. Then pop them into an airtight jar. They’ll keep for up to 3 weeks at room temperature, or months in the fridge.
One tip: don’t over-dehydrate. If they’re rock hard, your dog might struggle to chew. Aim for a jerky-like texture.
Pro Tips for Treat Success
After making dozens of batches, here’s what I’ve learned:
- Batch cook: Double the recipe and freeze half. Thaw as needed.
- Mix proteins: Alternate chicken, beef, and fish for variety.
- Watch for fat: Trim excess fat from meat—it goes rancid faster.
- Test for doneness: A treat should snap cleanly, not feel spongy.
Your dog will let you know if you nailed it. Trust the tail wags.
Conclusion
Making dehydrated dog treats at home isn’t just about saving money—it’s about giving your best friend real, wholesome food. Once you crack the code on the right temperature, thickness, and drying time, you’ll never go back to store-bought. Plus, the process is oddly satisfying. There’s something about filling your kitchen with the smell of healthy snacks that makes you feel like a good dog parent.
So grab some chicken, fire up that dehydrator, and treat your pup to something special. They deserve it.
Frequently Asked Questions
1. Can I use a regular oven instead of a dehydrator?
Yes, absolutely. Set your oven to the lowest temperature (usually 150–170°F) and prop the door open with a wooden spoon. It takes a bit longer and uses more energy, but it works in a pinch.
2. How long do homemade dehydrated treats last?
Stored in an airtight container at room temperature, they stay fresh for 2–3 weeks. In the fridge, they can last up to 3 months. Freeze them for up to 6 months.
3. Are dehydrated treats safe for puppies?
Yes, as long as the pieces are small enough and not too hard. Supervise your puppy the first time to make sure they chew properly. Soft meat slices are best for young pups.
4. My dog has allergies. Can I still make these?
Definitely. Stick to a single novel protein like duck, venison, or rabbit. Skip the sweet potato if grains or carbs are an issue. Always check with your vet for specific dietary needs.
5. Why are my treats moldy after a week?
That usually means they weren’t dried enough. They should feel leathery and dry to the touch, with no moisture when you squeeze them. Next time, add an extra hour or two to the drying time, and make sure they’re completely cool before sealing.