DIY No-Sew Dog Bandanas: 10 Adorable Ideas You Can Make in Minutes (No Sewing Machine Needed!)
I’ll be honest — I don’t own a sewing machine, and I have zero plans to buy one. But my dog has a bandana for every season, holiday, and random Tuesday. The secret? No-sew dog bandanas are ridiculously easy, cheap, and honestly kind of addictive once you start.
All you really need is fabric, scissors, and something to hold it together — glue, snaps, or just a good knot. No needle, no thread, no tears (from you or the fabric).
Below are my 10 favorite no-sew bandana styles, from a 5-minute classic to stretchy slip-ons and personalized name bandanas. Pick one, raid your fabric stash, and your pup will be photo-ready before their next nap.
1. The 5-Minute Classic Triangle Bandana
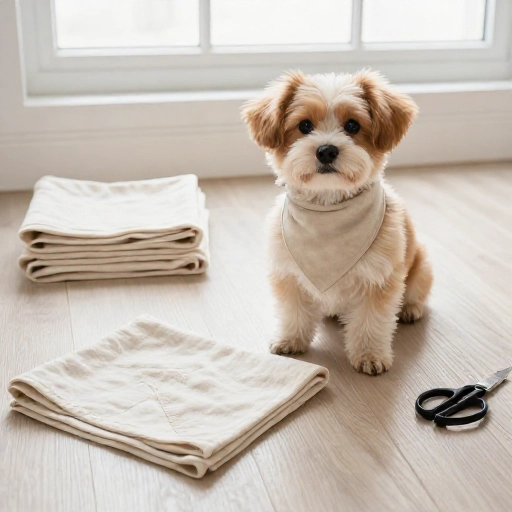
This is where everyone should start. Grab a square of fabric — a pre-made bandana, a fat quarter, or an old pillowcase — and fold it corner to corner into a triangle.
Cut the long edge so it’s roughly the length of your dog’s neck plus about 6 inches for tie room. Then just wrap it around the neck and double-knot it at the top. That’s it. That’s the whole tutorial.
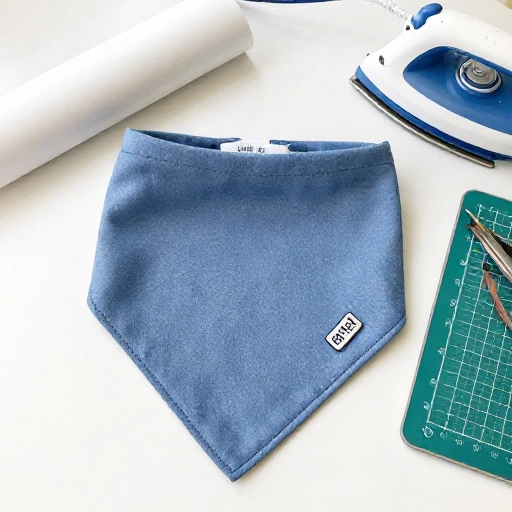
For a cleaner look, fold the long edge over once and press it with an iron, or run a thin line of fabric glue along the cut edge to stop fraying. I use a light dab of fabric glue on all my cut edges and let it dry flat for an hour.
2. Slip-On Collar Bandanas (The Ones That Never Fall Off)
If your dog loses bandanas in the yard like mine does, this is your answer. Instead of tying it, you slide it onto the collar.
Cut a triangle, then create a sleeve along the long edge by folding it over about 1.5 inches and gluing or heat-sealing it down. Leave both ends open so the collar can thread through.
Slide the collar through the sleeve, clip it on your dog, and the bandana stays put through zoomies, walks, and dramatic rolling in the grass.
Bonus: it hangs perfectly centered under the chin, which is honestly the cutest angle.
3. Reversible Two-Fabric Bandanas
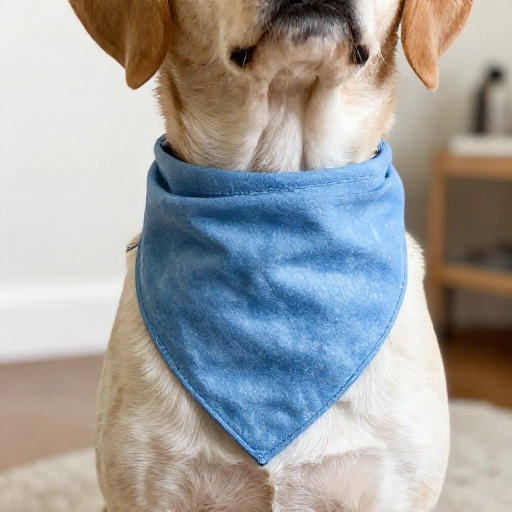
Two bandanas in one? Yes, please. This one takes a little more fabric but it’s still completely no-sew.
Cut two triangles — one in each fabric. Place them wrong sides together (or right sides, if you want a raw-edge look) and glue around the edges with a thin, even line of fabric glue. Press with an iron once dry for a crisp finish.
When the glue is set, you can flip it around for a totally different look. I love pairing a solid linen with a fun print so I can switch moods depending on the day.
4. Snap or Velcro Bandanas (No Knots, No Fuss)
Knots are cute, but some dogs hate the pressure on their neck — and some owners hate re-tying them every walk.
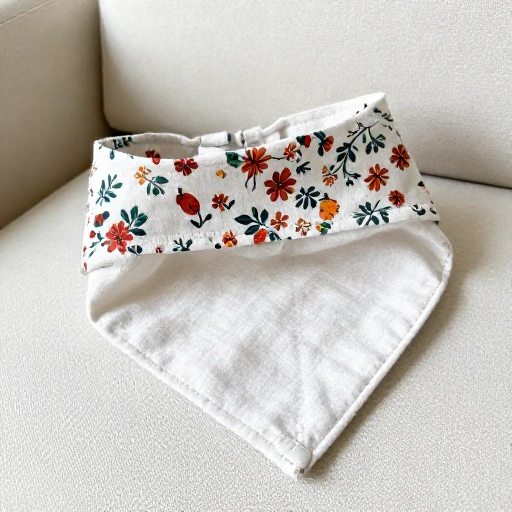
Instead, cut your triangle, then add a snap closure or a strip of sew-on Velcro to each end. Fabric glue or iron-on adhesive tape works for attaching both, no needle needed.
Just measure the neck first and add about an inch of overlap so it sits comfortably. I keep a soft measuring tape in my craft drawer just for this — the kind for sewing, not the stiff metal one from the toolbox.
This style is a lifesaver for senior dogs or pups who flinch when you reach for their neck.
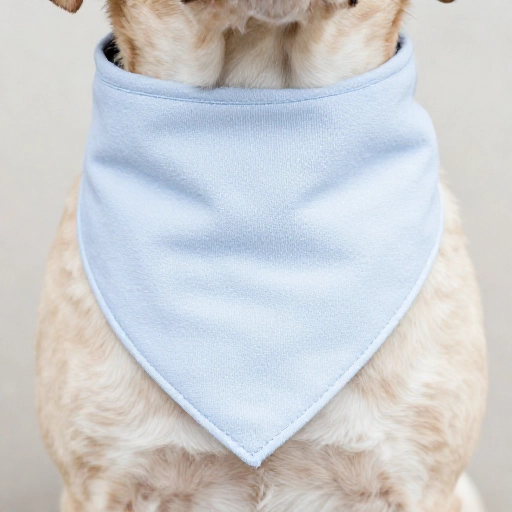
5. The Scrunchie-Style Stretchy Bandana
This one has a little stretch, so it slides on and off without any closures at all. My go-to for quick vet visits.
Cut a triangle, then fold the long edge over a piece of 1-inch elastic and glue it into a tube. Make sure the elastic is a bit shorter than the fabric so it gathers.
Once dry, slip it over your dog’s head. The elastic holds it snug but soft, and it looks like a little ruffled collar.
Heads up: never use tight elastic on a dog’s neck, and always check that two fingers fit comfortably underneath.
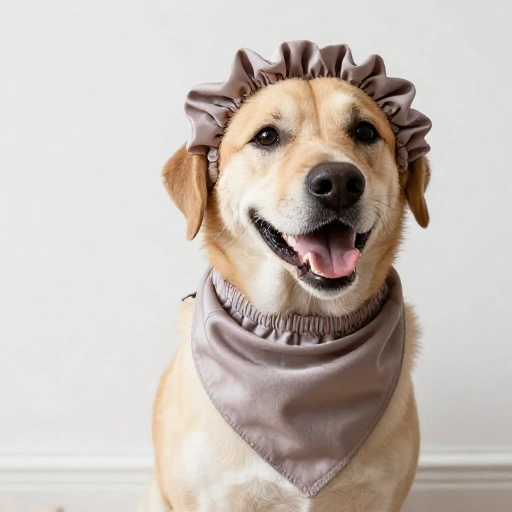
6. Tie-Dye and Fabric Paint Bandanas
Plain bandanas are fine, but hand-painted ones are the ones people stop me on the street to ask about.
Buy a pack of cheap white cotton bandanas, then go wild with fabric markers, paint pens, or a tie-dye kit. Let your kids help — it’s a mess, but a good mess.
Tips that actually matter: put cardboard underneath so paint doesn’t bleed through, and heat-set the design with an iron afterward so it survives the washing machine.
I painted tiny paw prints along the edge of one and now it’s my dog’s “signature” bandana.
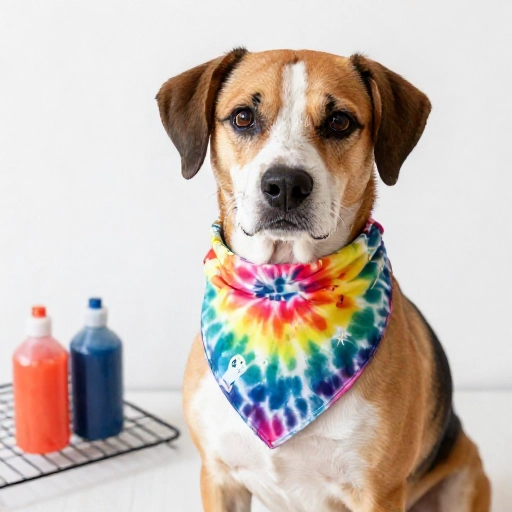
7. Upcycled T-Shirt Bandanas (Basically Free)
You know that t-shirt in the back of the drawer you never wear? Congratulations, it’s now dog apparel.
Cut off the bottom hem, then cut a large square from the body and turn it into a triangle. Cotton jersey doesn’t fray, so there’s zero finishing work required.
The stretch makes it comfy, and if it gets muddy, you just toss it in the wash.
Old flannels and soft linens work great too. I turned a worn-out flannel shirt into three matching bandanas for my dog and my sister’s two pups.
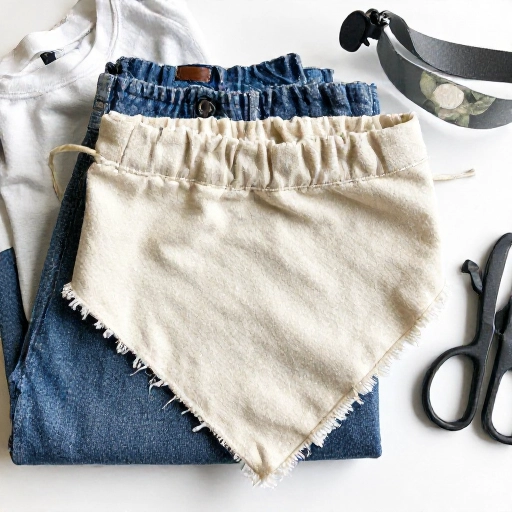
8. Holiday and Seasonal Bandanas
This is where no-sew really shines, because you can make a whole collection for less than the price of one store-bought bandana.
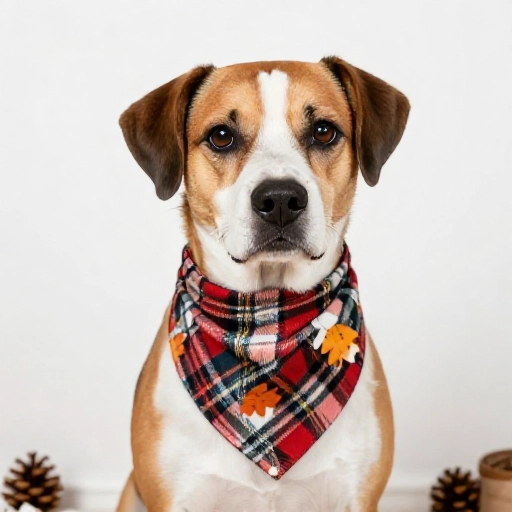
- Fall: flannel plaid, pumpkin print, or burlap-look cotton
- Winter: buffalo check, plaid flannel, or a faux-fur trim along the edge
- Spring: pastel florals and gingham
- Summer: bright fruit prints, nautical stripes, or patriotic stars
- Halloween and Christmas: novelty prints from the seasonal fabric aisle
I keep mine in a little basket by the door and swap them out based on the month. It takes about five seconds and instantly makes every photo look intentional.
9. Personalized Name Bandanas with Iron-On Vinyl
Want your dog’s name, your phone number, or a silly slogan on the bandana? Iron-on vinyl (HTV) makes it easy, no sewing involved.
Print or cut your design on the vinyl, place it on the fabric, and press with an iron following the package directions. A thin towel over the top protects both the vinyl and the fabric.
I put my phone number on the inside back of one bandana “just in case” — it’s a tiny safety feature hiding in a cute accessory.
If you don’t have a cutting machine, pre-made iron-on letters work just as well and cost a couple of dollars.
10. Ruffle, Trim, and Bow-Topped Bandanas
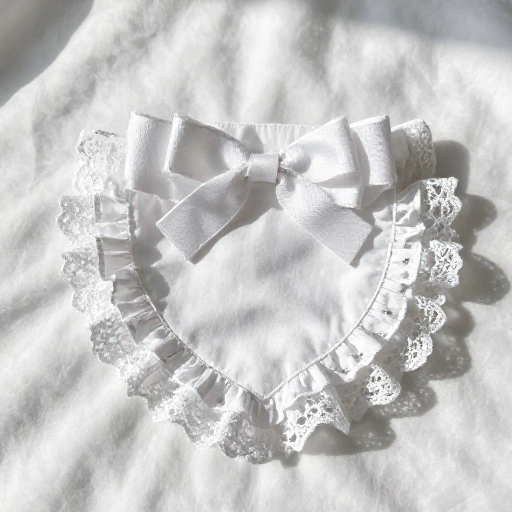
Once you’ve mastered the basic triangle, this is the fun upgrade. Add a strip of pom-pom trim, lace, or a little ruffle along the bottom edge with fabric glue.
For a bow: cut a rectangle, pinch the middle, wrap a small strip of fabric around the pinch, and glue it to the front of the bandana. Instant fancy.
My rule of thumb is simple — if your dog is already wearing a busy print, keep the trim plain. If the fabric is solid, go a little wild with the extras.
A Few Final Thoughts Before You Start Cutting
No-sew dog bandanas are one of those rare crafts that are genuinely beginner-friendly, cheap, and useful. Once you make one, you’ll probably make ten.
My biggest advice: always measure your dog’s neck before cutting, wash your fabric first so it doesn’t shrink later, and never tie anything tighter than you’d tie around your own wrist comfortably.
And if the first one comes out a little crooked? Your dog will never notice. They’ll just be thrilled about the extra attention.
FAQ: DIY No-Sew Dog Bandanas
How do I measure my dog for a bandana?
Wrap a soft measuring tape around the middle of the neck, snug but not tight, and add 4 to 6 inches for tying room. For slip-on collar bandanas, just measure the flat length of the collar instead.
What’s the best fabric for a no-sew dog bandana?
Cotton and cotton blends are easiest because they hold a fold and take glue well. Flannel, jersey knit, and linen all work. Avoid stiff outdoor fabrics, which can rub and feel scratchy.
Will fabric glue hold up in the washing machine?
Most permanent fabric glues will, as long as you let them cure fully (usually 24 hours) and wash on gentle in cold water. I hand-wash the fancy ones and machine-wash the everyday ones.
How do I stop the fabric from fraying?
Run a thin line of fabric glue along the cut edges, or use iron-on hem tape. Knit fabrics like t-shirt material barely fray, so they need almost no finishing.
Is it safe for my dog to wear a bandana all day?
As long as it’s loose enough to slide two fingers underneath, yes — but I always take it off for crate time, unsupervised play, and any situation where it could catch on something. Safety first, cute second.