10 DIY Dog Training Obstacles You Can Build Today (Cheap & Easy!)
Let’s be real—training a dog inside the same four walls every single day gets boring fast. For both of you! I noticed my own pup’s eyes glazing over during our fifth round of “sit” in the living room. That’s when I realized we needed a serious upgrade to our playtime.
The good news? You don’t need a fancy agility course or a professional trainer’s budget to make things exciting. I started building my own obstacles with stuff I had lying around the house. It’s easier than you think, and your dog will think you’re a superhero. Plus, these DIY projects are perfect for burning off that crazy puppy energy or keeping a senior dog’s mind sharp.
So, grab some PVC pipes, old towels, and a few cardboard boxes. Here are my top ten DIY dog training obstacles that are guaranteed to make your training sessions ten times more fun.
1. The Classic PVC Jump Bar
This is the absolute cornerstone of any home agility setup. It’s incredibly simple to make and teaches your dog to coordinate their back legs. All you need is some PVC pipe, a few elbow joints, and some sand or gravel to weigh down the bases.
I made mine adjustable by using different lengths of pipe for the uprights. This way, I can start super low for a puppy and raise it as they get more confident. It’s a fantastic way to build hind-leg awareness.
Start with the bar on the ground and just walk over it with your dog. Once they are comfortable, pop it up a few inches. Always use a happy voice and lots of treats to make it a game, not a chore.
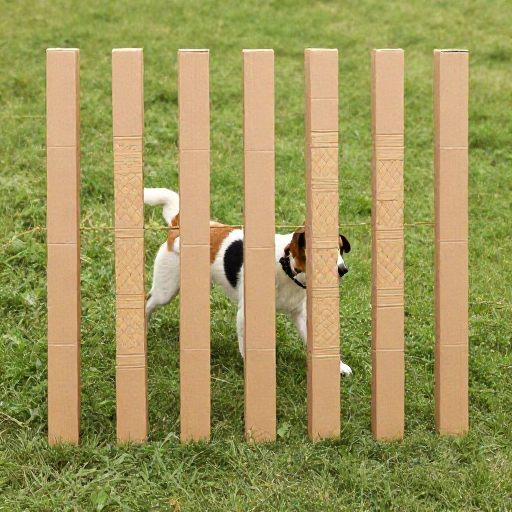
2. The Weave Poles (Cardboard Box Edition)
Weave poles are famous for being tricky, but you don’t need the fancy metal ones to start. Grab six or eight tall cardboard boxes—like the ones from Amazon—and flatten the bottoms so they don’t slide. Place them in a straight line about four feet apart.
This is a mental workout as much as a physical one. Your dog has to figure out how to slither their body through the line. I love using these for building confidence because they are completely harmless and quiet if your dog bumps into them.
Guide your dog through with a treat in your hand, making sure they are following your body language. Once they get the hang of it, you can space them tighter together for more of a challenge.
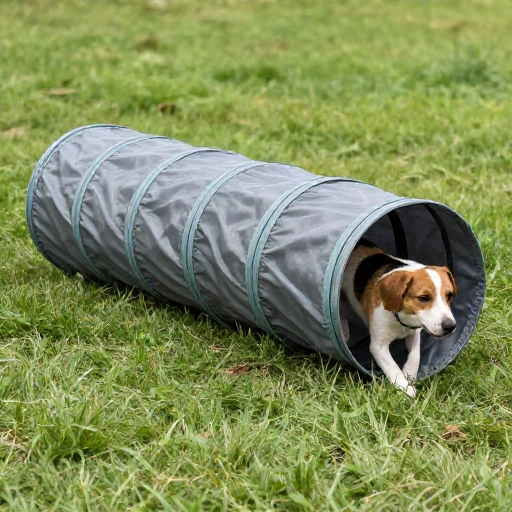
3. The Pool Noodle Tunnel
Tunnels can be expensive, but a children’s play tunnel or a DIY version made from a large cardboard tube is just as good. My favorite hack? Taping a few pool noodles to the edges of a flattened box to create a flexible, fun tunnel.
If you have a pop-up laundry hamper, that works perfectly too. The key is to make it short and see-through at first. I held the end open so my dog could see me on the other side. This prevents fear and encourages them to run through.
Start by tossing a treat just inside the entrance. As they get braver, toss it further in until they are running all the way through. It’s amazing exercise for their core muscles!
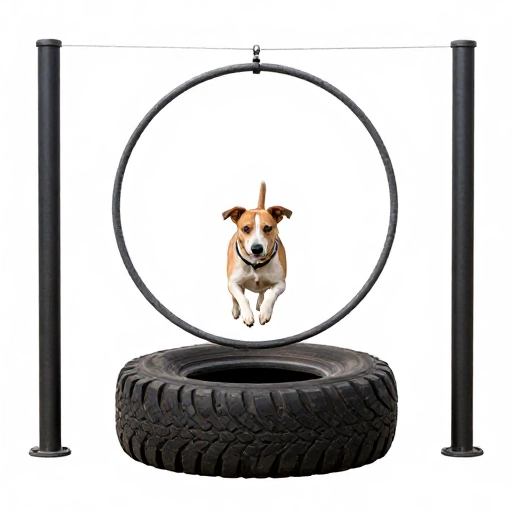
4. The Tire Jump (Hula Hoop Style)
A real tire can be heavy and scary. Instead, I use a hula hoop. You can hold it yourself or duct tape it to two chairs. It gives the same visual effect as a tire jump but is completely lightweight and safe.
Start with the hoop resting on the ground. Have your dog step through it while you hold a treat on the other side. Slowly lift the hoop off the ground as they get more confident.
This obstacle is fantastic for teaching your dog to tuck their paws and jump with precision. It looks super impressive too when you finally get that perfect mid-air shot!
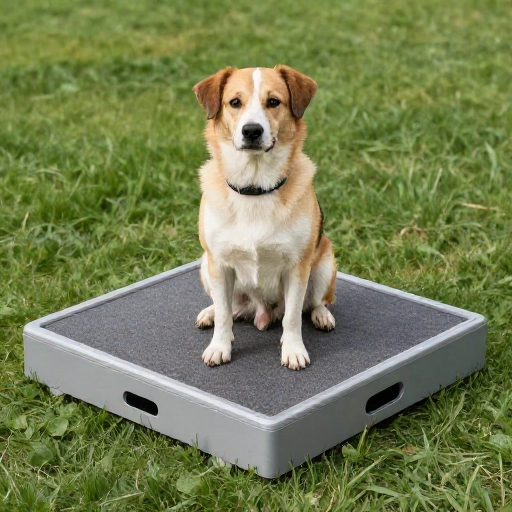
5. The Pause Box (Place Training)
This isn’t about jumping—it’s about control. Find any sturdy, flat surface like a large cutting board, a low stool, or a flat storage bin turned upside down. This becomes your dog’s “pause box.”
Teach your dog to jump up and sit or down on this specific surface. I use this in between other obstacles to help my dog calm down and focus. It’s a great way to practice impulse control.
Use a high-value treat and a specific command like “box” or “place.” Once they are up there, reward them for staying. This builds a solid foundation for obedience in distracting environments.
6. The Wobble Board (Balance and Core)
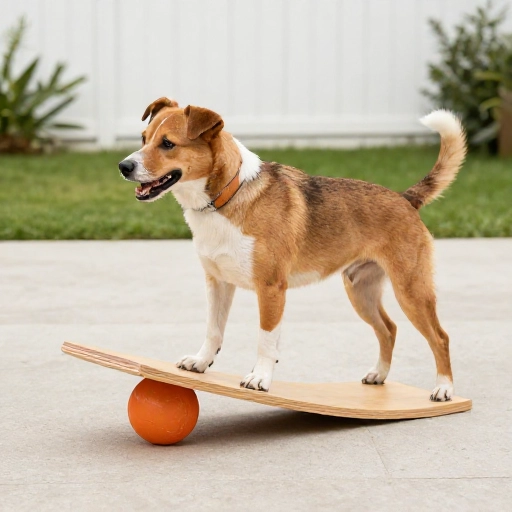
This one is a little more advanced but so good for building strength. Take a sturdy piece of plywood and place a tennis ball or a small ball of duct tape underneath the center. The goal is for your dog to stand on it without letting the edges touch the ground.
Start by having them just put two paws on it while you reward them. The unstable surface forces them to engage their core muscles. It’s like a yoga class for your pup!
Be patient with this one. It can be a bit weird for them at first. Always stay close to prevent them from jumping off in a panic. Short sessions are key here.
7. The Elevated Dog Walk (Low Plank)
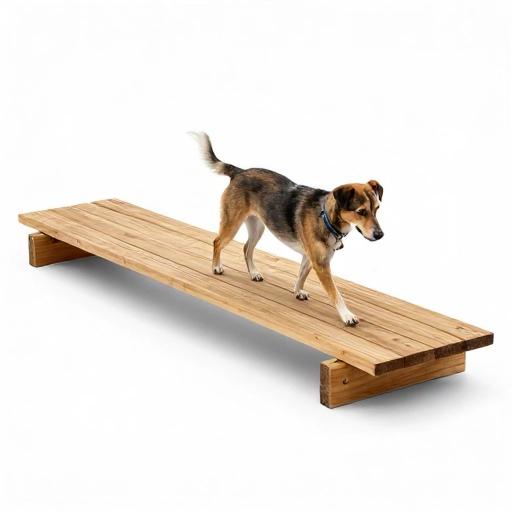
You don’t need a high, scary dog walk. Create a low version using a sturdy plank or a long piece of wood placed on two low stacks of books or bricks. The goal is to teach balance and confidence at a safe height.
Guide your dog along the plank with a treat, praising them the entire way. Make sure the plank is wide enough for their paws and has a rough surface so they don’t slip. I added a bit of non-slip drawer liner to mine.
This is amazing for dogs that are nervous about new surfaces. It teaches them to trust their feet and builds massive confidence.
8. The Tire Weave (Chair Legs)
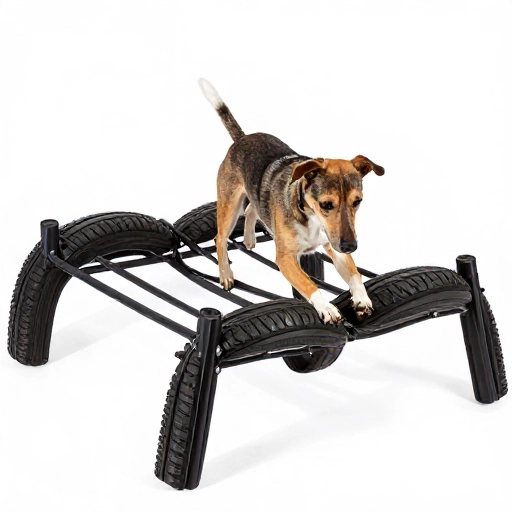
If you have a few sturdy chairs, turn them upside down and use the legs as a weaving challenge. It’s a bit tighter and more technical than the box weave, offering a new mental challenge for your dog.
Walk your dog slowly through the legs of the chairs, using a treat to lure them in a figure-eight pattern. The restricted space helps them learn to move their bodies carefully.
This is a fantastic indoor activity for rainy days. It requires focus and precision without taking up too much space in your living room.
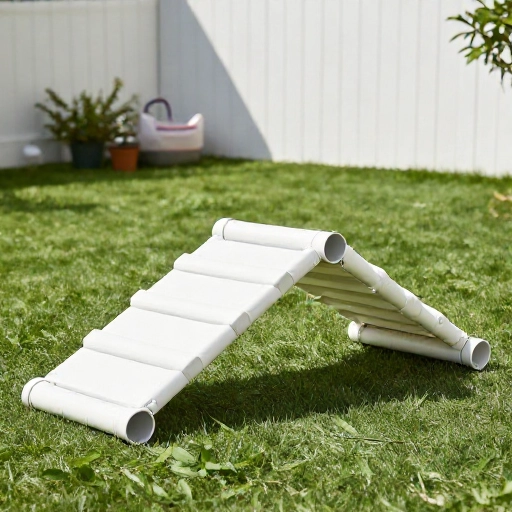
9. The “A-Frame” (Ironing Board or Plywood)
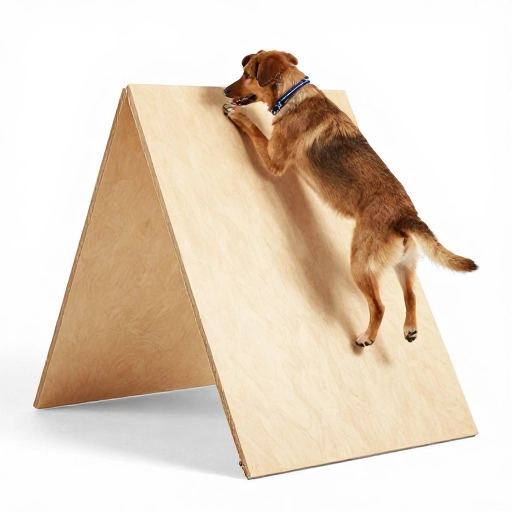
The A-Frame looks daunting, but you can make a mini version using an ironing board set to a low angle, or two pieces of plywood hinged together. The key is a very shallow angle, like a gentle hill, not a steep mountain.
I use a piece of plywood propped up on a sofa cushion to create a ramp. Teach them to go up one side and down the other. This builds strength in their shoulders and teaches them how to handle steep inclines safely.
Always use a “wait” command at the top to ensure they pause before coming down. This prevents them from launching off and hurting themselves.
10. The Table Top (Jump Up and Stay)
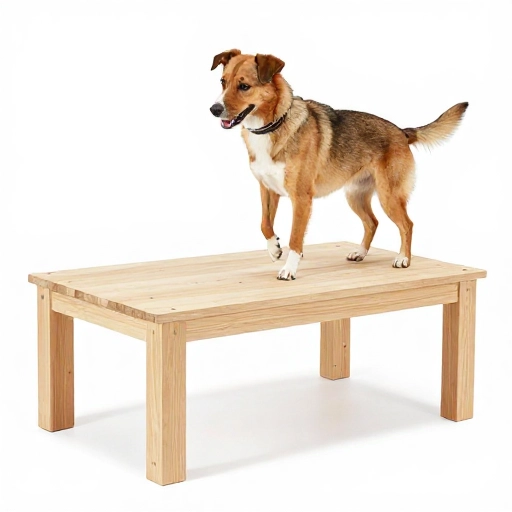
Find a sturdy, low coffee table or a large, heavy-duty storage bin. The goal is for your dog to jump up and lie down on command. This is a fantastic way to teach a solid “stay” in a fun context.
Start by luring them up with a treat. Once they are on top, give them the “down” command and reward them. Then, add the “stay” command and take one step back.
This obstacle builds muscle in their hindquarters and gives them a clear, defined space to focus on. It’s also super handy for getting them out of the way when you have guests over!
Time to Get Building!
I hope you are feeling inspired to create your own backyard (or living room!) obstacle course. You don’t need expensive gear to have a happy, well-trained dog. You just need a little creativity and a lot of treats.
Remember, the goal is to have fun. If your dog seems scared or overwhelmed, slow down. Go back to a simpler step. Every dog learns at their own pace, and the journey is just as important as the destination. Happy training!
Frequently Asked Questions
1. How do I get my dog to use the obstacles if they are scared?
Start by letting them explore the obstacle at their own pace. Don’t force them. Place treats on and around it. Just walk near it and reward them for looking at it. Patience is your best tool. Always build a positive association before asking for a behavior.
2. What is the best age to start agility training?
Puppies can start learning the basics on the ground immediately, but avoid high jumps or hard surfaces until their growth plates close (around 12-18 months for large breeds). For puppies, keep everything low and focus on fun and confidence, not physical stress.
3. Are these DIY obstacles safe for all dog breeds?
Generally, yes! The key is to adjust the height and difficulty to your specific dog. Brachycephalic breeds (like Pugs or Frenchies) should have shorter sessions and minimal jumping. Always consult your vet if you have concerns about your dog’s joints or health.
4. How often should I train with these obstacles?
Short and sweet is the rule! Try 5-10 minute sessions a few times a week. It’s better to stop while your dog is still excited and wanting more than to push them until they are tired or bored. This keeps training fun.
5. What treats work best for training?
Use small, soft, and smelly treats that they don’t get every day. Think tiny pieces of chicken, cheese, or hot dogs. These are high-value and keep their attention focused on you during the training session.