How to Build the Ultimate Grooming Station for Small Dogs (Even in a Tiny Space)
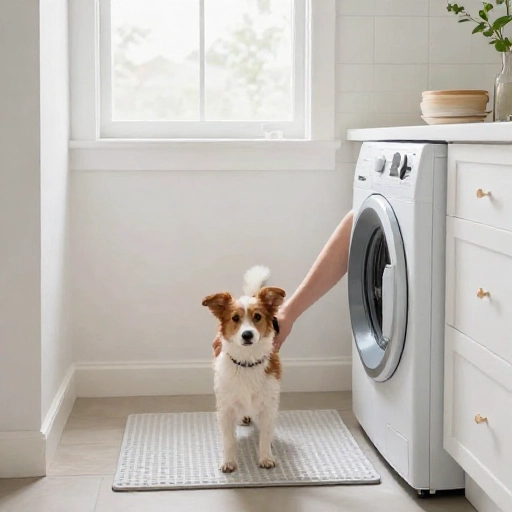
Let’s be real—bathing a wiggly 8-pound pup in a full-size bathtub is a workout. You end up bending over, chasing a wet soapy blur, and somehow getting more water on yourself than on your dog. I finally hit my limit and decided to build a dedicated grooming station for my little guy, and honestly, it changed everything. No more back pain, no more slippery escape artists.
You don’t need a fancy salon or a huge mudroom to make this happen. With a little creativity, you can build a practical and cute grooming nook that fits your home and your dog’s needs. Whether you have a laundry room corner, a spare bathroom, or just a sturdy table, this guide is going to walk you through 10 specific ideas to get it done.
1. Pick the Perfect Spot: It’s All About Your Back
The whole point of a grooming station is to save your spine. You want the surface to hit you right around your waist or slightly lower, so you don’t have to hunch over. I use an old sturdy dresser in my laundry room. It’s the perfect height.
Look around your house for a spot that has easy access to water (even if it’s just a bucket refill) and an outlet for the dryer. You also want a place that’s easy to wipe down—a floor that can handle a few splashes is a big bonus.
If you don’t have a spare table, you can convert a heavy-duty plastic storage bin. Just make sure it won’t wobble when your pup inevitably tries to do a little dance on it.
2. The Non-Slip Mat Is Your Best Friend
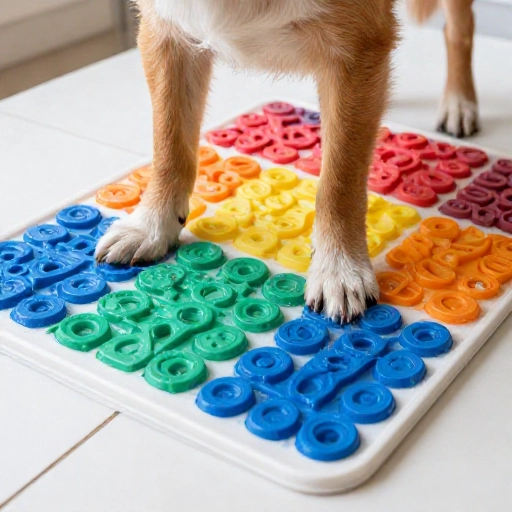
Nothing scares a small dog more than sliding around on a wet surface. Their little paws start to splay out, and they panic. I learned this the hard way with a terrified Maltese. Now, a high-quality rubber or yoga mat is the foundation of my setup.
You want something that is grippy on the bottom and grippy on the top. A bath mat with strong suction cups works great on a plastic surface. If you’re using a wooden table, a simple shelf-liner material works wonders and is super cheap.
This little step does more than just keep your dog safe—it keeps them calm. When they feel secure, they stand still, which makes the whole process 10 times faster.
3. The DIY Grooming Arm (Or The “Hug” Hold)
You don’t have to buy a pricey professional grooming arm. I made mine with a simple clamp-on swivel arm and a padded loop. You can find these parts at most hardware stores or even repurpose an old mic stand if you have one lying around.
This arm is a game-changer for nail trims and face trims. It holds your dog’s head gently in place, so you don’t have to use your elbow to try and pin them down. It keeps both of your hands free to work.
If you aren’t handy with tools, just drape a long leash around your neck and clip it to their collar over the top of their head. This creates a gentle “hug” that keeps them from lunging forward, but still allows them to sit or lie down.
4. A Quick-Rinse Attachment for the Sink
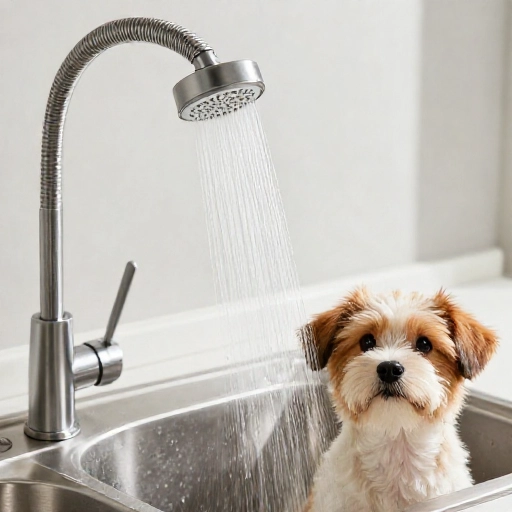
Filling up a bucket and pouring it over your dog is messy. Instead, invest in a simple faucet adapter and a detachable shower sprayer. This is probably the best $30 I have ever spent. It makes rinsing out shampoo so much easier.
You just unscrew your existing faucet aerator, screw on the adapter, and click in your sprayer hose. It takes about two minutes to install. Make sure you get one that has a “stop” button on the handle so you aren’t spraying water everywhere when you reach for the conditioner.
Warm water is key here. Cold water makes your dog tense up, and hot water is a no-go. Aim for a nice lukewarm temperature that feels like a comfortable baby bath.
5. The “Suds Up” Station: Portable Tub Ideas
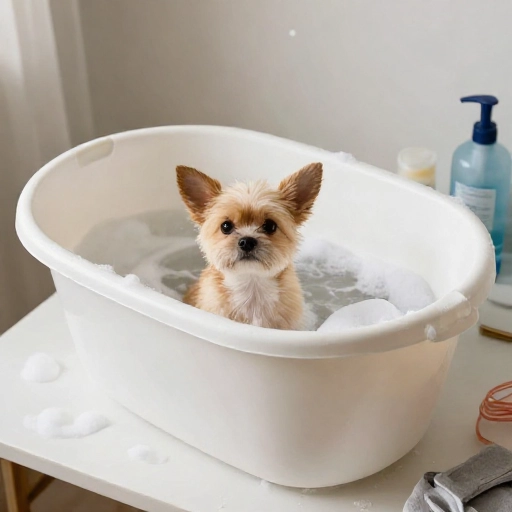
You don’t need a permanent tub. I use a collapsible dog bath tub that sits right on my grooming table. It’s tall enough to hold the water, but soft on the outside so it doesn’t scratch my furniture. When I’m done, I fold it flat and store it behind the door.
Another great hack is using a large plastic storage tote. Cut a small notch in the lip of the tote so you can route the drain hose through it. This creates a DIY drain that lets the water flow out into a bucket below.
For the smallest pups, a double-basin sink is actually the dream. If you don’t have one, a simple baby bathtub with a sling works perfectly. It supports their belly and keeps them feeling cozy.
6. Keep Everything Within Arm’s Reach
I used to have a set of drawers full of grooming stuff, and I would always forget the slicker brush right when I needed it. Now, I have a magnetic strip on the wall next to my station, and I attached small metal tins to it. Those tins hold my combs, scissors, and nail clippers.
A simple over-the-door shoe organizer is also a genius grooming caddy. You can label each pocket: “Shampoo,” “Conditioner,” “Towels,” “Styptic Powder.” It keeps everything visible and organized.
This is about flow. The less time you spend hunting for a brush, the less time you have to wrestle a wet dog. Efficiency is the name of the game here.
7. The Towel Warmer Hack
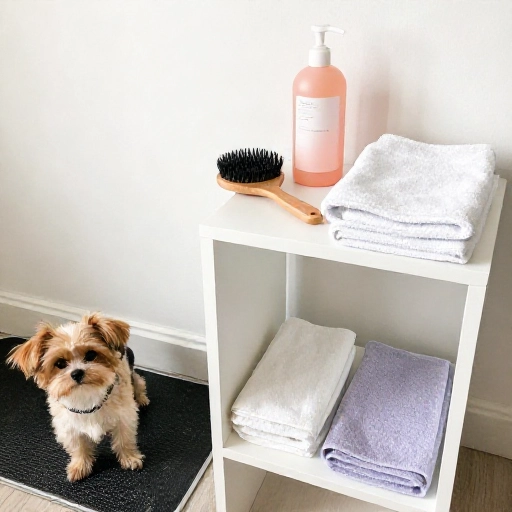
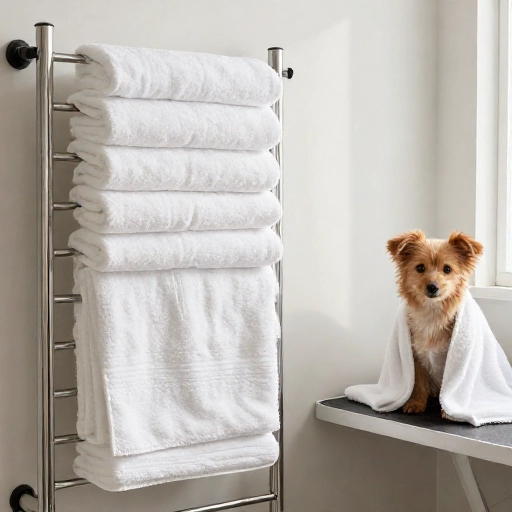
This is the ultimate luxury for a small dog. They hate the cold shiver after a bath. I pop two towels in the dryer for five minutes before I start the rinse cycle. When I pull the plug on the bath, I wrap my pup in a toasty warm towel.
If you don’t want to run the dryer, you can use a heating pad on a low setting under a dry towel on the table. Just make sure the dog isn’t lying directly on a hot surface for too long.
Warm towels help them dry faster because the blood vessels dilate and release the moisture. Plus, it makes the whole experience feel like a spa day, which means they are less likely to run and hide next time they see the tub.
8. The Drying Station: Hands-Free Solutions
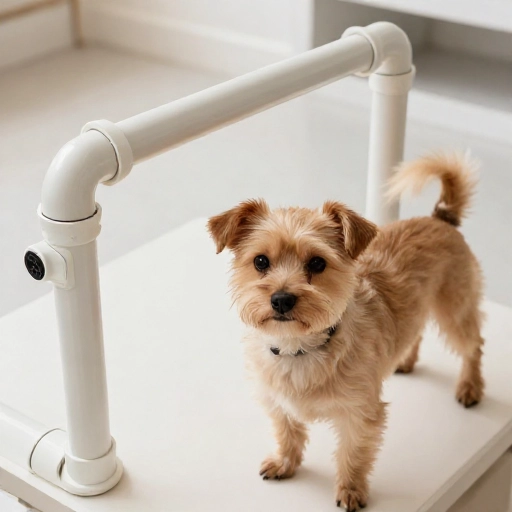
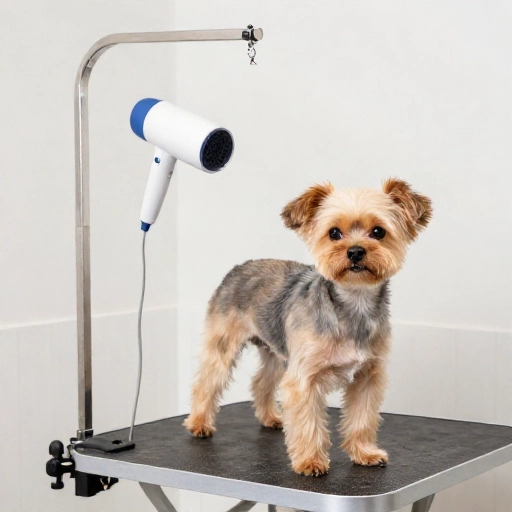
Holding a hairdryer in one hand and a brush in the other while trying to control a dog is impossible. I built a simple PVC pipe frame that holds my hairdryer on a flexible arm. It points down at the table, so I can use both hands to brush and stretch the fur.
If you don’t have a stand, you can use a grooming loop attached to the wall to keep them in place while you use the dryer. You can also place the dryer on a sturdy box and just move the dog around to meet the airflow.
Always use the low heat setting. Small dogs have sensitive skin, and too much heat can cause burns. Keep the dryer moving and use a slicker brush to lift the hair up as you go.
9. The Anti-Slip Nail Trim Setup
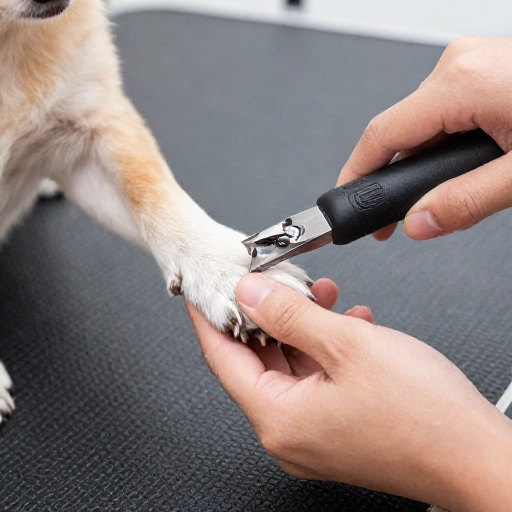
Nail trims are usually the scariest part for both of us. I bought a small, inexpensive “hammock” that hangs from the ceiling or a doorframe. It has four leg holes, and you hang your dog in it. They just dangle there, and you have full access to all four paws.
If you don’t want to hang them, you can do the “burrito” method. Wrap them tightly in a towel with one paw sticking out. This calms them down and limits their movement, making it safer to clip.
Make sure to have styptic powder (blood clotting powder) right next to you. If you accidentally cut the quick, you can just dip the nail in the powder and stop the bleeding instantly. It saves you from a panic attack.
10. Lighting and Calm Vibes
Good lighting is crucial. You need to see the skin clearly to check for rashes, fleas, or mats. I installed a simple battery-operated LED bar under my cabinet that points directly at the grooming table. It makes a world of difference.
Consider playing some soft, classical music or “dog calming” playlists. I swear by this. The soothing sounds mask the scary noises of the dryer and the water. It helps to lower their heart rate.
Also, keep a jar of high-value treats (like tiny bits of chicken) right at the station. This makes the experience positive. They learn that standing on the table means getting delicious snacks, which builds a great routine.
Conclusion: A Little Setup Goes a Long Way
Building a grooming station isn’t about creating a Pinterest-perfect room. It’s about making bath time easier, safer, and more enjoyable for you and your furry friend. Once I set mine up, grooming went from a dreaded chore to a fun bonding activity. Start small—even just adding a non-slip mat and a portable sprayer will change your life. Your back and your pup will thank you.
Frequently Asked Questions
1. How high should my dog grooming table be?
It should be about waist height so you don’t have to bend over. For most people, that’s between 30 and 36 inches off the ground. Use a sturdy table or dresser that hits that mark.
2. Can I use my regular human shampoo on my small dog?
No, you should avoid it. Human shampoo has a different pH level and can dry out your dog’s skin. Always use a gentle, dog-specific shampoo that is tear-free and safe for their coat.
3. How often should I groom my small dog?
It depends on the breed. Long-haired breeds need daily brushing, but a full bath is usually only needed every 3-4 weeks. Over-bathing can strip their natural oils and cause skin irritation.
4. What is the safest way to dry a nervous small dog?
Use a low-heat setting and keep the dryer moving. Start by pointing it away from them so they get used to the sound. You can also use a high-absorbency microfiber towel to blot them first, which cuts down on drying time.
5. My dog hates the grooming table. What can I do?
Start by just putting them on the table with lots of treats and no grooming happening. Let them sniff and explore. Do this for a few days before you even bring out the brush. Always end on a positive note with a treat and a “go play” release.