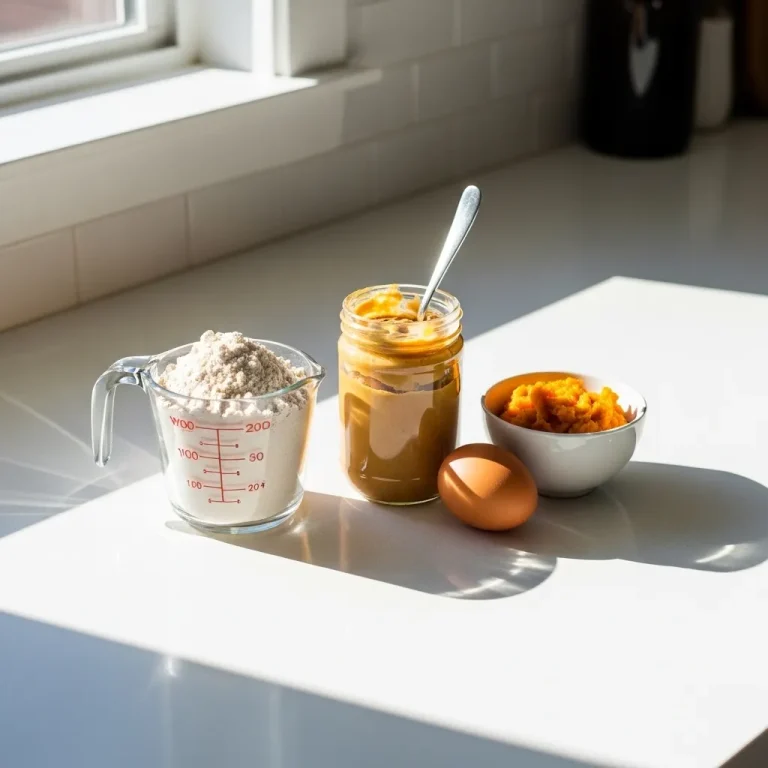
Irresistible Pumpkin Dog Treats: Your Pup Will Beg for These Healthy Homemade Biscuits!
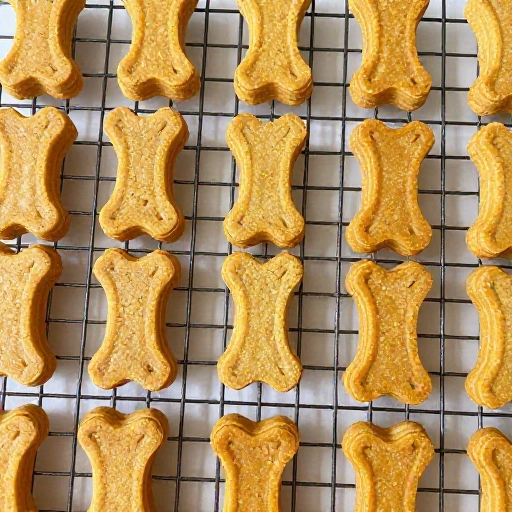
You know that look—the one your dog gives you when you’re eating something delicious. I get it every time I open a snack. So, I decided to whip up something we both could feel good about. These pumpkin dog treats are my go-to recipe now, and let me tell you, they disappear faster than I can bake them.
Pumpkin isn’t just a fall flavor; it’s a superfood for your furry friend. Packed with fiber and vitamins, it’s gentle on tummies and makes for a crunchy, satisfying chew. Plus, the smell of these baking in the oven is pure cozy goodness—your whole kitchen will smell like a pumpkin spice dream, but without any of the harmful stuff.
I’ve tested this recipe a dozen times to get the perfect texture. Not too hard, not too crumbly—just right for training treats or a special afternoon snack. Ready to make your pup’s tail wag? Let’s get baking.
Why This Pumpkin Dog Treat Recipe Works
I wanted a treat that was simple, healthy, and actually tasty for dogs. No weird preservatives, no excess sugar, just real ingredients you probably already have in your pantry. Pumpkin is the star here because it’s naturally low in calories and high in fiber, which helps with digestion. It also adds a natural sweetness that dogs go crazy for.
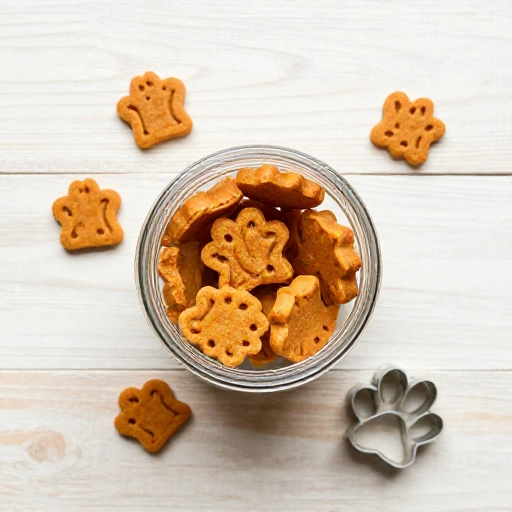
Another reason I love this recipe? It’s foolproof. The dough comes together in minutes, and you can use cookie cutters in fun shapes like bones, paws, or pumpkins. Your pup won’t care about the shape, but it makes the whole process more fun for you. Plus, these treats stay fresh for weeks in an airtight container—if they last that long!
Equipment You’ll Need
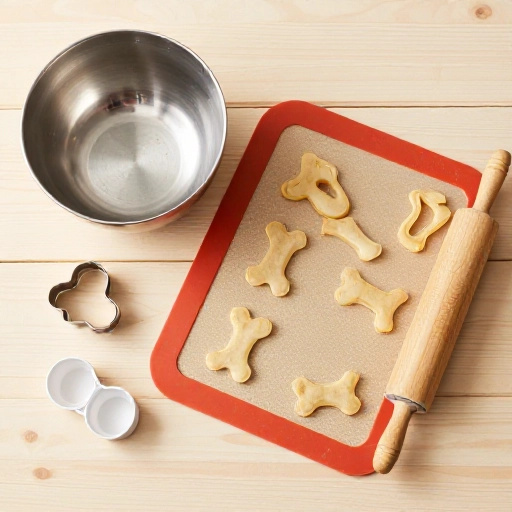
Don’t worry—you don’t need any fancy gadgets for this one. Here’s what I use every time:
- Mixing bowls – one large, one small
- Measuring cups and spoons
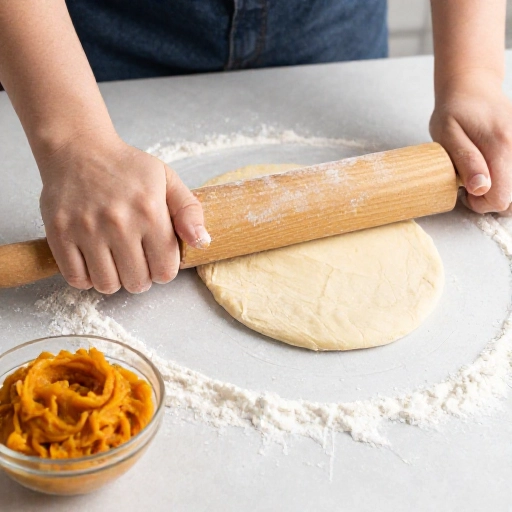
- Rolling pin – or a clean wine bottle works too!
- Cookie cutters – bone shapes are cute, but any small cutter works
- Baking sheet – lined with parchment paper
- Cooling rack – helps them crisp up evenly
That’s it! No stand mixer, no food processor. Just good old-fashioned hand mixing.
Ingredients You’ll Need
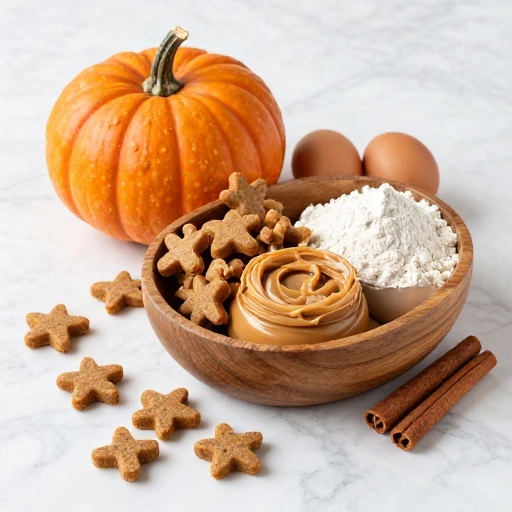
Here’s the short and sweet list. I bet you have most of these in your kitchen right now:
- 1 cup canned pumpkin puree (make sure it’s 100% pumpkin, not pie filling)
- 2 large eggs
- 2 ½ cups whole wheat flour (or oat flour for a grain-free option)
- 1 tablespoon coconut oil, melted
- ½ teaspoon ground cinnamon (optional, but dogs love it)
That’s it. Seriously. No salt, no sugar, no weird additives. Just pure, simple goodness for your four-legged bestie.
How to Make Pumpkin Dog Treats Step by Step
Let’s walk through this together. It’s easier than you think!
- Preheat your oven to 350°F (175°C). Line a baking sheet with parchment paper.
- Mix the wet ingredients: In a large bowl, combine the pumpkin puree, eggs, and melted coconut oil. Stir until smooth and creamy.
- Add the dry ingredients: Gradually add the flour and cinnamon (if using). Mix with a spatula until a stiff dough forms. If it’s too sticky, add a little more flour; if too dry, add a splash of water.
- Roll out the dough: Lightly flour your countertop. Roll the dough to about ¼-inch thickness. Not too thin, or they’ll burn; not too thick, or they’ll be soft in the middle.
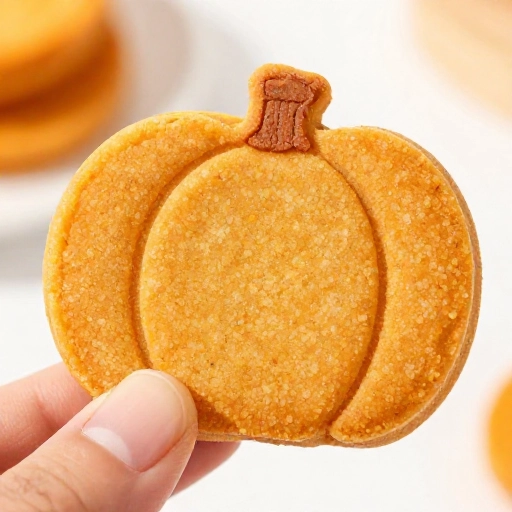
- Cut into shapes: Use your cookie cutters to press out the treats. Place them on the prepared baking sheet, leaving a little space between each.
- Bake: Pop them in the oven for 20-25 minutes, or until golden and firm to the touch. For crunchier treats, flip them halfway through and bake an extra 5 minutes.
- Cool completely: Transfer to a cooling rack. They’ll harden as they cool, so don’t worry if they seem slightly soft when they first come out.
Store in an airtight container at room temperature for up to 2 weeks, or freeze for up to 3 months. Your pup will thank you!
Tips for the Perfect Batch Every Time
After making these dozens of times, I’ve learned a few tricks. First, don’t overmix the dough—it can make the treats tough. Just stir until everything comes together.
Second, if you want extra-crunchy treats (great for dental health), bake them a little longer and let them sit in the oven after it’s turned off with the door cracked. They’ll dry out beautifully.
And finally, feel free to swap the whole wheat flour for oat flour or even coconut flour. Just note that coconut flour absorbs more liquid, so you’ll need to adjust the amount. Start with 1 cup and add more as needed.
Conclusion
These pumpkin dog treats have become a staple in my home. They’re easy, affordable, and made with love. Watching my pup’s tail go into full helicopter mode when I pull out the treat jar? That’s the best part. I hope your furry friend loves them just as much. Happy baking, and give your pup an extra scratch behind the ears for me!
Frequently Asked Questions
Can I use fresh pumpkin instead of canned?
Absolutely! Just cook and puree a small sugar pumpkin or use roasted butternut squash. Make sure it’s smooth and not watery. If it’s too wet, strain it through a cheesecloth first.
Are these treats safe for puppies?
Yes, they’re safe for puppies over 8 weeks old. Just break them into smaller pieces to prevent choking. Always supervise any treat time with young pups.
Can I make these treats grain-free?
Definitely. Swap the whole wheat flour for oat flour or almond flour. Oat flour gives the best texture. Coconut flour works too, but you’ll need less of it since it’s super absorbent.
How long do these treats stay fresh?
Stored in an airtight container at room temperature, they’ll stay fresh for up to 2 weeks. You can also freeze them for up to 3 months—just thaw a few at a time as needed.
My dog has a sensitive stomach. Will this recipe work?
Pumpkin is actually great for sensitive tummies! This recipe is gentle and simple. If your dog is extra sensitive, skip the cinnamon and use oat flour. Start with a small treat to see how they handle it.