Peanut Butter Training Treats Your Pup Will Work For (3-Ingredient Recipe)
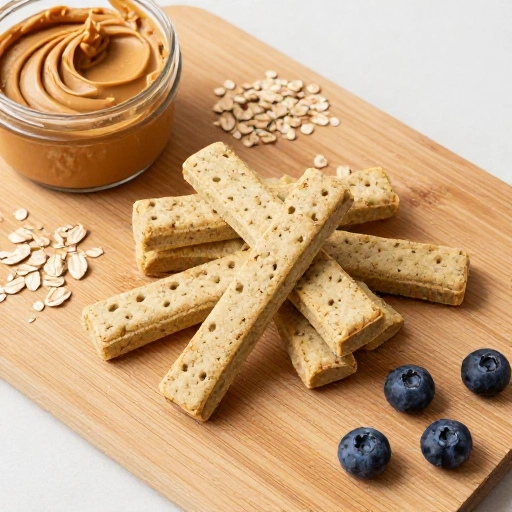
Let’s be real for a second. Training a dog takes patience, consistency, and—most importantly—high-value rewards. I’ve been down the aisle of those store-bought training treats more times than I can count, and while they work in a pinch, they’re often packed with fillers, preservatives, and stuff I can’t even pronounce. That’s when I decided to start making my own training treats at home.
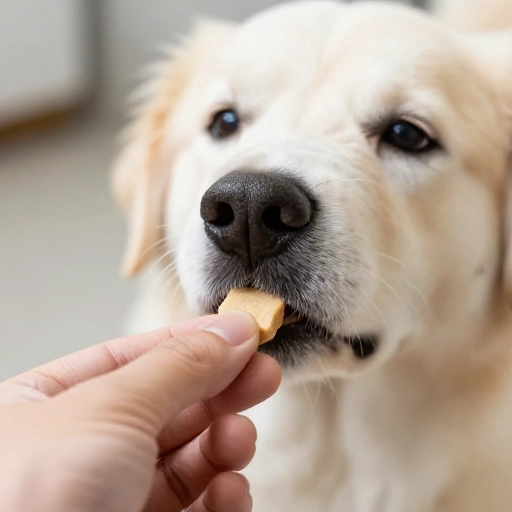
These little bites are tiny, soft, and packed with flavor. Perfect for those ten-minute training sessions when you need to reward your pup quickly without overfeeding them. Plus, they smell amazing (yes, I’ve accidentally eaten one). My dog Leo goes absolutely bonkers for them, and I love knowing exactly what’s inside.
So whether you’re teaching “sit,” “stay,” or just trying to curb that jumping habit, these homemade training treats will make both you and your pup feel like champions.
Why Make Your Own Training Treats?
First off, you control the ingredients. No weird additives, no artificial colors, and definitely no hidden sugar spikes. Store-bought treats can be calorie-dense, which is a problem when you’re handing out twenty tiny rewards during a single training session. Homemade treats let you keep portions small and healthy. Plus, it’s way cheaper in the long run. A batch of these costs less than a single bag of premium training treats, and they freeze beautifully.
Second, your dog will actually work harder for them. I’m not kidding. When Leo smells fresh peanut butter and pumpkin wafting from the kitchen, his focus level goes from zero to hero in seconds. Homemade treats feel special to them, and that extra motivation makes training sessions way more productive.
Equipment You’ll Need (Nothing Fancy)
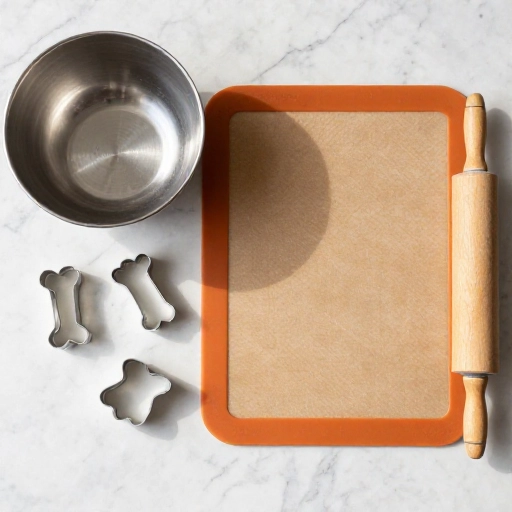
You don’t need a professional kitchen setup for this. Here’s what I use:
- A mixing bowl (any size works)
- A baking sheet (line it with parchment paper for easy cleanup)
- A cookie cutter (small shapes make them look cute, but a knife works too)
- A tablespoon or small scoop for portioning
- Airtight container or freezer bag for storage
That’s it. No food processor required, though you can use one if you want a smoother dough. I prefer mixing by hand because it keeps things rustic and quick.
Ingredients for Soft Training Treats
This recipe makes about 40–50 tiny treats, depending on how small you cut them. Perfect for a week of training sessions.
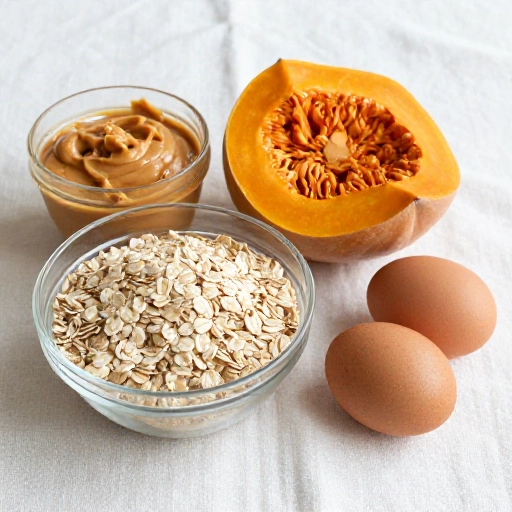
- 1 cup whole wheat flour (or oat flour for grain-free pups)
- 1/2 cup natural peanut butter (no xylitol—check the label!)
- 1/4 cup pumpkin puree (unsweetened, not pumpkin pie filling)
- 1 egg (for binding and protein)
- 1 tablespoon water (if dough feels too dry)
A quick note: peanut butter is the star here, but you can swap in mashed banana or unsweetened applesauce if your dog prefers that. Pumpkin adds fiber and helps with digestion, which is a nice bonus for sensitive tummies.
How to Make These Training Treats Step by Step
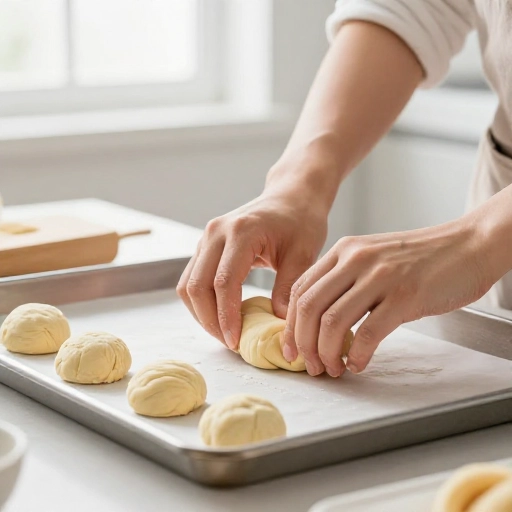
Preheat your oven to 350°F (175°C). Line your baking sheet with parchment paper. In a large mixing bowl, combine the flour, peanut butter, pumpkin puree, and egg. Stir with a wooden spoon until a dough forms. If it’s too crumbly, add water one teaspoon at a time until it comes together.
Sprinkle a little flour on your countertop and roll the dough out to about 1/4-inch thickness. Use your cookie cutter to make small shapes—I use tiny bone shapes, but stars or circles work just as well. Place them on the baking sheet about half an inch apart. Bake for 12–15 minutes, or until the edges are just golden. Let them cool completely on a wire rack before you store them. They’ll firm up as they cool.
Pro tip: Don’t overbake. Soft treats are easier to break into smaller pieces for training, and they stay fresh longer if they’re slightly tender. Your dog won’t complain either way.
Training Tips to Get the Most Out of These Treats
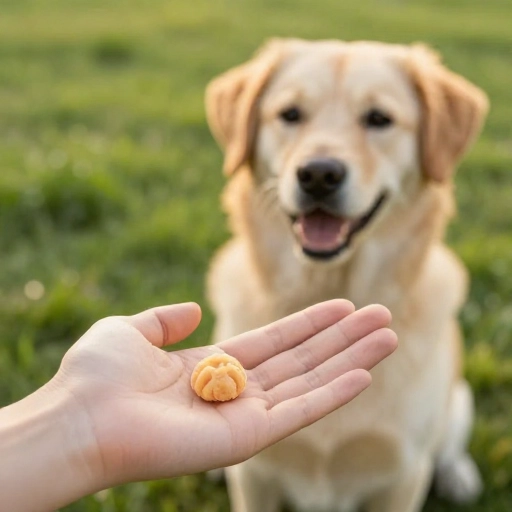
These treats are small by design, but you can break them in half if your dog is tiny or if you’re doing a marathon training session. I like to keep a handful in a treat pouch or even in my pocket during walks. They don’t crumble much, so no sticky mess.
For new behaviors, reward immediately after the action. For example, the second your pup’s butt hits the floor for a “sit,” give them the treat. Timing matters more than the treat itself. Also, rotate flavors every few weeks to keep things interesting. My Leo gets bored with the same thing after a while, so I’ll swap pumpkin for sweet potato or add a pinch of turmeric for a change.
Store these in an airtight container in the fridge for up to two weeks, or freeze them for up to three months. I make a double batch and grab a handful whenever I need them. Defrosting takes about five minutes on the counter.
Conclusion
Making training treats at home isn’t just about saving money or avoiding mystery ingredients—it’s about building a stronger bond with your dog. When you take the time to create something with your own hands, your pup picks up on that energy. Training becomes less about commands and more about teamwork. Plus, watching that tail wag with every tiny bite? Pure joy.
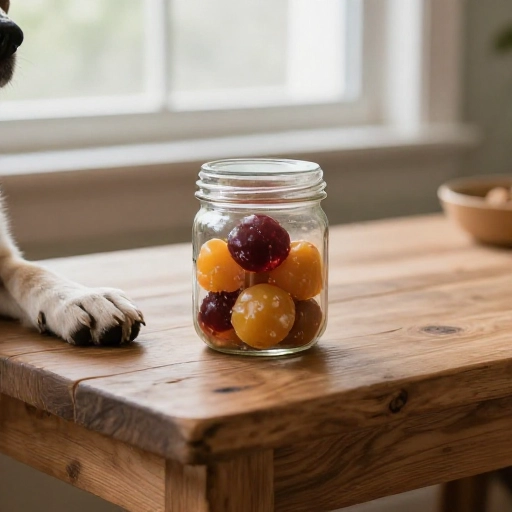
Give this recipe a try, and let me know how your dog reacts. Mine still does a happy dance every time I pull out the treat jar. And honestly, that’s the best reward of all.
Frequently Asked Questions
Can I use almond butter instead of peanut butter?
Yes, but make sure it’s unsalted and doesn’t contain xylitol. Natural almond butter works great. Just be aware that some dogs prefer the stronger peanut butter flavor.
How small should I make these training treats?
Aim for bite-sized pieces about the size of a blueberry. You want your pup to swallow quickly so they stay focused on the training. Tiny cookie cutters are perfect for this.
Can I skip the egg?
You can replace the egg with a flax egg (1 tablespoon ground flaxseed mixed with 3 tablespoons water). The texture will be slightly more crumbly, but it still works for training.
How long do these treats stay fresh?
In an airtight container in the fridge, they last up to two weeks. In the freezer, they stay good for three months. Just thaw a few at a time as needed.
Are these treats suitable for puppies?
Absolutely. The ingredients are gentle, and the soft texture is easy for puppy teeth. Just adjust the size to match your puppy’s mouth and monitor them during training.