Long-Lasting Homemade Dog Treat Recipes for Happy Chewing
We’ve all been there—you give your pup a treat, and it’s gone in about three seconds flat. If your dog loves to chew but you’re tired of store-bought options that either crumble too fast or are packed with questionable ingredients, you’ve come to the right place. These long-lasting homemade dog treats are designed to keep your furry friend busy, happy, and healthy.
What I love about these recipes is that they use simple, wholesome ingredients you probably already have in your pantry. No weird preservatives, no fillers, just real food that your dog will adore. Plus, making them yourself means you control exactly what goes into each bite. Let’s get your kitchen smelling amazing and your dog’s tail wagging!
Whether you have a teething puppy, an aggressive chewer, or just a dog who loves a good snack session, these treats are sturdy enough to last while being gentle on digestion. Ready to become your dog’s favorite chef? Let’s dive in.
Why Your Dog Will Love This Recipe
Dogs are natural chewers—it keeps them mentally stimulated, helps clean their teeth, and satisfies that instinctual urge to gnaw. These homemade treats are not only delicious but also packed with nutritional benefits that support your dog’s overall health.
- Dental health: The firm texture helps scrape away plaque and tartar as your dog chews, promoting healthier gums and fresher breath.
- Digestive support: With simple, recognizable ingredients like pumpkin, oats, and peanut butter, these treats are gentle on sensitive stomachs.
- Mental enrichment: A long-lasting treat gives your dog a job to do—chewing releases feel-good endorphins and reduces boredom.
- No junk: You’re skipping the artificial colors, flavors, and preservatives found in many commercial chews.
Plus, the taste? Let’s just say your dog will probably try to “help” you in the kitchen once they catch a whiff of these baking. It’s a win-win for everyone.
Equipment & Tools Needed
Before we start, let’s gather the essentials. Nothing fancy here—just a few basic kitchen tools you likely already own.
- Baking sheet – A standard rimmed baking sheet works perfectly.
- Parchment paper or silicone baking mat – Keeps treats from sticking and makes cleanup a breeze.
- Large mixing bowl – For combining your ingredients without making a mess.
- Wooden spoon or spatula – For mixing the dough thoroughly.
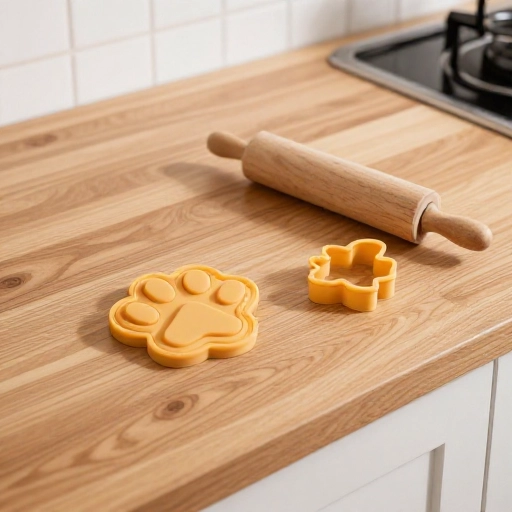
- Rolling pin – Helps you get an even thickness for consistent baking.
- Cookie cutters – Bone shapes are classic, but any sturdy cutter works. For extra-long-lasting treats, use small to medium sizes.
- Cooling rack – Allows treats to cool evenly and prevents sogginess.
- Food processor (optional) – Great if you’re grinding oats into flour or pureeing pumpkin.
That’s it! No special gadgets required. If you don’t have cookie cutters, you can simply slice the dough into rectangles with a knife—your dog won’t mind the shape one bit.
Ingredients You’ll Need
Here’s what you’ll need for two batches of long-lasting treats. Feel free to double if you have a big dog or want to stock up.
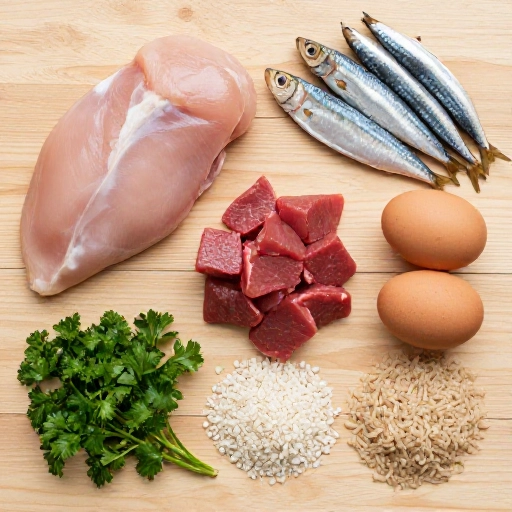
- 2 cups whole wheat flour (or oat flour for grain-sensitive dogs) – Provides structure and chew. Whole wheat is rich in fiber and B vitamins; oat flour is a great alternative for dogs with wheat sensitivities.
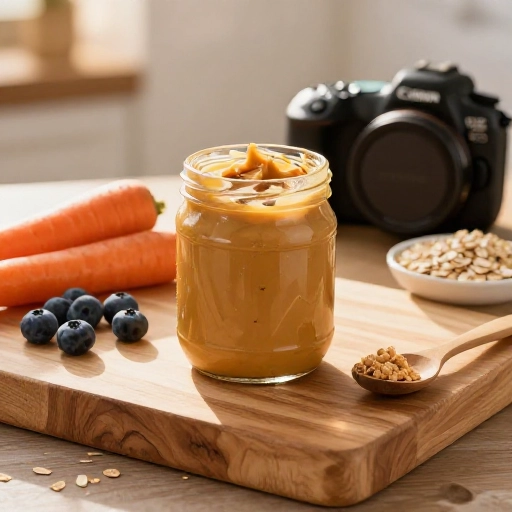
- 1 cup unsweetened pumpkin puree – Adds moisture, fiber, and a beta-carotene boost for eye health. Make sure it’s 100% pumpkin, not pumpkin pie filling.
- 1/2 cup natural peanut butter (xylitol-free) – A protein-packed flavor bomb dogs adore. Always double-check the label—xylitol is toxic to dogs.
- 1/4 cup unsweetened applesauce – Adds natural sweetness and helps bind the dough. You can substitute with mashed banana if you prefer.
- 1 large egg – Helps bind everything together and adds protein and healthy fats.
- 1/4 cup water (or low-sodium chicken broth) – Adjust as needed to bring the dough together. Broth adds extra flavor.
Substitution ideas: Swap pumpkin for sweet potato puree (cooked and mashed). Use coconut flour instead of wheat flour, but note it absorbs more liquid, so start with 1 cup and add water slowly. For a vegan version, replace the egg with a flax egg (1 tablespoon ground flaxseed + 3 tablespoons water, let sit for 5 minutes).
Step-by-Step Instructions: How to Make It
Follow these simple steps, and you’ll have a batch of homemade dog treats ready in about an hour.
- Preheat your oven to 325°F (163°C). Line your baking sheet with parchment paper or a silicone mat.
- Combine dry ingredients – In a large mixing bowl, whisk together the flour and any optional add-ins like a pinch of cinnamon (great for breath) or dried parsley.
- Mix wet ingredients – In a separate bowl, stir together the pumpkin puree, peanut butter, applesauce, and egg until smooth and well combined.
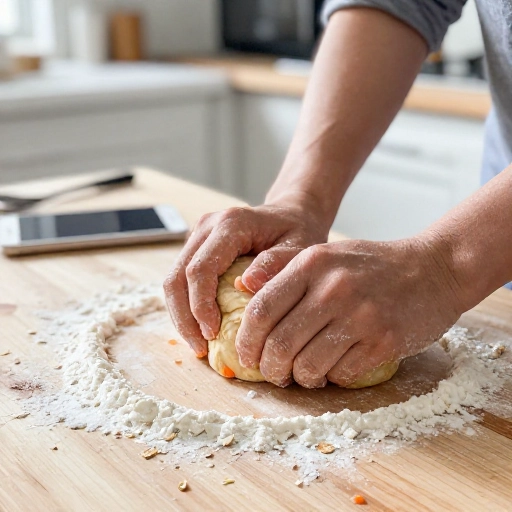
- Bring it all together – Pour the wet mixture into the dry ingredients. Stir with a wooden spoon until a dough forms. If it’s too sticky, add a tablespoon more flour; if too dry, add water or broth a teaspoon at a time.
- Roll out the dough – Lightly flour your countertop or a piece of parchment. Roll the dough to about 1/4-inch thickness for crispy treats or 1/2-inch for chewier, longer-lasting ones.
- Cut your shapes – Use your cookie cutters to press out treats. Place them on the prepared baking sheet, leaving a little space between each (they won’t spread much).
- Bake – Place in the oven and bake for 25–35 minutes, depending on thickness. For extra-hard, long-lasting treats, flip them halfway through and bake for another 10–15 minutes. They should be firm to the touch and lightly golden on the edges.
- Cool completely – Transfer treats to a cooling rack. They will continue to harden as they cool. Don’t skip this step—warm treats can crumble or get soggy.
Once cooled, give one to your pup as a taste test. Their excitement will tell you everything you need to know!
Feeding Guidelines & Serving Sizes
Treats are a wonderful way to bond with your dog, but moderation is key. Here’s a simple guide based on your dog’s weight.
- Small dogs (under 20 lbs): 1 small treat per day. Cut your cookies into tiny sizes if needed.
- Medium dogs (20–50 lbs): 1–2 medium treats per day.
- Large dogs (over 50 lbs): 2–3 treats per day, or one larger chew-style treat.
Remember, treats should make up no more than 10% of your dog’s daily caloric intake. If your dog has specific health concerns like diabetes or obesity, consult your veterinarian before introducing new treats. Always provide fresh water, especially after chewy or dry treats.
For puppies under 6 months, break treats into smaller pieces and supervise chewing to prevent choking hazards. Teething pups especially love these when they’re slightly chilled from the fridge!
Storage & Freezing Tips
These treats are perfect for making in bulk because they store beautifully. Here’s how to keep them fresh.
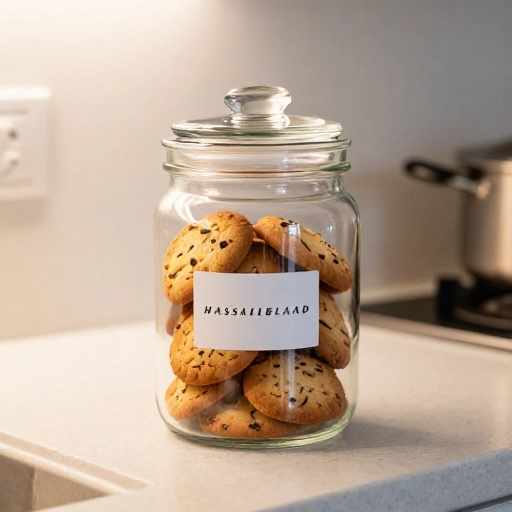
- Room temperature: Store in an airtight container for up to 2 weeks. Keep them in a cool, dry place away from direct sunlight.
- Refrigerator: Extends freshness to about 4 weeks. The fridge also gives them a satisfying crunch that many dogs love.
- Freezer: For long-term storage, place treats in a freezer-safe bag or container. They’ll stay good for up to 6 months. Freeze in portion-sized bags so you can grab a few at a time.
- Thawing: No need to thaw—most dogs enjoy them frozen, especially on warm days. If you prefer softer treats, let them sit at room temperature for 10 minutes before serving.
Pro tip: If you notice any mold or off smells, toss the batch immediately. Homemade treats lack preservatives, so always trust your nose and eyes.
Final Verdict
These long-lasting homemade dog treats are a game-changer for any dog parent. They’re simple to make, budget-friendly, and packed with love and nutrition. Your dog will get the mental stimulation and dental benefits of a good chew, and you’ll have peace of mind knowing exactly what’s in every bite.
Don’t be surprised if your pup starts giving you those “please make more” eyes the moment the batch runs low. The best part? You can easily customize these treats with different flavors—try adding a little shredded carrot, a spoonful of coconut oil, or a sprinkle of turmeric for extra health perks. Baking for your dog is one of the most rewarding ways to show you care, and seeing that happy, wagging tail makes every minute in the kitchen worth it. Happy baking!

Can I use almond butter instead of peanut butter?
Absolutely! Just make sure it’s unsalted and free from xylitol. Almond butter is a great alternative, but it has a slightly different texture, so you may need to adjust the flour slightly if the dough feels too sticky or dry.
How can I make these treats even harder for aggressive chewers?
Roll the dough thinner (about 1/8 inch) and bake at a lower temperature—300°F—for a longer time, around 40–50 minutes. You can also let them sit in the oven after turning it off with the door cracked open to dehydrate further.
Are these treats safe for puppies?
Yes, but always supervise puppies when they’re chewing. For very young pups (under 6 months), consider making smaller treats or breaking them into pieces to prevent any choking risk. The ingredients are gentle and puppy-friendly.
My dog has a grain allergy. What flour should I use?
Oat flour, coconut flour, or chickpea flour are all excellent grain-free options. Oat flour is the easiest to substitute 1:1 for wheat flour. Coconut flour absorbs more liquid, so start with 1 cup and add water as needed until a dough forms.
Can I add supplements like glucosamine or fish oil to these treats?
Yes, you can! Just be mindful of the dosage. For powdered supplements, mix them into the dry ingredients. For liquid oils, reduce the water or broth slightly to keep the dough from becoming too wet. Always check with your vet before adding new supplements to your dog’s diet.