Paw Yeast Infection: Home Remedies for Dogs That Actually Work
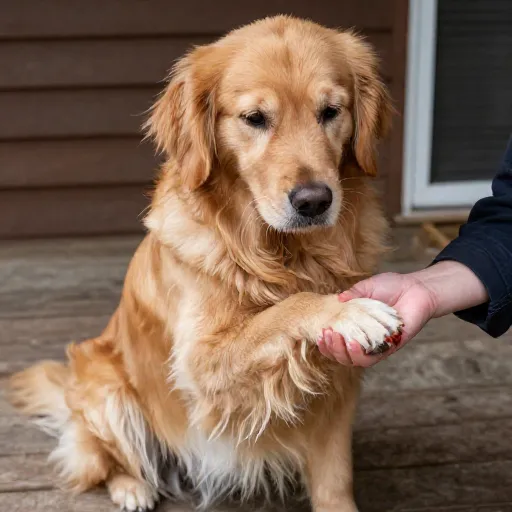
If you’ve ever caught your dog licking their paws non-stop, you know the sound. That relentless, wet, slurping noise in the middle of the night. You lift their paw, take a sniff, and get that unmistakable smell—like Fritos or stale bread. That’s the classic sign of a yeast infection brewing between their toes.
Before you panic, take a breath. Paw yeast infections are super common, especially in breeds with floppy ears or wrinkly skin. And the good news? Many mild cases can be tackled right at home with stuff you probably already have in your pantry. I’ve been through this with my own golden retriever, so let me walk you through what works—and what to avoid.
Just remember, I’m sharing what helped my pup and what vets generally recommend for mild cases. If the paws are bleeding, swollen, or your dog is in obvious pain, skip the home remedies and head straight to the vet.
1. Apple Cider Vinegar Soak
Apple cider vinegar is like the Swiss Army knife of dog home remedies. It works because yeast hates acidic environments. A quick soak can throw off the pH balance on your dog’s paws, making it harder for the yeast to thrive.
Here’s how I do it: Mix one part raw, unfiltered apple cider vinegar with two parts warm water. If your dog has any open cuts or cracked skin, skip this one—it will sting like crazy.
- Soak each paw for 3 to 5 minutes.
- Pat dry thoroughly with a clean towel.
- Do this once a day for about a week.
Your dog might try to lick the vinegar off, so keep them distracted with a treat or a toy for a few minutes after the soak.
2. Coconut Oil Rubdown
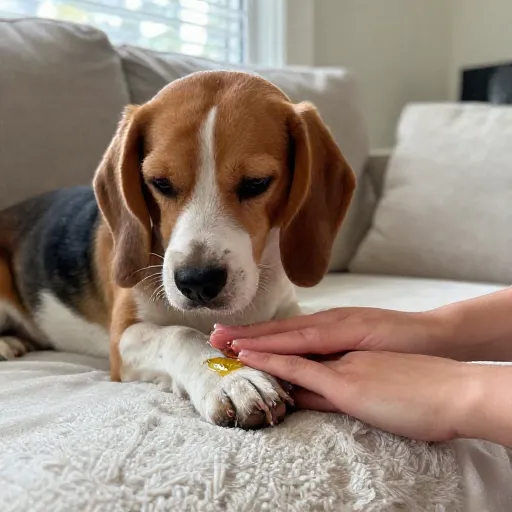
This one is almost too easy. Coconut oil has natural antifungal properties, and most dogs think it’s a treat. I keep a jar in my bathroom just for paw days.
Warm a tiny bit between your fingers and massage it gently into the paw pads and between the toes. The trick is to use just enough to coat the skin, not so much that they’re slipping all over the floor.
Let it sit for about 10 minutes, then wipe off the excess with a paper towel. If your dog licks it off immediately, that’s fine—it’s safe to eat. Just try to let it absorb a little first.
For best results, do this after a bath or a swim, when the paws are already clean.
3. Plain Yogurt for a Gut Reset
Here’s the thing nobody tells you—yeast infections on the paws often start in the gut. If your dog’s immune system is busy fighting off yeast internally, it shows up on the skin. Adding probiotics to their diet can help balance things out from the inside out.
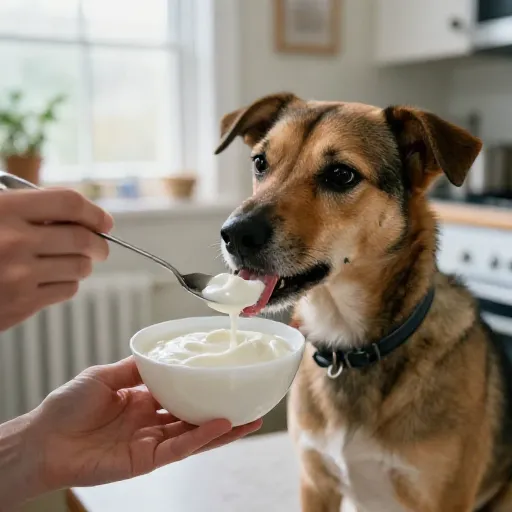
Plain, unsweetened yogurt with live cultures is my go-to. Not the fruity stuff, not the artificial sweetener kind (that’s toxic to dogs), just plain whole milk yogurt.
- Add one teaspoon for small dogs, one tablespoon for medium, and two for large breeds.
- Mix it right into their morning meal.
- Stick with it for at least two weeks to see a difference.
If your dog is lactose sensitive, look for a pet-specific probiotic powder instead. Same idea, zero tummy issues.
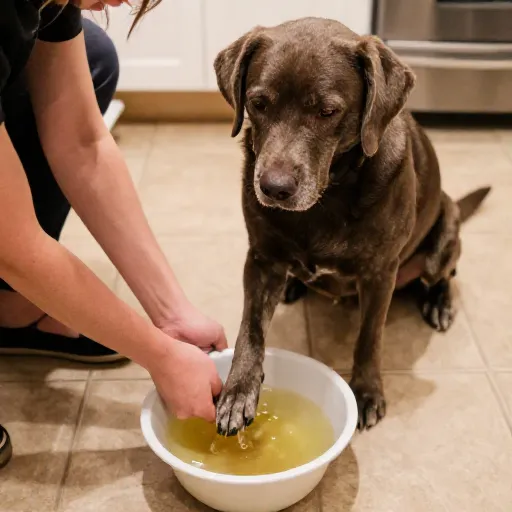
4. The Diluted Betadine Foot Bath
Betadine, or povidone-iodine, is that orange-brown antiseptic liquid you see in first aid kits. It’s a powerhouse against yeast and bacteria, and it’s gentle enough for dogs when diluted properly.
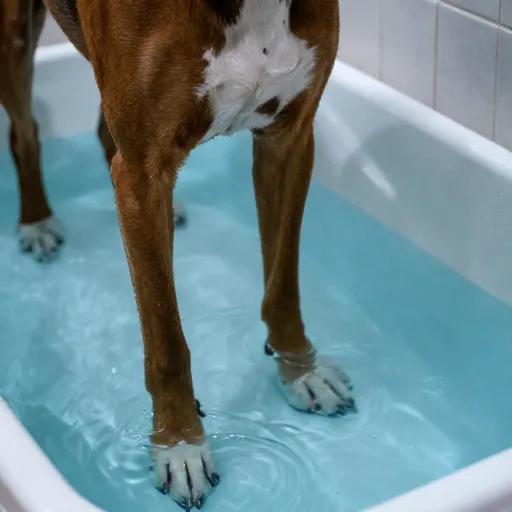
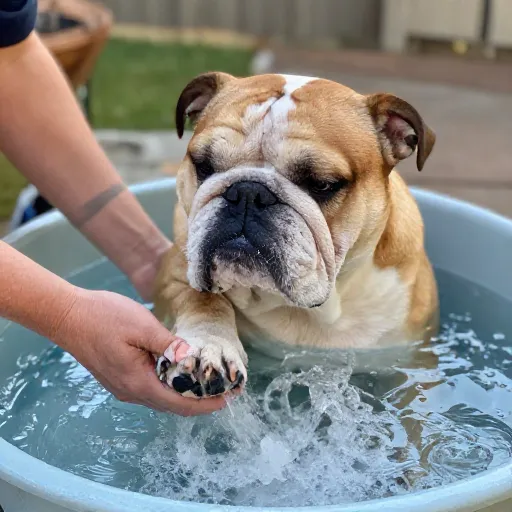
Fill a shallow basin with warm water and add just enough Betadine to turn the water the color of iced tea. It should be light amber, not dark orange.
Let your dog stand in the bath for five minutes, making sure the water reaches up to their ankle. Then rinse their paws with plain water and dry them super well. I usually do this every other day for a week.
Word of caution: Betadine will stain light-colored fur. It fades, but you might have a slightly orange-tinted pup for a while.
5. Keep Those Toes Dry (The Real Secret)
I’m going to be honest with you—no remedy will work if you don’t fix the moisture problem. Yeast loves warm, damp, dark places. Dog paws are basically a five-star hotel for yeast if you let them stay wet.
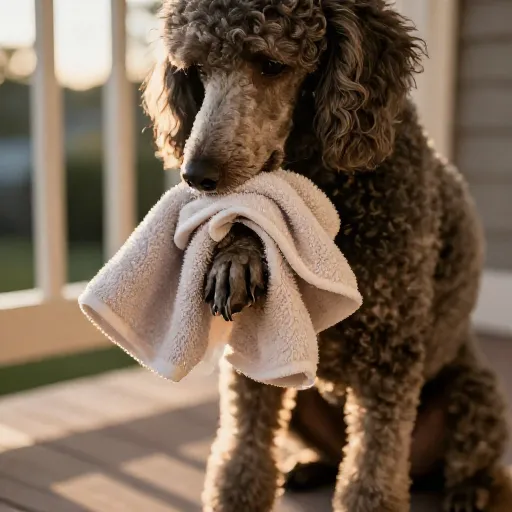
After any walk in the rain, a swim, or even a sweaty summer day, dry those paws like your life depends on it. And I mean between the toes, not just the bottom of the foot.
- Use a microfiber towel for maximum absorption.
- Consider a dog-safe paw dryer if your pup tolerates it.
- For long-haired breeds, trim the fur between the toes regularly.
This isn’t a one-time fix. It’s a daily habit. But it makes every other treatment work ten times better.
6. Epsom Salt Soak for Sore Paws
When my dog’s paws are red and angry, I reach for Epsom salt. It’s not antifungal, but it draws out moisture and reduces inflammation. Think of it as the calming soak that helps the other treatments do their job.
Dissolve a handful of plain Epsom salt (no added fragrance!) in a basin of warm water. Let your dog’s paws soak for 5 to 10 minutes.
After the soak, pat them dry and apply a light layer of coconut oil. The combo is soothing and helps break the itch-lick cycle.
You can do this daily, but if the redness doesn’t improve in three days, it’s worth a vet visit.
7. Change the Food Bowl Situation
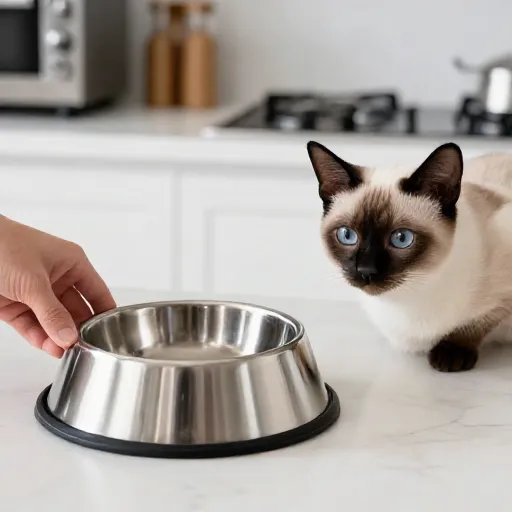
Okay, this one sounds weird, but hear me out. If your dog eats from a plastic bowl, you might be feeding the yeast problem. Plastic scratches easily, and those tiny scratches trap bacteria and yeast. Every time your dog eats, they’re getting a fresh dose.
Switch to stainless steel or ceramic bowls. Wash them daily with hot, soapy water. It sounds like a small thing, but it made a huge difference for my pup.
Also, take a hard look at their diet. Some dogs are sensitive to carbs and sugars, which yeast feeds on. If you’re feeding a high-carb kibble, consider a higher-protein, grain-free option. Talk to your vet before making a big switch.
This is the behind-the-scenes fix that nobody talks about, but it’s often the missing piece.
8. Witch Hazel Wipe-Down
For mild cases, a simple witch hazel wipe-down can do the trick. Witch hazel is a natural astringent that dries out excess moisture and keeps the skin between the toes nice and crisp.
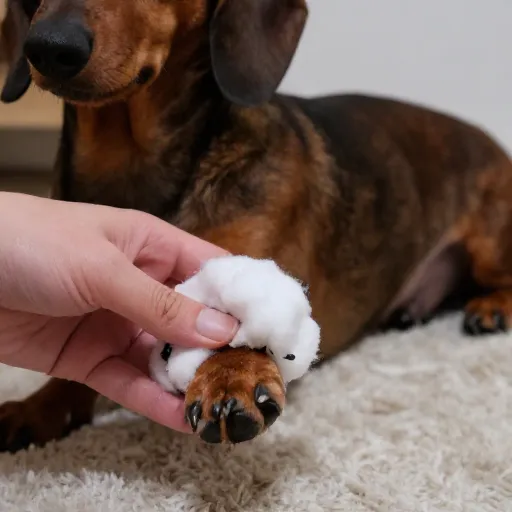
Put some witch hazel on a cotton ball or soft cloth and gently wipe between each toe. Make sure it’s alcohol-free witch hazel, or it’ll burn.
I like to do this after outdoor adventures, especially in the summer when the grass is damp with morning dew. It takes thirty seconds and prevents a whole lot of future licking.
If your dog’s paws are already raw, skip this one and stick to the Betadine soak instead.
9. Paw Balm with Tea Tree (Use with Caution)
There are tons of paw balms on the market, but not all are created equal. Look for one with tea tree oil, which is a natural antifungal. But here’s the catch—tea tree oil is toxic to dogs in high concentrations. A properly formulated balm will have a tiny, safe amount.
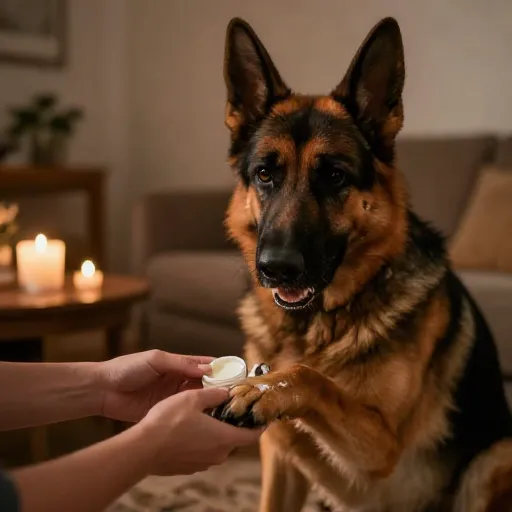
Apply a small dab to each paw pad and massage it in. The balm creates a protective barrier that keeps moisture out and lets the skin heal.
I always put a cone on my dog for about 15 minutes after applying, just to make sure he doesn’t lick it all off. You can also distract them with a frozen treat.
This is more of a preventive measure than a cure. Use it on healthy paws to keep them that way.
10. Know When to Call the Vet
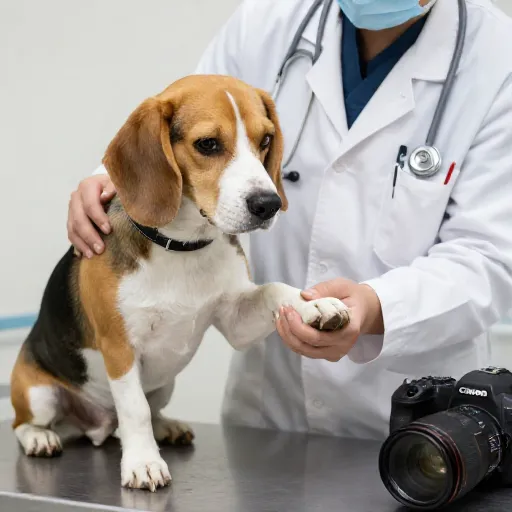
Home remedies are amazing for mild cases, but they have their limits. If you’ve been treating for a week and the paws look worse, or if your dog is limping, bleeding, or has a fever, it’s time to call the professionals.
Chronic yeast infections can be a sign of allergies, thyroid issues, or an overactive immune response. Sometimes, prescription antifungal medication or a special shampoo is the only thing that will kick it.
Don’t feel like a failure if home remedies don’t work. Some infections are stubborn, and that’s not your fault. Your vet has access to stronger, more targeted treatments.
Trust your gut. You know your dog better than anyone. If something feels off, it probably is.
Final Thoughts on Paw Yeast Infections
Dealing with a paw yeast infection is messy, smelly, and honestly a little gross. But it’s also totally manageable. The key is consistency. You can’t soak once and expect miracles. You have to stick with a routine for a week or two.
Start with the basics—dry paws, clean diet, and a daily soak. Add in the coconut oil and probiotic, and you’ve got a solid plan. Your dog will thank you with happier, healthier paws and a lot less licking.
And if you’re ever unsure, your vet is just a phone call away. Better safe than sorry when it comes to those precious paws.
Frequently Asked Questions
Can I use regular vinegar instead of apple cider vinegar?
Yes, but apple cider vinegar is gentler and has more natural benefits. White vinegar works in a pinch, but dilute it more—one part vinegar to three parts water.
How do I know if it’s yeast or bacteria?
Yeast smells like corn chips or bread. Bacterial infections usually smell more rotten or fishy. Yeast also causes brownish discharge between the toes and greasy fur.
How long does it take for home remedies to work?
You should see improvement within 3 to 5 days. Full resolution usually takes 1 to 2 weeks. If nothing changes after a week, see your vet.
Can I use human antifungal cream on my dog?
Some are safe, but it’s risky. Many contain ingredients that are toxic to dogs if licked. Stick to dog-specific products or natural remedies unless your vet says otherwise.
Will the yeast infection come back?
It can, especially if the underlying cause (like allergies or moisture) isn’t addressed. That’s why regular paw drying and diet matter so much.