Easy Homemade Pumpkin Dog Treats Your Pup Will Love
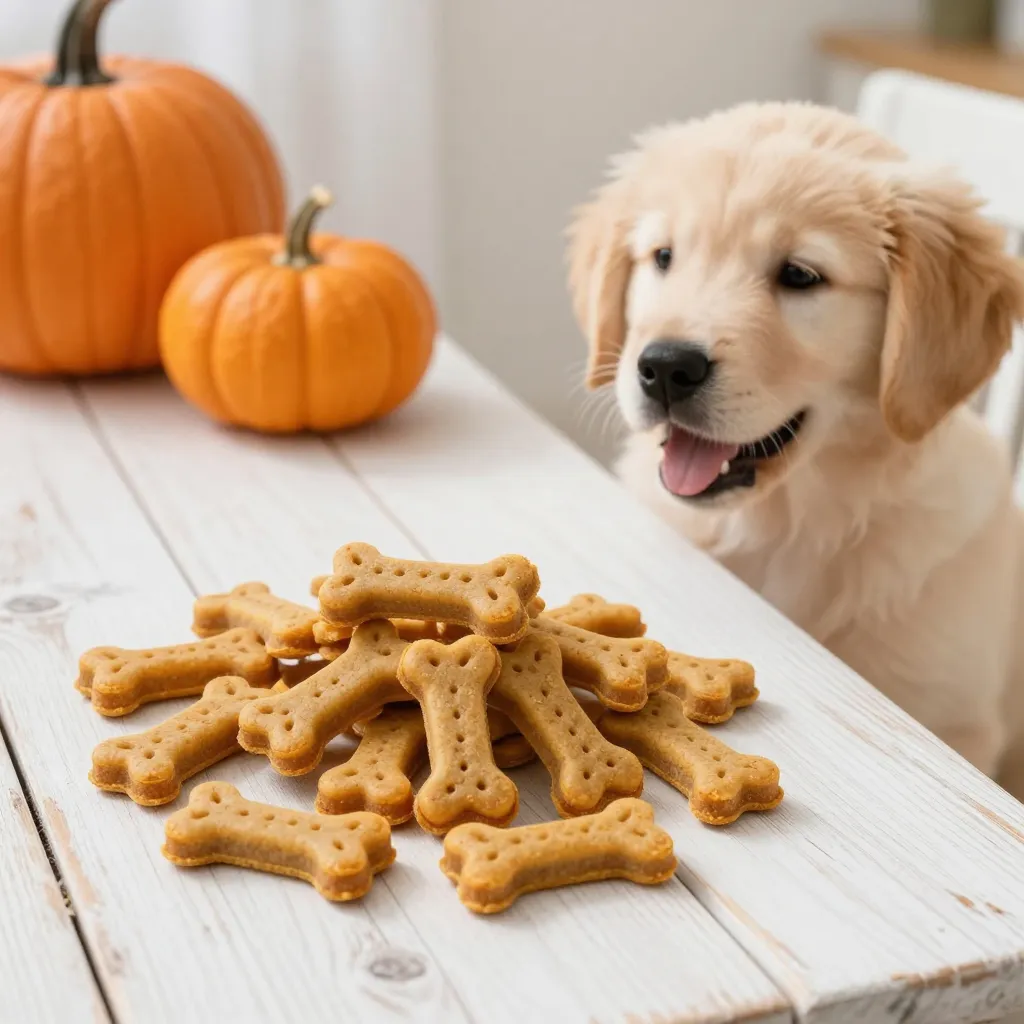
Fall is here, and you know what that means—pumpkin everything! But before you finish that can of pumpkin puree, save some for your furry best friend. These homemade pumpkin dog treats are simple, healthy, and packed with flavor that dogs go absolutely crazy for. Plus, they’re made with just a few ingredients you probably already have in your kitchen.
I started making these treats a few years ago when I noticed store-bought ones were loaded with preservatives and fillers. My pup, Charlie, deserves better than that. Now, baking these has become a cozy weekend tradition. The best part? Your kitchen will smell amazing, and your dog will follow you around with happy tail wags the entire time.
Why Pumpkin Is Great for Dogs
Pumpkin isn’t just a seasonal favorite—it’s actually really good for your dog. Plain canned pumpkin (not pumpkin pie filling!) is rich in fiber, which helps with digestion. If your dog has an upset tummy or needs a little help staying regular, pumpkin can work wonders. It’s also packed with vitamins A, C, and E, plus beta-carotene for a healthy coat and immune system.
Another reason I love this recipe? It’s naturally low in fat and calories, so it’s perfect for training treats or just a little something special without the guilt. Just make sure you’re using 100% pure pumpkin puree—no added sugar, spices, or preservatives.
Equipment You’ll Need
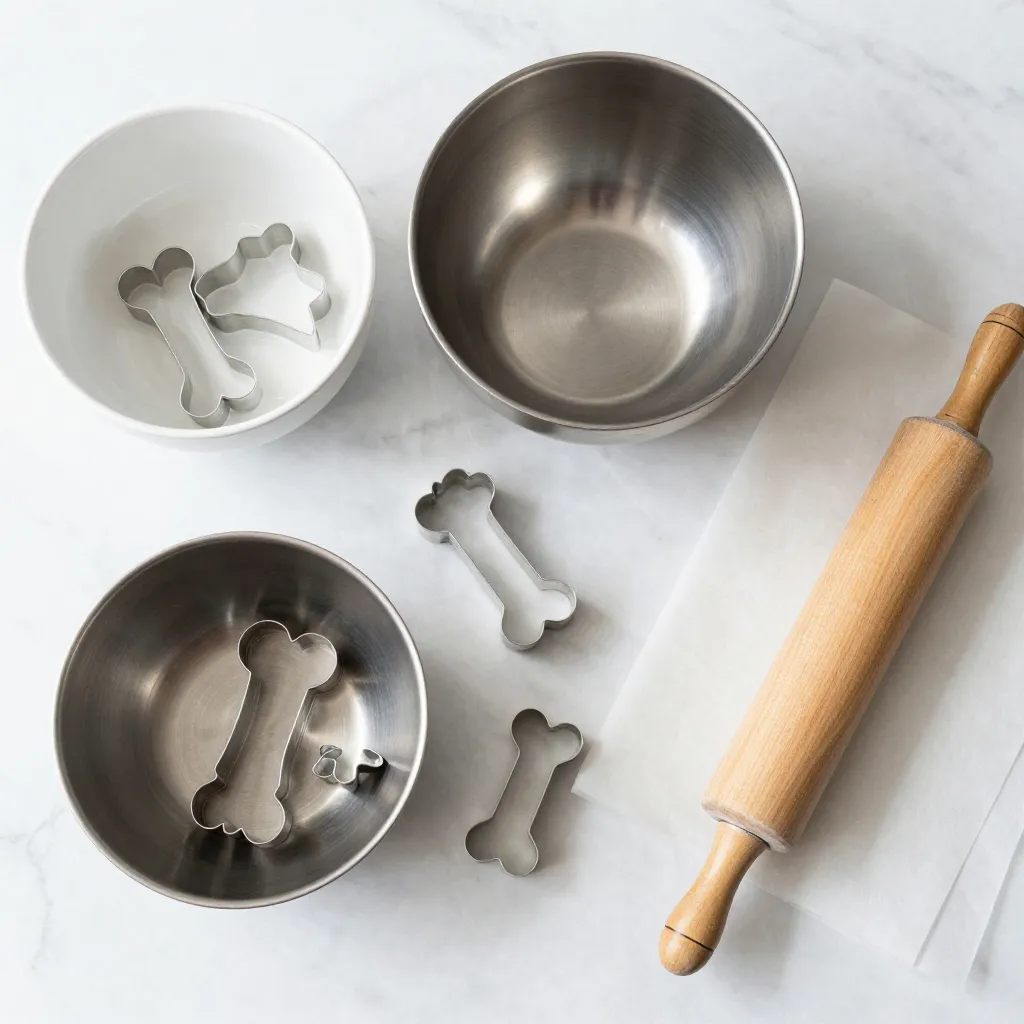
You don’t need fancy tools to make these treats. Here’s what I use every time:
- A mixing bowl (any size works)
- A whisk or fork
- A rolling pin (or a clean glass bottle if you’re improvising)
- Cookie cutters—bone shapes are cute, but stars or circles work too
- A baking sheet lined with parchment paper
- An airtight container for storage
That’s it. If you’ve got these basics, you’re ready to go.
Ingredients for Pumpkin Dog Treats
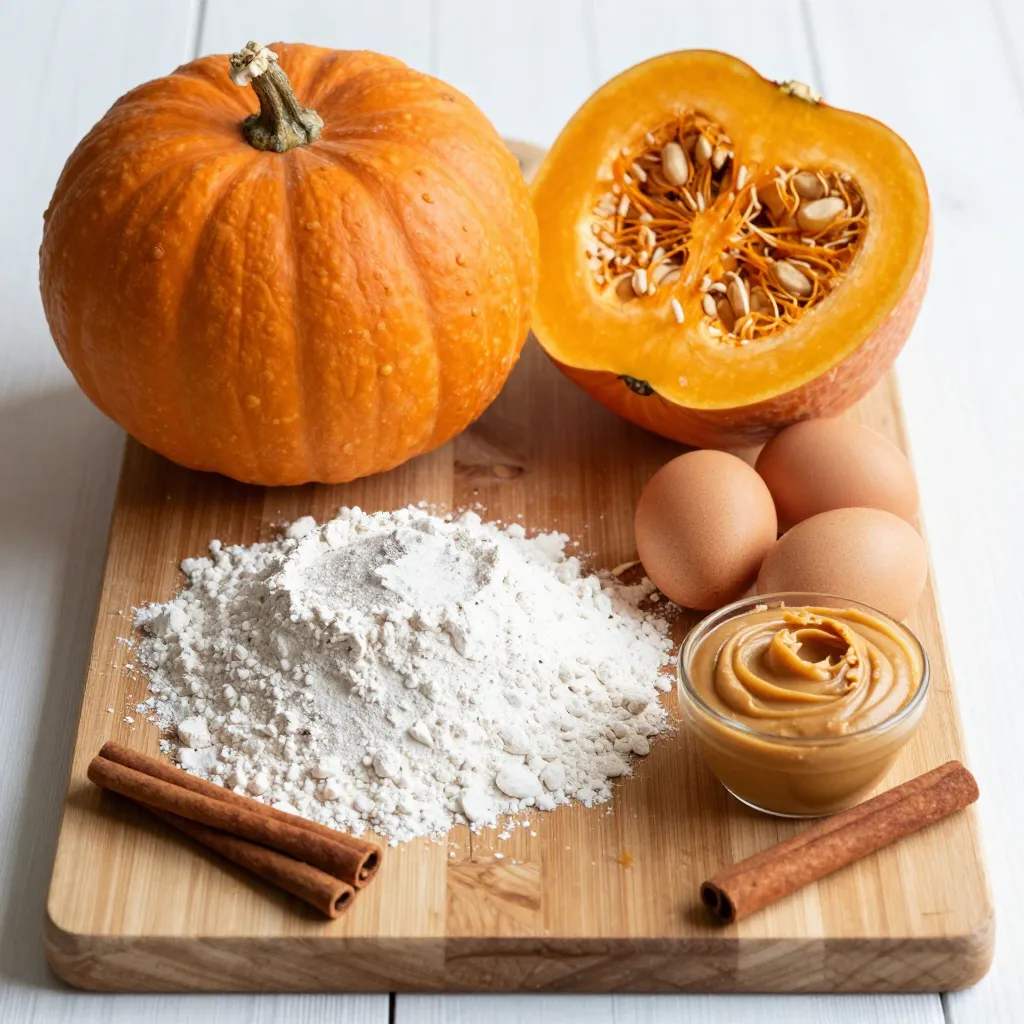
This recipe makes about 30-40 treats, depending on the size of your cookie cutters. Here’s what you need:
- 1 cup (240g) plain canned pumpkin puree
- 2 large eggs
- 2 ½ cups (300g) whole wheat flour (or oat flour for a gluten-free option)
- 1 tablespoon peanut butter (xylitol-free, please!)
- A pinch of cinnamon (optional, but dogs love it)
That’s literally it. Five ingredients, and most of them are probably in your pantry right now. If you don’t have peanut butter, you can skip it—the treats will still be delicious.
How to Make Pumpkin Dog Treats
Let’s get baking! Follow these simple steps, and you’ll have crunchy, golden treats in under 30 minutes.
- Preheat your oven to 350°F (175°C). Line a baking sheet with parchment paper.
- Mix the wet ingredients. In a large bowl, whisk together the pumpkin puree, eggs, and peanut butter until smooth. It’ll look a bit like thick pancake batter.
- Add the dry ingredients. Gradually stir in the flour and cinnamon (if using). Mix until a dough forms. If it’s too sticky, add a little more flour; if it’s too dry, add a splash of water.
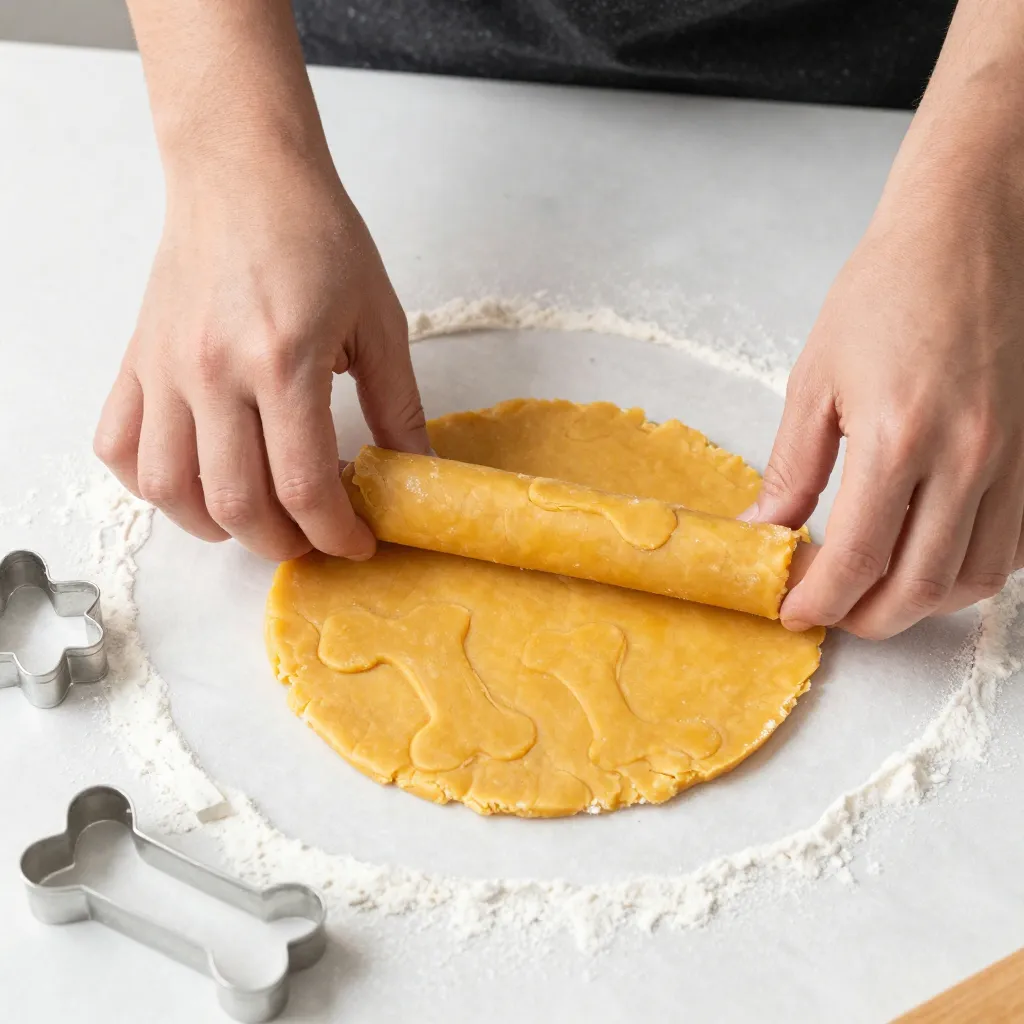
- Roll out the dough. Lightly flour your countertop and roll the dough to about ¼-inch thickness. Not too thin, or the treats might burn.
- Cut out shapes. Use your cookie cutters to press out fun shapes. Gather the scraps and re-roll until all the dough is used.
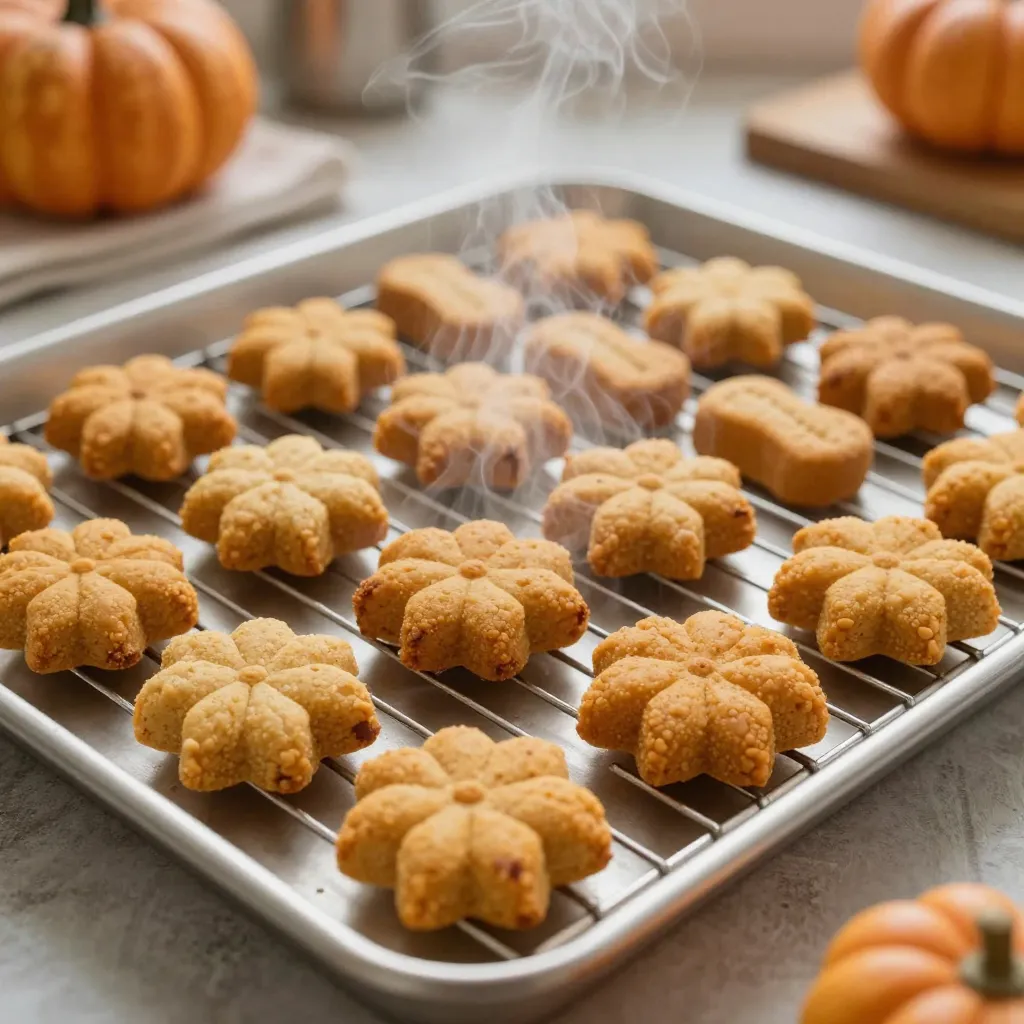
- Bake. Place the treats on the baking sheet, leaving a little space between each. Bake for 20-25 minutes, or until they’re firm and slightly golden on the edges.
- Cool completely. Let them sit on the baking sheet for 5 minutes, then transfer to a wire rack. They’ll harden as they cool—perfect for that satisfying crunch.
Store them in an airtight container at room temperature for up to two weeks. You can also freeze them for up to three months—just grab a few whenever you need a quick treat.
Tips for Perfect Treats Every Time
I’ve made this recipe dozens of times, so here are a few tricks I’ve learned along the way. First, don’t overbake—every oven is different, so check at the 20-minute mark. The treats should be dry to the touch but not hard as rocks. Second, if your dog is a small breed, use tiny cookie cutters or just roll the dough into small balls and flatten them. Finally, always let the treats cool completely before storing. Trapped heat can make them soft and moldy.
And please, always check with your vet before introducing new treats to your dog’s diet, especially if they have allergies or health conditions.
Conclusion
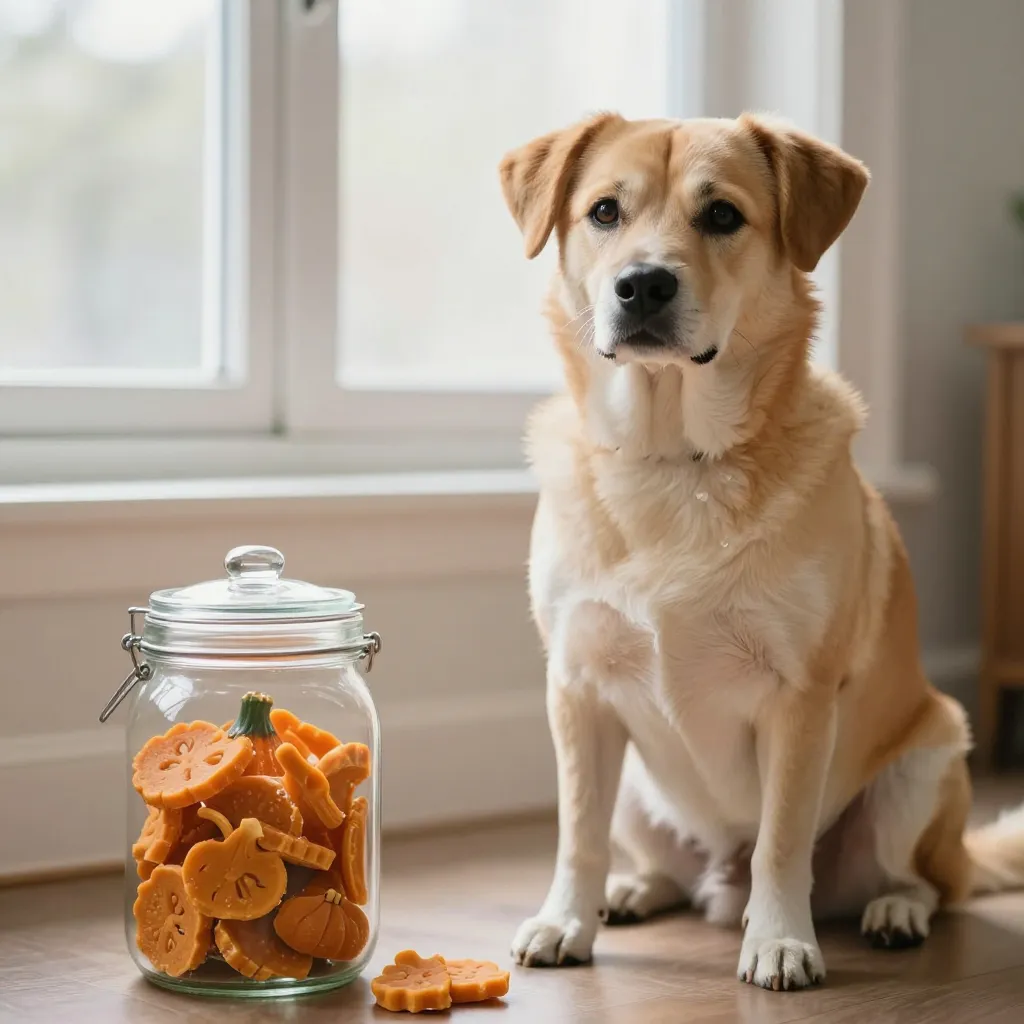
These pumpkin dog treats are my go-to recipe for a reason. They’re quick, healthy, and made with love. Watching Charlie’s face light up when I pull out the treat jar is pure joy. Whether you’re celebrating fall or just want to spoil your pup, give these a try. I promise your dog will thank you with extra cuddles and happy tail wags.
Happy baking, and give your pup a scratch behind the ears for me!
Frequently Asked Questions
1. Can I use fresh pumpkin instead of canned?
Yes, you can! Just roast or steam a small pie pumpkin, scoop out the flesh, and puree it until smooth. Make sure it’s not watery—strain it if needed. Canned pumpkin is more consistent, but fresh works great too.
2. How long do these treats last?
Stored in an airtight container at room temperature, they stay fresh for about two weeks. In the fridge, they’ll last up to a month. For longer storage, freeze them for up to three months.
3. Can I substitute the flour?
Absolutely. Whole wheat flour is my favorite, but oat flour, brown rice flour, or even coconut flour work well. Just note that coconut flour absorbs more liquid, so you may need to add a bit of water.
4. My dog has allergies—are these safe?
This recipe is free of common allergens like dairy and corn, but always check individual ingredients. Use xylitol-free peanut butter, and if your dog is sensitive to grains, try oat or coconut flour. When in doubt, ask your vet.
5. Can I add other ingredients like blueberries or apples?
Definitely! Finely chopped blueberries, shredded carrots, or unsweetened applesauce make great additions. Just reduce the flour slightly if the mixture gets too wet. Start with small amounts to see how your dog likes them.