3-Ingredient Peanut Butter Dog Treats Your Pup Will Love
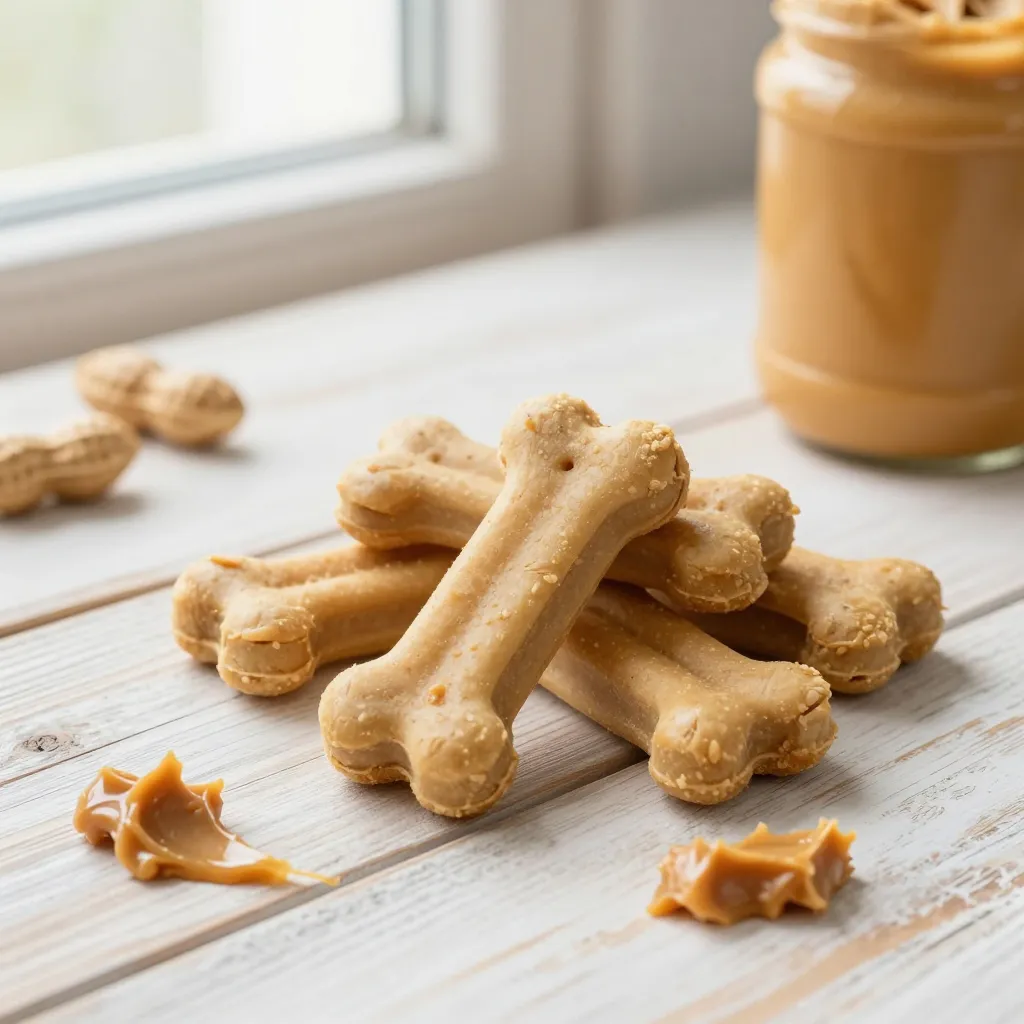
If you’re like me, you love spoiling your dog—but you also want to keep things simple and healthy. Store-bought treats can be full of weird ingredients, and honestly, making your own is way more fun. These peanut butter dog treats use just three basic ingredients you probably already have in your kitchen.
I started making these when I realized my dog, Charlie, would do absolutely anything for a peanut butter snack. The best part? They take about 20 minutes from start to finish, and your pup will look at you like you’re a superhero. No fancy equipment, no complicated steps—just easy, homemade love.
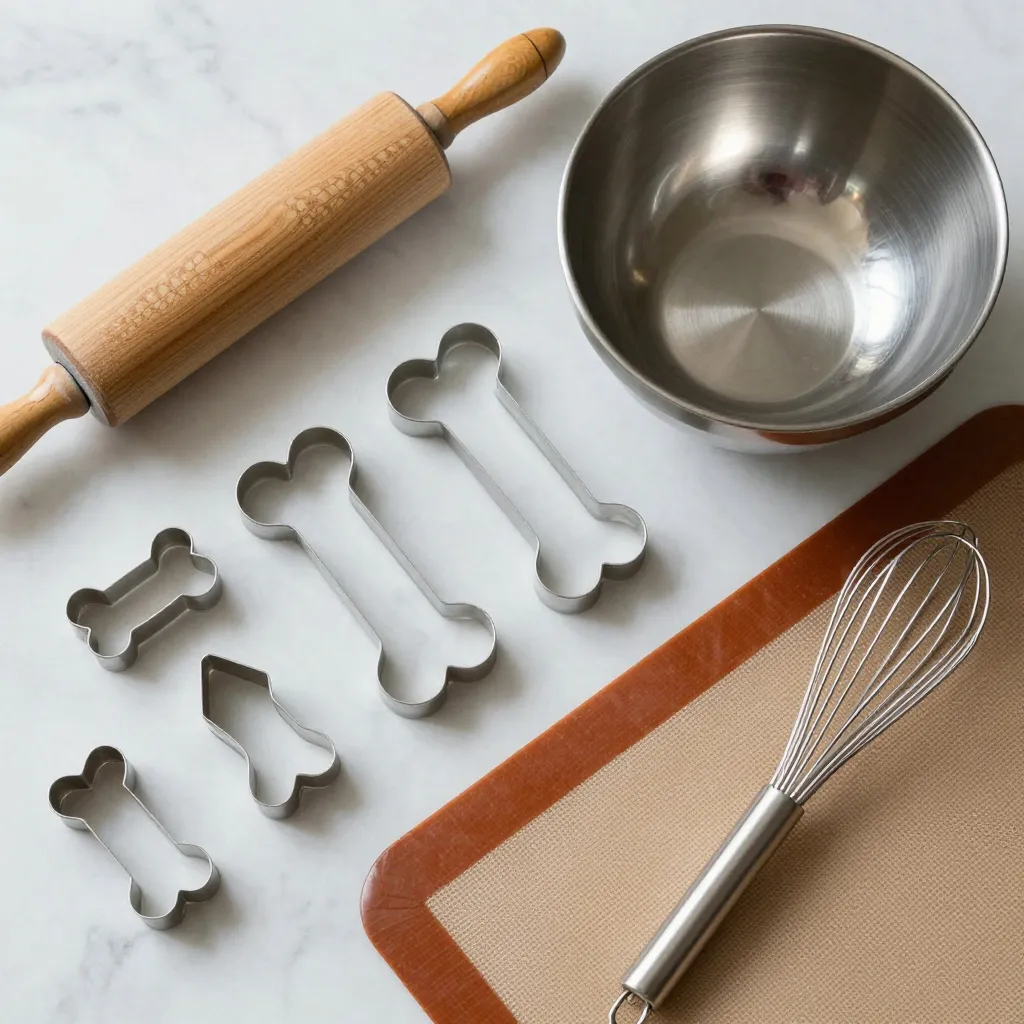
Equipment You’ll Need
You don’t need a lot of fancy gear to make these treats. Here’s what I use every time:
- A mixing bowl (any size works)
- A fork or spoon for stirring
- A rolling pin (or a clean glass bottle in a pinch)
- Cookie cutters—bone shapes are cute, but stars, circles, or even just a knife work fine
- A baking sheet lined with parchment paper
That’s it. If you don’t have cookie cutters, just roll the dough into small balls and flatten them with a fork. Your dog won’t judge the shape, I promise.
Ingredients for Peanut Butter Dog Treats
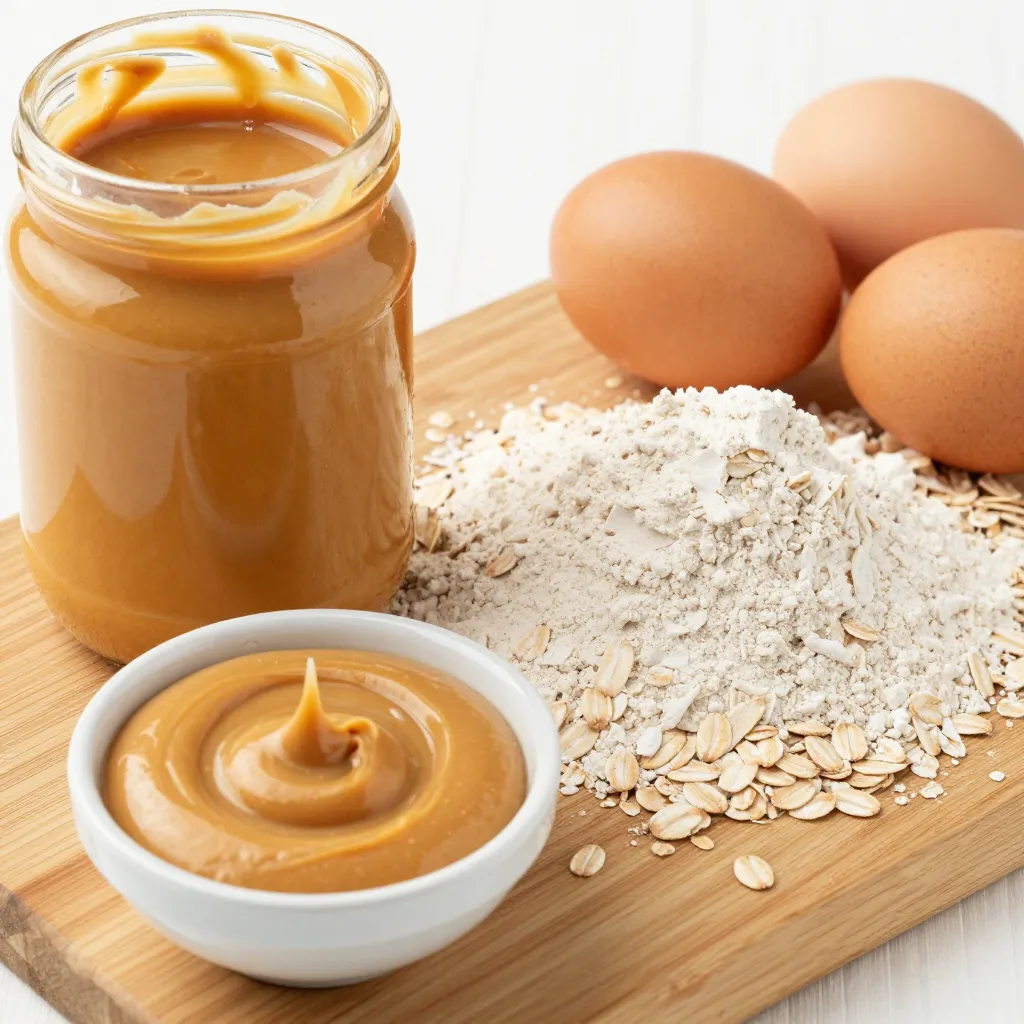
Here’s the short and sweet list:
- 1 cup whole wheat flour (or oat flour if your dog has a sensitive tummy)
- 1/3 cup natural peanut butter (make sure it has no xylitol—that’s toxic for dogs)
- 1/2 cup water (plus a little extra if the dough feels dry)
Optional: a splash of unsweetened applesauce or a mashed banana for extra flavor. My dog goes nuts for the banana version.
How to Make These Peanut Butter Dog Treats
Alright, let’s get to the fun part. Here’s how I make them step by step:
- Preheat your oven to 350°F (175°C). Line a baking sheet with parchment paper.
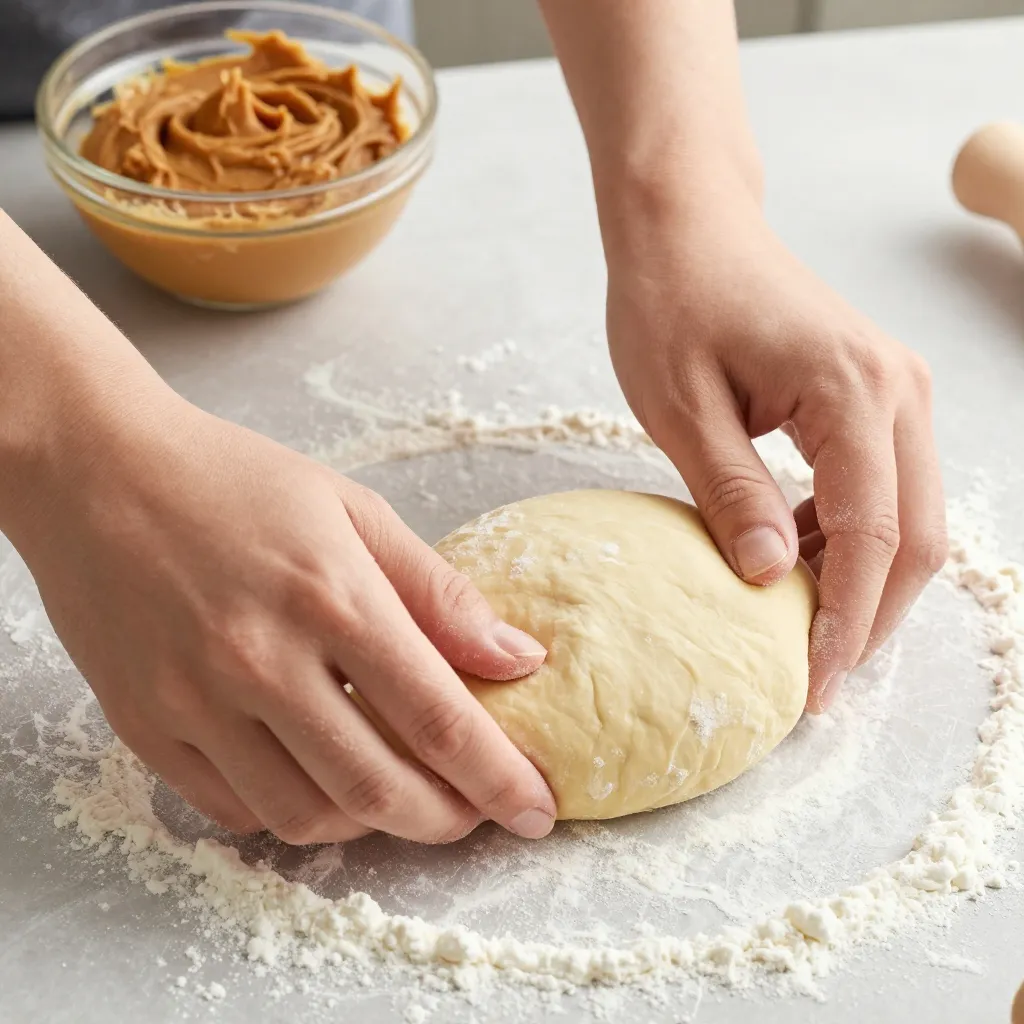
- Mix the ingredients in a bowl: flour, peanut butter, and water. Stir until a dough forms. If it’s too crumbly, add water one tablespoon at a time. If it’s sticky, add a little more flour.
- Roll out the dough on a lightly floured surface until it’s about 1/4-inch thick. Not too thin, or they’ll burn fast.
- Cut into shapes using your cookie cutters. Place them on the baking sheet, leaving a little space between each.
- Bake for 12–15 minutes, until the edges are golden and they feel firm to the touch. For crunchier treats, leave them in a little longer, but watch so they don’t burn.
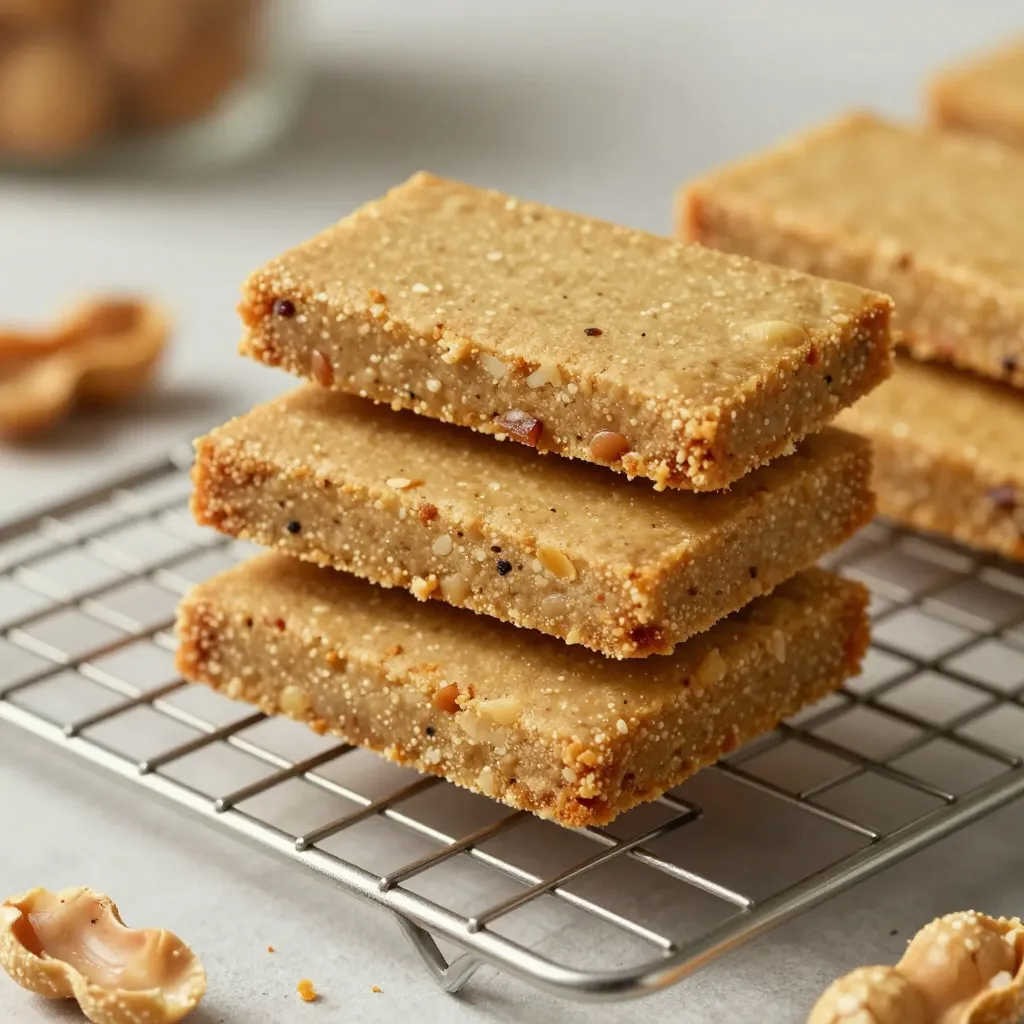
- Let them cool completely before giving one to your pup. They’ll be soft when warm but crisp up as they cool.
Store in an airtight container at room temperature for up to a week, or pop them in the freezer for a month. I always make a double batch so we have backup treats ready.
Why This Recipe Works So Well
I’ve tried a dozen dog treat recipes, and this one is my go-to because it’s foolproof. The peanut butter gives natural protein and healthy fats, while whole wheat flour adds fiber. No sugar, no salt, no preservatives—just real food your dog will love.
Plus, it’s budget-friendly. A jar of peanut butter and a bag of flour will make dozens of treats for pennies each. And honestly, the look on your dog’s face when you pull out a homemade treat? Priceless.
Conclusion
Making your own peanut butter dog treats is one of those small things that feels really good. You know exactly what’s in them, your dog gets a special snack, and you get to feel like a kitchen rockstar. Next time you’re baking for yourself, save a little flour and peanut butter for your furry best friend. They’ll thank you with tail wags and sloppy kisses.
Frequently Asked Questions
1. Can I use crunchy peanut butter?
Sure, but check the label for xylitol first. Crunchy works fine, though the texture might be a little different. My dog doesn’t mind at all.
2. How long do these treats last?
At room temperature in an airtight container, they stay fresh for about a week. In the fridge, they last two weeks. Freeze them for up to three months, and just thaw a few at a time.
3. My dog has a wheat allergy. What can I use instead?
Oat flour or coconut flour work great. If using coconut flour, you’ll need less—start with 1/2 cup and add water slowly, since it absorbs more liquid.
4. Are these treats safe for puppies?
Yes, as long as the peanut butter is puppy-safe (no xylitol). Make the treats a little smaller and bake them a few minutes less so they’re softer for tiny teeth.
5. Can I add other ingredients like pumpkin or apple?
Absolutely! Reduce the water slightly and add 1/4 cup of pumpkin puree or unsweetened applesauce. It adds flavor and extra nutrients. Just adjust the flour if the dough feels too sticky.