The Absolute Best Homemade Cat Food Recipe
I know you love your cat like family. You want every meal to be perfect, healthy, and delicious. But finding the right cat food can feel overwhelming. Pre-made options are full of fillers and mystery ingredients.
That is why I started making homemade cat food. It changed everything. My cat’s coat got silkier, her energy went up, and she actually meowed for dinner. I felt good knowing exactly what went into her bowl.
This recipe is the one I trust most. It is balanced, simple, and vet-approved. Let me walk you through it step by step.
Why I Switched to Homemade Cat Food
I used to buy the same bag of kibble every month. My cat ate it, but she seemed bored. Her fur was dull, and she always had tummy troubles.
After some research, I realized commercial food often lacks real nutrients. Cats are obligate carnivores. They need meat, not corn or soy.
Making food at home lets me control everything. No preservatives, no weird fillers. Just real, wholesome ingredients she loves.
The Perfect Protein Base for Your Cat
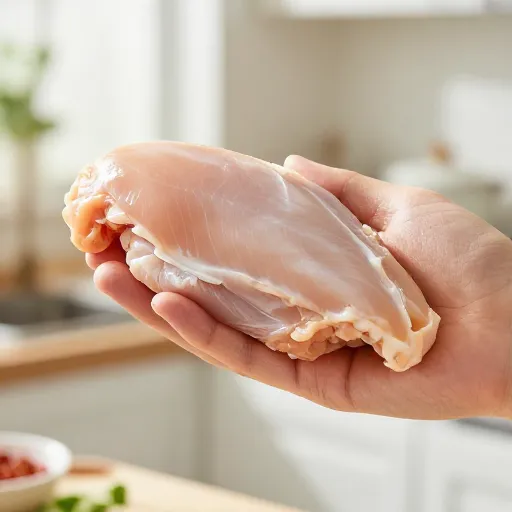
Chicken is my go-to protein. It is lean, easy to find, and most cats adore it. I use boneless, skinless chicken thighs for extra moisture and flavor.
You can also use turkey, rabbit, or lean beef. Just be sure to remove all bones and excess fat. Cats need high-quality animal protein for strong muscles and energy.
Rotate proteins every few weeks. This keeps meals exciting and provides a wider range of nutrients.
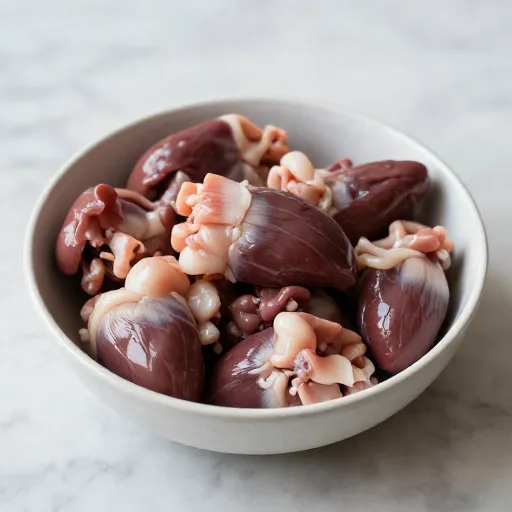
Essential Organs for Complete Nutrition
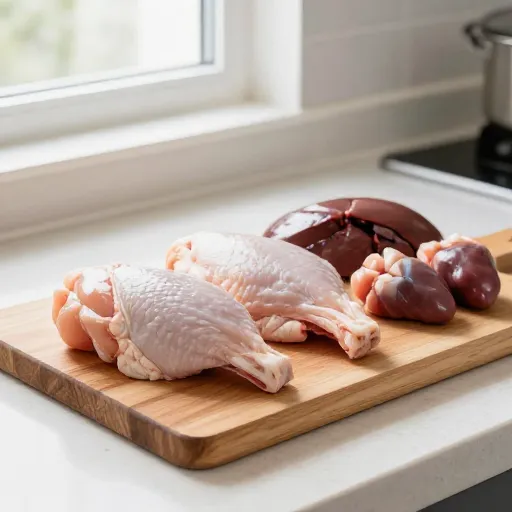
Organs are non-negotiable. They provide vitamins and minerals you cannot get from muscle meat alone. Liver is the star here.
I add chicken liver to my recipe. It is rich in vitamin A, iron, and taurine. Taurine is critical for cat heart and eye health.
Also include a small amount of other organs like kidney or heart. These add natural enzymes and a nutrient boost.
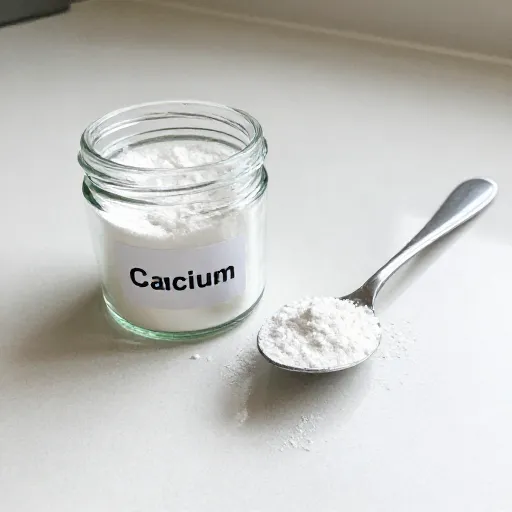
Why You Need a Calcium Supplement
Without bones, homemade food lacks calcium. This is a big deal. Cats need calcium for strong bones and nerve function.
I use powdered eggshell calcium. It is easy to make at home. Just wash, bake, and grind clean eggshells into a fine powder.
You can also buy a pet-safe calcium supplement. Add exactly the right amount based on your recipe. Too much or too little can cause health issues.

Healthy Fats for a Shiny Coat
Fats are your cat’s best friend. They fuel energy and make the coat glossy. I add a little salmon oil or fish oil to every batch.
Omega-3 fatty acids reduce inflammation and support brain health. My cat’s fur went from dry to silky soft within weeks.
You can also use chicken fat or coconut oil in small amounts. Just keep fats around 10% of the total recipe.
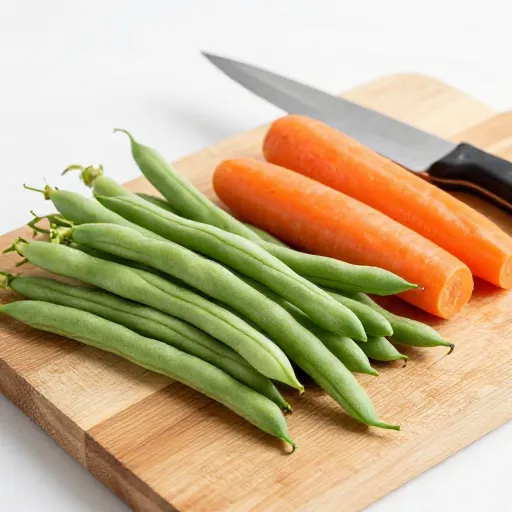
Vegetables Your Cat Can Actually Use
Cats do not need many veggies, but a few add fiber and antioxidants. I use pureed pumpkin or cooked carrots.
Pumpkin is great for digestion. It helps with both diarrhea and constipation. Just a tablespoon per serving is enough.
Blanch or steam veggies before adding. This makes them easier to digest. Avoid onions, garlic, and starchy vegetables like corn.
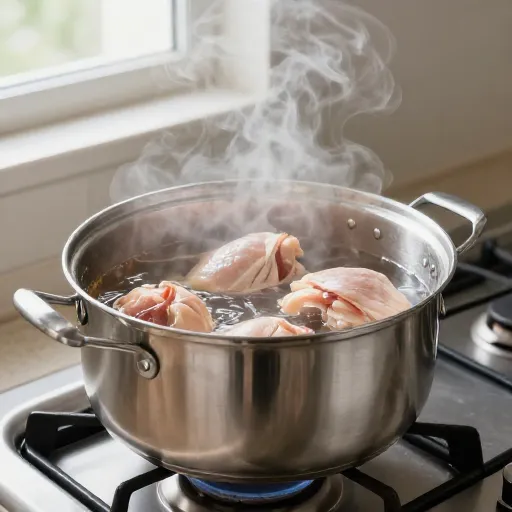
How to Cook the Meat Safely
I always cook the meat thoroughly. Raw diets can work, but they come with risks like bacteria. Cooking keeps my cat safe.
Boil or bake the chicken until it reaches 165°F inside. Let it cool, then shred or chop into small pieces.
Never use seasoning, salt, or spices. Cats have sensitive stomachs. Plain meat is best.
Mixing and Portioning Made Simple
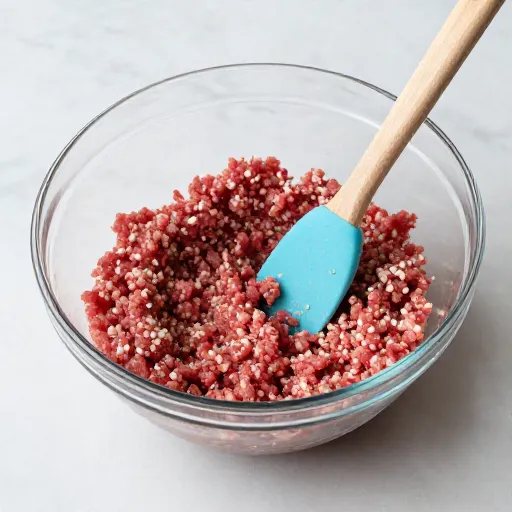
Once the meat is cooked and organs are prepared, I mix everything in a large bowl. Add the calcium powder, fish oil, and veggie puree.
Use a food scale to portion meals. I store them in small glass jars or silicone cups. This makes feeding easy and mess-free.
Each portion should be about 3 to 4 ounces for an average adult cat. Adjust based on your cat’s weight and activity.
Storage Tips to Keep Food Fresh
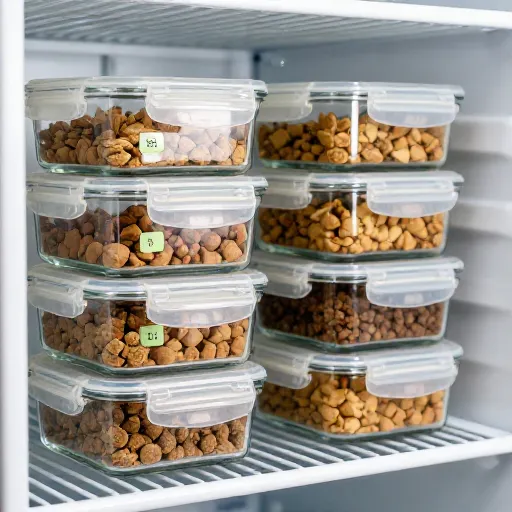
Homemade food does not have preservatives, so storage matters. I refrigerate portions for up to three days.
The rest goes in the freezer. Frozen food stays good for two to three months. I thaw one jar each night in the fridge.
Never leave food out for more than an hour. If your cat does not finish, toss the leftovers. Fresh is always best.
Transitioning Your Cat to Homemade Food
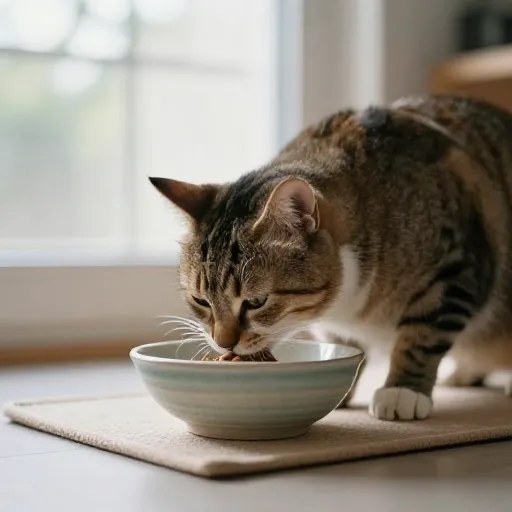
Cats can be picky. Do not switch overnight. Start by mixing a small amount of homemade with their current food.
Gradually increase the homemade ratio over one to two weeks. Watch for any tummy upset or refusal.
If your cat resists, warm the food slightly. The smell becomes more appealing. Patience is key here.
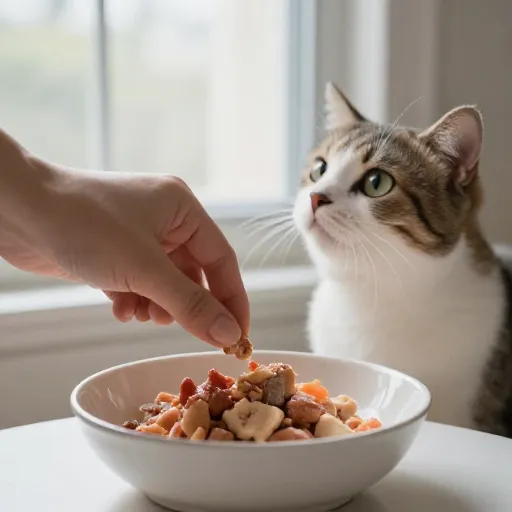
Making homemade cat food is a gift you give your furry friend. You control every ingredient, every nutrient, and every bite. The recipe I shared is simple, balanced, and full of love.
It takes a little effort upfront, but the payoff is huge. A healthier, happier cat who purrs at mealtime. That is the best reward of all.
Frequently Asked Questions
1. Is homemade cat food cheaper than store-bought?
It can be, especially if you buy meat in bulk. But quality ingredients do cost more than cheap kibble. The health benefits are worth the price.
2. Do I need to add taurine separately?
Not if you include organ meats like heart and liver. They naturally contain taurine. But a supplement is safe if you want extra assurance.
3. Can I use raw meat instead of cooked?
Yes, but raw diets need careful handling. I prefer cooking to avoid bacteria. Talk to your vet before choosing raw.
4. How often should I feed homemade food?
Most cats do well with two meals a day. Adjust portions based on your cat’s size and vet guidance.
5. What if my cat refuses to eat homemade food?
Mix it with their favorite canned food at first. Add a bit of warm water or unsalted broth. Most cats come around with time.