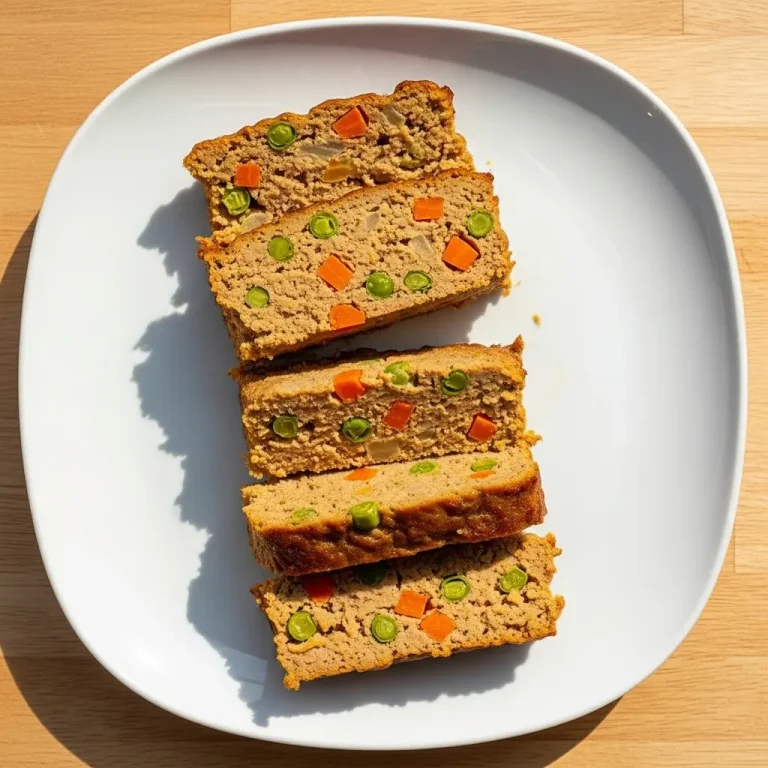
The Only 3-Ingredient Peanut Butter Dog Treats Your Pup Will Beg For
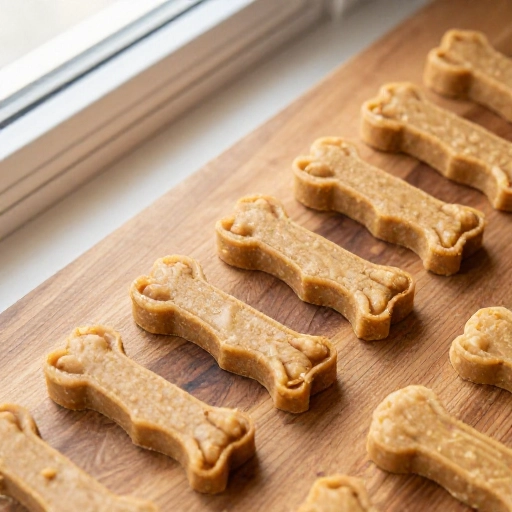
I love spoiling my dog, but I hate the mystery ingredients in store-bought treats. That’s why this super simple, 3-ingredient peanut butter dog treat recipe has become my absolute go-to. It’s so easy, I can whip up a batch while my morning coffee is brewing.
These treats are crunchy, perfectly peanut buttery, and made with things you probably already have in your kitchen. No weird preservatives, no fillers, just pure, tail-wagging goodness. Trust me, your furry best friend will smell these baking from a mile away and park themselves right by the oven.
Why You’ll Love This Recipe
This is more than just a treat; it’s a healthy snack you can feel great about giving. The main ingredient, whole wheat flour (or oat flour), provides fiber for healthy digestion. Peanut butter is packed with protein and healthy fats that give your dog a shiny coat and lots of energy. Plus, with only three ingredients, there’s zero risk of hidden artificial flavors or excess sugar that can upset a sensitive stomach.
Kitchen Equipment & Tools You’ll Need
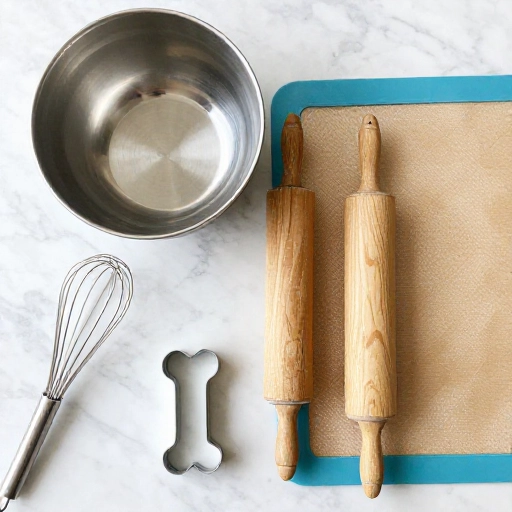
Don’t worry, you don’t need any fancy gadgets for this recipe. A simple mixing bowl, a fork for mashing, and a baking sheet are all you really need. If you have a rolling pin and a cookie cutter in the shape of a bone or paw, that’s a fun bonus. Otherwise, just roll the dough into little balls and flatten them with a fork.
You will need:
- A medium mixing bowl
- A measuring cup and spoons
- A baking sheet (line it with parchment paper for easy cleanup)
- A rolling pin or a glass (optional)
- A small cookie cutter (optional, but cute)
Ingredients List & Safe Substitutions
The beauty is in the simplicity. Here is exactly what you need for the perfect peanut butter dog cookie:
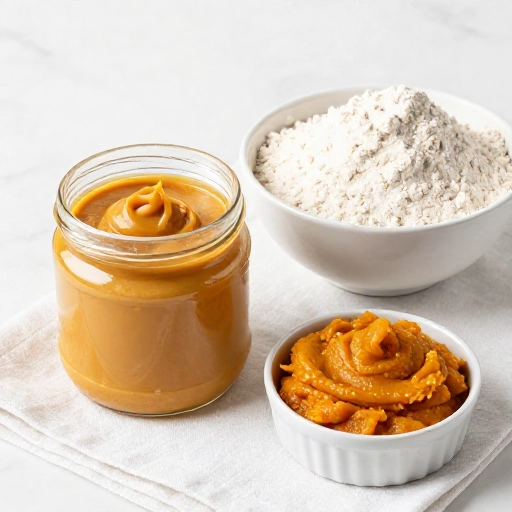
- 1 cup whole wheat flour (or oat flour for a gluten-free option)
- 1/3 cup natural, unsalted peanut butter (xylitol-free is a must!)
- 1/4 cup water (plus a little extra if the dough feels too dry)
Important safety note: Always check your peanut butter label! Xylitol is a sweetener that is extremely toxic to dogs. Stick to a simple, natural peanut butter that only lists “peanuts” as the ingredient. If your pup is extra picky, you can swap the water for unsweetened applesauce for a slight fruit flavor.
Step-by-Step Instructions
This is where the magic happens. It’s so straightforward, you’ll memorize it after one batch.
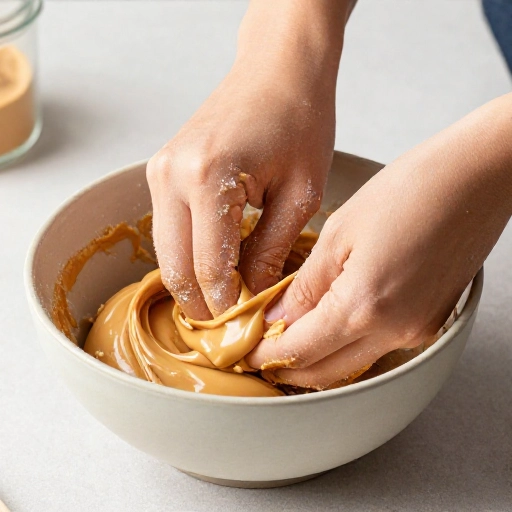
- Mix the wet ingredients: In your bowl, combine the peanut butter and water. Stir them together until they form a smooth, creamy paste. It will look a little like a thick sauce.
- Add the flour: Pour in the whole wheat flour and mix everything with a fork or your hands. Keep mixing until a stiff, non-sticky dough ball forms. If it’s too crumbly, add a teaspoon of water at a time until it comes together.
- Roll it out: Lightly flour your countertop. Roll the dough out to about 1/4-inch thickness. Use your cookie cutter to cut out shapes, or just slice the dough into small squares with a knife.
- Bake to perfection: Place the treats on your parchment-lined baking sheet. Bake at 350°F (175°C) for 15-18 minutes, or until the edges are lightly golden and the treats feel firm to the touch.
- Cool completely: This is the hardest step! Let the treats cool on the baking sheet for 5 minutes, then transfer them to a wire rack to cool fully. They get crunchier as they cool.
Feeding Guidelines, Serving Size & Storage Tips
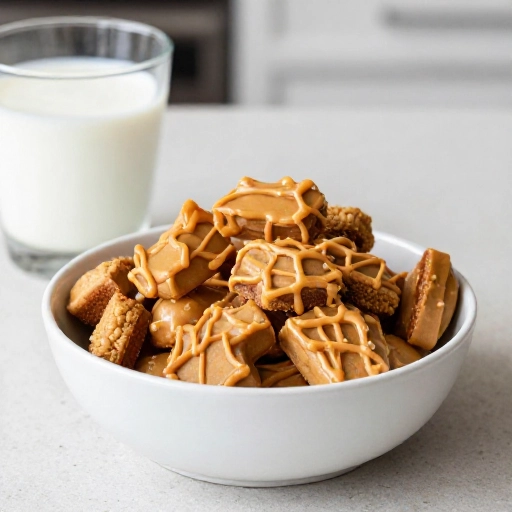
These treats are a snack, not a meal. For a small dog (under 20 lbs), one treat per day is plenty. For a larger breed, two to three treats is a great reward. Always introduce new treats slowly to see how your dog reacts.
For storage, keep your homemade cookies in an airtight container at room temperature. They will stay fresh and crunchy for up to two weeks. If you want to make a big batch, these freeze beautifully! Just pop them in a freezer-safe bag, and they will last for three months. Thaw them on the counter for a few minutes before serving.
Final Verdict & Summary
I honestly don’t think I will ever buy commercial dog treats again. This recipe is a total game-changer. It is cheap, fast, and my dog literally does a happy dance every time I pull out the peanut butter. The treats are crunchy, flavorful, and most importantly, safe.
If you are looking for a fun weekend project that your dog will absolutely love, this is it. Plus, you get the satisfaction of knowing exactly what went into every single bite. Give it a try, and watch your best friend’s tail go into overdrive.
Frequently Asked Questions
Can I use creamy peanut butter or chunky?
Either works great! Creamy peanut butter blends more easily into the dough, but chunky adds a little extra texture that some dogs love. Just make sure it’s unsalted and xylitol-free.
My dough is too crumbly. What did I do wrong?
Don’t worry, this is common! Different flours absorb moisture differently. Simply add another tablespoon of water (or unsweetened applesauce) at a time until the dough holds together nicely.
Can I use almond butter instead of peanut butter?
Yes, almond butter is a safe alternative as long as it is natural and does not contain xylitol. Keep in mind the texture might be slightly different, but the treats will still be delicious.
How do I know when the treats are fully baked?
The treats should be firm and lightly golden on the bottom. They will continue to harden as they cool, so don’t overbake them. A good test is to tap one gently; it should feel solid, not soft.
Can I make these treats for a puppy?
Absolutely. These are soft enough for a puppy to nibble on, especially if you roll them a little thinner. Just be sure to supervise your puppy while they eat to ensure they chew properly.