10 Easy Paracord Dog Leash Tutorial Ideas for Beginners
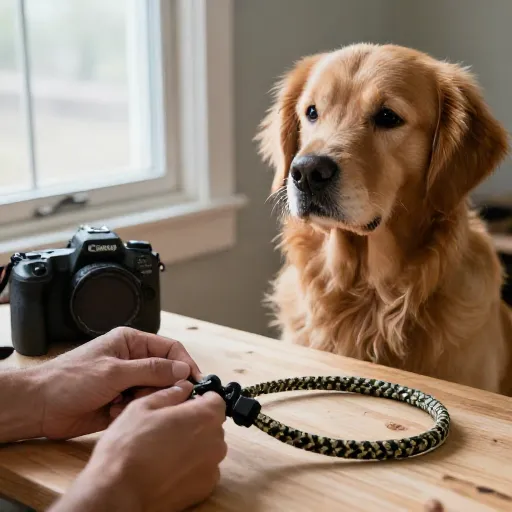
I remember the first time I tried to make my own dog leash. I was staring at a giant spool of paracord, completely overwhelmed. All those knots and braids made my head spin. But let me tell you, once you get the hang of the basics, it’s seriously addictive.
Making your own paracord leash is not just about saving money (though that’s a huge bonus). It’s about creating something tough, personalized, and honestly, kind of cool for your best furry friend. You can match it to your dog’s collar, your own style, or even make it glow-in-the-dark for those late-night walks. Plus, the texture is super comfortable in your hand.
If you’re a total beginner, don’t sweat it. I’ve gathered ten of my favorite, super-beginner-friendly tutorials that use only basic knots and simple braids. Grab a spool of paracord and your scissors—let’s get started on your first DIY project!
1. The Classic Four-Strand Round Braid
This is the bread and butter of paracord projects. It’s the perfect starting point because it’s forgiving and looks super professional. You’ll have a round, comfortable leash that feels great in your hand, whether you’re walking a 10-pound chihuahua or a 70-pound lab.
You’ll need to cut two lengths of paracord, each about three times the length of your desired leash. Fold them in half to create four working strands. The braid itself is a simple over-under pattern that you’ll pick up in about five minutes.
- Best for: Everyday walks and beginners.
- Time: About 45 minutes.
- Tip: Use two different colors to make the braid pattern easier to see as you learn.
Once you get the rhythm, it’s almost meditative. Just keep the tension even, and you’ll have a sturdy, classic leash in no time.
2. The Flat Solomon (Cobra) Braid
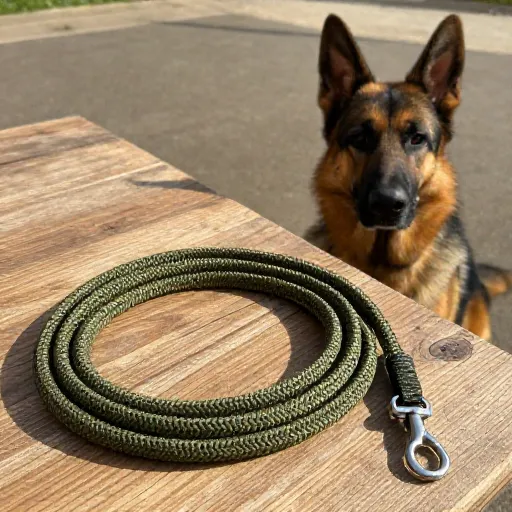
If you’ve ever seen a paracord bracelet, you’ve seen the Solomon or Cobra braid. It’s flat, wide, and incredibly strong. For a leash, this is a fantastic option because it lays flat against your body when you carry it, and it’s a breeze to make.
To start, you’ll need a single long piece of cord for the core (folded in half) and another piece for the weaving. You’re basically tying a series of half-hitches over the core strands, alternating sides. It’s just two repeating knots, over and over.
- Best for: A chunky, comfortable grip.
- Time: About 1 hour.
- Tip: Melt the ends of the core cords and tuck them into the braid for a clean finish.
This braid is so popular because you can make it as long or as short as you want, and it looks just as good on a keychain as it does on a big dog leash.
3. The Simple Twist Braid
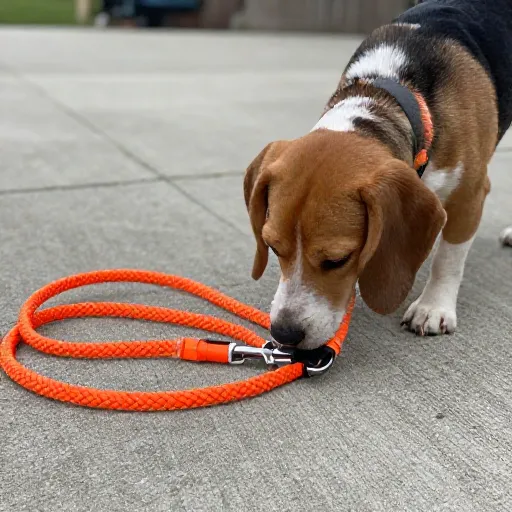
Need a quick project? The Simple Twist is your answer. It’s not a traditional braid; it’s a series of knots that create a beautiful, spiral-like pattern. It’s surprisingly strong and has a lovely, flexible feel to it.
You only need two lengths of paracord for this one. You’ll tie one cord around the other in a series of half-hitches, but you’ll keep twisting the same direction. The result is a tight, twisted rope that’s perfect for a lightweight dog.
- Best for: Small to medium dogs.
- Time: 30 minutes.
- Tip: Make sure to keep your knots tight, or the twist will look messy.
I love this one for a spare leash to keep in the car. It’s quick to make and doesn’t take up much room in your bag.
4. The King Cobra (Double Cobra)
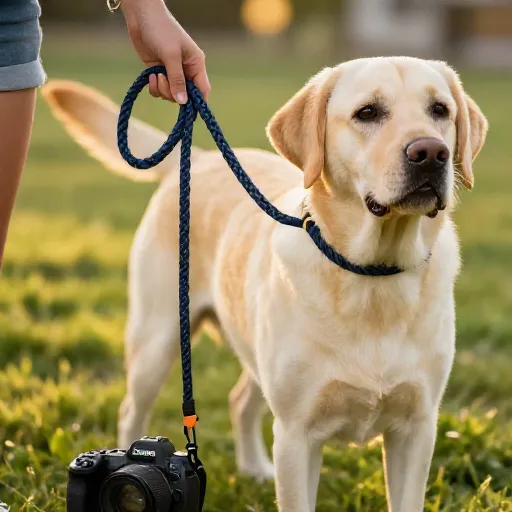
Once you master the basic Cobra, you can level up to the King Cobra. This is basically the Cobra braid, but you braid a second layer over the first. It creates a super thick, padded handle that is unbelievably comfortable, especially for dogs that pull.
Start by making a standard Cobra braid for the handle section. Don’t cut the working cords! Instead, use those same cords to weave a second layer over the first. It’s a bit more work, but the result is a plush, durable handle.
- Best for: Strong pullers and long walks.
- Time: 1.5 hours.
- Tip: Use a thicker core for the handle to make it even more comfortable.
I made a King Cobra handle for my own dog, and it was a game-changer. No more rope burn or sore hands after a long hike.
5. The Four-Strand Flat Braid
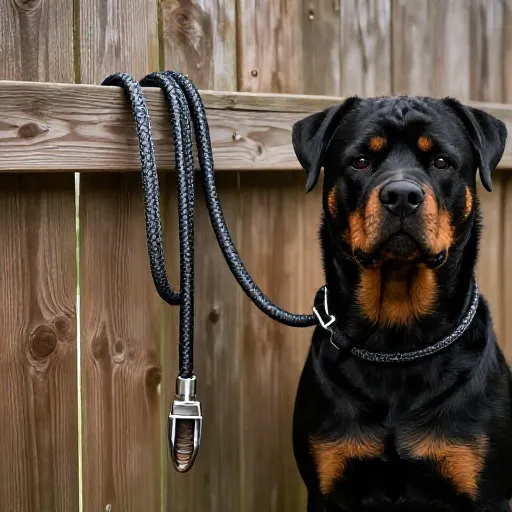
This is another classic, but it produces a flat, ribbon-like leash instead of a round one. It’s a bit more intricate than the round braid, but it’s very visual and easy to follow once you see it. It uses four strands and weaves them in an over-under pattern that lies flat.
This style is great for dogs who like to chew because the flat shape is harder for them to get a good grip on. It also looks really elegant, almost like a woven belt.
- Best for: A stylish, flat leash.
- Time: 1 hour.
- Tip: Keep your strands separated and untangled before you start weaving.
If you use two colors, this braid makes a really cool checkerboard pattern that gets tons of compliments at the dog park.
6. The Fishtail Braid
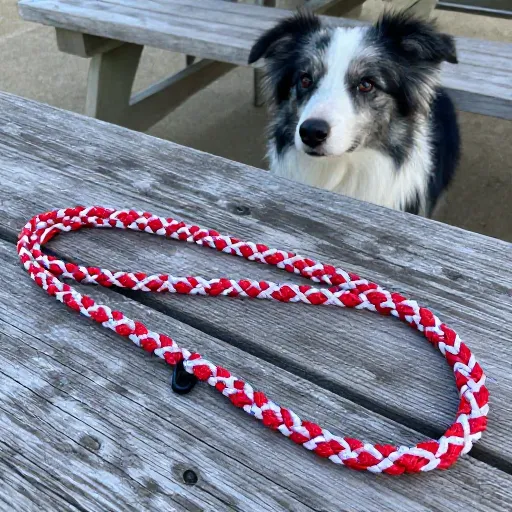
Don’t let the name fool you; this isn’t just for hair. The Fishtail braid in paracord is a beautiful, zig-zag pattern that’s actually quite simple. It uses two core strands and one weaving strand, creating a series of interlocking loops that look like a fish’s tail.
This is a great project to practice your knot consistency. The pattern is created by alternating the weaving cord over and under the core cords. It’s simple enough to memorize quickly, but it looks super complex.
- Best for: A decorative yet functional leash.
- Time: 45 minutes.
- Tip: Use a bright color for the weaving strand to make the pattern pop.
The Fishtail is one of those designs that looks like it took hours of expert-level skill, but you can whip it up while watching your favorite show.
7. The Barely-There Braid
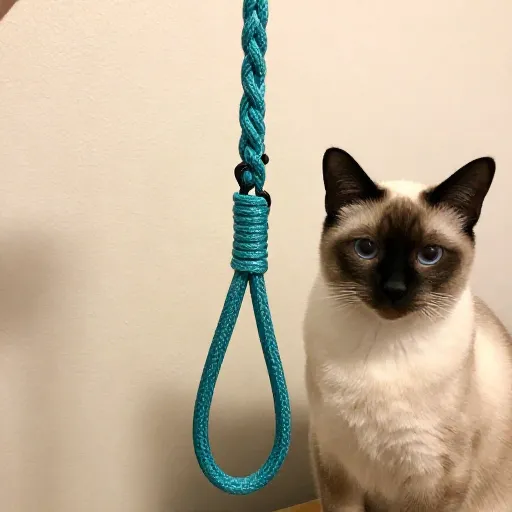
If you want something super lightweight and minimal, this is the tutorial for you. Instead of a thick, chunky braid, this leash is made with a single strand of paracord and a series of simple knots. It’s almost like a fancy rope, but with the strength of paracord.
You’ll just tie a series of overhand knots or a simple chain sinnet (like a crochet chain) along the length of the cord. It’s the fastest project on this list and perfect for tiny dogs or as a decorative leash for a fashion-forward pup.
- Best for: Toy breeds and a minimalist look.
- Time: 20 minutes.
- Tip: Space your knots evenly for a clean, uniform look.
This is a great pattern for kids to help with, too. It’s simple, repetitive, and they can make one for their stuffed animals first!
8. The Two-Tone Twist
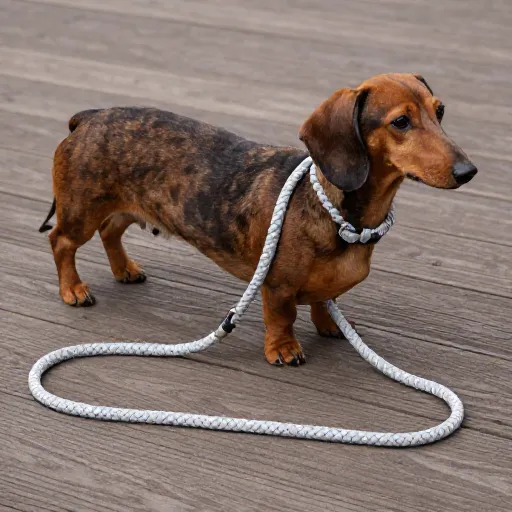
Here’s a fun one that plays with color. The Two-Tone Twist uses the same half-hitch knots as the Simple Twist, but you alternate colors every few inches. It creates a great striped, candy-cane effect that’s really playful.
You’ll start with two cords of different colors. Tie a few knots with one color, then switch to the other. The key is to keep the tension the same when you switch, so the stripes are even.
- Best for: Adding a pop of color.
- Time: 30 minutes.
- Tip: Use your dog’s collar color as inspiration for the cord colors.
It’s a simple way to make a leash feel custom-made without learning any complicated new knots.
9. The Braided Handle & Chain Combo
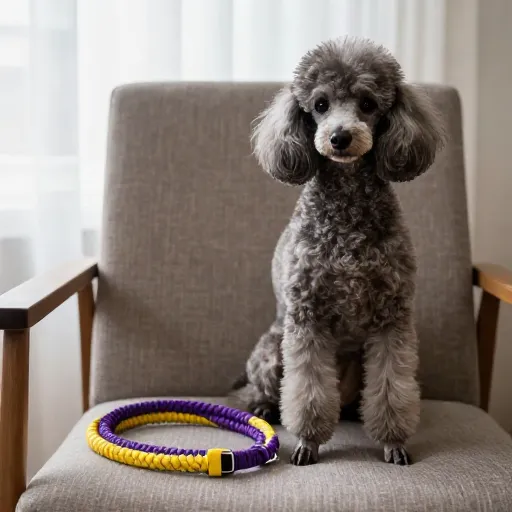
This tutorial is all about mixing techniques. You’ll make a comfortable, thick braided handle (using the King Cobra or a simple round braid) and then attach a lighter chain or simple twist braid for the main body of the leash. It gives you the best of both worlds: comfort where you hold it and lightweight flexibility for your dog.
You’ll need to know how to make one type of braid for the handle and one for the leash part. The trick is joining them securely with a solid knot or a small metal ring.
- Best for: A comfortable grip with less bulk.
- Time: 1 hour.
- Tip: Use a swivel snap hook to connect to your dog’s collar to prevent tangles.
I love this style because it feels professional, like something you’d buy at a high-end pet boutique, but you made it yourself.
10. The Beaded Accent Leash
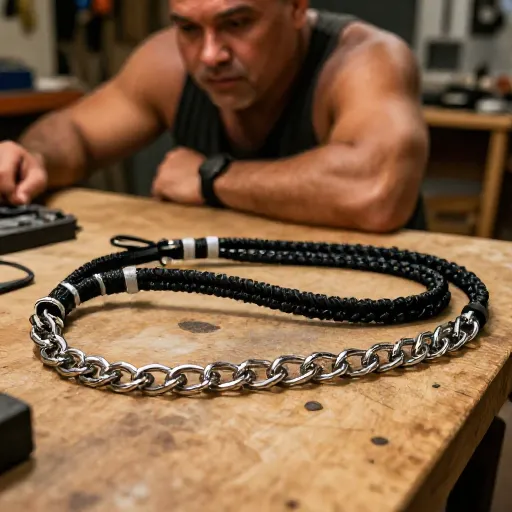
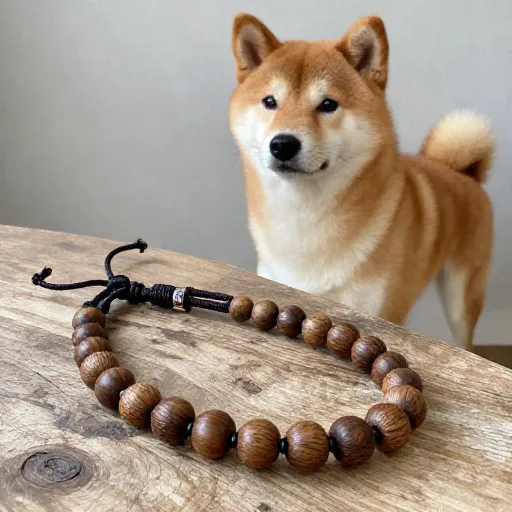
Okay, this one isn’t purely paracord, but it’s my absolute favorite way to add a little personality. You’re going to make a simple braid (like the Round or Twist) and weave large-hole wooden or metal beads onto one of the core strands before you start braiding.
Just slide a bead down to the spot you want it, then continue braiding around it. The beads get locked into the weave, creating a beautiful, unique accent. It’s so easy, but the result looks super intentional and stylish.
- Best for: Adding a touch of style.
- Time: 45 minutes.
- Tip: Make sure the bead holes are big enough to fit two strands of paracord through.
You can find beads in all sorts of shapes—paw prints, stars, or just smooth wooden rounds. It’s a great way to make a leash that’s truly one-of-a-kind.
Conclusion
There you have it—ten easy paracord leash ideas that won’t have you pulling your hair out. Starting with the basic braids is the best way to build your confidence. Before you know it, you’ll be looking at your dog’s leash and thinking, “I could add a different knot there,” or “This needs a pop of color.”
Don’t be afraid to make mistakes. I’ve had to rip out more braids than I can count. That’s part of the fun! The more you practice, the smoother your projects will become. And there is no better feeling than clipping a leash you made with your own two hands onto your dog’s collar for the first time.
So, grab some cord, put on a podcast, and get knotting. Your dog will be the most stylish pup on the block in no time, and you’ll have a blast making it. Happy crafting!
Frequently Asked Questions
How much paracord do I need for a dog leash?
A good rule of thumb is to use about 1 foot of paracord for every 1 inch of finished leash length. So, for a standard 6-foot leash, you’ll want about 6 feet of cord, but it’s always better to have extra than to run out in the middle of a braid.
What type of paracord is best for dog leashes?
I highly recommend using 550 paracord, which is the standard type. It’s strong enough to hold most dogs and is the perfect thickness for all the knots we talked about. You can use type 425 for smaller dogs, but 550 is the most versatile.
How do I attach the clip to the paracord leash?
Most tutorials will have you fold the cord in half and thread it through the loop of a bolt snap or swivel hook before you start braiding. Then, you braid over the two ends, which locks the clip in place securely. No special tools are needed!
Can I wash my paracord leash?
Yes, you can! Paracord is very durable. I usually just toss mine in a mesh laundry bag and wash it on a gentle cycle with cold water. Then, I let it air dry. It comes out looking fresh and clean.
Is it cheaper to make a paracord leash than to buy one?
Absolutely. A spool of 550 paracord costs about $10-15 and can make several leashes. High-quality paracord leashes in stores can cost $20-30 each. Plus, making your own means you get to pick the exact colors and lengths, which makes it totally worth the little bit of effort.