10 Homemade Dehydrator Dog Treats Your Pup Will Go Absolutely Wild For
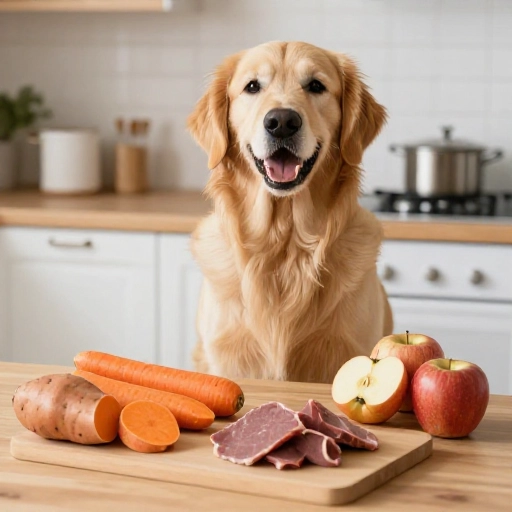
There is something truly special about watching your dog’s tail spin like a helicopter when they smell something delicious coming from the kitchen. But when that smell comes from your dehydrator, you know you are giving them something made with pure, unadulterated love. I started making my own dehydrated dog treats a few years ago, partly to save money, but mostly because I wanted to know exactly what was going into my furry best friend’s belly.
Forget the mystery meat and scary preservatives in store-bought bags. Dehydrating locks in nutrients and flavor in the simplest way possible, creating chewy, crunchy morsels that dogs literally dream about. Whether you have a picky eater or a bottomless pit, these ten recipes are packed with wholesome protein and veggies that will make you the best human in their eyes. Let’s get that dehydrator humming!
Why Make Homemade Dehydrated Treats?
The biggest win here is total control. When you dehydrate at home, you are in charge of the sodium levels, the fat content, and the quality of the ingredients. Many commercial treats are loaded with fillers like corn and wheat, which offer zero nutritional value and can upset sensitive stomachs. By making your own, you are essentially creating a concentrated powerhouse of vitamins and minerals that supports your dog’s coat, joints, and energy levels.
Plus, the texture is unbeatable. Dehydration removes moisture, which intensifies the flavor of the meat and sweetens the vegetables naturally. It also gives the treats a satisfying chew that helps scrape away plaque and tartar, acting like a natural toothbrush. It is a healthier, safer, and often cheaper alternative that turns snack time into a wellness ritual for your pet.
I love that I can make a huge batch on a Sunday afternoon and have healthy snacks ready for the entire month. It is incredibly rewarding to see my dog get so excited over something I made with my own two hands, and it gives me peace of mind knowing every single bite is safe and beneficial.
Essential Equipment & Tools You’ll Need
Before you raid the fridge, let’s talk gear. You don’t need a professional kitchen setup, but having the right tools makes the process smooth and safe. The star of the show is, of course, the dehydrator itself. You can use a simple stackable model or a fancy one with a fan and thermostat; either works great. If you don’t have a dehydrator, you can actually use your oven on its lowest setting (usually around 170°F or 200°F), but a dehydrator is much more energy-efficient and consistent.
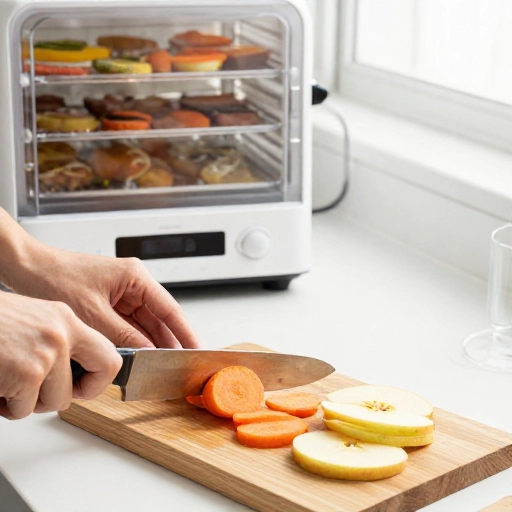
Beyond the machine, you’ll need a sharp chef’s knife or a mandoline slicer to get uniform slices. Consistent thickness is key—it ensures everything dries at the same rate, so you don’t end up with some pieces brittle and others still tacky. Parchment paper or silicone dehydrator mats are lifesavers for sticky mixtures or purees, preventing them from dripping through the mesh trays.
Finally, invest in a good meat thermometer. While dehydration removes moisture, it is crucial to ensure the internal temperature of meat reaches a safe zone to kill any bacteria. A glass bowl and a potato masher or food processor will also help you mix and shape the wetter recipes. Trust me, keeping these items handy makes the whole process a breeze.
Ingredients List & Safe Substitutions
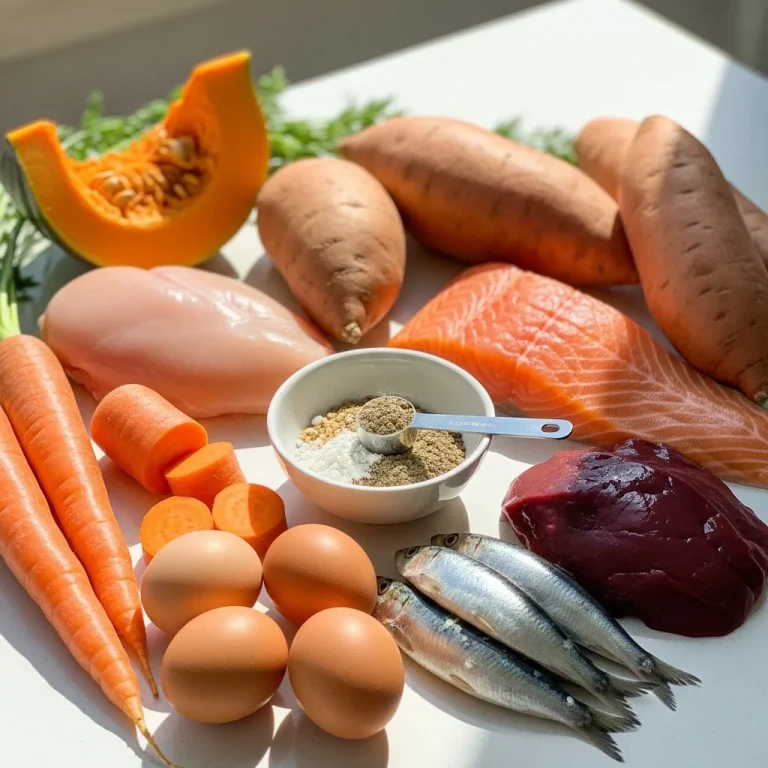
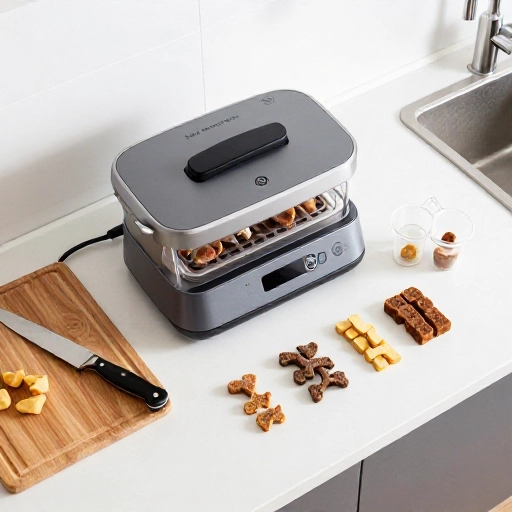
Here is the beautiful thing about DIY dog treats: the ingredient list is usually shorter than your arm. We are talking whole foods like lean meats, fish, sweet potatoes, and fruits. For these ten recipes, you’ll want to stock up on chicken breast, beef liver, sweet potatoes, green beans, and apples. These are the base flavors that dogs universally adore. Always opt for fresh, high-quality produce and lean, human-grade meats for the best results.
Now, for substitutions, it is crucial to know what is toxic. Never, ever use onions, garlic, grapes, raisins, or macadamia nuts. Xylitol (an artificial sweetener) is also deadly, so check labels on any peanut butter you buy—it should only contain peanuts and maybe salt. For dogs with poultry allergies, swap chicken for turkey, duck, or lean pork. If beef liver is too rich, use chicken liver or hearts instead.
For the binding agents in some recipes, oat flour or coconut flour are great gluten-free options. If your dog is sensitive to sweet potatoes, use pumpkin puree (plain, not pie filling) or butternut squash. You can also swap apples for pears or blueberries. Just keep the moisture content similar to what the recipe calls for so the dehydrating time stays accurate. When in doubt, keep it simple and stick to single-ingredient treats like pure meat jerky.
Step-by-Step Preparation Guide
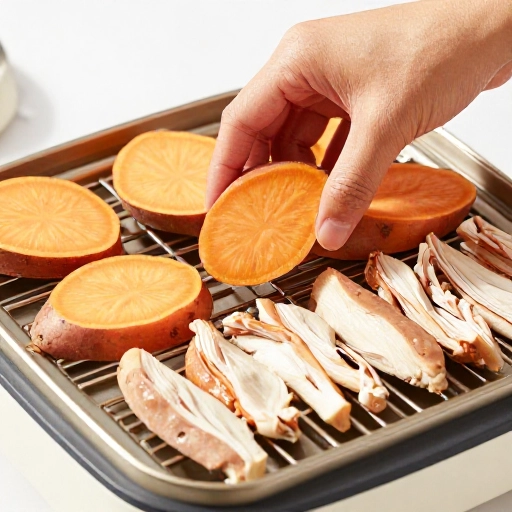
Alright, let’s get down to business. The general rule of thumb is to slice everything thinly—about ¼ inch thick is perfect for smaller treats. For the meat jerky (like chicken or turkey breast), it is best to partially freeze the meat for 30 minutes first; this makes it incredibly easy to slice into even, thin strips. For the liver, I like to boil it briefly for 5 minutes to firm it up before slicing—it makes the cutting process much less messy.
For veggie chips like sweet potato or green beans, a quick steam or blanch for 3-4 minutes helps kickstart the dehydration process. Once prepped, arrange the pieces on your dehydrator trays in a single layer, ensuring they are not touching or overlapping. This allows for maximum airflow, which is the secret to even drying. Set your dehydrator to 160°F for the first 2 hours to kill any pathogens, then drop the temperature to 135°F for the remainder of the drying time.
Drying times will vary based on thickness and humidity, but most meat will take 4-6 hours, while denser items like sweet potatoes might take 6-8 hours. The treats are done when they are leathery and bendable without breaking, or completely crisp. There should be no visible moisture when you cut one open. Let them cool completely on the trays before storing—this prevents condensation from ruining your hard work.
Storage & Serving Guidelines
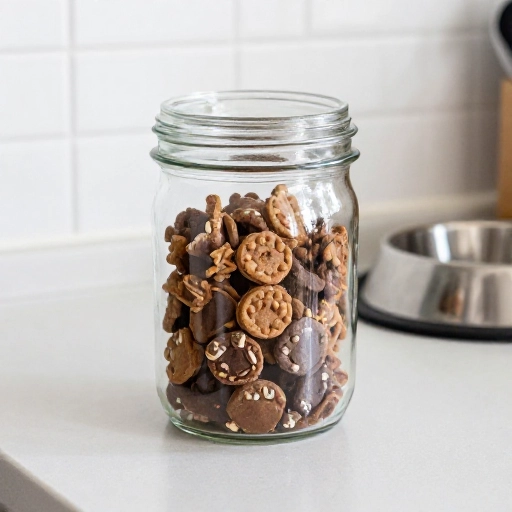
Proper storage is essential to keep your homemade treats fresh and safe. Because you have removed almost all the moisture, these treats are shelf-stable for a while, but they are still perishable. If your treats are completely dry and brittle (like the sweet potato chips), you can store them in an airtight glass jar or a Ziploc bag at room temperature for up to two weeks. I like to toss a silica gel packet in the jar to keep them extra crunchy.
For treats that are still slightly chewy or leathery (like the chicken jerky), they contain a bit more moisture, so they must be refrigerated. Stored in an airtight container in the fridge, they will last for up to three weeks. If you want to make a huge batch, freezing is your best friend. Lay the treats flat on a baking sheet to freeze individually, then transfer them to a freezer bag. They will keep for up to three months in the freezer—just thaw what you need.
When it comes to feeding, moderation is key. Treats should never make up more than 10% of your dog’s daily caloric intake. For small dogs, give half a treat; for large breeds, one or two pieces are plenty. These are calorie-dense, so adjust their dinner portions accordingly. Always supervise your dog when giving them a new treat to ensure they chew properly, and make sure they always have access to fresh, cool water.
Final Verdict & Summary
After experimenting with dozens of batches, I can confidently say that homemade dehydrated treats are a game-changer. The difference in aroma and flavor is night and day compared to the bagged stuff. My dog, who is usually a picky sniffer, will do backflips for the beef liver chips and chicken jerky. It is incredibly satisfying to bake (or rather, dry) for them, knowing I am providing a snack that supports their health rather than detracting from it.
The best part? It is incredibly forgiving. Even if your slices aren’t perfectly uniform, the treats will still taste amazing. The process is simple, the cleanup is minimal, and the cost per treat is significantly lower than premium store brands. You get to tailor every single batch to your dog’s specific taste buds and dietary needs, which is a level of customization you simply cannot buy.
I highly encourage you to start with a single-ingredient recipe like the sweet potato chews or the chicken breast jerky. They are foolproof and will give you the confidence to branch out into more complex mixtures. Once you see that happy, drooly face looking up at you, you will never want to go back to commercial treats again. Happy dehydrating, and give your pup a scratch behind the ears for me!
Frequently Asked Questions (FAQ)
How long do homemade dehydrated dog treats last?
It depends on the moisture left in them. Fully crisp treats stored in an airtight container at room temperature can last 1-2 weeks. Chewy treats need to be refrigerated and will last up to 3 weeks. For long-term storage, freeze them for up to 3 months.
Can I use my oven instead of a dehydrator?
Absolutely! Set your oven to the lowest temperature setting (usually around 170°F to 200°F). Place the treats on a wire rack over a baking sheet to allow airflow. Prop the oven door open with a wooden spoon to let moisture escape. Check them frequently as they may dry faster than in a dehydrator.
Do I need to cook the meat before dehydrating?
No, you do not! Dehydrating meat at 160°F for the first couple of hours is sufficient to kill harmful bacteria and make it safe. The low and slow process actually preserves more nutrients than cooking, making it a healthier option for your pup.
Are dehydrated treats safe for puppies?
Yes, but with caution. Puppies have developing digestive systems, so introduce new treats slowly. Also, hard treats might be too tough for baby teeth. For puppies, I recommend making softer jerky that is slightly under-dried (but still fully safe) or rehydrating the treats with a little warm water before serving.
Why are my treats turning out too hard?
This usually happens if the slices are too thin or left in the dehydrator for too long. For chewy treats, aim for thicker slices (about ¼ inch) and check them at the 4-hour mark. The treats are done when they are leathery and bendable without cracking or breaking in half.