10 Genius Dog Crate Table Toppers That Turn Ugly Crates Into Beautiful, Functional Furniture
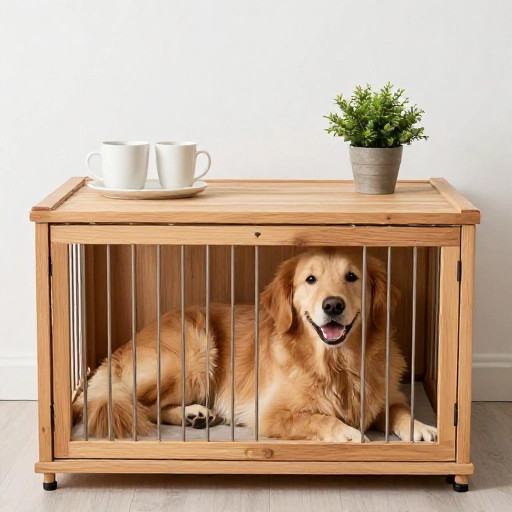
Let’s be honest—dog crates are a lifesaver for training and giving our pups a safe space, but they can be an eyesore in the middle of our living rooms. I remember the day I finally had enough of tripping over my dog’s crate and using it as a catch-all for mail and dog toys. It was cluttered, ugly, and taking up prime real estate in my home.
That’s when I discovered the magic of the crate topper. These simple DIY wood tops completely transform a wire or plastic crate into a stylish side table, a plant stand, or even a small bench. Today, I’m sharing my favorite design ideas that are practical, budget-friendly, and insanely functional. Plus, I’m throwing in a tried-and-true recipe for the perfect no-bake dog treat to reward your furry friend while you build!
Why Make a Crate Topper? (The Function & Fitness Factor)
Beyond the obvious aesthetic upgrade, a crate topper adds serious function to your home. It gives you a flat, stable surface that protects your dog from items falling onto their crate and creating noise or stress. It also gives you a designated spot for your coffee mug, a lamp, or your keys, so you stop losing things in the chaos of pet ownership.
These toppers are also fantastic for senior dogs. If you have a dog with joint issues, placing a weighted or sturdy topper encourages them to use the top as a step-up platform if you build a ramp, or it simply provides a solid, non-wobbly base that makes the crate feel more like a den and less like a cage. It’s a simple build that improves the quality of life for both you and your pet.
Finally, this is a sustainable project. Instead of buying a new piece of furniture, you’re repurposing the space you already have. It’s a weekend project that costs less than a fancy dog bed and gives you a huge return on your time and effort.
Essential Tools & Materials for Your Build
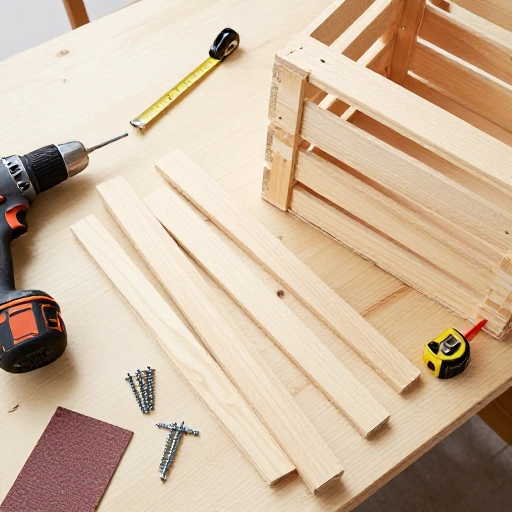
Before you start sawing and sanding, you need to gather the right gear. While the exact materials depend on the design you choose, these are the staples you’ll need for almost any crate-topper project.
- Measuring Tape: Crucial for getting the exact dimensions of your crate top.
- Plywood or MDF Board: A ¾-inch thick board is perfect for sturdiness. You can have it cut to size at your local hardware store.
- Sandpaper or Electric Sander: For smoothing rough edges to protect your dog and your floors.
- Wood Stain or Paint: To match your decor and seal the wood against moisture.
- Polyurethane Sealant: A must-have for a durable, scratch-resistant finish.
- Screws & Wood Glue: For attaching legs or a lip to the topper.
- Hinges (Optional): If you want a flip-top design for easy crate access.
If you’re not handy with a saw, you can absolutely use a pre-cut butcher block or an old cutting board. The goal is to create a flat, solid surface that fits snugly on top of the crate.
Ingredients for the Perfect Training Treat (Fuel for the Project)
While you’re measuring and drilling, your dog will be watching your every move. Keep them happy and occupied with these simple, healthy treats. These are safe, vet-approved ingredients that are gentle on sensitive tummies.
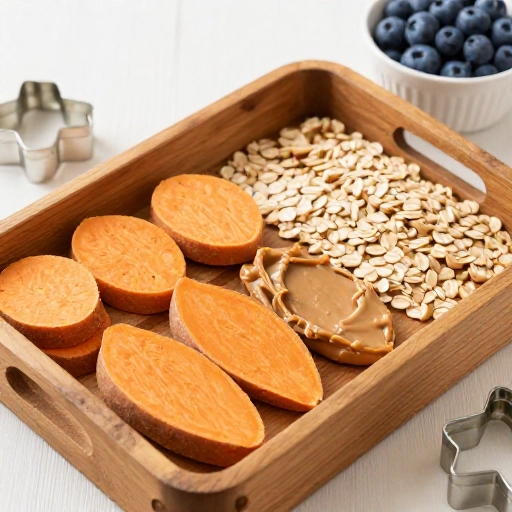
- 1 cup Pumpkin Puree: (Plain, not pie filling) Great for digestion.
- 1/4 cup Peanut Butter: (Make sure it’s xylitol-free!)
- 1 ½ cups Oat Flour: (You can blend rolled oats in a food processor).
- 1/2 cup Plain Greek Yogurt: For a creamy texture and probiotics.
- 1 Egg: For binding and protein.
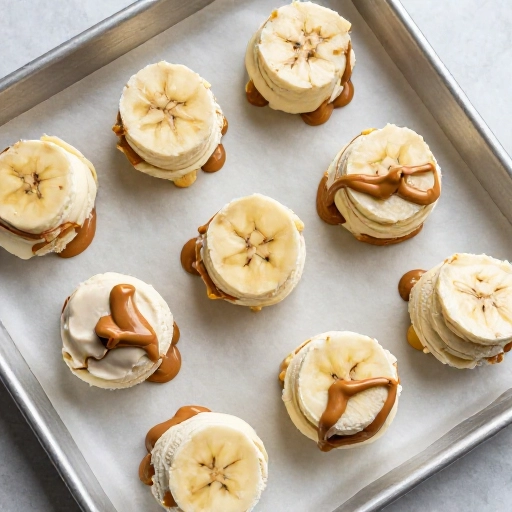
Mix all the ingredients in a bowl until a thick dough forms. If it’s too sticky, add a little more oat flour. If it’s too dry, add a splash of water. These treats are perfect for stuffing into a Kong while you work on your project.
How to Build the Perfect Crate Topper (Step-by-Step)
Here is my simple method for a no-fail topper that looks like it came from a high-end furniture store. The key is to take your time with the measurements.
- Measure & Cut: Measure the length and width of your crate’s top. Add 2-3 inches to each side for a nice overhang. Have your wood cut to this size.
- Sand It Down: Sand all edges and surfaces thoroughly. You want it buttery smooth so there are no splinters for your dog’s nose or your hands.
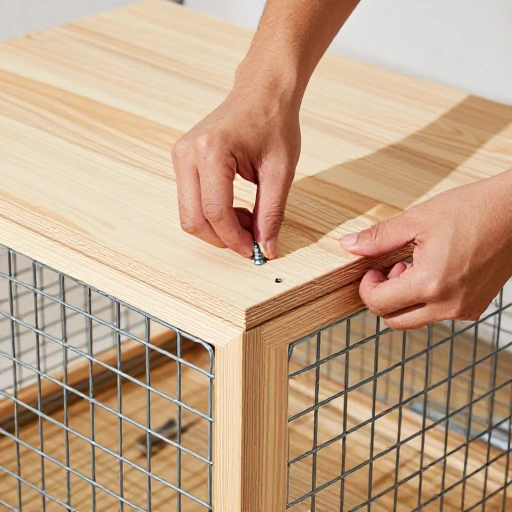
- Add a Lip (Optional): To prevent items from sliding off, cut a small strip of wood (like a 1×2) and attach it to the back edge using wood glue and screws. This creates a small shelf lip.
- Stain & Seal: Apply your chosen stain or paint. Let it dry completely. Then, apply 2-3 coats of polyurethane, letting it dry between coats. This makes it waterproof and easy to wipe clean.
- Attach Legs (For Raised Look): If you want it to look like a table, attach 4 short furniture legs to the bottom corners. This elevates the topper and gives it a distinct table look.
- Place & Test: Once the sealant is fully cured (usually 24 hours), place the topper on the crate. Give it a gentle shake to ensure it’s stable.
This simple design is incredibly sturdy. I’ve had mine for two years, and my 70-pound Lab jumps on it to look out the window without a single wobble.
Storage, Serving Size & Safety Tips
Once your topper is in place, it’s time to think about the treats you just made. Store the pumpkin treats in an airtight container in the refrigerator for up to a week, or freeze them for up to three months.
When it comes to serving, moderation is key. These treats should not replace your dog’s regular meals. A good rule of thumb is to give small dogs (under 20 lbs) one treat, medium dogs (20-50 lbs) two treats, and large dogs (over 50 lbs) three treats per day. Always supervise your dog when giving them a treat to ensure they chew properly.
For the crate topper itself, clean it with a damp cloth and mild soap. Avoid using harsh chemicals that could be toxic to your pet if they lick the surface. The sealed wood makes cleaning up muddy paws or spilled water a breeze.
Final Verdict & Why You’ll Love This Setup
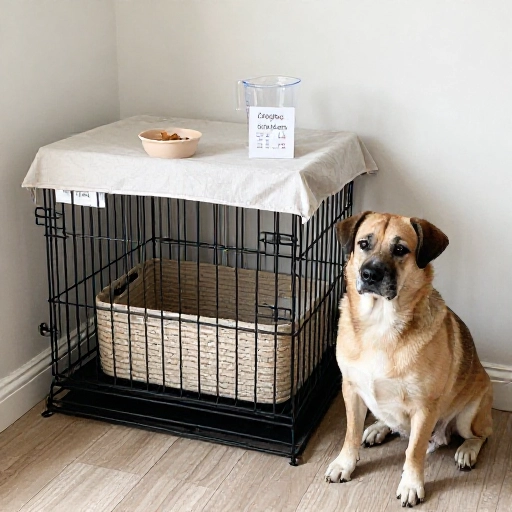
This combination of functional furniture and homemade treats is a total game-changer. The crate topper instantly elevates your space, making it look intentional and stylish. It solves the “I have nowhere to put my drink” problem and gives your dog a sturdy, quiet den that feels much more secure.
I love that this project is entirely customizable. You can use a beautiful piece of walnut, paint it a bold color, or add a cushion on top for a window seat. The possibilities are endless, and the result is always a win for your home decor and your dog’s happiness.
This is one of those rare projects that is simple to execute but delivers a massive impact. You’ll wonder why you didn’t do it sooner. Give it a try this weekend—you and your pup will be thrilled with the result.
Frequently Asked Questions
Is it safe for my dog to stand on the crate topper?
Absolutely! As long as you use a sturdy ¾-inch board and secure it properly, it can easily support your dog’s weight. The crate itself is designed to hold their weight, so adding a flat board on top doesn’t compromise its integrity. Just make sure your dog’s claws aren’t long enough to get caught in the seams.
Can I use any type of wood?
Plywood, MDF, and solid pine are the most common and affordable choices. Solid hardwood like oak is more expensive but incredibly durable. Just avoid particleboard, as it can warp if it gets wet. Always seal the wood to protect it from moisture and odors.
How do I stop the topper from sliding off the crate?
You can add small rubber pads or Velcro strips to the bottom corners of the topper. This grips the crate’s metal bars and prevents any sliding. Some people also use zip ties to secure it, but I find that rubber pads are enough for everyday use.
Can I use these treats for dogs with allergies?
Yes, this recipe is naturally grain-free and doesn’t contain common allergens like corn, wheat, or soy. However, always double-check your peanut butter label for xylitol, which is toxic to dogs. If your dog has a specific protein allergy, you can swap the egg for a flax egg (1 tablespoon flaxseed meal + 3 tablespoons water).
What if my dog doesn’t like the crate?
A crate topper can actually help with this! By making the crate look like a piece of furniture, it becomes a normal part of the house rather than a scary cage. Place the topper on the crate and put treats or toys on top to create a positive association. Over time, your dog will see the crate as a cozy, safe spot.