10 Inspiring Homemade Leash Designs You Can Actually Make
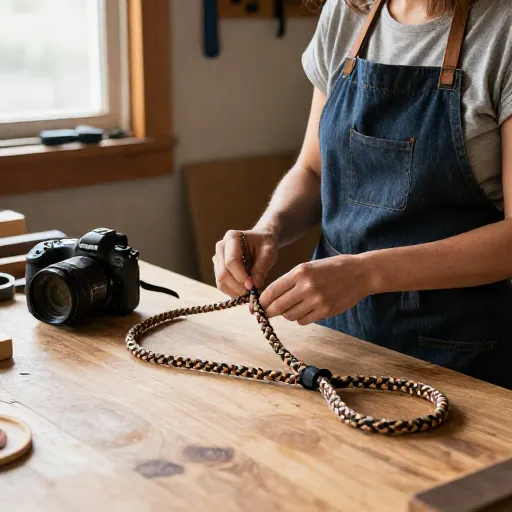
I don’t know about you, but I have a drawer full of boring, store-bought leashes that all look the same. They work fine, sure, but they don’t say anything about my dog’s personality—or mine. One rainy Saturday, I decided to change that. I pulled out some old climbing rope, a few carabiners, and a sewing kit, and I haven’t bought a leash since.
The best part about making your own leash? You control the length, the hardware, and the style. You can match it to your dog’s collar, make it reflective for night walks, or even repurpose materials you already have lying around. Plus, homemade leashes make incredible gifts for fellow dog lovers. Here are ten designs that range from beginner-friendly to “wow, did you really make that?”
1. Braided Paracord Leash
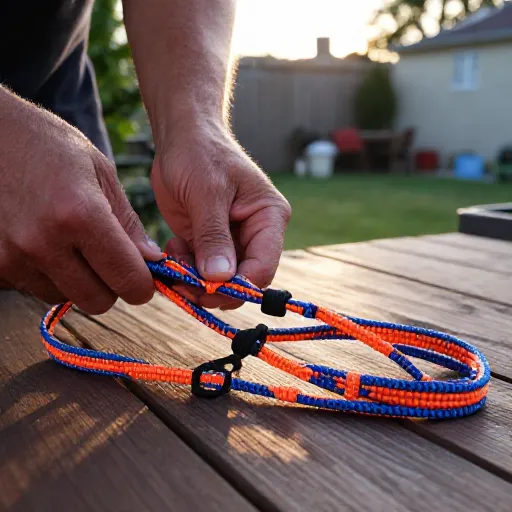
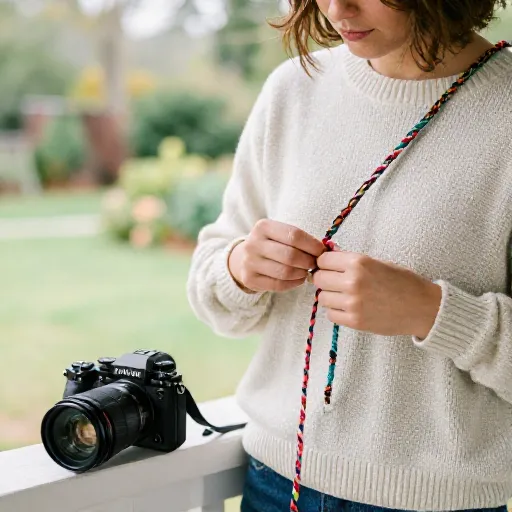
Paracord is the gold standard for DIY leashes. It’s strong, lightweight, and comes in every color imaginable. The classic braid—like a friendship bracelet on steroids—creates a comfortable grip that doesn’t dig into your hands when your pup pulls.
You’ll need about 15 feet of paracord for a six-foot leash. Fold it in half, find the midpoint, and start braiding three strands together. Finish both ends with a sturdy knot and a bolt snap. This design takes about an hour and costs less than five dollars.
Pro tip: choose a bright pattern like neon orange or teal. It’s much easier to spot in the grass at the dog park.
2. Upcycled Climbing Rope Leash
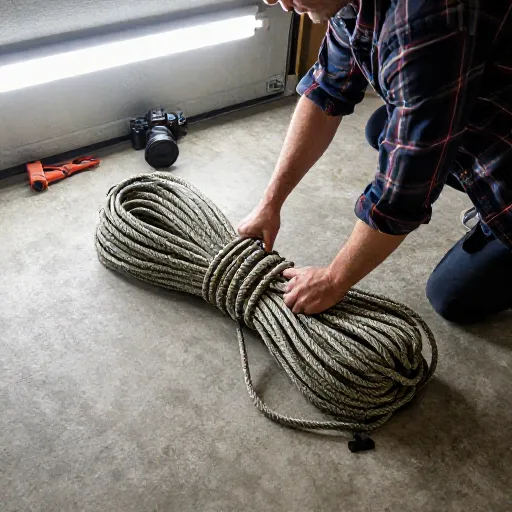
That old dynamic rope in your garage, the one that’s too worn for climbing but too good to toss? It makes the most luxurious dog leash ever. The thick, soft texture feels amazing in your hands, and the natural stretch absorbs sudden tugs.
Simply cut a six-foot length, melt or whip the ends to prevent fraying, and attach a heavy-duty carabiner and a swivel snap. The swivel is key—it stops the leash from twisting into a mess on long walks.
This is a zero-waste project that results in a leash that looks like it costs fifty bucks at a boutique pet store.
3. Double-Layer Fabric Leash with Padded Handle
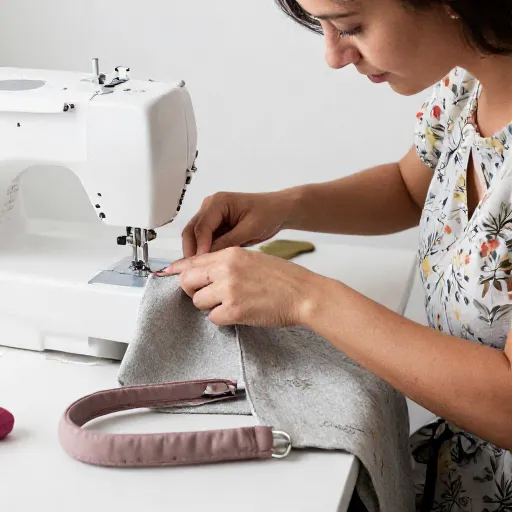
If you have a strong puller, a padded handle is a game-changer. This design uses two layers of cotton webbing, with a layer of soft fleece or neoprene sewn in between for the handle section.
Cut a 1-inch wide cotton webbing strip about 70 inches long. Fold it in half lengthwise and sew down the edge. For the handle, add a 6-inch panel of folded fleece and stitch around it with a zigzag pattern for extra grip.
You can personalize this one with custom fabric prints—think little bones, mountain landscapes, or even your dog’s name embroidered on the handle.
4. Rope and Wood Bead Leash
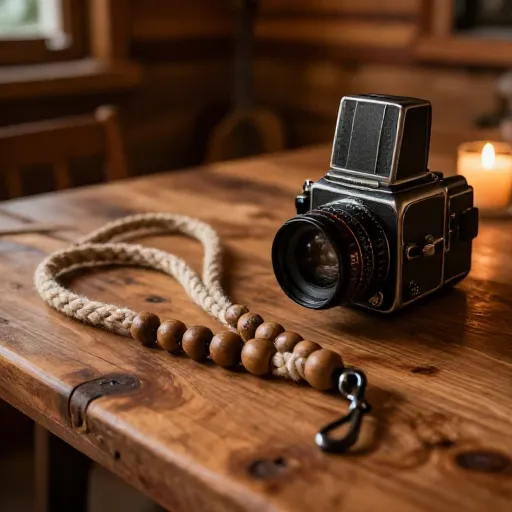
This one is for the boho lovers. It combines a simple cotton rope base with large wooden beads that slide up and down. The beads aren’t just decorative—they give you a built-in grip point for when your dog decides to chase a squirrel.
Use 8mm cotton rope and thread on 14 to 18 wooden beads before attaching the hardware. You can alternate bead sizes or keep them uniform. Sealing the beads with a bit of linseed oil makes them water-resistant.
It looks natural and earthy, and it pairs beautifully with a leather collar.
5. Reflective Webbing Leash for Night Walks
Winter walks happen in the dark, so this is the safety-first design. You’ll use reflective webbing—the kind that lights up like a glow stick when a car’s headlights hit it.
You can buy reflective webbing by the yard at most craft or outdoor stores. Sew it into a simple flat leash with a rolled handle for comfort. Add a small strip of regular fabric on the handle for a pop of color against the silver sheen.
This one might not win a beauty contest in daylight, but it’s the most responsible choice you’ll ever make for your dog.

6. Braided T-Shirt Yarn Leash
Got old t-shirts that are too stained to donate? Turn them into yarn. Cut the shirts into continuous strips, stretch them until they curl, and you have a soft, stretchy fabric yarn that’s perfect for braiding.
This leash is incredibly lightweight and gentle on your hands. It’s not the strongest option for a 90-pound dog, but it’s ideal for small breeds or as a backup leash in your car.
Use three different colored shirts for a scrappy, colorful look that’s completely unique to you.
7. Leather and Brass Hardware Leash
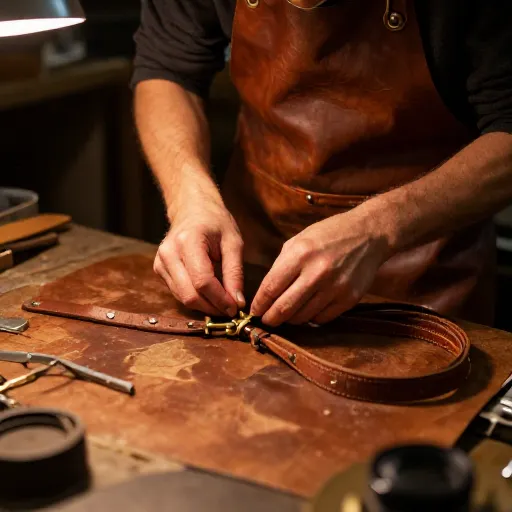
If you want a leash that looks elegant and ages beautifully, go with leather. Buy a 6-foot strip of 3/4-inch vegetable-tanned leather, round the edges with a rotary cutter, and finish the ends with brass hardware.
The great thing about leather is that it gets softer and more supple with use. It develops a patina that tells the story of all your walks together. You’ll need a hole punch and a rivet setter, but the process is simpler than you think.
Add a small brass nameplate for that extra touch of class.
8. Chain and Fabric Hybrid Leash
For dogs that like to chew their leashes, this hybrid design is a lifesaver. It uses a short length of lightweight chain at the top where the dog can reach, and cotton webbing for the rest.
Attach the chain to the collar with a heavy-duty snap, then connect the webbing to the other end of the chain with a swivel. The chain discourages chewing while the fabric keeps the leash light and comfortable in your hand.
It’s a practical solution that still looks intentional and stylish.
9. Multi-Functional Handle Leash (Tether Style)
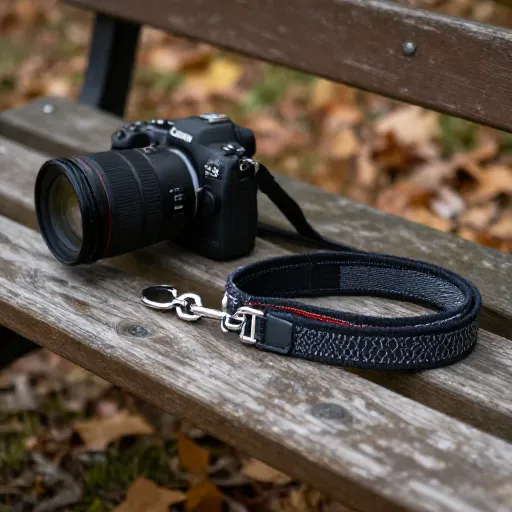
This design has an extra loop handle about halfway down the leash. It’s perfect for when you need to keep your dog close—crossing a busy street, navigating a crowded sidewalk, or popping into a store that allows pets.
Start with a standard flat webbing leash, but add a 5-inch loop of webbing stitched perpendicular to the main strap about 18 inches from the collar clip. Reinforce it with an X-stitch pattern so it can handle the weight.
This is one of those “why didn’t I think of that” features that you’ll use every single day.

10. Pool Noodle Handle Comfort Leash
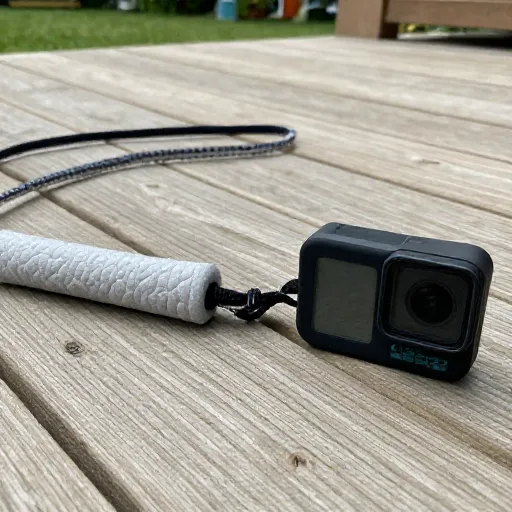
This is the quickest fix on the list, and it’s perfect for hot summer walks or for people with arthritis. Take a standard rope or webbing leash and thread a 4-inch piece of pool noodle over the handle area.
The foam noodle acts like a cushioned grip, preventing the leash from digging into your palm. You can leave it plain, or wrap it in colorful duct tape for a custom look.
It’s not the fanciest design, but it is the most comfortable thing you’ll ever hold during a long walk.
Final Thoughts
Making your own leash is one of those projects that feels surprisingly rewarding. It’s practical, budget-friendly, and a little bit creative. Whether you go for the rugged paracord braid or the elegant leather version, you’ll end up with something that’s truly one-of-a-kind.
Start with the easiest design—maybe the t-shirt yarn braid—and work your way up. Before you know it, you’ll have a whole collection of leashes for every mood, season, and adventure. And honestly, your dog won’t care what the leash looks like. But you’ll feel pretty awesome knowing you made it yourself.
Frequently Asked Questions
What is the strongest material for a homemade dog leash?
Paracord and climbing rope are both excellent choices. They have high tensile strength and resist abrasion well. For very large or powerful dogs, go with a 550 paracord or a 10mm climbing rope.
How long should a homemade leash be?
Six feet is the standard length for everyday walks. Four feet is good for training or urban areas, and eight to ten feet is great for hiking or letting your dog roam a bit more freely.
Do I need any special tools to make a leash?
For fabric and webbing leashes, a sewing machine and heavy-duty needles help. For rope and paracord, you just need a sharp knife and a lighter to melt the ends. Leather leashes require a hole punch and rivets.
Can I wash a homemade leash?
Most fabric and rope leashes can be hand-washed with mild soap and hung to dry. Leather should be wiped down and conditioned instead. Avoid machine washing anything with metal hardware to prevent rust.
Are homemade leashes safe for everyday use?
Yes, as long as you use quality materials and secure all knots and stitching. Check the leash regularly for wear and tear, especially the connection points. When in doubt, reinforce it with an extra stitch or knot.