10 Pet Grooming Shop Layouts That Work (And Why Your Clients Will Love Them)
Let me guess—you’ve got the clippers, the table, and the dream. But when you walk into your space, it feels a little… cramped, chaotic, or just not “wow.” I’ve been there. The secret to a successful grooming business isn’t just your skill with a slicker brush. It’s the flow of the room. A smart layout reduces stress for the pets, keeps you moving efficiently, and honestly, makes clients trust you more the second they walk in.
Over the years, I’ve seen every kind of setup—from tiny garage conversions to luxury spa-like salons. The good news? You don’t need a massive budget. You just need a plan that works with your specific space. These ten layouts are tried-and-true, and I’m going to walk you through exactly why they work, so you can steal the best ideas for your own shop.
1. The Open “Circle of Trust” Layout
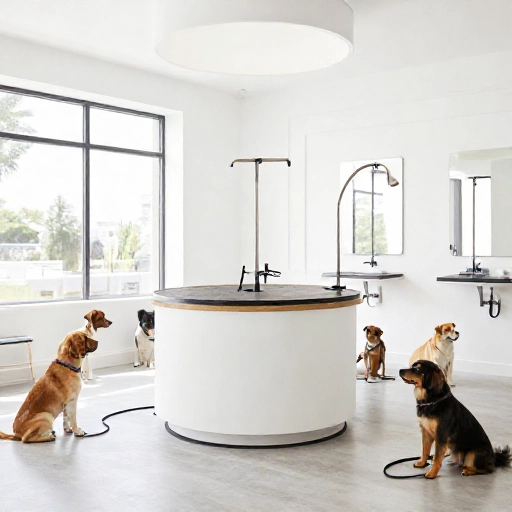
This is my absolute favorite for smaller shops. Instead of pushing all the grooming tables against the walls, place them in a loose circle or U-shape in the center of the room. You become the hub, spinning from one dog to the next without taking more than two steps.
It works because you can see every dog at all times. No blind spots. If a dog starts to get wiggly, you catch it instantly. Plus, it naturally creates a “work zone” in the middle, keeping the perimeter clear for storage and walking paths.
- Keeps your energy in one place.
- Reduces the “hallway” wasted space.
- Makes the room feel bigger because walls are visible.
Try this if you work solo or with just one other groomer. It feels less like a factory and more like a team huddle.
2. The “Two-Zone” Split (Wet vs. Dry)
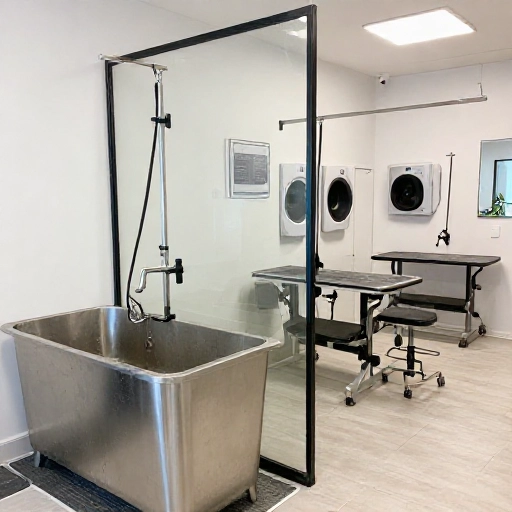
You know the chaos. You’re blow-drying a fluffy Bichon, and suddenly a wet Lab walks past, shaking water everywhere. That’s why splitting your shop into a “wet zone” and a “dry zone” is a game-changer.
Put all the bathing, dipping, and fluff-drying equipment on one side (ideally with a floor drain). Keep the finishing tables, caging, and check-out on the other side. This layout is all about physics—mud and water stay in one place, hair and cologne stay in the other.
It also helps with noise. Dogs dry faster when they’re not getting splashed by the next bath. And your dryers won’t be blowing hair onto freshly washed pups. It’s a simple division that saves you an hour of cleaning every day.
3. The “Storefront” Display Layout
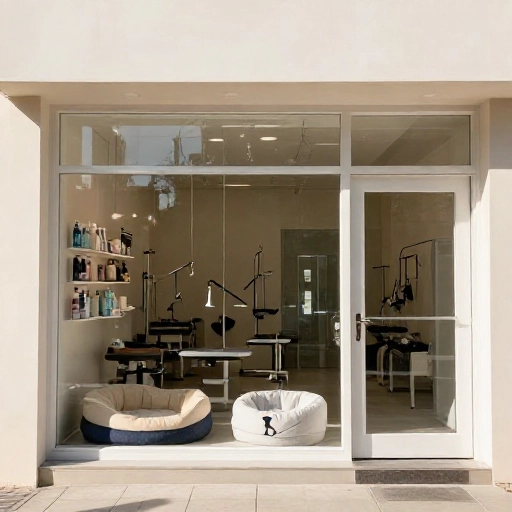
If you sell retail products—collars, shampoos, treats—you need this one. Instead of hiding your register in the back, put it right up front with a beautiful, low-profile shelf facing the street or waiting area.
The grooming happens behind a half-wall or glass partition. Clients can watch you work (they love this), but they’re also tempted to browse while they wait. I’ve found that when the retail is on the way to the pickup door, sales go up by 30%.
It’s a dual-purpose space. The front is for customer service; the back is for production. This layout makes your shop feel professional and bustling, even on a slow Tuesday.
4. The “Cage-Free” Boutique Style
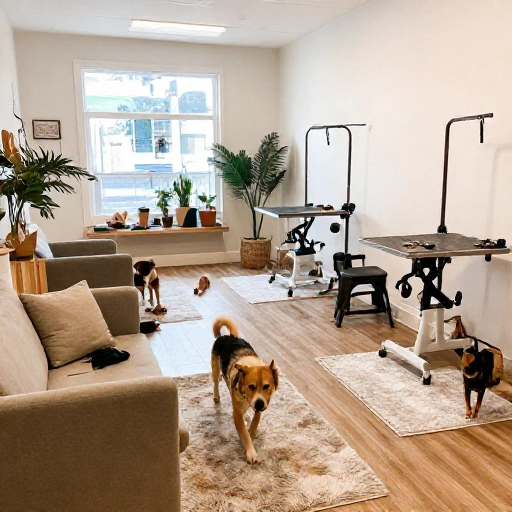
More and more pet parents are asking for cage-free grooming. This layout is for you. Instead of a wall of kennels, you use a series of low-walled “pods” or raised beds with tethers in a quiet corner.
The main grooming floor is open, but you designate one corner for “cool down” and pickup. This space is calm, maybe with a little lavender scent and soft lighting. It’s not a cage; it’s a waiting room for dogs.
This works best if you have a slow, appointment-only schedule. You can’t stack 10 dogs in here, but you can offer a premium experience. Honestly, clients will pay more for this peace of mind. It shows you care about the dog’s emotional state, not just the haircut.
5. The “Assembly Line” High-Volume Layout
Now, if you’re doing 10+ dogs a day, you need a line. This is the classic “stations” setup. Bathe here, dry there, finish at that table, then off to the kennel. It’s a one-way flow.
Dogs move forward, never backward. This prevents cross-contamination (dirty paws getting on clean fluff) and keeps your brain organized. You don’t have to think; you just move down the line.
I like to use a color-coded system here. Blue towels for bathing, white for drying, pink for finishing. It’s fast, and it works. You’ll be amazed at how many more grooms you can squeeze in when you’re not zig-zagging across the room.
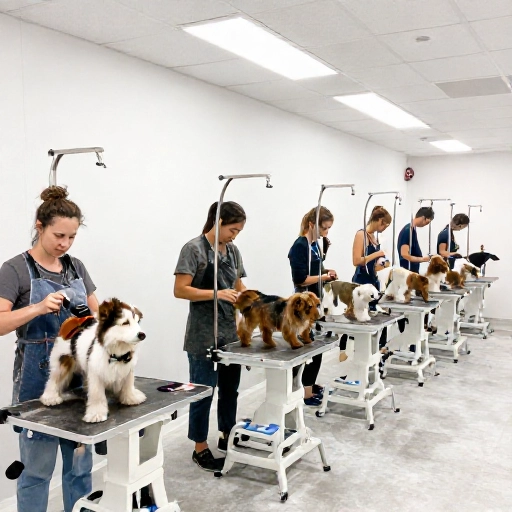
6. The “L-Shaped” Corner Saver
Don’t have a perfect rectangle? No problem. The L-shape layout uses two adjacent walls to create a cozy, efficient work triangle. Put the tub at the short end of the L and the tables along the long end.
This is great for narrow spaces. It uses the corners that usually just collect dust. You can put a swivel arm dryer in the corner so it reaches both the tub and the table without moving it.
I love this for a home-based setup. It feels less industrial and more like a craft studio. It also allows you to have a bigger “lobby” area if you’re working from a converted garage or spare room.
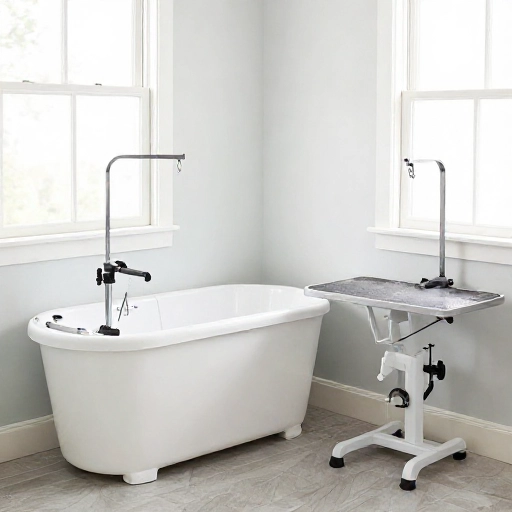
7. The “Zen Den” (Low-Stress Handling)
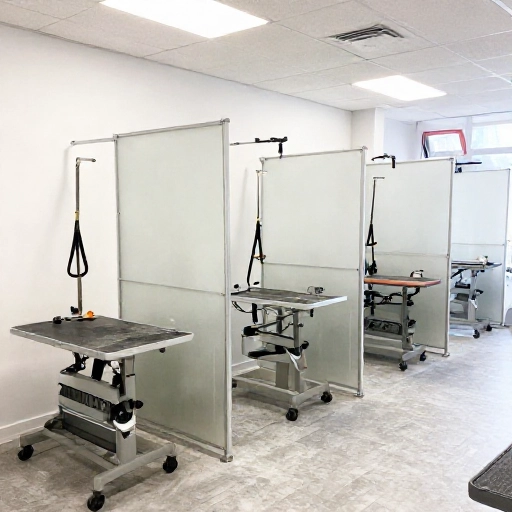
Some dogs just hate the groomer. The noise, the smells, the strangers. This layout is designed specifically to minimize stress. You use solid partitions between tables (no see-through bars) to block visual stimulation.
Sound is the big one here. You can build little “nooks” with acoustic foam or heavy curtains to stop the dryer noise from echoing. Keep the lighting warm, not harsh fluorescent.
This isn’t just for the dogs. It’s for your sanity too. A calm dog is easier to groom. I’ve seen groomers switch to this layout and suddenly their “difficult” clients became regulars. It’s about creating a sanctuary, not a workshop.
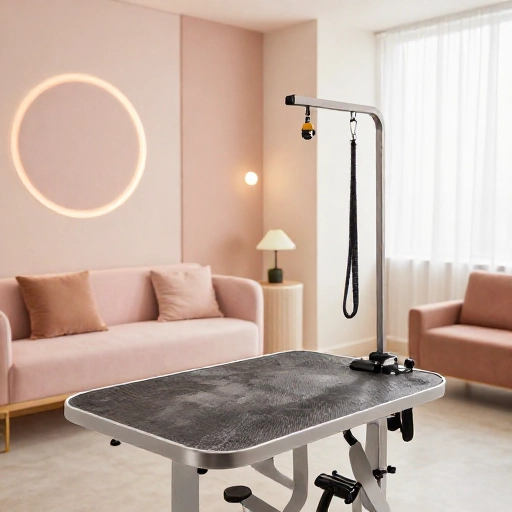
8. The “Loft” Vertical Space Layout
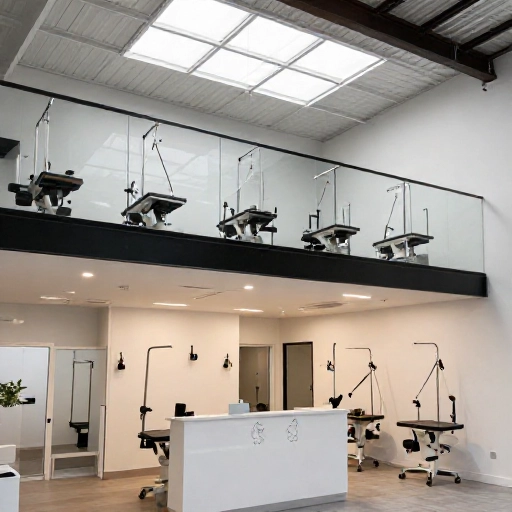
When floor space is tight, go up. This layout uses raised platforms or even a mezzanine level for cages or storage. You groom on the main floor, but you use the vertical space for drying cages or holding pens.
If you have high ceilings, this is a no-brainer. You can install a pulley system for heavy bags of food or use tall rolling carts that fit under the tables. It keeps the floor clear for walking.
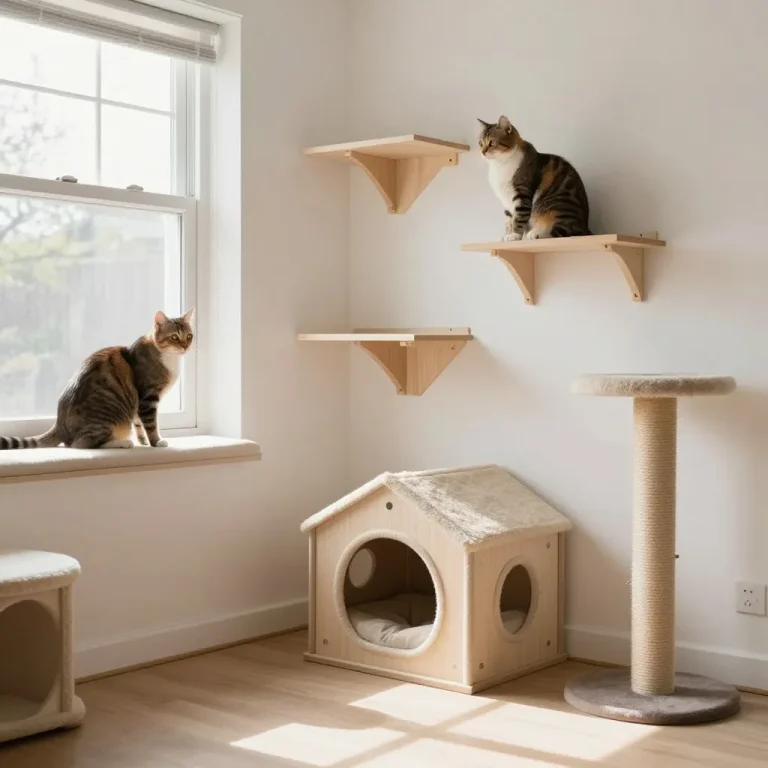
I once saw a shop that had a “second floor” for cats! Cats got the quiet loft space, and dogs stayed on the ground floor. It eliminated so much hissing and growling. Smart thinking.
9. The “Drive-Thru” Pickup Window
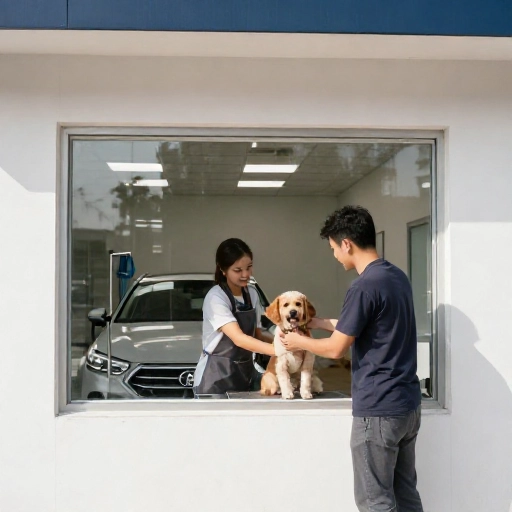
This is a trend that’s exploding. You have the main grooming shop, but you add a small, separate door or window directly to the parking lot. Clients don’t have to walk through the waiting room full of barking dogs to pick up their pup.
The layout keeps the front lobby empty of traffic. You simply put the finished dog in a crate near the window, call the owner, and hand them over through the hatch. It’s fast, it’s contactless, and it’s super convenient.
This is a game-changer for busy pet parents. They don’t have to wrangle their excited dog past other dogs. It shows you respect their time and their pet’s boundaries.
10. The “Multi-Purpose” Flex Space
Last but not least, this is the hybrid layout. You have a main grooming area, but you also have a section that can be converted. One day it’s for nail trims (walk-ins), the next day it’s for puppy socialization classes, and the weekend it’s a photography backdrop.
Use folding tables and rolling storage bins. The key is flexibility. You can move things around in 10 minutes. This is perfect for rural areas where you need to offer more services to stay afloat.
It keeps your business fresh. You’re not just a groomer; you’re a pet hub. It also means you’re not wasting money on a huge space you only use half the time.
Bringing It All Together
Choosing the right layout is like choosing the right blade for a groom—it has to fit the job. Don’t just copy a photo you saw on Instagram. Look at your actual room, your budget, and the type of clients you want to attract.
Start with a rough sketch. Mark where the water lines are and where the power outlets are. Then, walk through your “day” in your head. Where do you stand? Where does the dog go? Where does the owner stand? You’ll quickly see what works and what doesn’t.
Remember, you can always tweak things later. The best layout is the one that lets you go home with a smile on your face, not a sore back.
Frequently Asked Questions
Q: What is the ideal square footage for a grooming shop?
Honestly, you can start with as little as 200 square feet if you’re solo. For a comfortable two-station shop, aim for 400-500 square feet. That gives you room for a tub, tables, and a little waiting area without feeling cramped.
Q: Should I put my grooming table near the window?
Yes, if you can! Natural light is amazing for seeing coat texture and color. But avoid direct sunlight that can overheat the dogs. A north-facing window is perfect, or just use sheer curtains to diffuse the light.
Q: How do I keep the hair from getting everywhere?
Your layout can help! Keep your drying station farthest from the entrance. Use air purifiers and make sure your HVAC vents are high up. Also, consider a “negative air” system in the drying area to push air out.
Q: Is it better to have a separate room for bathing?
If you have the space, absolutely. It keeps the humidity down in the grooming area, which means faster drying times and less frizz on the dogs. It also keeps the noise of the water spray from scaring the dogs waiting.
Q: What’s the biggest layout mistake new groomers make?
They put the kennels right next to the grooming tables. The dogs in the kennels get stressed watching others get groomed, and they bark endlessly. Always put a visual barrier or a separate room between the “waiting” dogs and the “working” dogs.