10 Simple Cat Face Pumpkin Patterns Kids Can Make
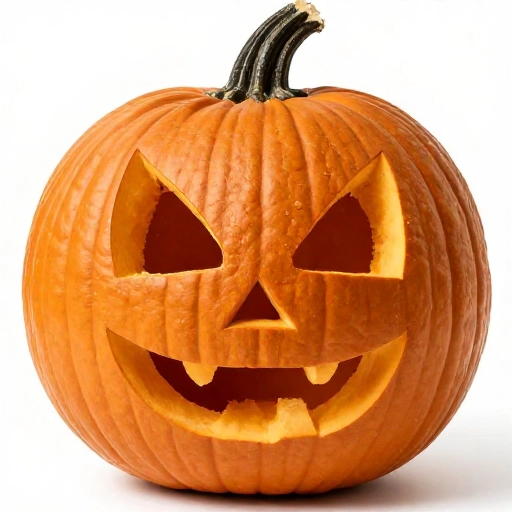
There’s something magical about carving pumpkins with kids. The mess, the giggles, the proud little faces holding up a flashlight-lit gourd—it’s pure fall magic. But let’s be real, complex designs can turn into toddler tears and parental stress faster than you can say “pumpkin guts.”
That’s why I’m obsessed with cat face pumpkins. They’re forgiving, flexible, and ridiculously cute. Whether you have a tiny helper who just wants to draw whiskers or a big kid ready to handle a safe carving knife, these patterns are perfect for all ages. Plus, they look amazing on the porch.
1. Classic Pointy-Eared Kitty
This is the granddaddy of cat pumpkins. You only need three shapes: two triangles for ears and a simple rounded nose. It’s the perfect starter pattern for little hands.
Start by drawing the ears on the top of the pumpkin with a washable marker. Make them slightly angled outward for that alert kitty look. The face is just two slanted lines for eyes and a small triangle nose. That’s it!
Pro tip: Use a spoon to scoop the walls thin behind the face. This lets more light shine through, making the silhouette super bright and clear.
2. The Sleepy Squint
Sometimes cats are just too tired to care. This design uses curved lines for eyes that look like happy little “U” shapes flipped upside down. It’s the calmest pumpkin on the block.
You can achieve this look without any carving tools at all! Just use a drill with a large bit or push a pencil through the pumpkin to create curved dotted lines. Kids love this because it feels like drawing with dots.
The mouth is a simple “w” shape. Add a tiny triangle nose above it, and you have a cat that looks like it’s dreaming of tuna. Trust me, this one is impossible to mess up.
3. The Whisker Wonder
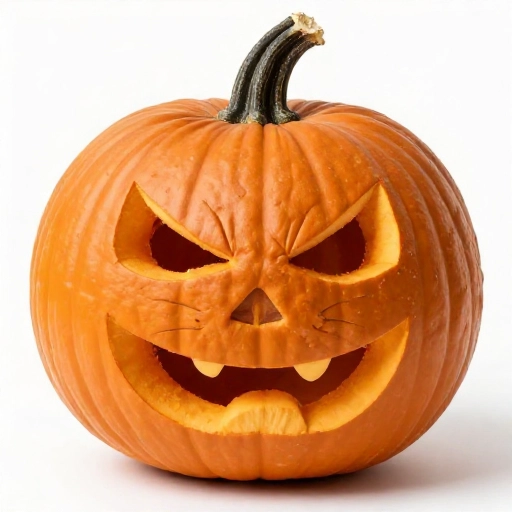
Whiskers are what make a cat face read as a cat face. For this pattern, you can keep the eyes and nose super simple and let the whiskers do all the heavy lifting.
Carve three thin slits on each side of the face. They should fan out slightly, like a sunburst. Don’t worry about making them perfectly straight—slightly wonky whiskers have so much character.
For a no-carve option, use black electrical tape to stick on whiskers. It sounds silly, but it looks awesome when lit from inside. Kids can peel and reposition them until they’re just right.
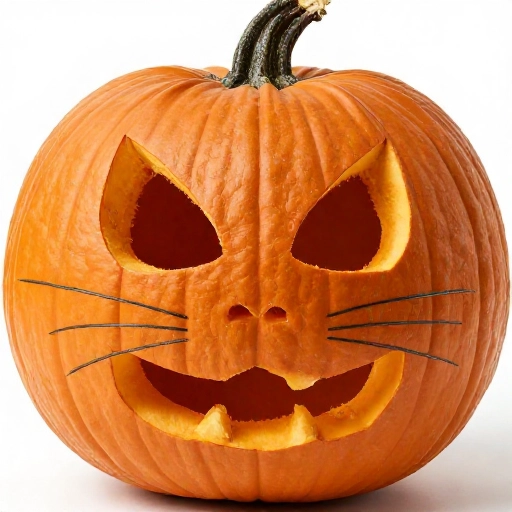
4. The Grumpy Cat Cross-Eye
Every family needs a grumpy pumpkin. This one is hilarious and surprisingly easy. The eyes are two circles that look inward toward the nose, and the mouth is a straight line turned down at the corners.
The trick is to make the eyes slightly smaller than you think they should be. Crossed eyes work best when they’re little. Carve them as simple holes, no fancy shapes needed.
Add a furrowed brow by carving two short diagonal lines above the eyes. This instantly changes the whole vibe of the pumpkin. It’s like magic.
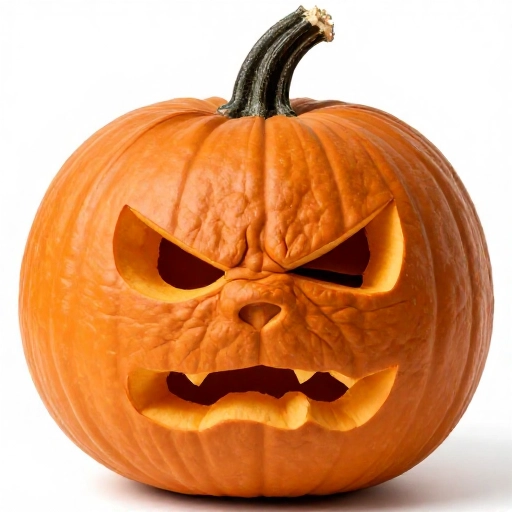
5. The Masked Bandit
This is for kids who want a little more detail without a lot of work. The idea is to leave the pumpkin skin around the eyes intact, creating a mask effect like a tuxedo cat.
Instead of carving the eyes out completely, just scrape the skin off in an oval shape. This lets the light glow through the thinner flesh while the surrounding area stays dark. It’s a beautiful effect.
Use a small clay loop tool or even a spoon to gently scrape away the orange skin. You’ll see the lighter flesh underneath. This is a perfect activity for kids who love sensory play.
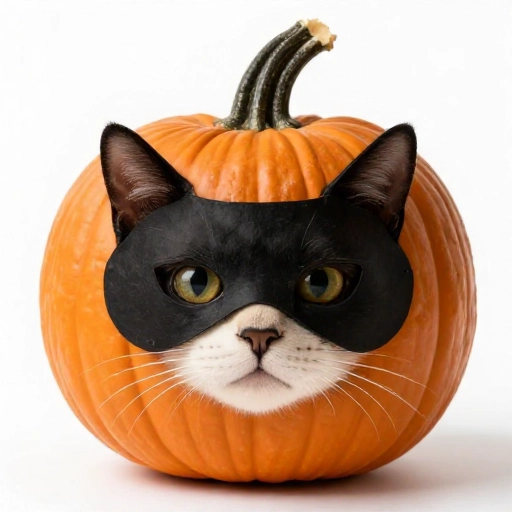
6. The Minimalist Line Cat
This pattern is all about negative space. Instead of carving big shapes, you carve thin, elegant lines. It looks super modern and classy on a front porch.
Use a small saw or a linoleum cutter to carve simple slits. Two almond-shaped eyes, a tiny line for a nose, and a long curved line for a mouth. Less is definitely more here.
Kids can practice drawing the design on paper first. Once they’re happy with the lines, they can copy it onto the pumpkin. It’s a great way to build confidence before handling tools.
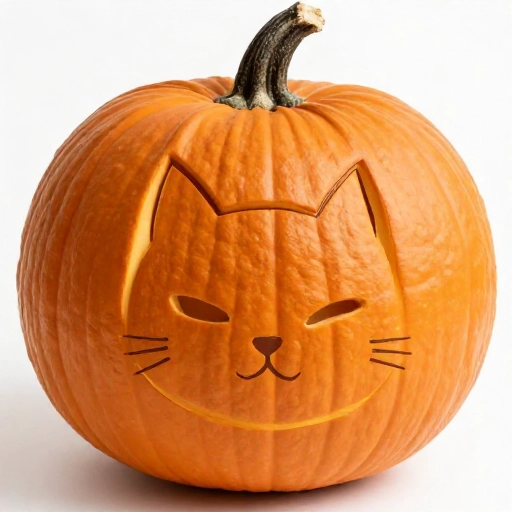
7. The Big-Eyed Kitten
Big eyes make anything look instantly adorable. This pattern uses two large, rounded shapes for eyes that take up most of the upper half of the pumpkin.
The trick is to not carve the eyes completely hollow. Leave small “islands” of pumpkin skin inside the eye shape to mimic pupils. This creates a super expressive, cartoonish look.
To do this, carve the outline of the eye, then push the skin inward slightly to create a ledge. It’s a bit tricky, but the result is worth it. Kids will be amazed by the effect.
8. The Geometric Cat
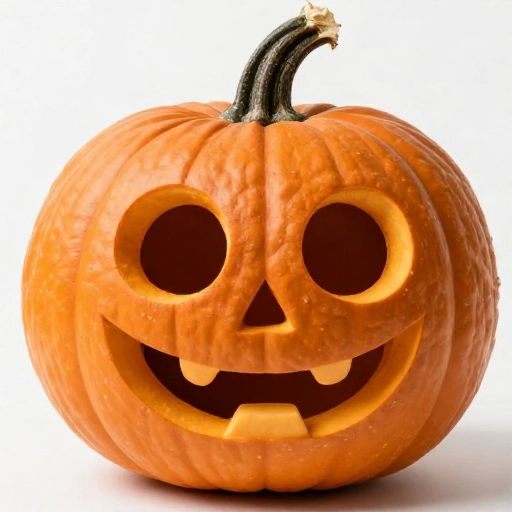
If your kid is into shapes, this is the pattern for them. All you need are triangles, squares, and maybe a hexagon or two. No curves allowed!
Carve a square nose, triangle ears, and eyes made of small diamond shapes. The mouth can be a zigzag line. It’s like a cat designed by a robot, and it looks so cool.
This is a fantastic pattern for practicing measuring and planning. Have the kids draw the shapes with a ruler on the pumpkin before carving. It feels like a fun math lesson.
9. The Teal Pumpkin Cat
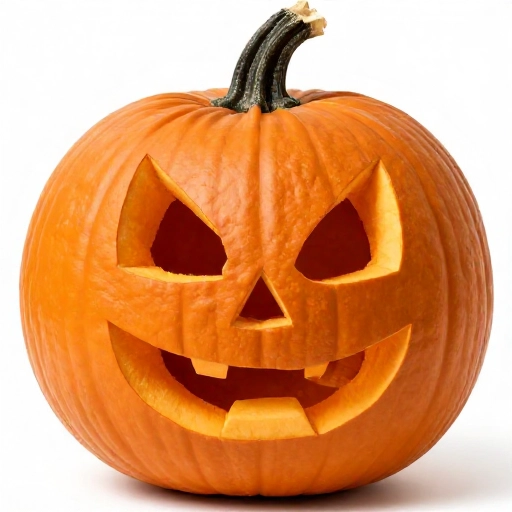
This one is for the allergy-aware crowd. Instead of carving, you paint the pumpkin entirely teal and then draw a cat face with a black marker. It’s a beautiful and inclusive twist.
Paint the whole pumpkin with a couple of coats of teal acrylic paint. Once dry, use a thick black marker to draw the face. You can make it look exactly like a carved pumpkin, but with zero sharp tools.
This is the perfect activity for a kids’ Halloween party. No mess, no knives, just creativity. Plus, a teal pumpkin signals that you have non-food treats for kids with allergies, which is so thoughtful.
10. The Family of Cats
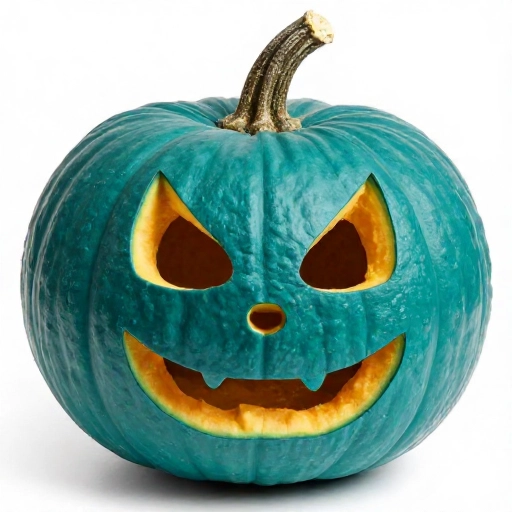
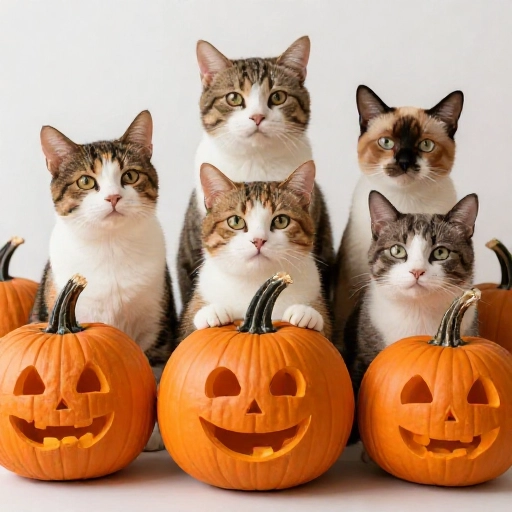
Why stop at one pumpkin? This pattern is designed for mini pumpkins. Make a mama cat and a bunch of baby cats to scatter around your entryway.
On tiny pumpkins, you can’t carve much. Instead, use thumbtacks or pushpins to create eyes and noses. Push them in gently to make holes. Add a little piece of pipe cleaner for whiskers.
Kids can make a whole litter in about ten minutes. They look adorable grouped together with some dried leaves. This is a great project for using up those little gourds that nobody knows what to do with.
Wrapping It Up
Carving pumpkins with kids doesn’t have to be stressful. These cat faces are simple, forgiving, and absolutely adorable. The best part is that there’s no wrong way to do them. A lopsided ear or a squinty eye just adds to the charm.
So grab a pumpkin, some markers, and a safe carving kit. Put on some spooky tunes and get messy. The memories you make will last way longer than the pumpkin will.
Frequently Asked Questions
1. What’s the safest way for young kids to help?
Let them draw the design with markers and scoop out the seeds. For carving, use a pumpkin carving kit with serrated tools designed for kids. Always supervise, of course.
2. How do I make my pumpkin last longer?
Soak the carved pumpkin in a bucket of cold water with a splash of bleach for about 20 minutes. This kills bacteria. Then, rub the cut edges with petroleum jelly to lock in moisture.
3. Can I use a stencil for these patterns?
Absolutely! Print out a simple cat face template, tape it to the pumpkin, and poke holes along the lines with a pushpin. Then just carve along the dots.
4. What kind of light should I use inside?
LED tea lights are the safest option. They don’t generate heat, so the pumpkin stays fresher longer. Plus, they come in fun colors like purple or orange.
5. What do I do with the pumpkin seeds?
Don’t throw them away! Rinse them, toss them with a little olive oil and salt, and roast them at 300°F for about 30 minutes. They’re the best snack.