11 Cooking Tools Every Dog Parent Needs in Their Kitchen
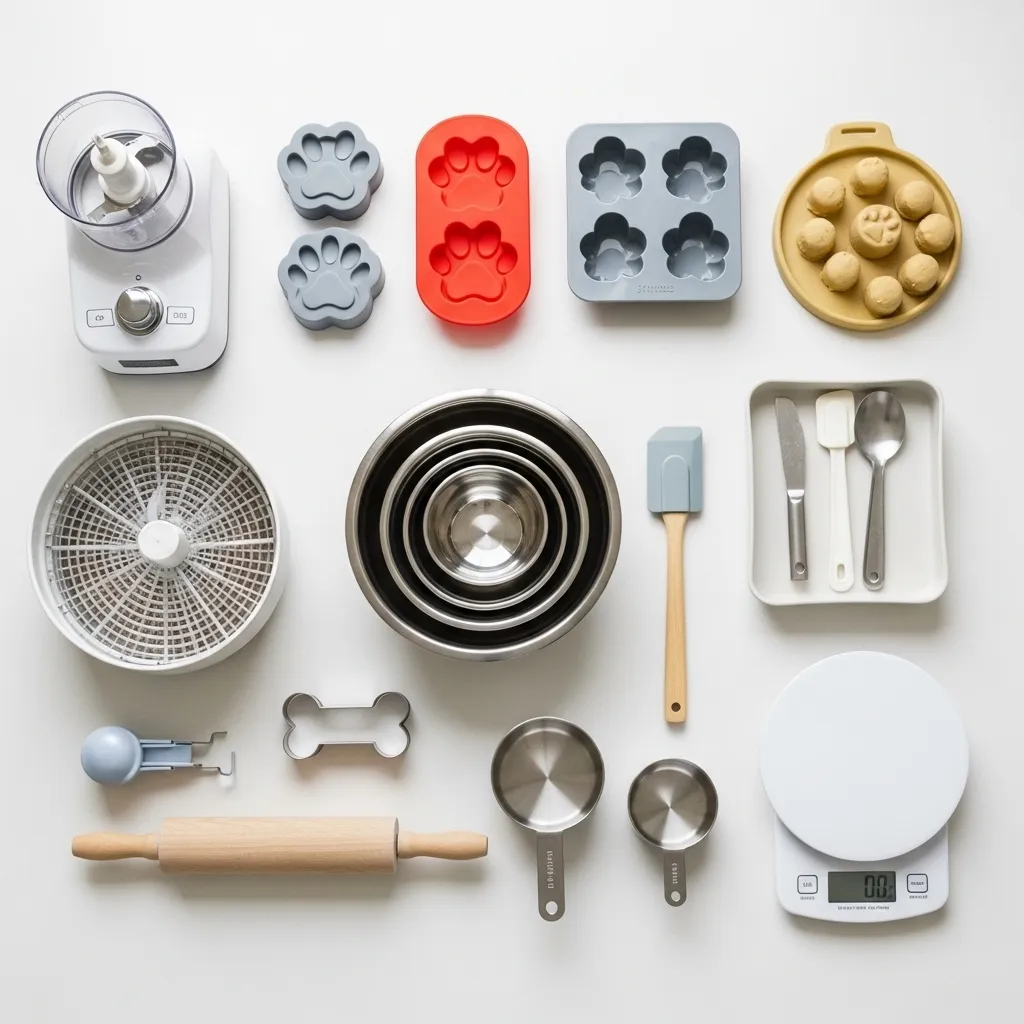
As a dog parent who cooks for my pup, I’ve learned that having the right tools changes everything. It turns a chore into a joyful ritual and ensures every meal is safe, nutritious, and tail-waggingly good. My kitchen has slowly transformed, filling up with gadgets that make homemade treats and meals simpler and safer.
If you’re diving into the world of homemade dog food, dehydrated snacks, or just want to whip up the occasional pupcake, this list is for you. These are the 11 cooking equipments I—and so many other dog parents—are genuinely obsessed with. They save time, reduce waste, and give you total peace of mind about what’s going into your best friend’s bowl.
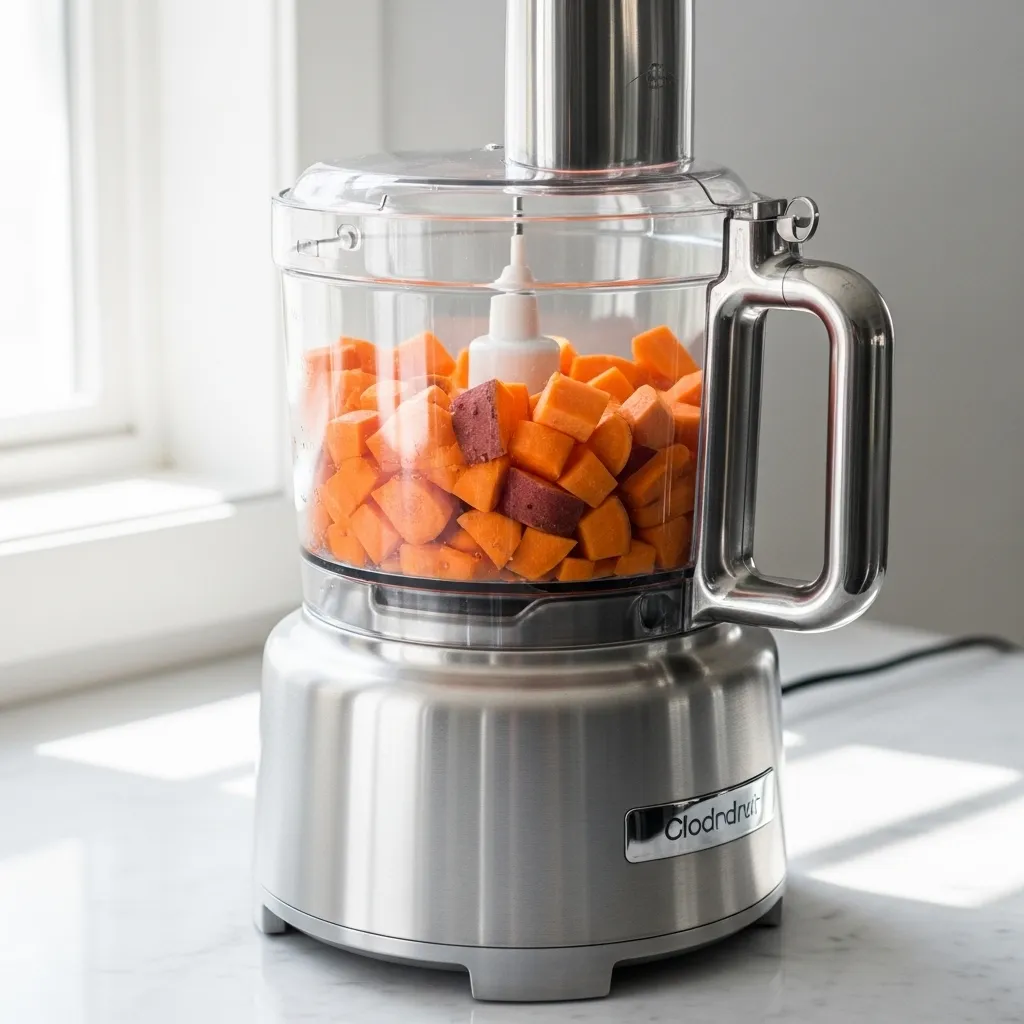
1. A High-Quality Food Processor
This is my absolute kitchen MVP. I use it to puree vegetables like pumpkin and sweet potato, grind up cooked meats, and blend all the ingredients for a perfect meatloaf-style dog food. It creates a uniform texture that’s easy to mix into kibble or serve on its own.
Look for one with a strong motor and a variety of blades. The slicing disc is perfect for making uniform veggie chips for dehydrating, and the grating attachment is great for carrots or zucchini. It’s a one-stop shop for prepping nearly any dog-friendly ingredient.
2. Silicone Ice Cube Trays & Molds
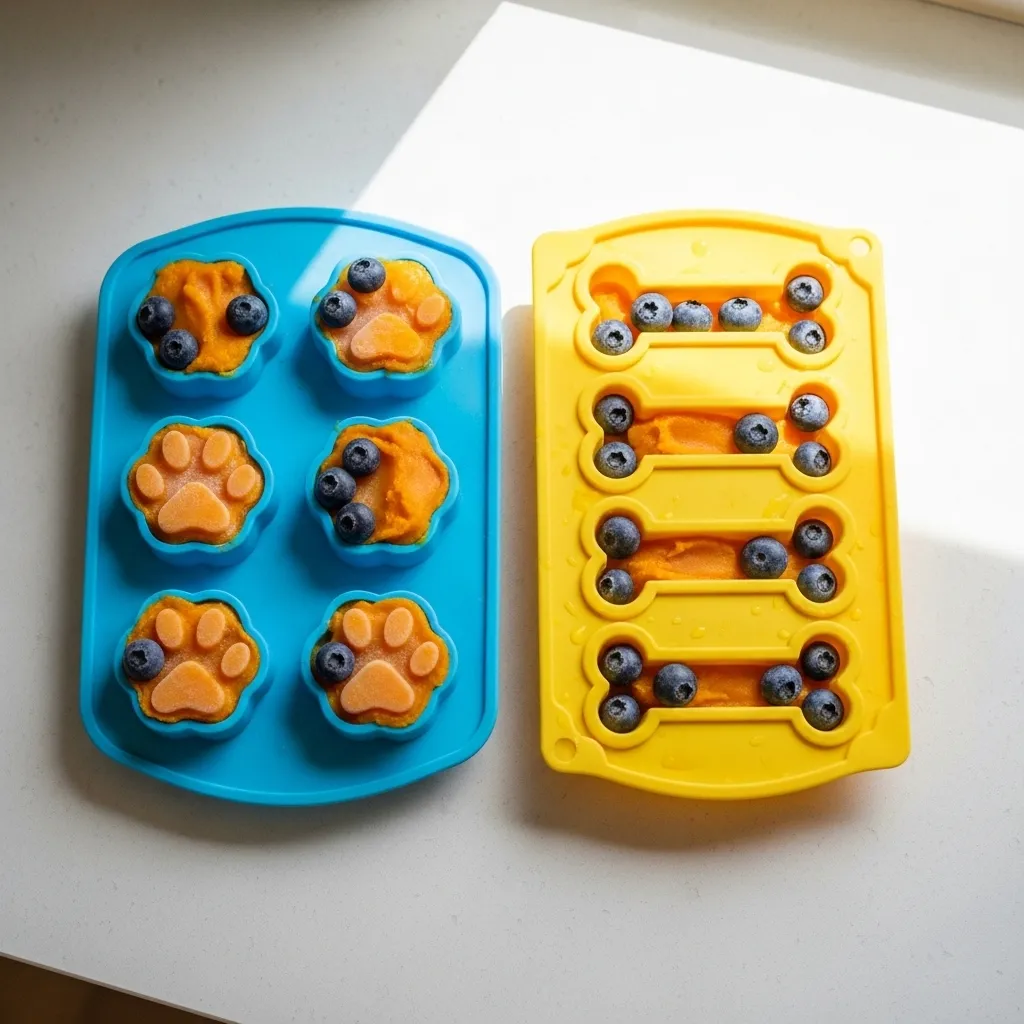
These aren’t just for water! I use them constantly to make perfectly portioned frozen treats. Pour bone broth, pureed fruit, or yogurt mixes into the molds for easy, pop-out snacks. The silicone makes removal a breeze.
I love the fun shapes—bone, paw, heart—that make treat time extra special. They’re also fantastic for freezing single servings of homemade wet food, which you can then thaw as needed. It’s the easiest way to avoid waste and always have something healthy on hand.
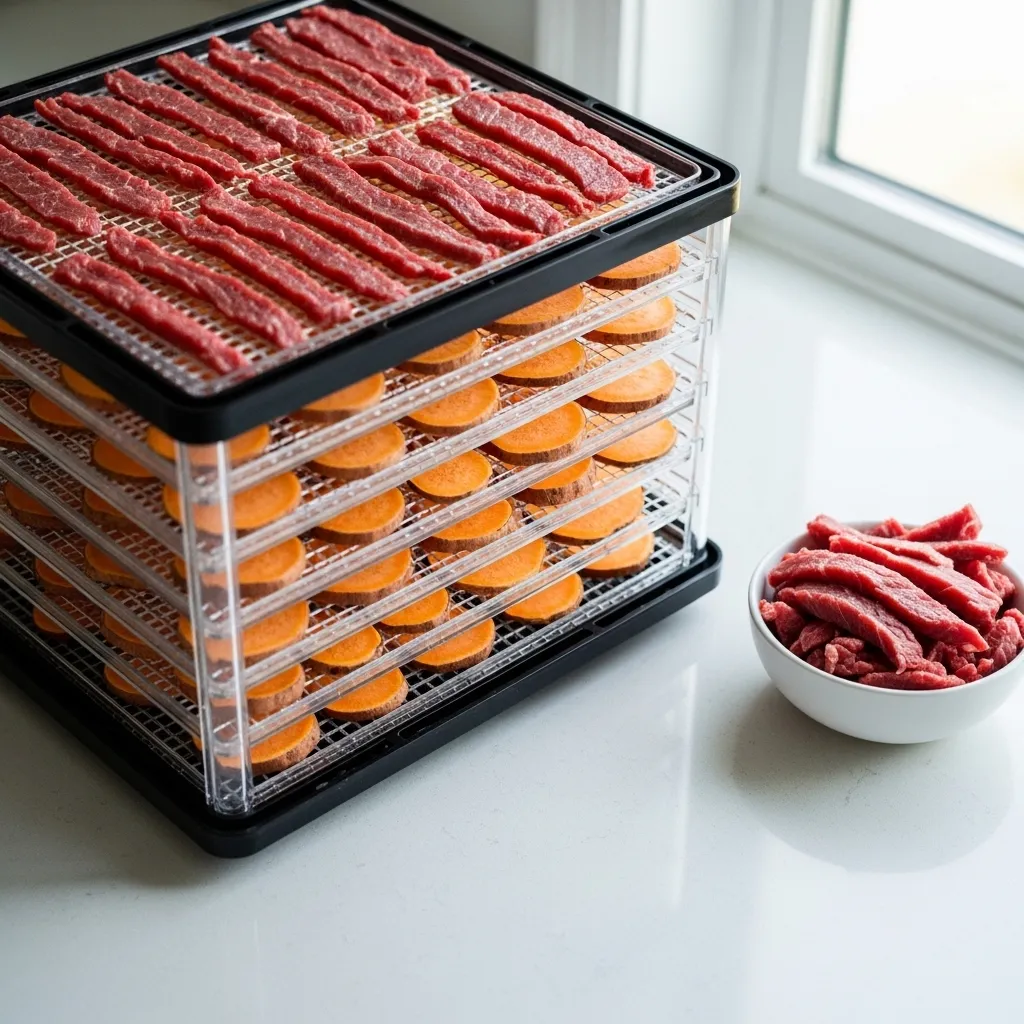
3. A Dedicated Pet Food Dehydrator
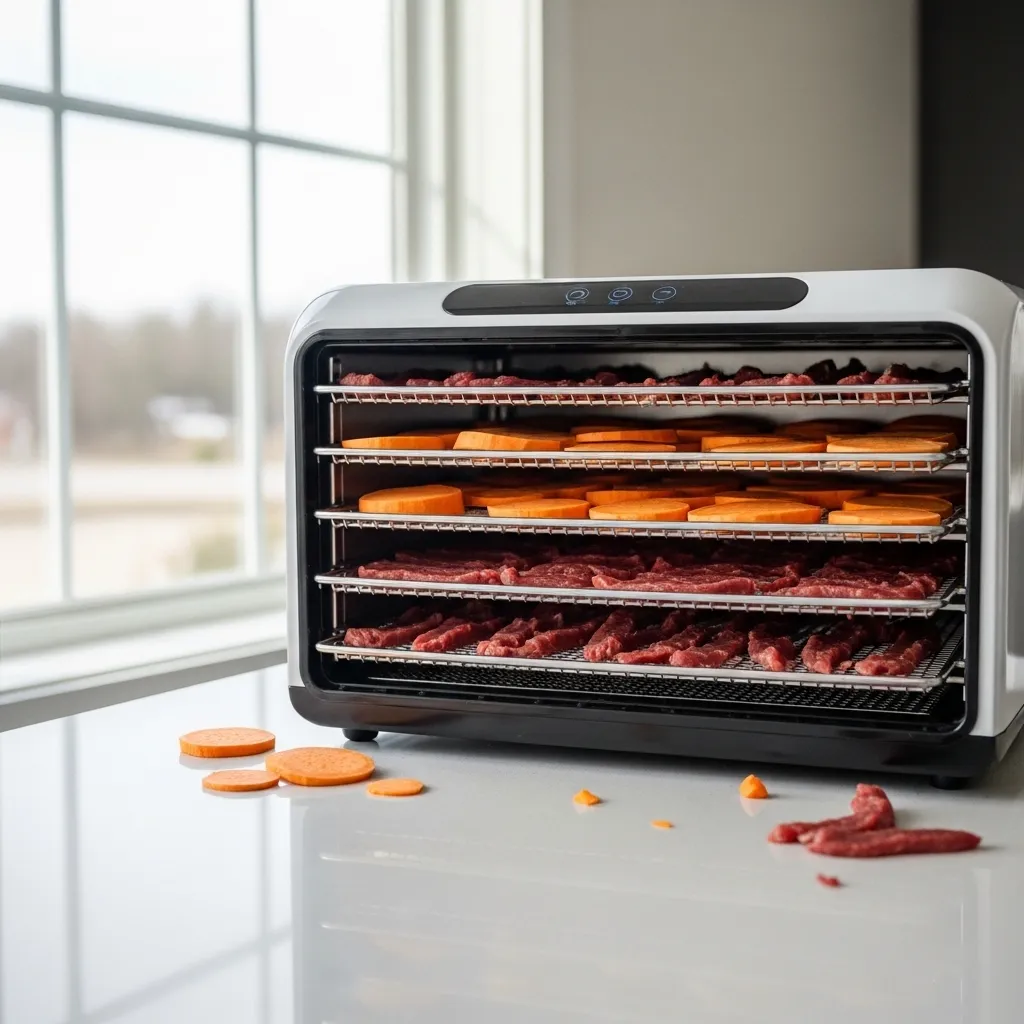
If you want to make jerky, dried sweet potato chews, or fruit leathers, a dehydrator is a game-changer. It uses low, steady heat to remove moisture while preserving nutrients, creating shelf-stable treats without any questionable preservatives.
I make bulk batches of single-ingredient treats like liver bites or apple slices. The trays are easy to clean, and knowing exactly what’s in my dog’s favorite chews is priceless. It pays for itself quickly compared to store-bought premium jerky.
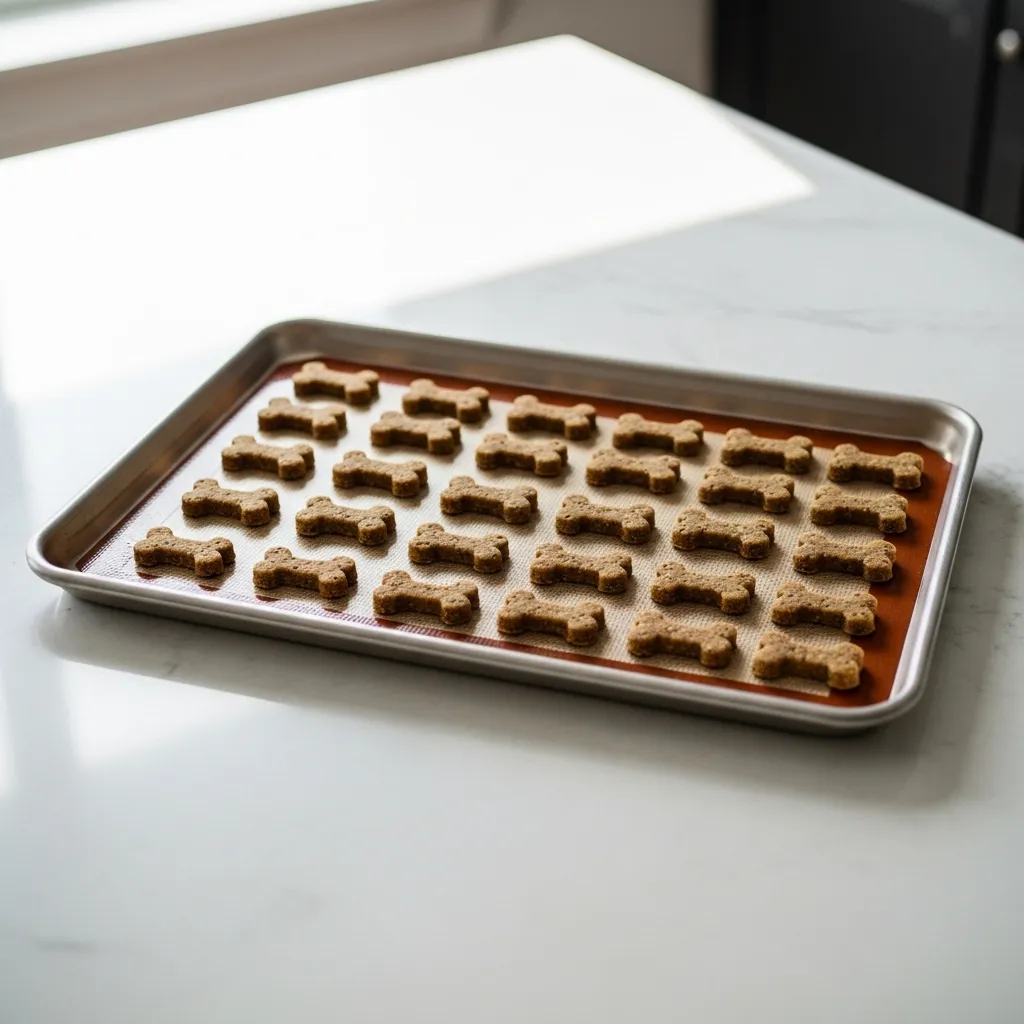
4. Non-Stick Baking Mats (Silpats)
These reusable silicone mats are a must for baking dog treats. They create a perfect non-stick surface without any grease or sprays, which can be hard on a dog’s stomach. Cookies and biscuits slide right off.
They also make cleanup instantaneous. I use them for everything from baking salmon bites to dehydrating treats in the oven. They’re durable, easy to store, and ensure nothing burns or sticks to the pan.
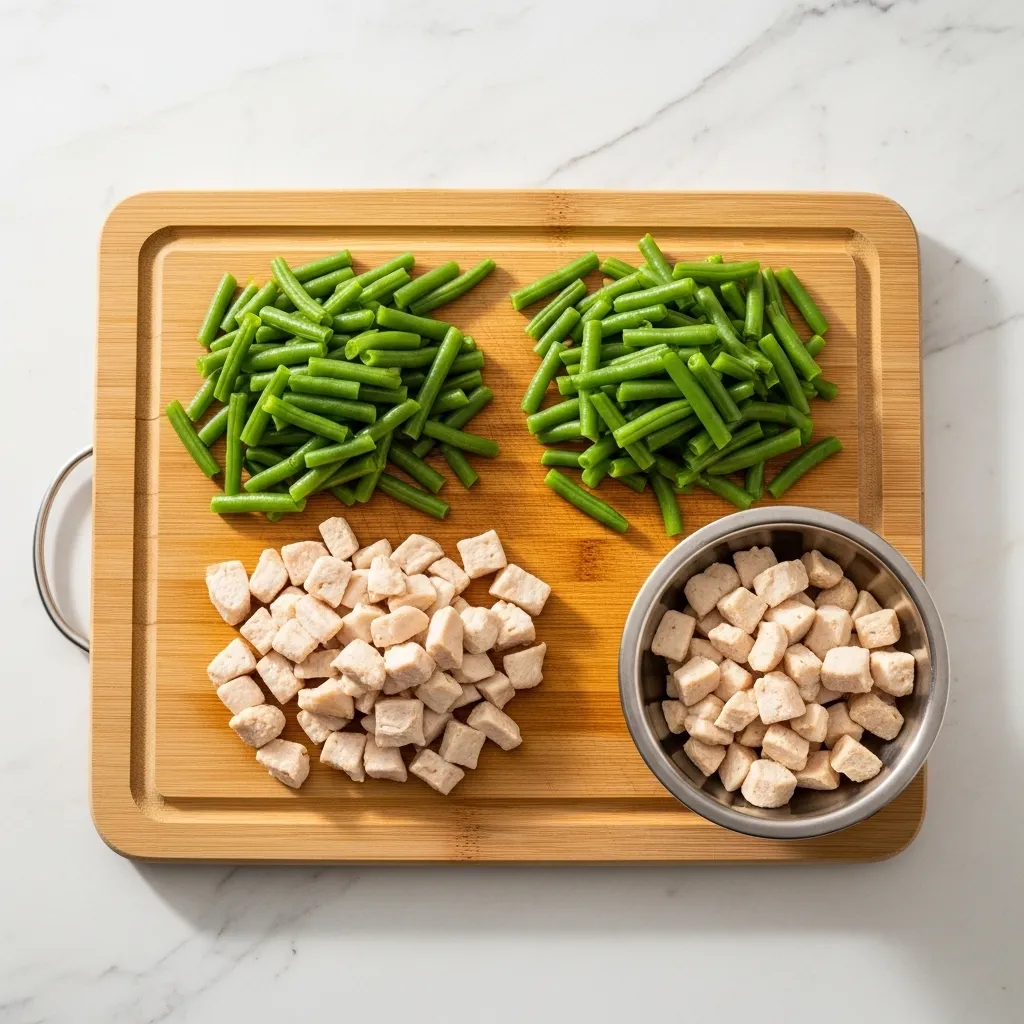
5. A Sturdy, Easy-Clean Cutting Board
I have a specific, color-coded cutting board I use only for preparing my dog’s food. This prevents any cross-contamination with human food, especially onions or garlic. A thick, non-porous plastic or bamboo board is ideal.
Having a dedicated board streamlines the prep process. I can chop veggies, portion meat, and know it’s all in one contained, clean space. It’s a simple habit that promotes huge food safety benefits.
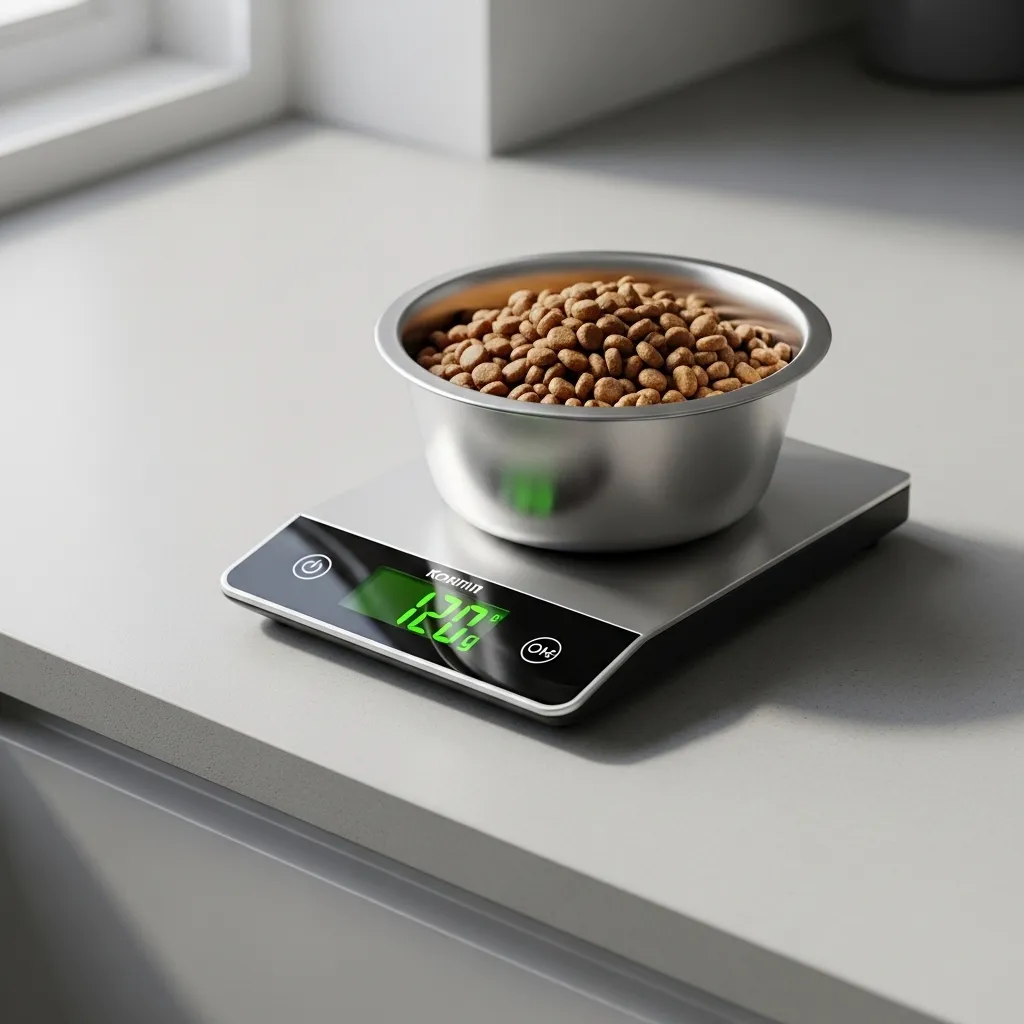
6. Kitchen Scale for Perfect Portions
When you’re following a vet-approved recipe or managing your dog’s weight, guessing isn’t good enough. A digital kitchen scale ensures you’re providing the exact right amount of protein, carbs, and veggies.
It’s crucial for baking balanced treats, too. I use mine to weigh out ingredients like oat flour or peanut butter for consistent results every time. It takes the stress out of portion control.
7. Parchment Paper Sheets
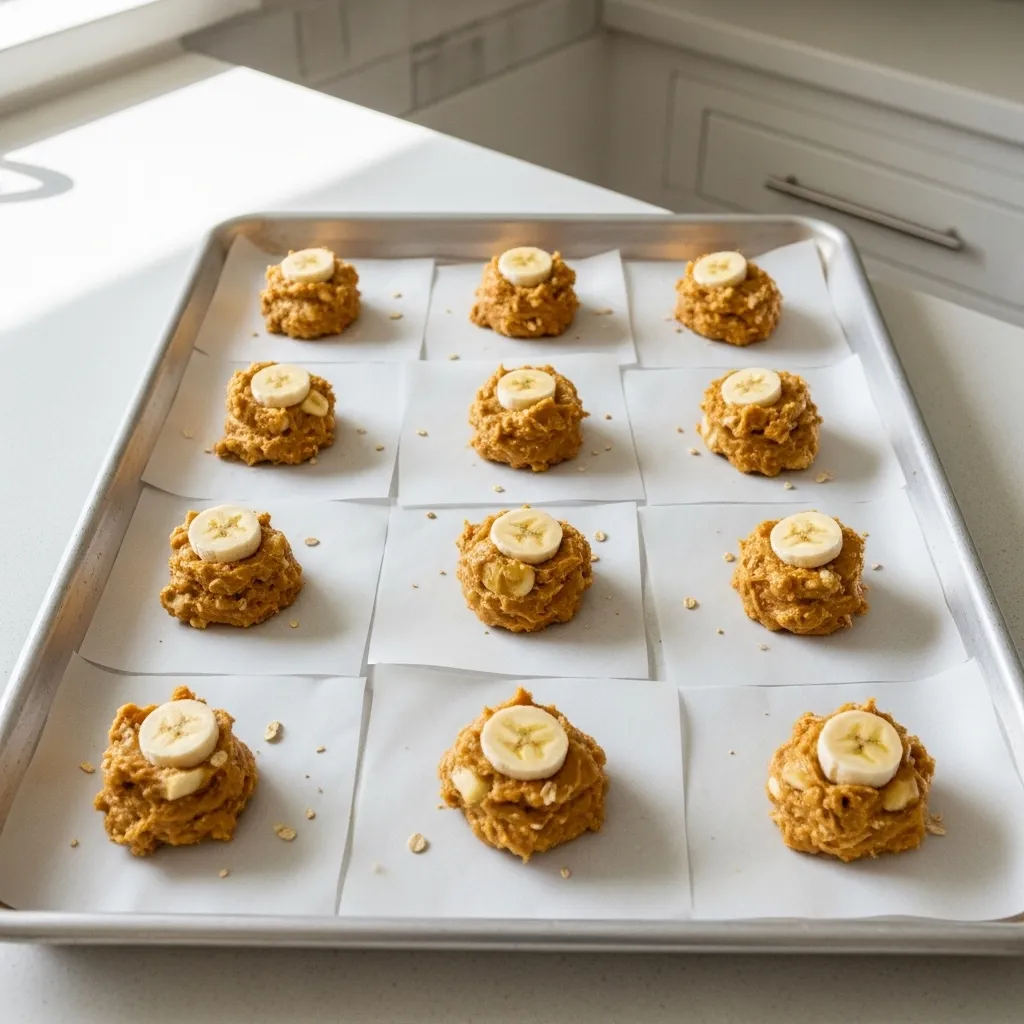
For quick jobs where I don’t want to pull out the Silpat, pre-cut parchment sheets are a lifesaver. They’re perfect for lining a tray to bake a small batch of treats or to roll out dough on.
I also use them to separate layers of raw meat or treats before freezing. They’re disposable, which is handy for messy jobs like dehydrating liver, and they guarantee no sticking.
8. Lick Mats for the Freezer
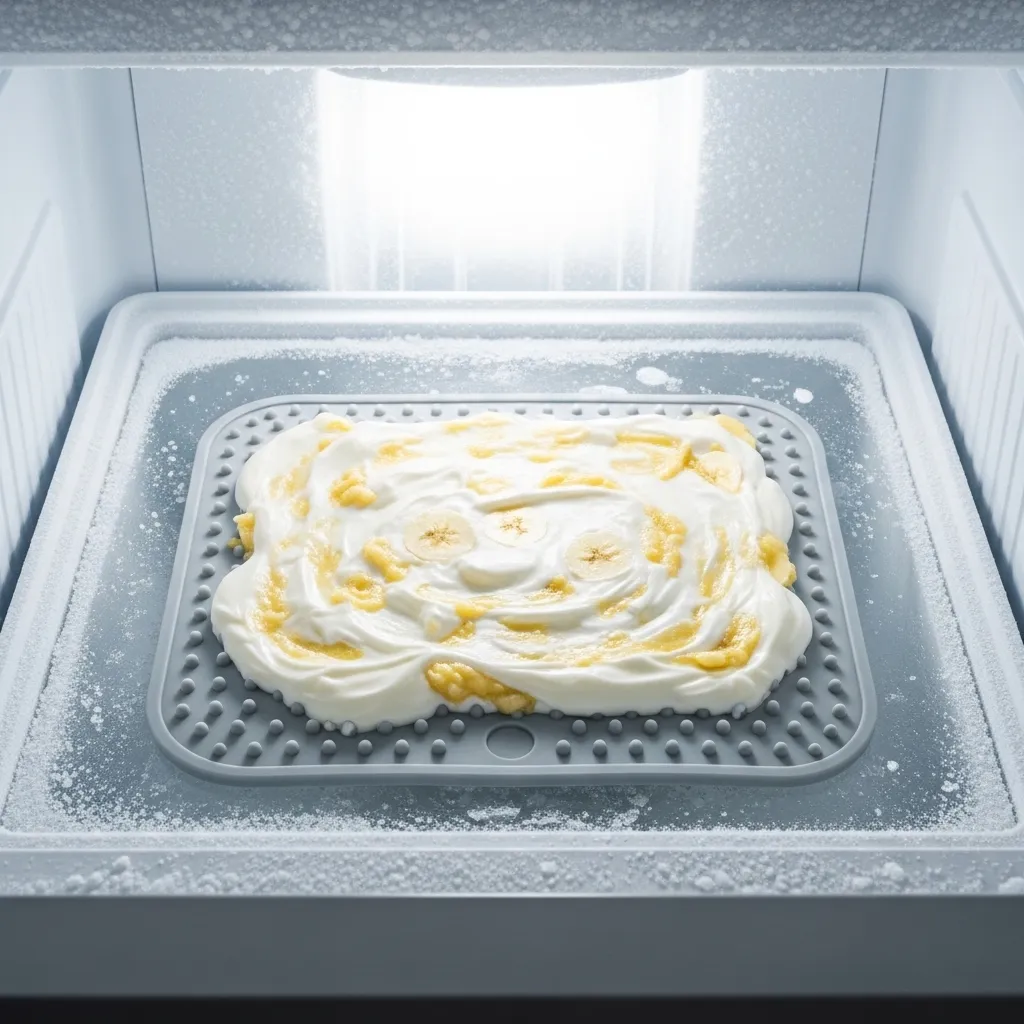
While technically a feeding tool, I use these for “cooking” too! I spread a mixture of mashed banana, peanut butter, and yogurt onto a silicone lick mat and freeze it. It creates a long-lasting, mentally stimulating treat.
They’re perfect for using up leftovers like purees or broth. The textured surface holds the food and provides a calming activity for your dog. I always have a few ready in the freezer for busy days.
9. A Good Set of Measuring Cups & Spoons
Accuracy is key in homemade dog nutrition. A complete set of nesting measuring cups and spoons ensures you never add too much of a new ingredient. I have a separate set marked “DOG” to avoid mix-ups.
This is especially important for ingredients like salt (which should be minimal), baking powder, or any supplements you might be adding to their food. Precision builds consistency and safety.
10. Bone Broth & Stock Ice Cube Trays
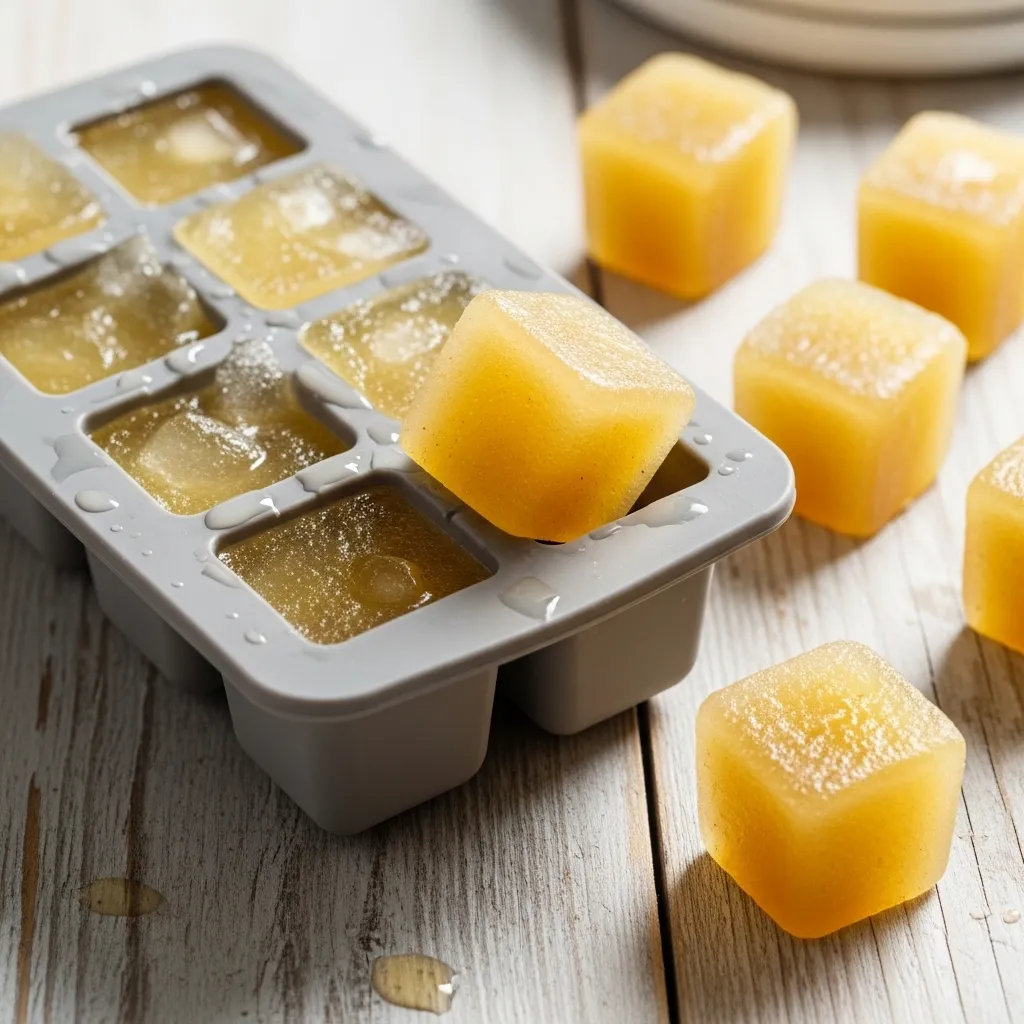
These are like giant ice cube trays with 1- or 2-ounce compartments. I pour cooled, strained homemade bone broth into them to create frozen flavor bombs. I pop one or two into my dog’s kibble at mealtime for a hydrating, joint-supporting boost.
They’re also great for freezing single servings of blended veggie mixes. The larger size is more practical for daily meal additions than standard small ice cubes.
11. A Stand or Hand Mixer
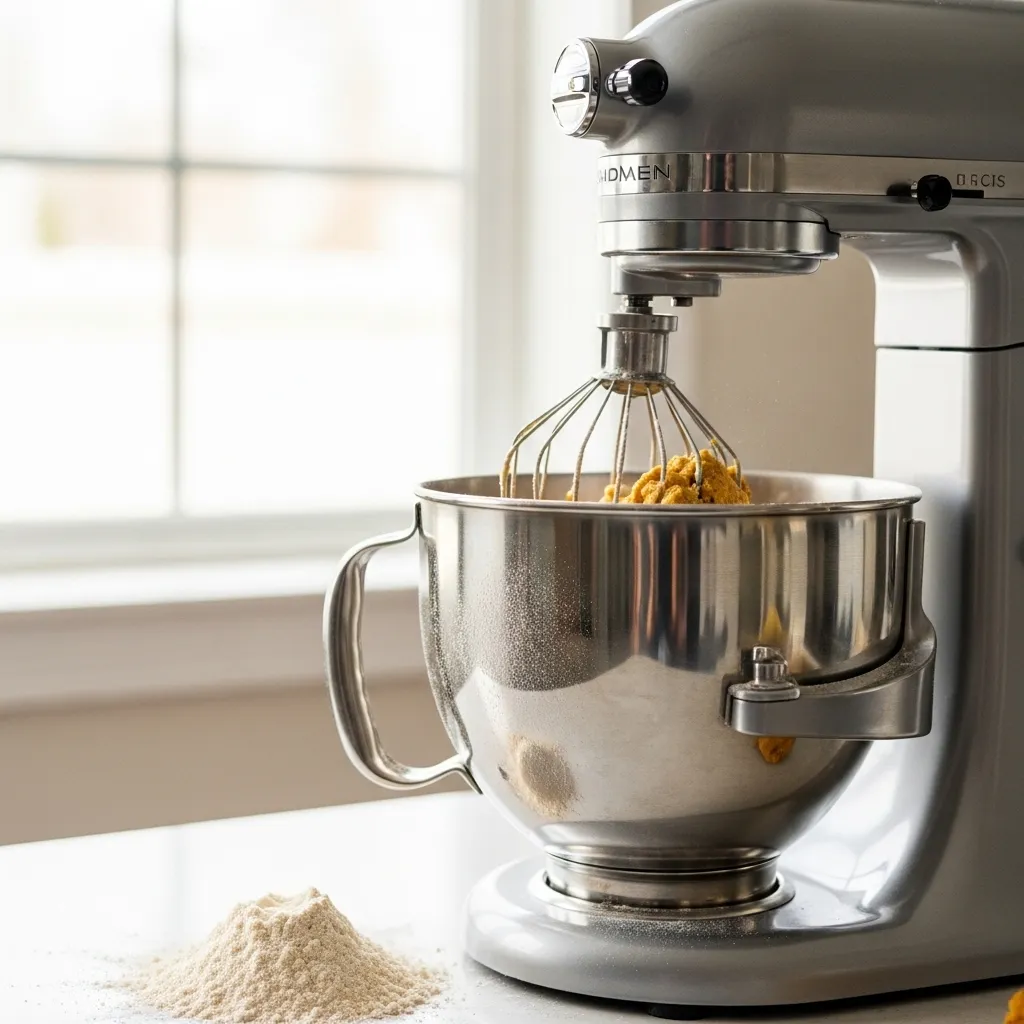
For anyone who loves baking pupcakes or cookies, a mixer is essential. It creams together wet ingredients like pumpkin and egg perfectly and mixes stiff doughs without tiring out your arm.
I find it creates a much smoother, more consistent batter than mixing by hand, which leads to better-textured treats. The whisk attachment is also perfect for whipping up a light, fluffy “frosting” from plain yogurt or sweet potato.
Wrapping It Up
Building this toolkit didn’t happen overnight, but each item has earned its place in my cupboard. Cooking for my dog is an act of love, and these tools make it efficient, safe, and genuinely fun. Start with one or two that match your current goals—whether it’s baking, dehydrating, or simple meal prep—and grow your collection from there. Your pup (and your inner chef) will thank you!
FAQs for Cooking for Your Dog
Q: Do I really need separate equipment for my dog’s food?
A: For items like cutting boards and utensils, yes. It prevents cross-contamination with ingredients toxic to dogs, like onions or garlic. For appliances like mixers, a thorough wash is usually sufficient.
Q: Is a dehydrator worth the investment?
A> If your dog loves chewy treats and you want complete control over ingredients, absolutely. Making jerky or sweet potato chews at home is far cheaper per batch than buying them pre-made.
Q: Can I use my regular baking sheets and pans?
A> Yes, but using a non-stick mat or parchment paper is highly recommended. It prevents sticking without oils or sprays and makes cleanup much easier.
Q: How do I store homemade dog treats?
A> Most baked treats last 1-2 weeks in an airtight container. Dehydrated treats can last months. For longer storage, freeze them! Many treats and prepped meals freeze beautifully.
Q: Where can I find vet-approved recipes?
A> Always consult your veterinarian or a certified veterinary nutritionist. They can provide or recommend balanced recipes tailored to your dog’s specific health needs, age, and breed.