11 Simple Outdoor Cat Houses You Can Build in Just 2 Hours
Does your furry friend love spending time outside but hate the cold, rain, or summer heat? Building a simple outdoor cat house is one of the most rewarding weekend projects you can tackle. Not only does it give your cat a cozy, safe retreat, but it also saves you from spending a fortune on fancy pet stores.
I’ve always believed that the best cat houses don’t need to be complicated. Over the years, I’ve built a bunch of these with my own hands, and I’m happy to report that every single one took me under two hours. Whether you’re a total beginner or a seasoned DIYer, these ideas are simple, affordable, and use materials you probably already have lying around.
Let’s get crafting! Here are my 11 go-to outdoor cat house designs that are quick, durable, and absolutely purr-fect.
1. The Plastic Tote Oasis
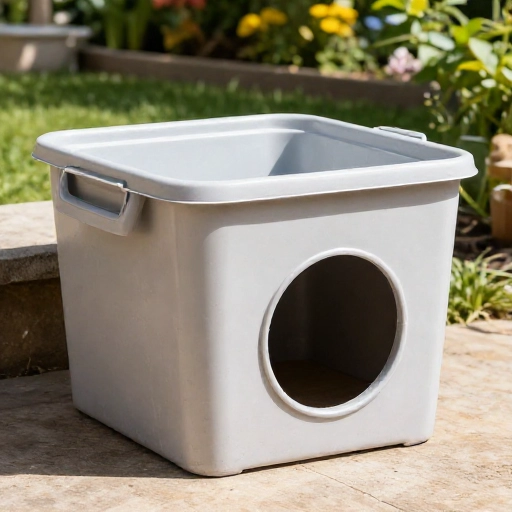
This is probably the easiest and fastest shelter you’ll ever make. Grab a large, clear plastic storage tote with a lid. You’ll want to cut a round hole in the side (about 6 inches wide) for the entrance. Make sure to sand down the edges so they’re smooth and safe for your cat’s paws.
Fill the bottom with straw—not hay, but straw—because it repels moisture. The clear plastic traps the sun’s heat during the day, keeping it toasty inside. The lid keeps everything dry and secure. It’s honestly brilliant in its simplicity.
To keep it hidden from predators, you can paint the outside with non-toxic acrylic paint or cover it with a burlap sack. This makes it blend into the garden while adding an extra layer of insulation.
2. The Insulated Cooler Castle
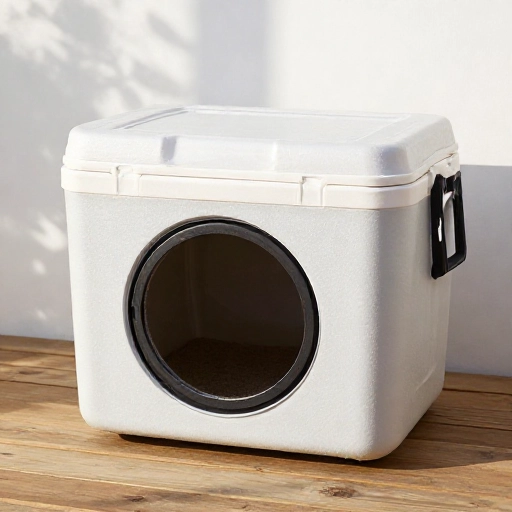
An old styrofoam cooler is a fantastic insulator. If you have one from a beach trip or grocery delivery, don’t throw it away! Cut a cat-sized door in the side and place the cooler inside a larger plastic bin or a wooden crate for extra protection.
The beauty of this design is the double-wall effect. The cooler keeps the warmth in and the cold out, while the outer shell protects the styrofoam from breaking apart. I like to add a small piece of carpet or a fluffy blanket inside, but only if the house is in a dry spot.
This is a great option for winter months. It’s lightweight, easy to move around, and takes less than 30 minutes to put together. Just make sure the lid fits snugly to keep the heat trapped.
3. The Repurposed Wooden Crate
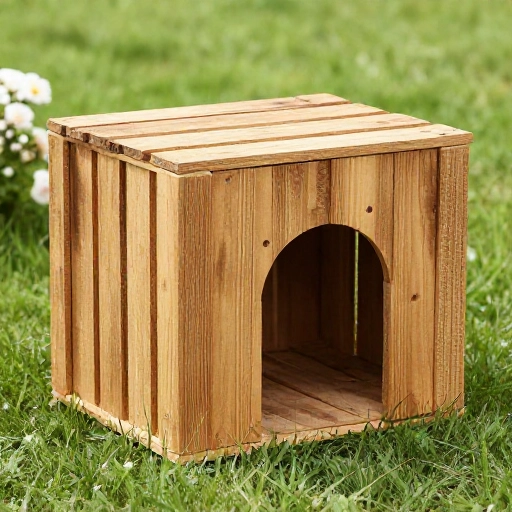
Those wooden vegetable crates from the market are perfect for this. They already have that rustic, farmhouse look that looks great in any backyard. Simply turn the crate on its side so the opening faces outward.
Nail a piece of plywood over the top half of the opening, leaving a gap at the bottom for the cat to walk through. This creates a natural windbreak. You can also add a slanted roof using a piece of scrap wood to help rain slide off.
I love this design because it’s sturdy and won’t blow over in the wind. You can leave it natural to weather over time, or give it a coat of outdoor sealant to make it last for years.
4. The Pallet Wood Cottage
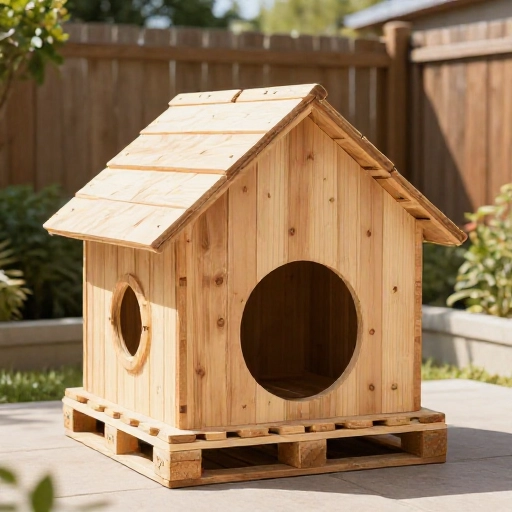
If you have a few old pallets, you can create a super charming cottage. Break apart the pallets carefully and use the planks to build a simple box shape. The key here is to make the walls thick, so the house feels solid and insulated.
You can make the floor slightly elevated by adding small feet or just placing it on bricks. This keeps the ground moisture from seeping in. For the roof, overlap the planks like shingles to create a nice, water-tight finish.
This project might take a little more effort, but the result is a beautiful, heavy-duty shelter that looks like it belongs in a storybook. Sand everything down well to prevent splinters.
5. The Styrofoam Board Box
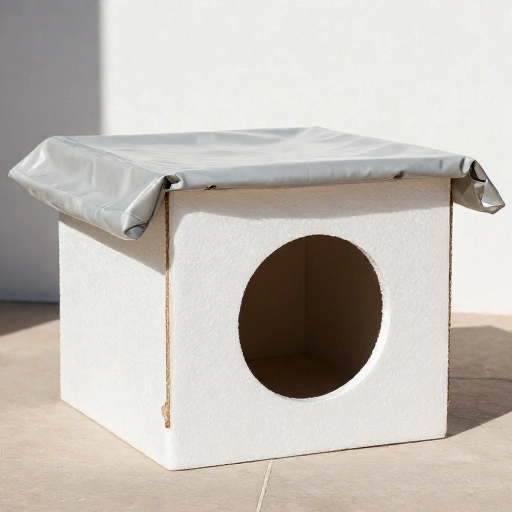
This is a great trick if you have building materials left over. You can buy large sheets of rigid styrofoam insulation from the hardware store. Cut them into panels and glue them together using construction adhesive to form a box.
It’s super light, so you might want to weigh it down with a brick on the roof. The insulation value is amazing—way better than wood. You can cover the outside with a tarp or paint it with a special foam-safe paint to protect it from the sun.
This is my go-to for extreme weather. It keeps the inside cool in summer and warm in winter. Plus, cutting foam is super easy with a box cutter, making this a quick 45-minute job.
6. The Upcycled Dresser Drawer
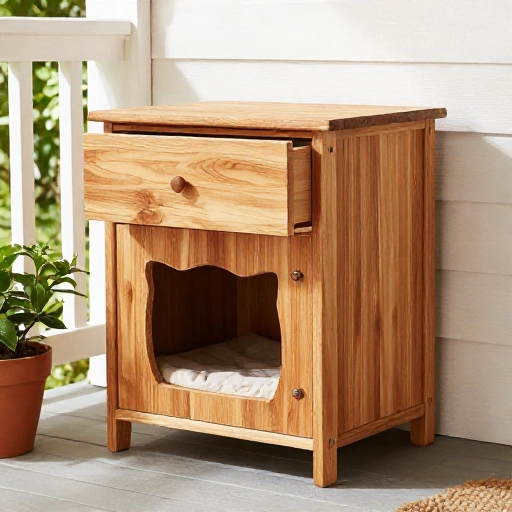
Next time you see a wooden dresser on the curb, grab the drawers! A single drawer turned upside down makes an instant house. You just need to cut a hole in the bottom (which is now the front).
The sides of the drawer are already built, so you just need to add a top. A piece of plywood or even a thick piece of cardboard wrapped in a trash bag will work as a roof. The thick wood is naturally insulating.
This has a really unique look, and you’re saving furniture from the landfill. I painted mine a bright teal color, and it’s become a conversation starter in my garden.
7. The Simple PVC Pipe Frame
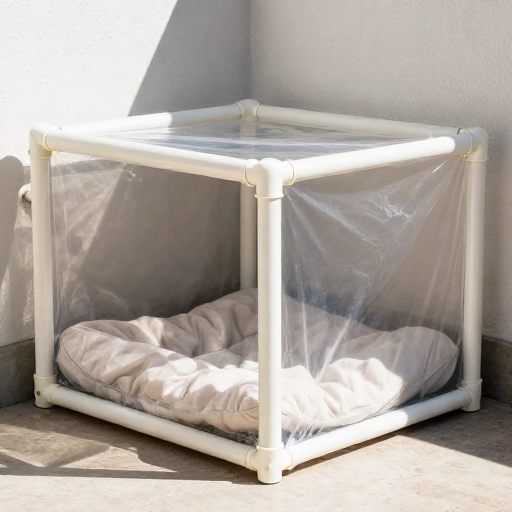
If you want something lightweight and portable, this is for you. You’ll need a few pieces of PVC pipe and some corner fittings to create a simple dome or box frame. Then, you simply drape a heavy-duty tarp or a piece of marine vinyl over the frame.
Secure the tarp with zip ties or clamps. This creates a waterproof, windproof shell. It’s not the prettiest option, but it is incredibly effective and can be taken apart and stored flat when not in use.
I usually put a piece of rigid foam board on the bottom for insulation, and then a layer of straw. This is perfect for a temporary solution or if you have to move the shelter often.
8. The Brick and Plywood Bunker
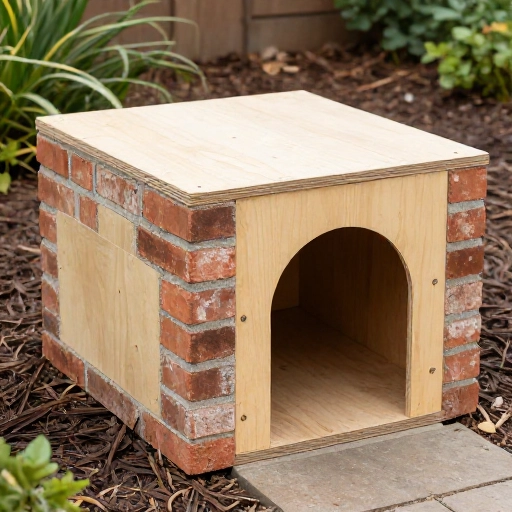
This one is for the folks who want something that will last forever. Create a simple box frame using heavy plywood. Instead of legs, place the box on a base made of bricks or concrete pavers to keep it off the damp ground.
The weight of the structure means it’s not going anywhere. You can add a heavy piece of slate or a flat paver stone as the roof. This provides excellent thermal mass, meaning it absorbs heat during the day and releases it slowly at night.
Make sure to add an angled interior ramp or just a thick mat at the entrance to help them get in and out easily. This is a sturdy fortress for your feline friend.
9. The Window-Access House
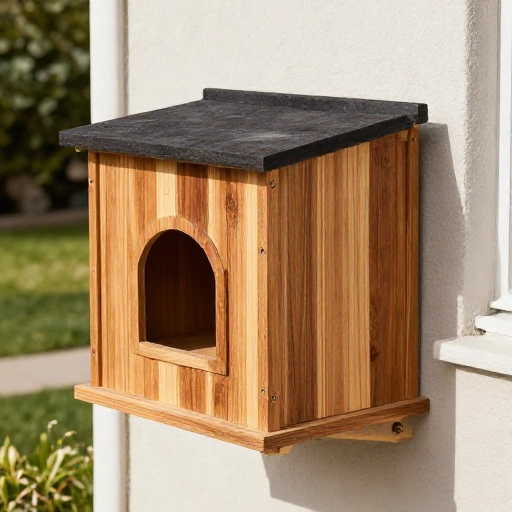
This is a cool idea if you have a basement window or a low window near the ground. Build a wooden box that attaches to the window frame, giving your cat access from inside the house to the outside shelter.
This is more of a “catio” style, but it works great as a house. The box extends out into the yard, giving them a safe space to observe the world. You can add a plexiglass window on the front to keep the elements out but let the sun in.
This is a bit more involved, but if you have the right window, it’s a game-changer. Your cat can go in and out without you having to open a door.
10. The Log Pile Hideaway
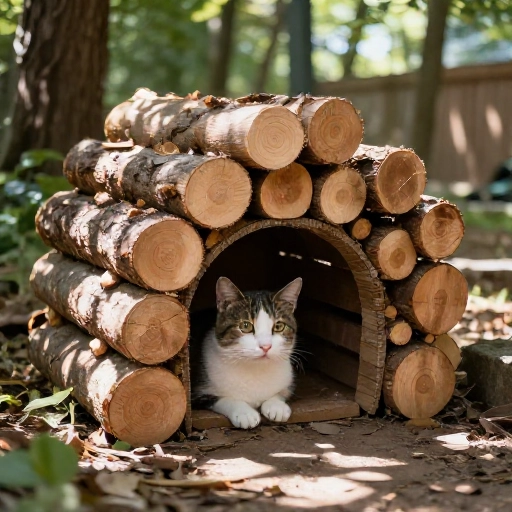
If you have a stack of firewood, you can create a natural and very cute hideaway. Arrange the logs in a square, leaving a gap in the front for the door. Stack them about 2-3 feet high.
This looks like a beaver dam or a natural forest feature. The cracks between the logs are naturally insulated, and the wood provides excellent protection from the elements. You can add a flat piece of wood on top as a roof.
This is a zero-cost project if you have firewood. It blends into the landscape beautifully and feels very safe for a cat. Just be careful that the logs are stable and won’t roll.
11. The Fabric and Frame Tent
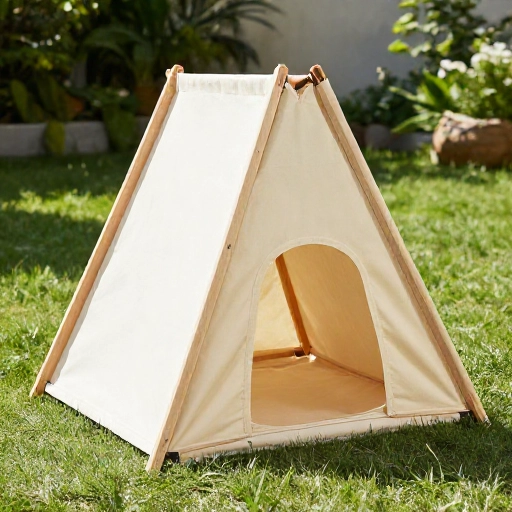
Last but not least, this one is super soft and cozy. Create a simple A-frame using two pieces of plywood hinged at the top. Then, drape a thick, waterproof outdoor fabric or a canvas drop cloth over the frame.
You can staple the fabric to the wood to keep it secure. The inside is a cozy triangular space that cats absolutely love. It feels like a safe den. Add a plush outdoor cushion or a pile of straw inside.
This one is great because it’s so lightweight you can just pick it up and move it to follow the sun or shade. It’s also adorable to look at.
Final Thoughts on Building for Your Feline Friend
Building an outdoor cat house doesn’t have to be a stressful, expensive project. It’s all about using what you have, thinking about insulation, and keeping it dry. I promise you, the look on your cat’s face when they first curl up in their new home is worth every second of the two hours you spent.
Always remember to use straw instead of blankets for outdoor houses, as blankets absorb moisture and freeze. Check the house regularly to make sure it’s clean and dry. Your cat will appreciate a safe, warm spot to enjoy the outdoors on their own terms.
Frequently Asked Questions
1. What is the best material for an outdoor cat house?
Wood and thick plastic are the most durable. However, for the best insulation, styrofoam is unbeatable. A combination of a wooden outer shell and styrofoam inner lining is the gold standard for extreme weather.
2. Should I use straw or hay for the bedding?
Always use straw. Straw is the dry stalk of a grain plant and repels moisture. Hay is food for animals and will rot and mold when it gets wet, making your cat sick.
3. How big should the entrance hole be?
For an average-sized cat, a 6-inch diameter hole is perfect. It’s big enough for them to get in comfortably, but small enough to keep out larger predators and block the wind.
4. Where should I place the cat house?
Place it in a quiet, sheltered spot. Under a porch, near a fence, or under a large evergreen tree are great options. Make sure the entrance is facing away from the prevailing wind and rain.
5. How do I keep the house warm without electricity?
Your body heat is the best source of heat. The small space of the house will heat up quickly when the cat goes inside. Adding an old towel or blanket under the straw can add a little extra comfort, but the straw itself is the best insulator.