14 Items You Need for a Home Grooming Salon (Save Money, Skip the Stress)
I still remember the first time I tried to groom my dog at home. I had a pair of kitchen scissors, a human hairbrush, and way too much confidence. Twenty minutes later, my bathroom looked like a fur explosion and my dog was hiding under the bed.
The truth is, home grooming isn’t hard — it’s just hard without the right tools. Once I built up a proper little setup, everything changed. Bathtime got faster, trimming got cleaner, and my dog stopped treating the bathroom like a crime scene.
So if you’re ready to turn a corner of your house into a real grooming station, here are the 14 items I wish I’d bought on day one. Start with the essentials, add the nice-to-haves as you go, and you’ll save a fortune on salon visits.
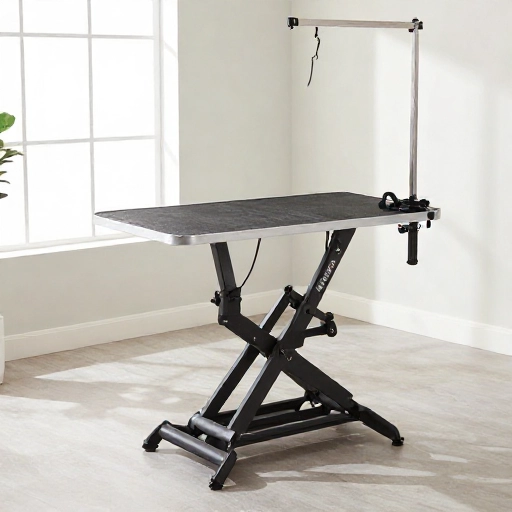
1. A Sturdy Grooming Table
Grooming on the floor is a backache waiting to happen. A proper grooming table lifts your pet to hip height, which means you’re not hunched over for an hour trying to see what you’re doing.
Look for one with a textured, non-slip surface and a folding leg design so you can tuck it away when it’s not in use. If you have a small dog or a cat, a tabletop model works great. For bigger breeds, go with something that can hold at least 50 pounds without wobbling.
This one purchase honestly changed how much I enjoyed grooming. Everything after this gets easier once your pet is up at a comfortable height.
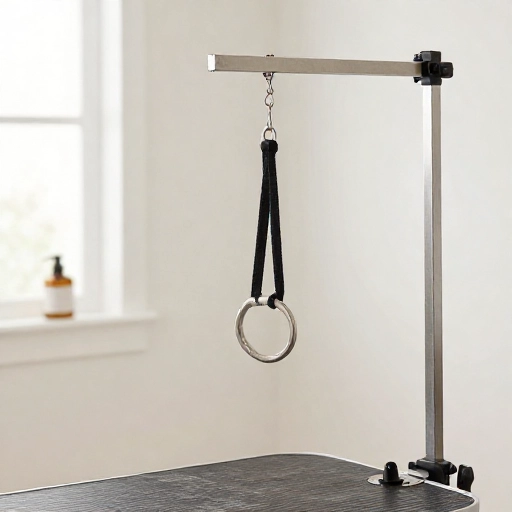
2. A Grooming Loop and Safety Tether
This is the item people forget, and it’s the one that keeps everybody safe. A grooming loop is a soft, adjustable strap that attaches to the table and gently holds your pet in place while you work.
It’s not about restraint — it’s about preventing sudden jumps. One unexpected wiggle while you’re holding clippers near the ears is how accidents happen.
Choose a loop with a quick-release buckle, and never leave your pet tethered unattended. Even two minutes alone on a table is risky.
3. Professional-Grade Clippers
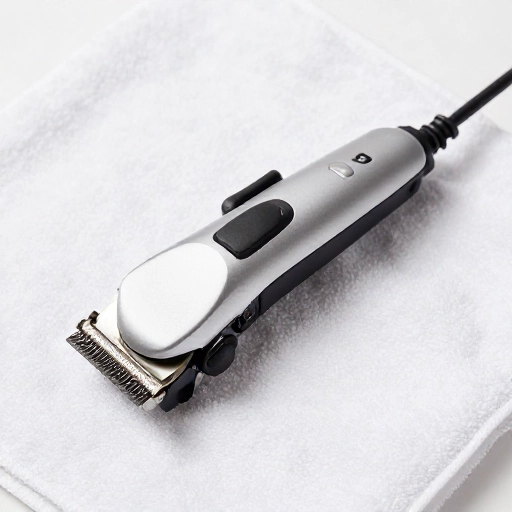
Cheap clippers are the number one reason home grooming fails. They pull, they stall on thick coats, and they leave you with a patchy, uneven mess.
You don’t need the most expensive set on the market, but you do need something made for animals — not people. Pet clippers have a stronger motor to push through dense fur without overheating.
Look for an adjustable-speed model with a detachable blade system. Trust me, once you use a real grooming clipper, you’ll wonder why you ever struggled with anything else.
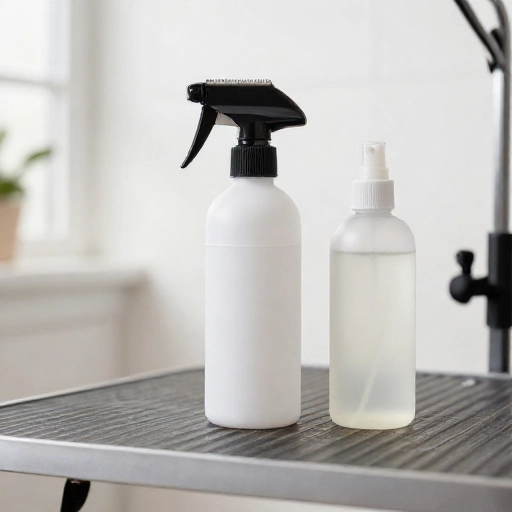
4. Blade Coolant and Clipper Oil
Clipper blades get hot. Like, surprisingly hot. If you’ve ever noticed your pet suddenly flinching mid-trim, heat is usually the culprit.
Keep a can of blade coolant nearby and give the blade a quick spray every few minutes. It cools the metal down almost instantly and keeps your pet comfortable.
Clipper oil is the other half of the equation. A couple of drops before and after each session keeps the blades gliding smoothly and can double their lifespan. It’s a tiny cost that saves you from buying new blades every few months.
5. Guide Combs and Extra Blades
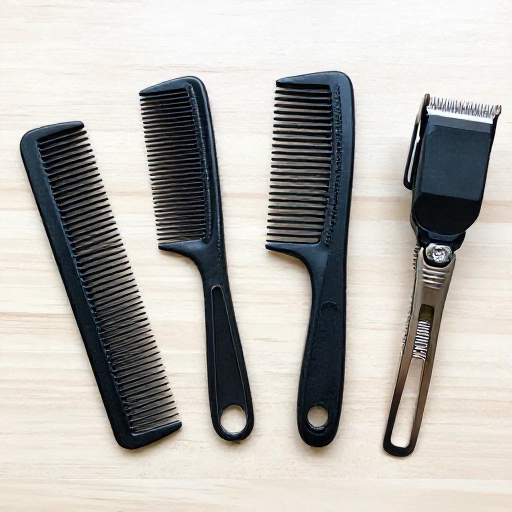
One blade does not fit all. If you’re doing anything more than a full shave-down, you’ll want a set of guide combs in different lengths.
These snap over your blade and control how much hair gets cut. A 3mm comb for a short summer trim, a 10mm for a slightly longer look — suddenly you have options.
I like keeping a spare #10 blade on hand too. It’s the go-to for sanitary trims and paw pads, and it’s nice not to have to stop and swap mid-groom.
6. A Set of Grooming Shears
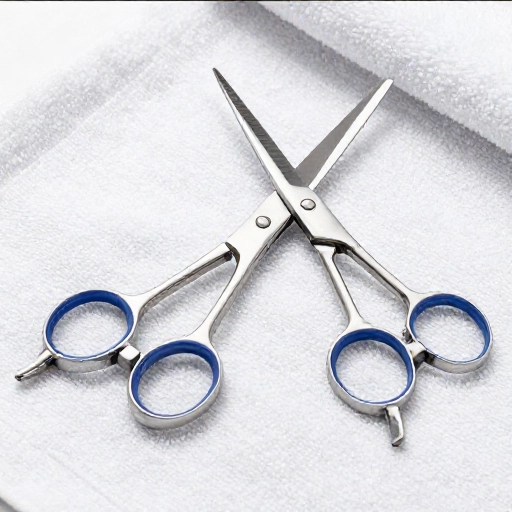
Clippers handle the bulk, but shears handle the details. You’ll want three types in your kit:
- Straight shears for trimming around the face, feet, and tail
- Curved shears for rounding out paws and creating soft shapes
- Thinning shears for blending lines so nothing looks choppy
Buy good ones. Dull shears crush the hair instead of cutting it, which leaves split ends and a scraggly finish. A sharp, mid-range pair will outperform a cheap set every single time.
7. A Slicker Brush and Undercoat Rake
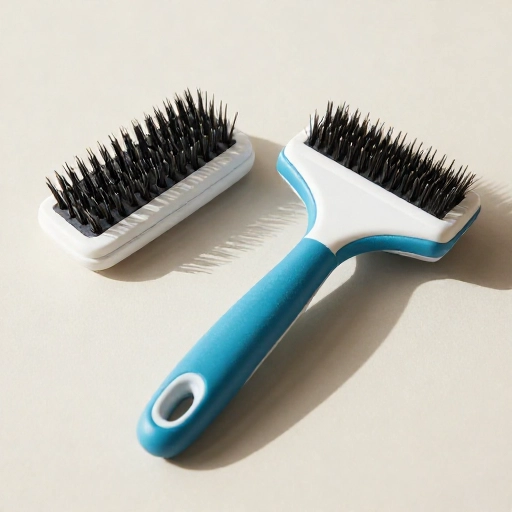
Brushing isn’t just for looks — it prevents mats, spreads natural oils, and cuts down on how much fur ends up on your couch.
A slicker brush with fine wire bristles works for most coats and handles everyday tangles. For double-coated breeds, add an undercoat rake to pull out the loose fluff underneath before it turns into a mat.
Quick tip: brush before the bath, not just after. Wet mats tighten up and become nearly impossible to work through.
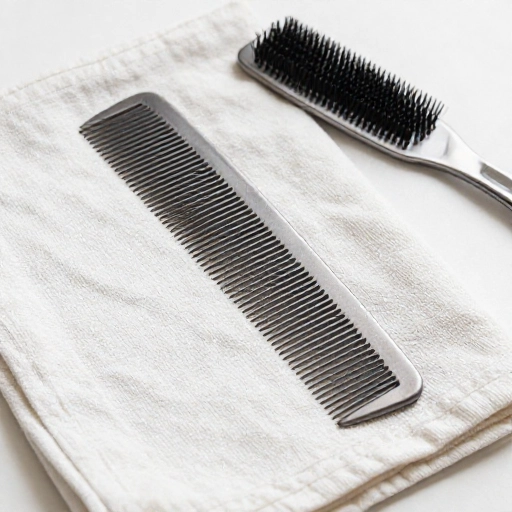
8. A Metal Greyhound Comb
This one looks simple, but it’s a game changer. A greyhound comb has two rows of metal teeth — one wide, one fine — and it’s the best way to check your work.
After brushing, run the comb through the coat. If it glides through without snagging, you’re tangle-free. If it catches, there’s still a knot hiding in there.
It’s also the tool professional groomers use to fluff up the coat after a trim. Cheap, durable, and weirdly satisfying to use.
9. Pet-Safe Shampoo and Conditioner
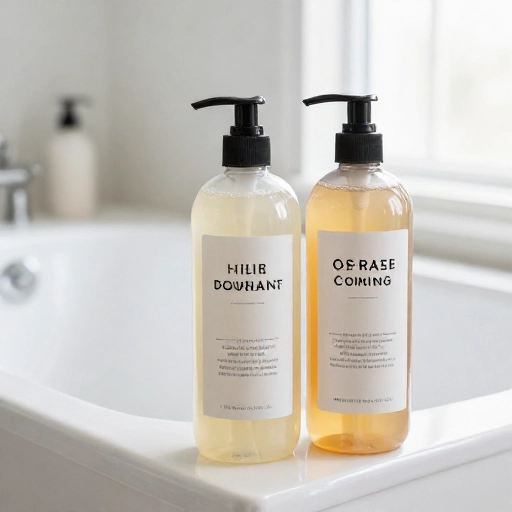
Please don’t use your own shampoo. Human products are formulated for a different skin pH and can leave your pet itchy and flaky for days.
Pick a shampoo made specifically for pets, and choose the formula based on their needs — oatmeal for sensitive skin, medicated for hotspots, whitening for light coats.
Don’t skip conditioner, especially on long-haired breeds. It detangles, reduces static, and makes brushing out after the bath so much easier.
10. A High-Velocity Pet Dryer
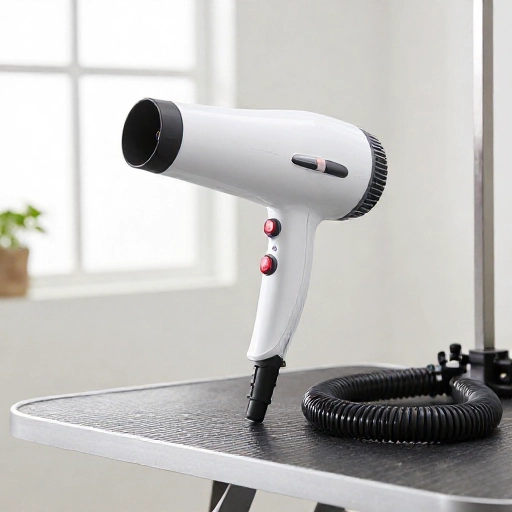
This was the purchase I resisted the longest, and it’s the one I regret waiting on. A high-velocity dryer blasts water off the coat instead of heating it away.
It dries your pet in a fraction of the time a towel or hair dryer would take, and it blows out loose undercoat while it works. Bonus: it helps the coat dry straight and fluffy instead of clumpy.
Use it on the lowest setting at first so your pet can get used to the noise. Most adjust within a few sessions.
And if you’re not ready for a dryer yet, at least grab a few microfiber towels. They absorb way more water than regular towels and cut drying time in half.
11. Nail Clippers, a Grinder, and Styptic Powder
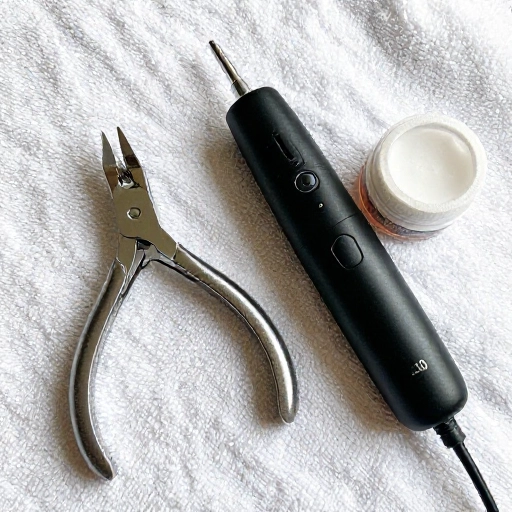
Nails are the part most people dread, and honestly, they’re the part that matters most. Overgrown nails change how your pet walks and can cause real joint pain over time.
You have two options: traditional clippers or an electric grinder. Clippers are faster, grinders give a smoother finish and are less likely to split the nail. A lot of people keep both.
Whatever you choose, keep styptic powder within arm’s reach. If you nick the quick, a dab of powder stops the bleeding fast. It happens to everyone — including the pros.
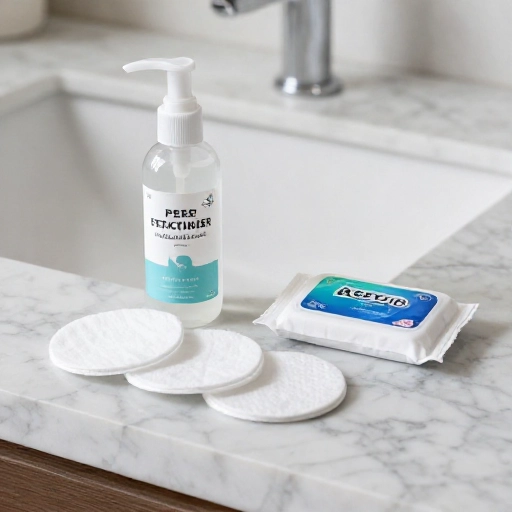
12. Ear Cleaner, Cotton Rounds, and Eye Wipes
Ears and eyes are the quiet spots people forget until there’s a problem. A quick wipe once a week keeps infections away and saves you a vet bill later.
Use a pet-specific ear cleaner and cotton rounds — never cotton swabs, which can push debris deeper into the canal. Squeeze a little cleaner in, massage the base of the ear, then wipe out what comes to the surface.
For eyes, keep a pack of gentle pet wipes handy to clear tear stains and everyday gunk. Ten seconds of maintenance beats an hour of treatment.
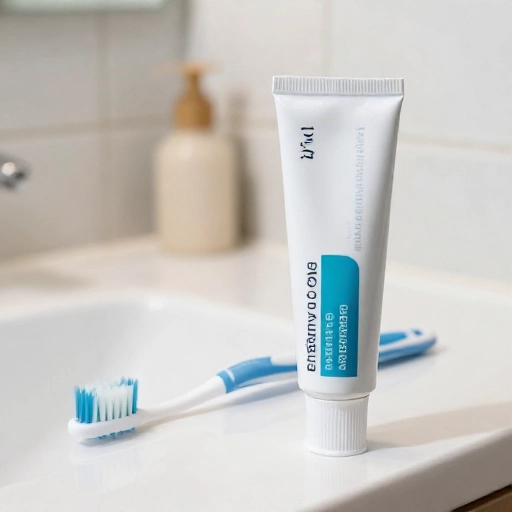
13. A Pet Toothbrush and Enzymatic Toothpaste
Dental disease is one of the most common issues vets see, and it’s almost entirely preventable. Brushing a few times a week makes a huge difference.
Get a toothbrush sized for your pet’s mouth — a finger brush works well for small breeds. And use enzymatic toothpaste made for pets, in flavors like poultry or peanut butter.
Never use human toothpaste. It contains xylitol and fluoride, both of which are toxic to animals. Start slow, let them lick a bit off your finger first, and build up from there.
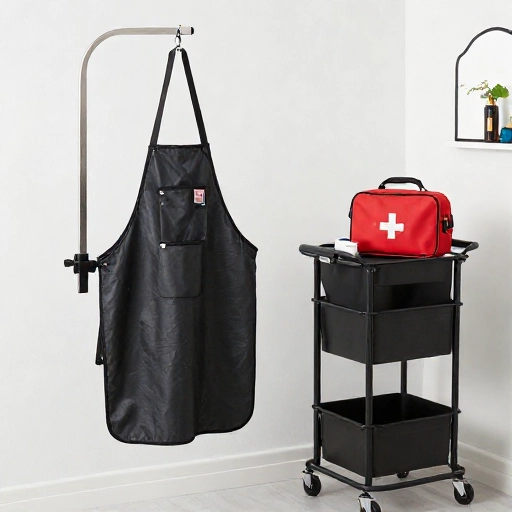
14. A Grooming Apron, Storage Cart, and First Aid Kit
Last but not least, you need somewhere to put all this stuff. A rolling storage cart keeps everything within reach so you’re not digging through drawers mid-trim with wet hands.
A grooming apron with deep pockets is also a small upgrade that feels surprisingly professional. Clippers in one pocket, scissors in another, treats in the third.
And please build a basic pet first aid kit: gauze, self-adhesive wrap, antiseptic wipes, styptic powder, and a tick remover. You probably won’t need it often, but when you do, you’ll be very glad it’s there.
Wrapping It Up
You don’t need to buy all 14 items at once. Start with the table, clippers, brush, and shampoo — that’s enough to handle a basic groom. Add the rest as you get more comfortable.
What I love most about having a home grooming setup is the calm it brings. No car rides, no strangers, no anxious wait in a kennel. Just my pet, my tools, and a routine we’ve both gotten used to.
Your first few grooms might be imperfect. That’s completely normal. Every session gets a little smoother, and your pet gets a little more relaxed. Give it a month and you’ll be genuinely proud of what you can do.
FAQ
How much does it cost to set up a home grooming salon?
A basic starter kit usually runs between $150 and $300. If you go all-in with a high-velocity dryer and a professional table, expect closer to $500. It pays for itself after just a few skipped salon appointments.
Can I groom my pet if I’ve never done it before?
Absolutely. Start with baths, brushing, and nail trims — those are the easiest to learn. Watch a few videos for your specific breed, and take it slow. You can always call a professional for the trickier cuts.
How often should I groom my pet at home?
Brush two to three times a week, bathe every four to six weeks, trim nails every three to four weeks, and clean ears weekly. Double-coated breeds may need more frequent brushing during shedding season.
What’s the one item I shouldn’t skip?
Good clippers. Everything else can be budget-friendly, but cheap clippers will make grooming miserable for both of you. It’s the one place I’d spend a little extra.
Is it safe to shave my pet in summer?
For most double-coated breeds, no. Their coat actually insulates them from heat, and shaving can lead to sunburn and improper regrowth. Stick to trimming and regular brushing instead, and ask your vet if you’re unsure.