11 Easy DIY Cat Condos Your Cats Will Actually Use
Let’s be honest: our cats own the house. They claim our chairs, our boxes, and the sunniest spots on the floor. But those store-bought cat trees? They can be pricey and not quite match our style. That’s where DIY comes in.
Building a cat condo isn’t about complex carpentry. It’s about repurposing what you have, using affordable materials, and creating something unique that fits your space. The best part? Your cat gets a custom hangout that smells like you and home. I’ve gathered my favorite easy projects that anyone can tackle in a weekend (or even an afternoon!).
These ideas range from no-tools-needed to simple builds, all designed to spark your creativity. Grab some cardboard, rope, or an old shelf—let’s make something amazing for your feline overlord.
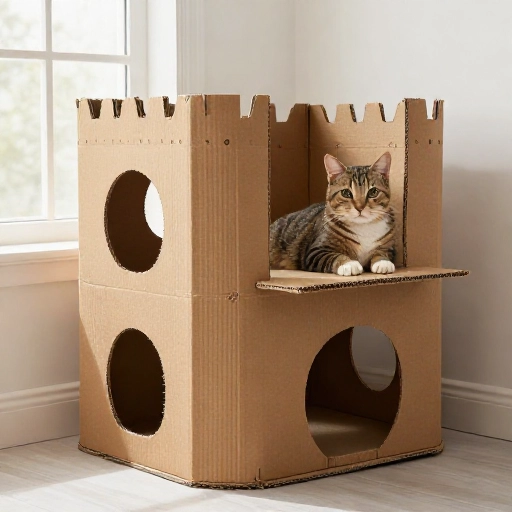
1. The Cardboard Castle Stack
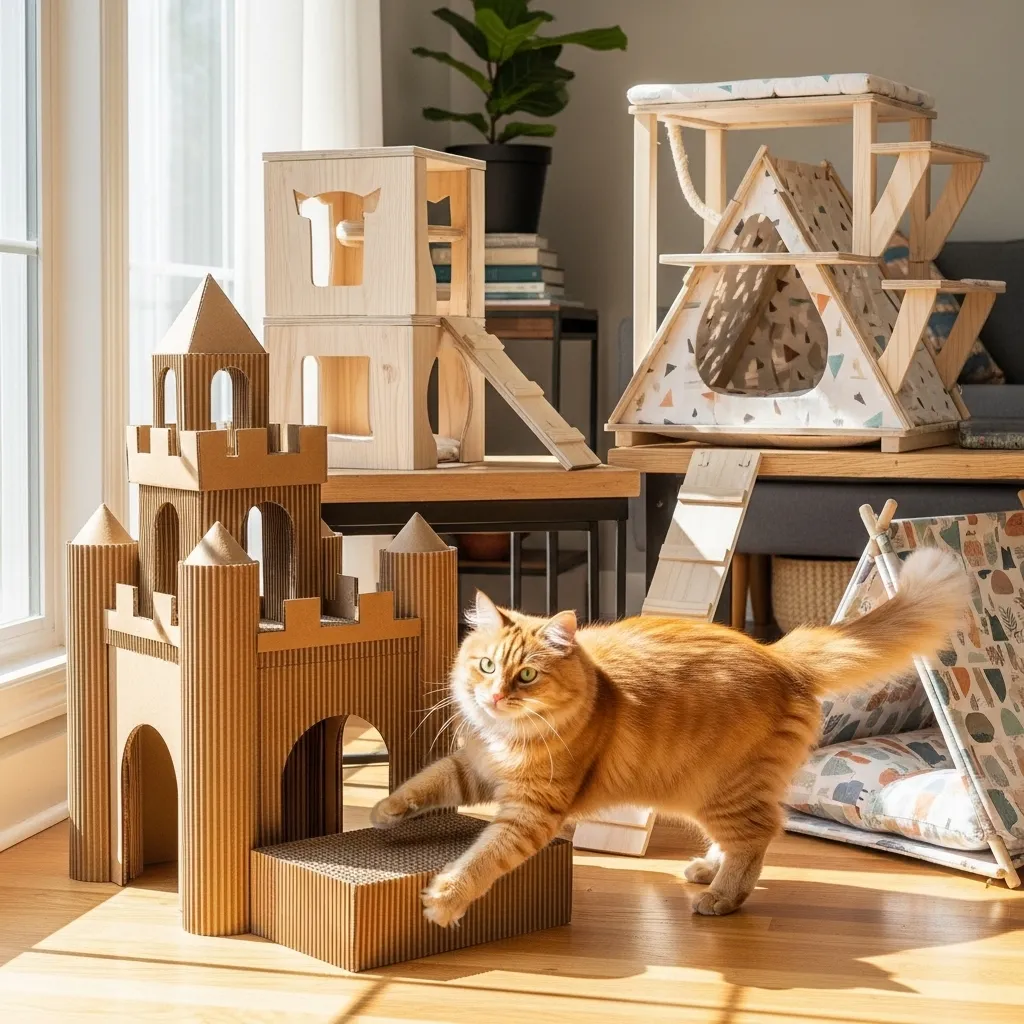
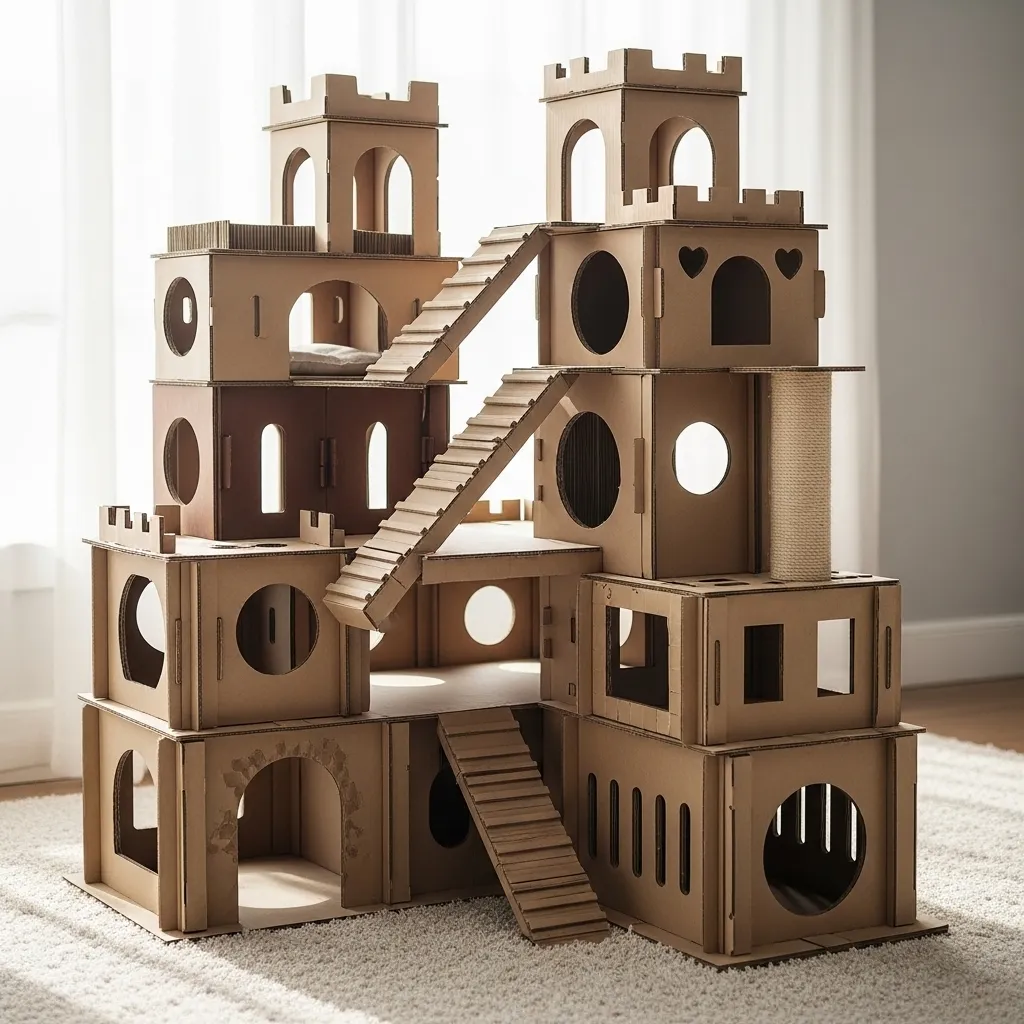
This is the ultimate starter project. Raid your recycling bin for sturdy boxes of different sizes. Cut out arched doorways and porthole windows in the sides.
Stack them in a staggered tower and secure them with strong packing tape or a dab of non-toxic glue. You can leave it natural or let the kids decorate it with pet-safe markers. It’s cheap, endlessly customizable, and destined to be a favorite scratching and napping spot until it’s lovingly destroyed.
2. The Sweater-Covered Stump
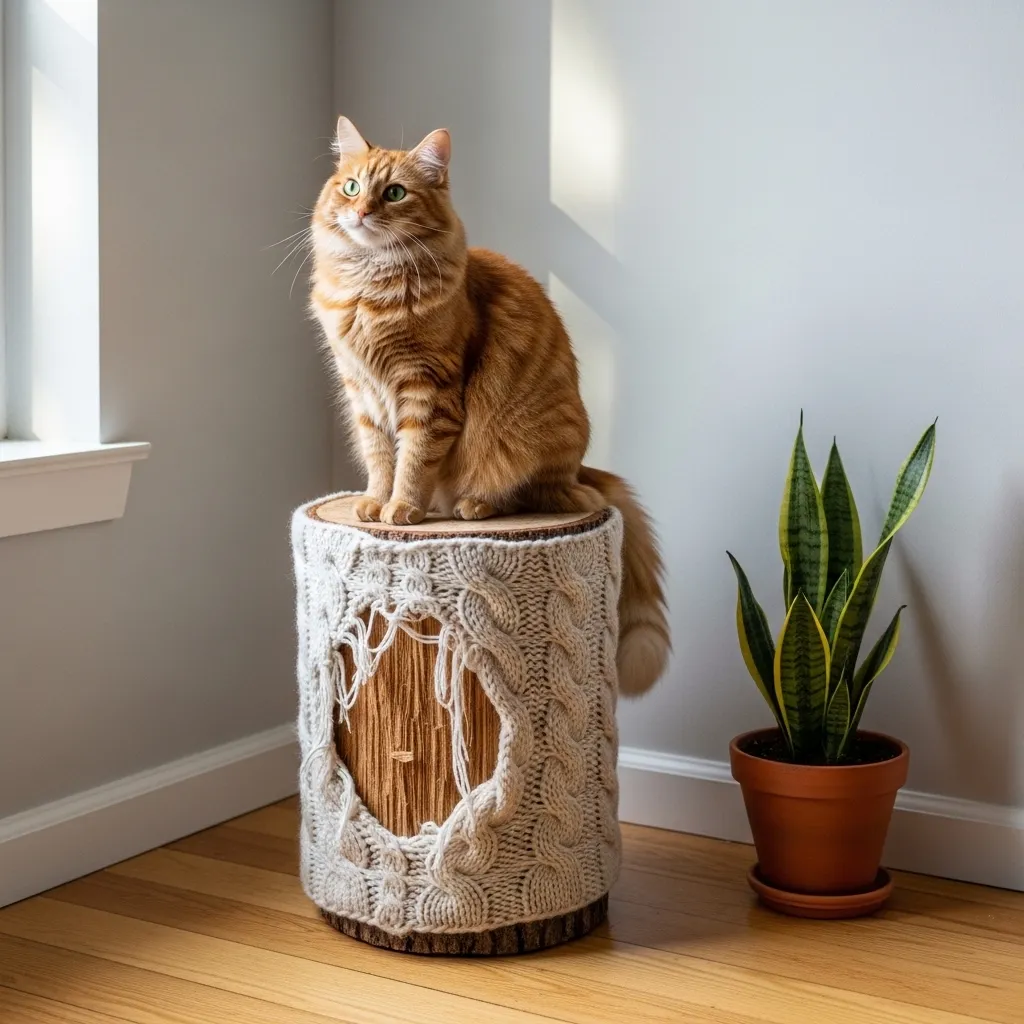
Have an old wool sweater you can’t part with? Find a short, sturdy log or even a thick cardboard tube. Pull that sweater over it, tucking the ends inside the top and bottom.
It instantly becomes a cozy, textured scratching post. The knit fabric is perfect for claws. I like to secure it with a staple gun underneath where the cat won’t see or feel it. It adds a warm, rustic touch to any corner.
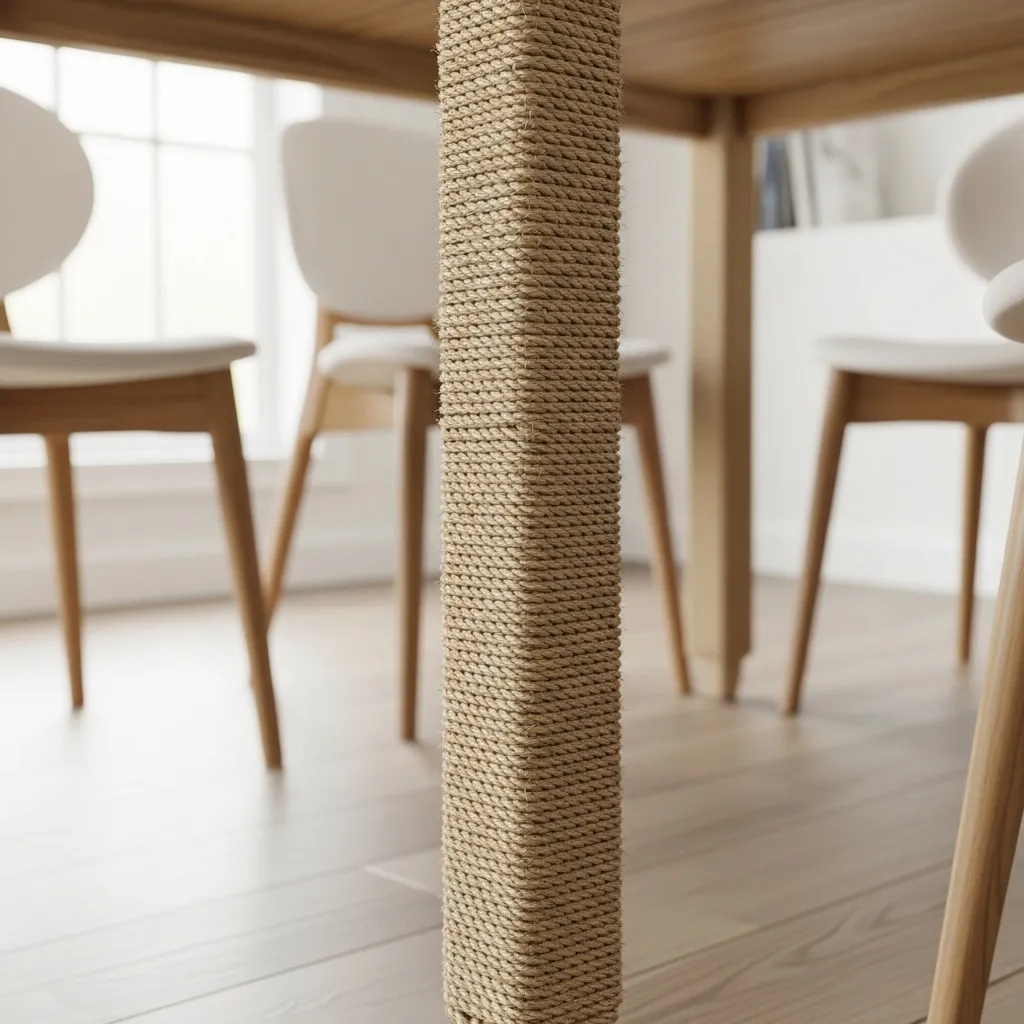
3. The Rope-Wrapped Table Leg
Turn an existing piece of furniture into a cat gym. Choose a table or desk leg that’s out of the way. Get some thick, natural sisal rope from the hardware store.
Starting at the bottom, wrap the rope tightly around the leg, securing the start and end with small nails or a hot glue gun. You’ve just created a perfect scratching station without building anything new. It’s genius for saving space.
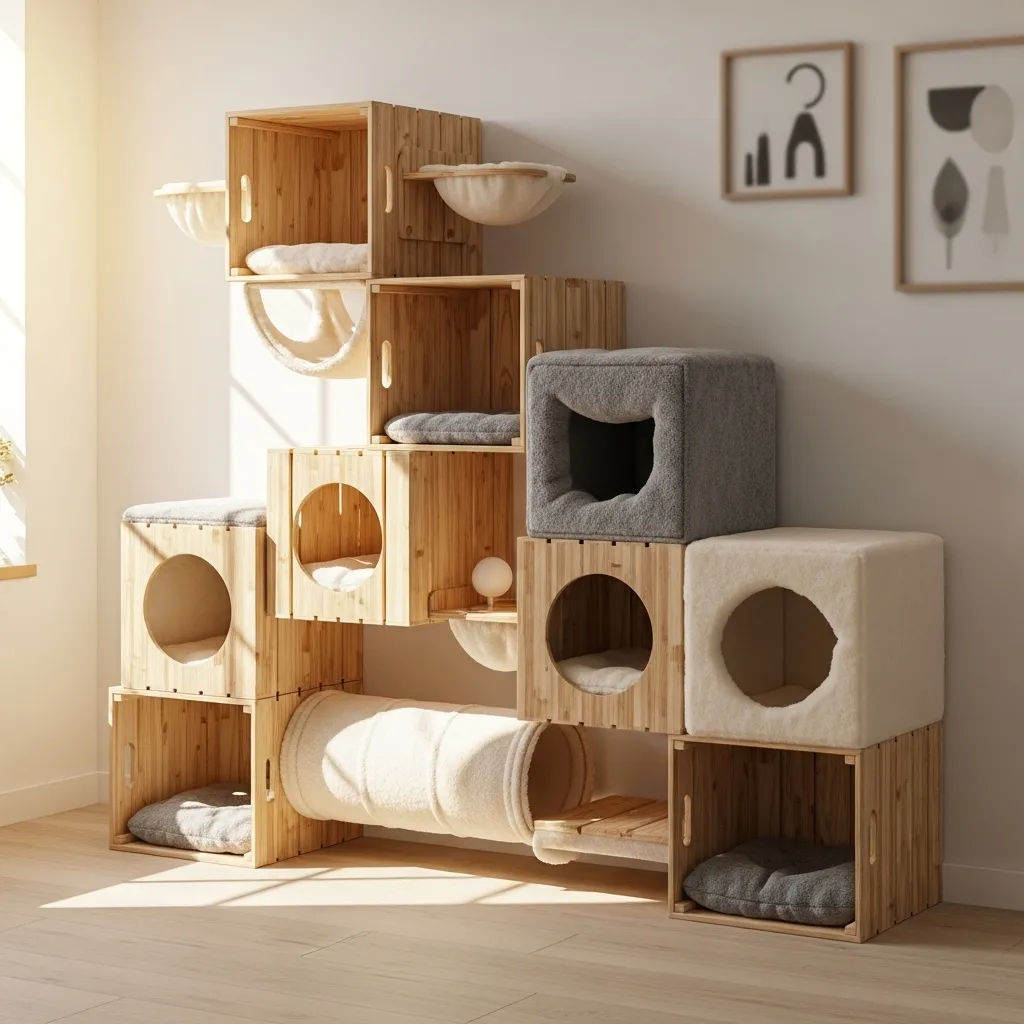
4. The Crate & Cube Cluster
Those fabric storage cubes are a DIY cat parent’s secret weapon. Pick a few in coordinating colors. Arrange them on their sides, stacked, or even attached to a wall in a pattern.
Use zip ties or fabric glue to connect them securely. The open cubes become caves, perches, and tunnels. It’s modular, so you can change the layout whenever you want a refresh.
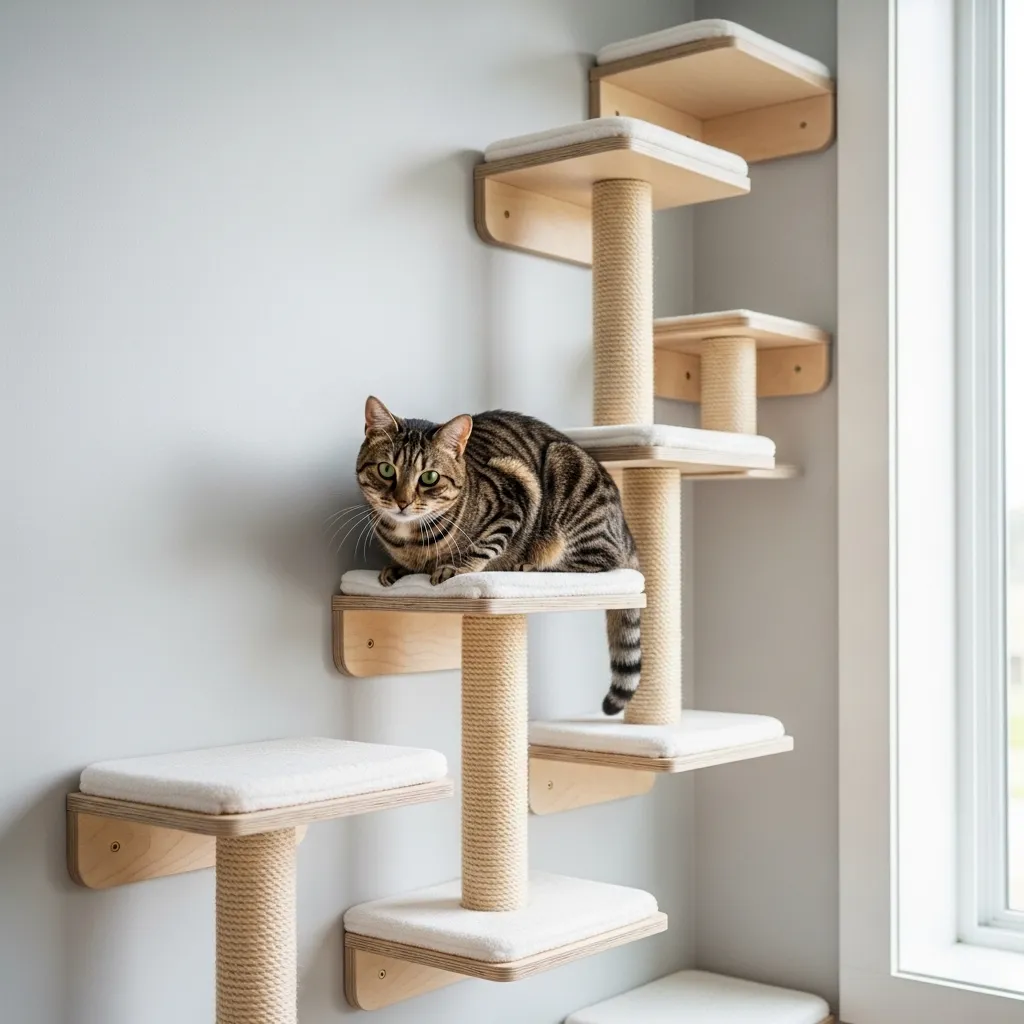
5. The Floating Shelf Highway
Look up! Wall space is prime real estate for cats. Install a few sturdy floating shelves at varying heights, leading to a top perch. Make sure they’re anchored deeply into wall studs.
Add a soft mat or carpet remnant to the top shelf for napping. This gives your cat a thrilling climb and a bird’s-eye view of their kingdom, all while keeping your floor space clear.
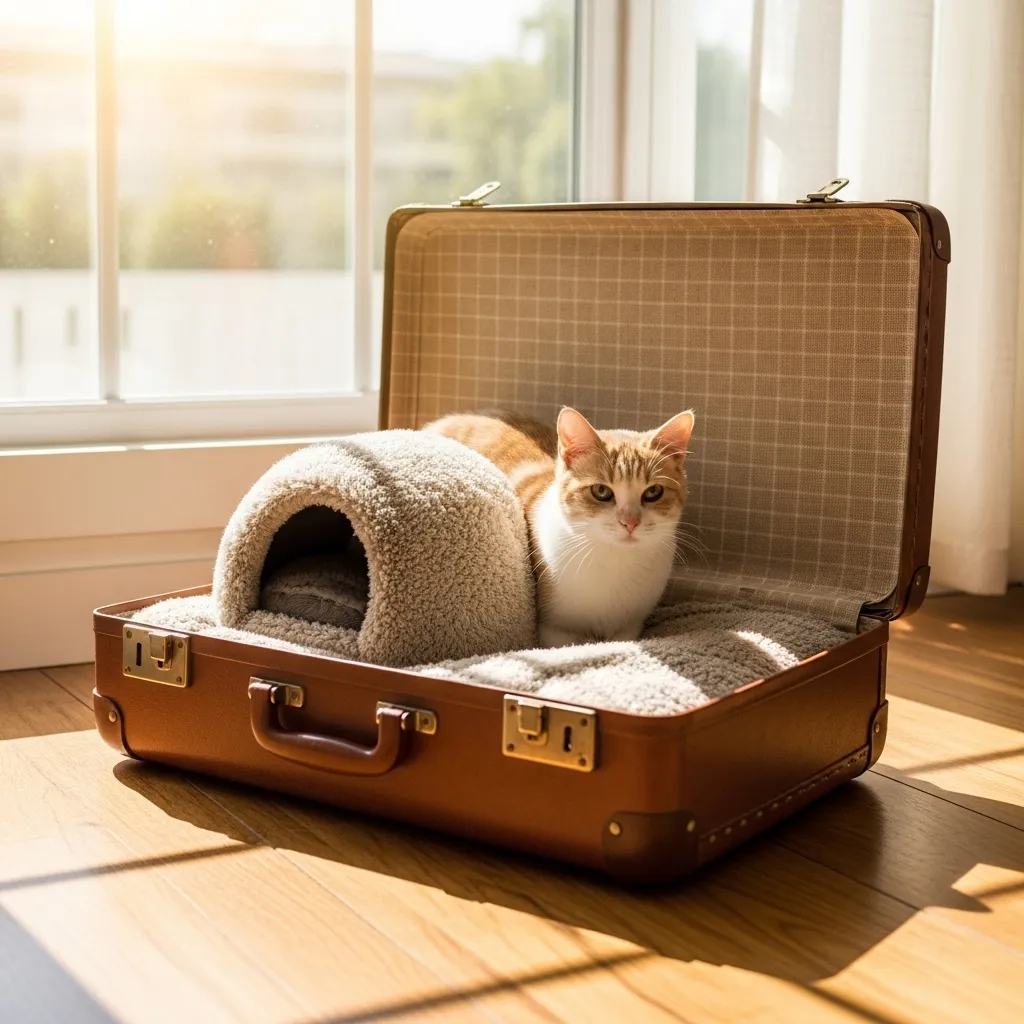
6. The Suitcase Hideaway
Find a vintage hard-shell suitcase at a thrift store. Prop it open on its side and secure the lid at a stable angle with a small chain or bracket inside.
Line the inside with a plush pillow or fleece blanket. Suddenly, you have a charming, retro bed with a roof. It looks like décor, but your cat knows it’s their secret traveling-agent lair.
7. The Towel-Ladder Perch
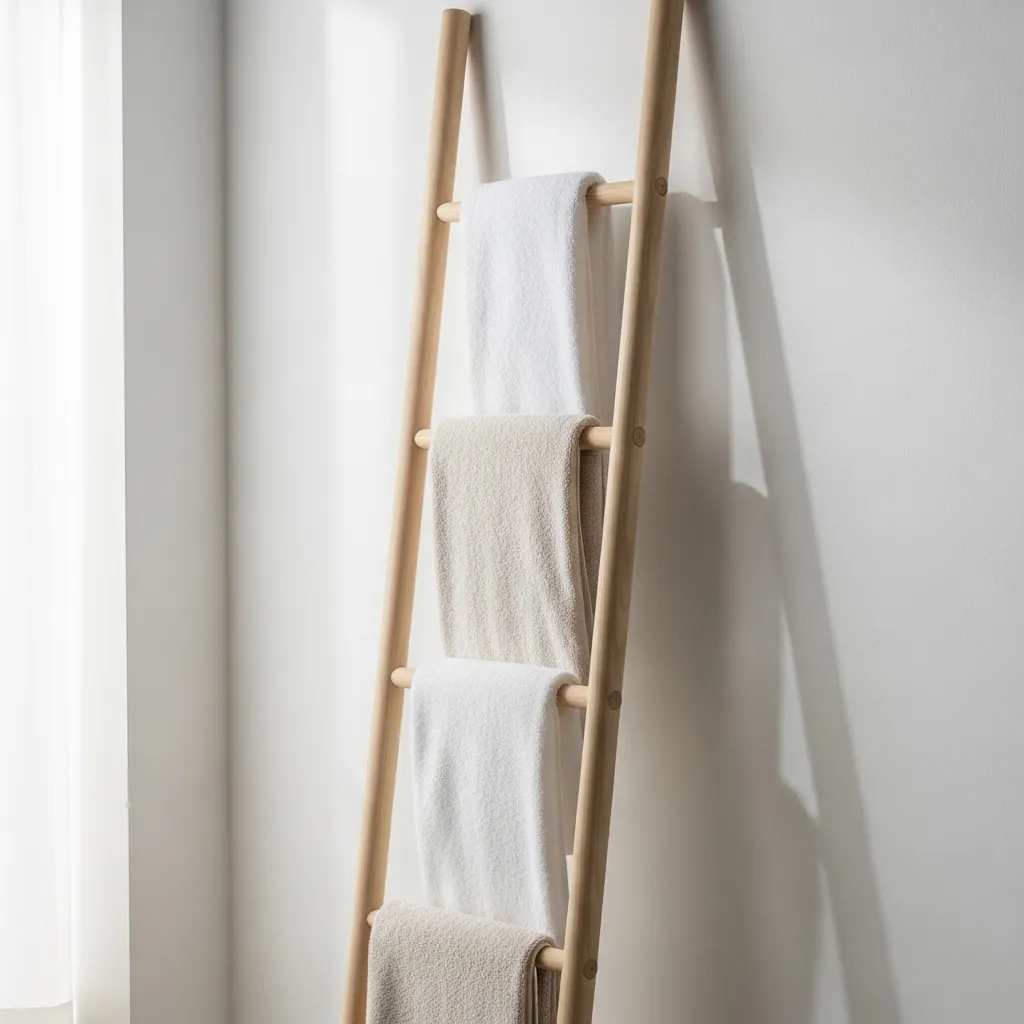
This one is so simple. Take a wooden ladder (an old blanket ladder works perfectly). Sand it smooth. Drape thick, soft towels or small fleece blankets over each rung.
Secure the fabric with safety pins underneath. Lean it securely against a wall in a sunny spot. Each rung becomes a cozy, layered bed. It’s like a bunk bed system for your cat crew.
8. The PVC Pipe Playground
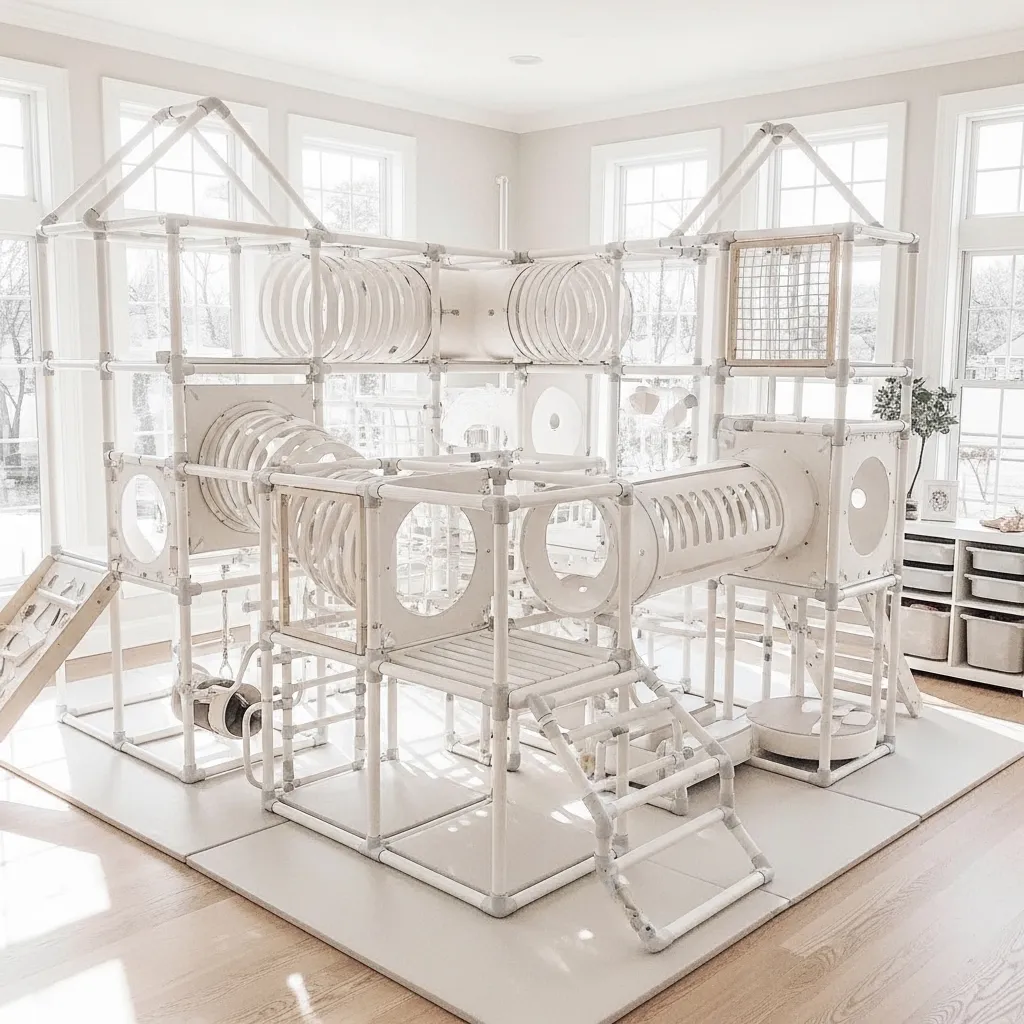
PVC pipes are lightweight, cheap, and easy to cut. Get some pipes and connector pieces (elbows, tees). Dry-fit them into fun tunnel shapes like zig-zags or cubes.
Once you’re happy with the layout, you can glue them permanently for stability or leave them unglued to reconfigure later. Drape a blanket over part of it for a hidden den. The smooth interior is easy to wipe clean, too.
9. The Bookshelf Conversion
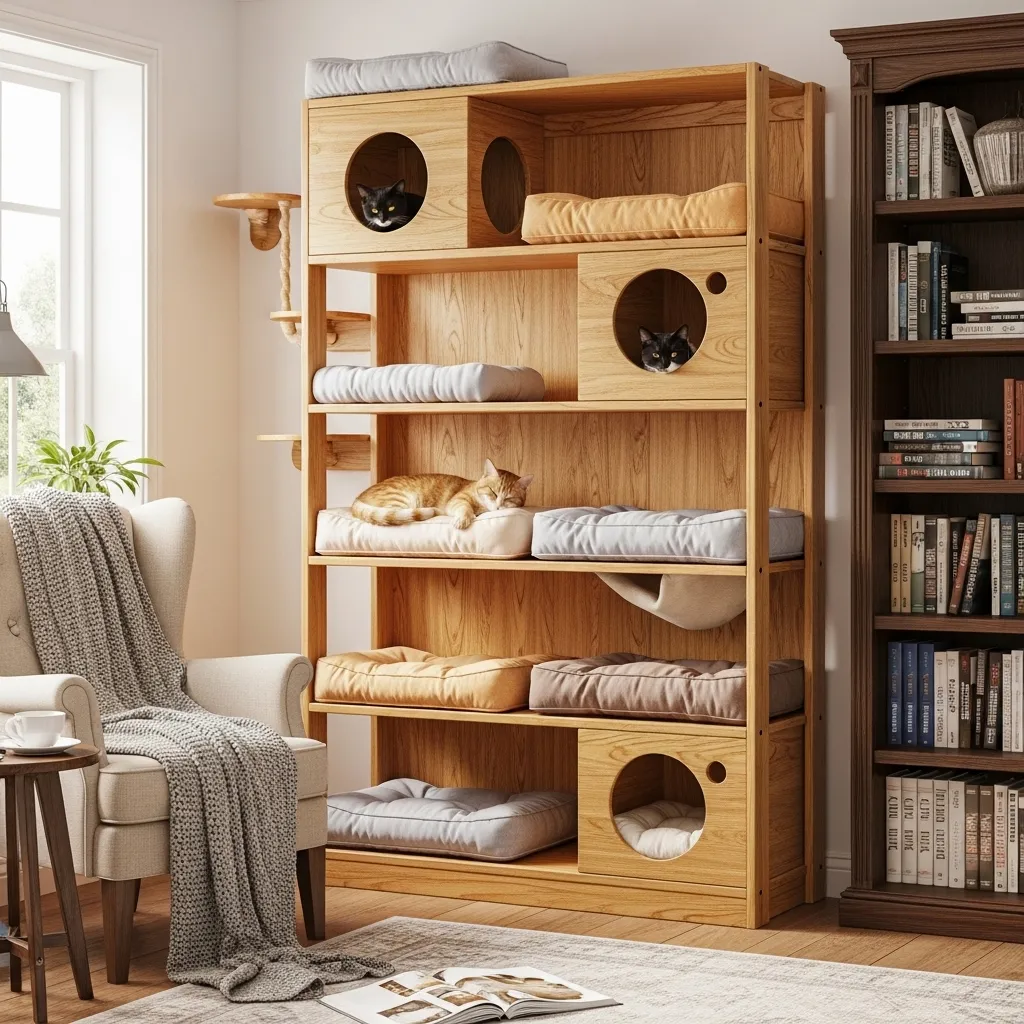
Give an old bookshelf a new life. Remove some shelves to create taller compartments. Cut large entry holes in the sides of certain sections.
Add plush beds inside some cubbies and leave others empty for hiding. You can even wrap the posts with sisal rope. Anchor it to the wall for safety. It’s a major statement piece that stores both books and cats.
10. The Woven Basket Tower
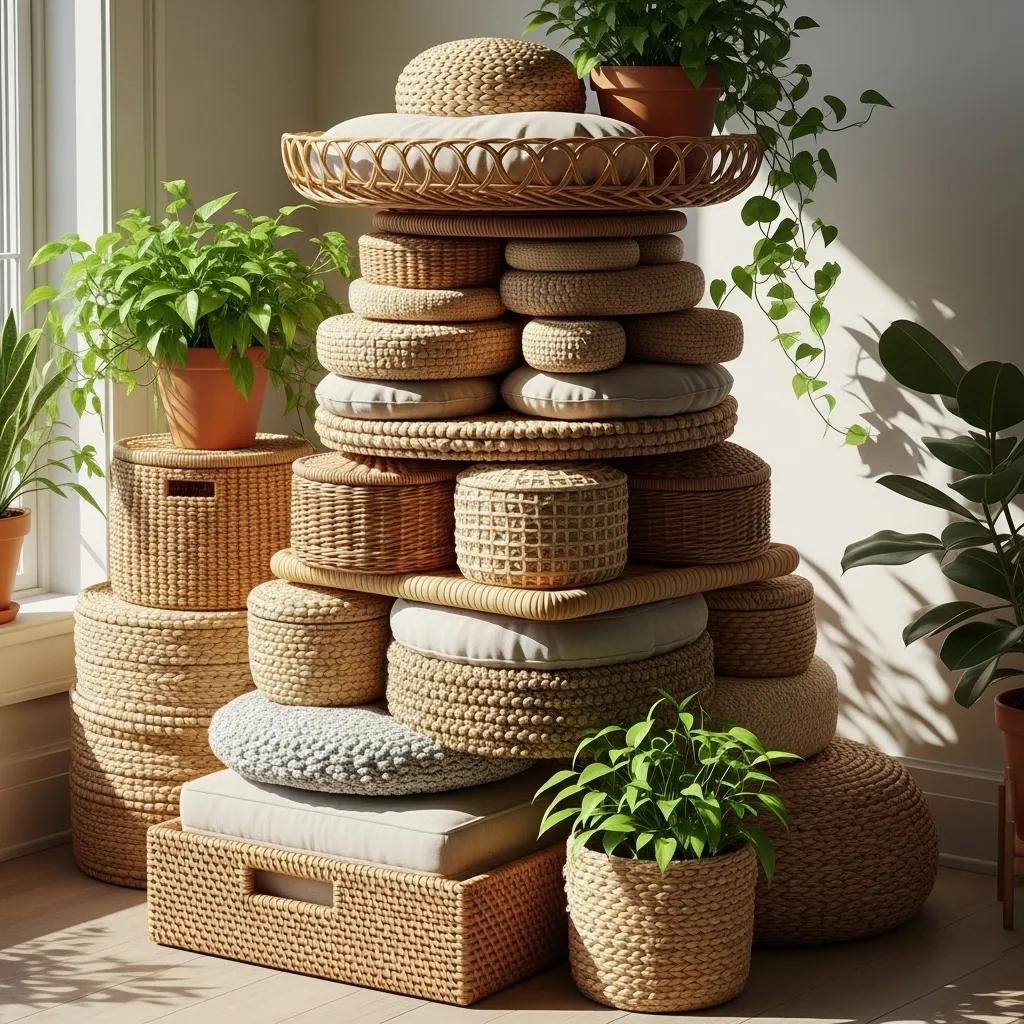
Collect 3-4 woven storage baskets in graduating sizes. Flip the largest one upside down and cut a doorway. Stack the next size on top, also upside down, and secure them together with cable ties through the weave.
Keep going to create a tiered tower. The natural texture is great for scratching, and the inside of each basket is a snug, cave-like bed.
11. The Fleece-Knit No-Sew Cave
No sewing machine needed! Take a square of fleece fabric. Cut slits all around the edges to create a fringe. Place a round pillow or cushion in the center.
Pull the fringe from opposite sides up and over the pillow, tying them into knots on top. Keep going until the pillow is encased in a knotted fleece hut. It’s a soft, warm cave made in 10 minutes.
Wrapping Up
The best cat condo is one that both you and your cat love. It doesn’t have to be perfect—cats prefer things that feel real and lived-in. Start with one simple project this weekend. Use what you have, prioritize safety and stability, and enjoy the process. There’s nothing better than seeing your cat claim something you made just for them.
DIY Cat Condo FAQ
Q: What are the safest materials to use?
A: Stick with natural, untreated woods, sisal rope, non-toxic glues, and pet-friendly fabrics like cotton or fleece. Avoid loose strings, small parts they could swallow, and toxic paints or finishes.
Q: How do I make it stable so it won’t tip?
A> For tall structures, always secure them to a wall with a furniture strap or bracket. For floor-based condos, use a wide, heavy base (like a plywood platform) and ensure all connections are tight.
Q: My cat ignores my DIY creation. What now?
A> Be patient! Rub some catnip or sprinkle treats on and inside it. Place it in a quiet, appealing spot near their favorite window or your lounging area. Sometimes they just need time to accept it as theirs.
Q: Can I use old pillows or bedding for cushioning?
A> Absolutely! Just make sure the fabric is clean and the stuffing is intact so they can’t pull it out and ingest it. Old sweaters, towels, and cushion inserts are perfect for upcycling.
Q: What’s the easiest project for a total beginner?
A> The Cardboard Castle Stack (#1) or the Fleece-Knit No-Sew Cave (#11). Both require zero tools, just everyday household items, and you can complete them in under an hour.