11 Sliding DIY Dog Gates That Actually Look Good in Your Home
I love my dog, but I don’t love the way most traditional dog gates ruin the flow of a room. You know the ones—bulky pressure-mounted gates that scream “temporary solution” and leave dents in your doorframes. After tripping over a gate for the third time in one week, I decided there had to be a better way. And honestly? Sliding dog gates are the answer.
They tuck away when you don’t need them, they don’t block your walking path, and they look like they belong in your home. Best of all, you can build most of these yourself with basic tools and a weekend. Here are 11 sliding DIY dog gate ideas that are practical, stylish, and totally doable.
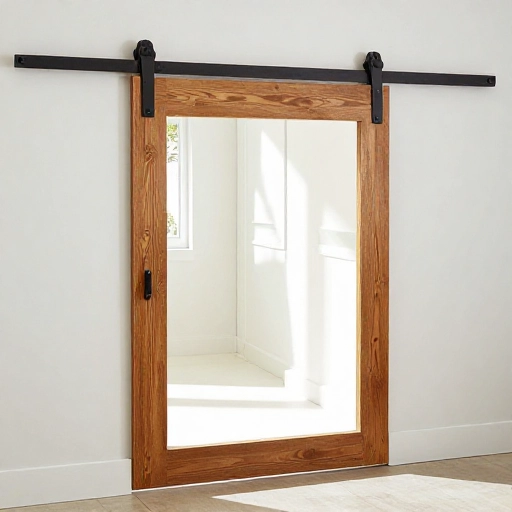
1. Barn Door Style Sliding Gate
This is the sliding gate that started it all for me. You basically build a mini barn door on a track that slides across a doorway. It feels sturdy, looks rustic-chic, and your dog won’t be able to push it open.
You’ll need a sliding barn door hardware kit (the small ones meant for cabinets work great), a piece of plywood cut to size, and some wood stain. Mount the track above the doorframe, attach the wheels to the wood panel, and hang it up. Add a simple handle on both sides so you can slide it open and closed easily.
2. Pocket Style Sliding Gate (Hidden in the Wall)
If you’re up for a bit more of a challenge, this is the most elegant option. The gate slides completely into a pocket inside the wall, so when it’s open, you’d never know it was there.
You’ll need to build a simple frame inside the wall cavity (or attach a box to the outside if you rent). The gate itself is a thin piece of wood or even acrylic that slides on a track. This is perfect for a hallway where you don’t want any visual clutter.
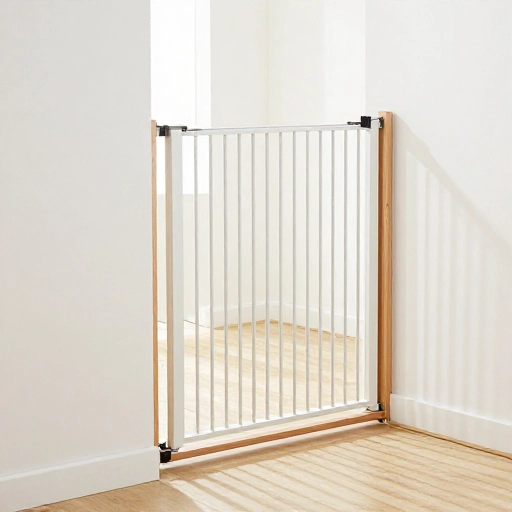
3. Tension Rod Sliding Gate for Renters
No tools? No problem. This is the no-drill option that still slides. You use two heavy-duty tension rods stacked vertically, then attach a piece of fabric or a lightweight wooden panel that slides along them.
I used a shower curtain rod trick: put one rod high, one rod low, and hang a piece of lattice or a tension-mounted curtain between them. It slides to the side when you need to pass. It’s not super dog-proof for strong chewers, but it works great for small or medium dogs.
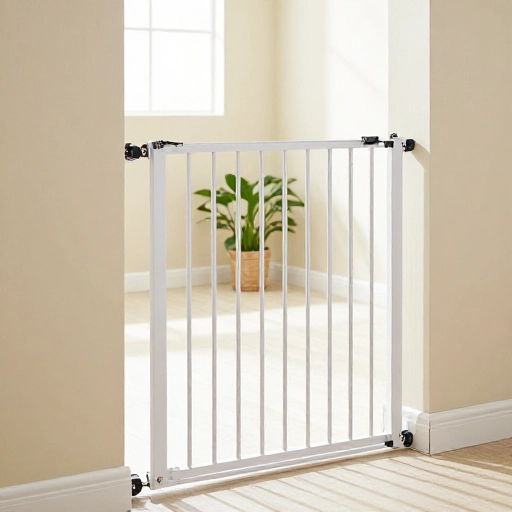
4. Sliding Gate with Built-in Cat Door
Got a cat that needs to escape the dog? This gate has a small swinging door built right into the sliding panel. Your cat can come and go, but the dog stays put.
Build a simple sliding frame out of pine, then cut a small opening near the bottom. Install a cat door flap in that opening. Mount the whole thing on a sliding track. I added a magnetic catch so the cat door closes quietly. It’s a game-changer for multi-pet homes.
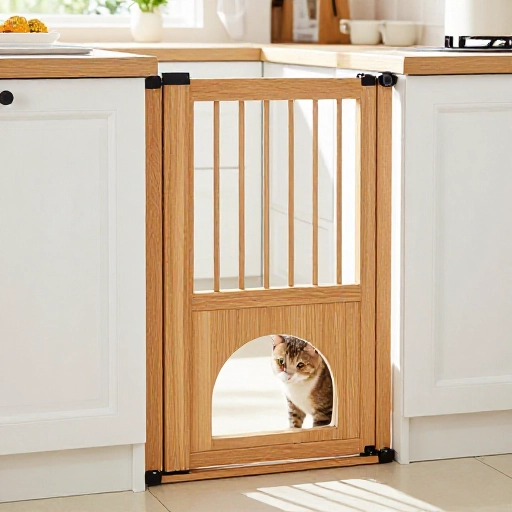
5. Sliding Gate from an Old Window Frame
Upcycling alert! An old wooden window frame makes a beautiful sliding gate. The glass panes let light through, and the vintage look adds character to any room.
Remove the glass carefully (or keep it if you want a see-through gate). Sand it down, paint or stain it, and attach sliding hardware. The frame is usually lightweight enough to slide easily. Just make sure the latch is secure so your dog doesn’t bump it open.
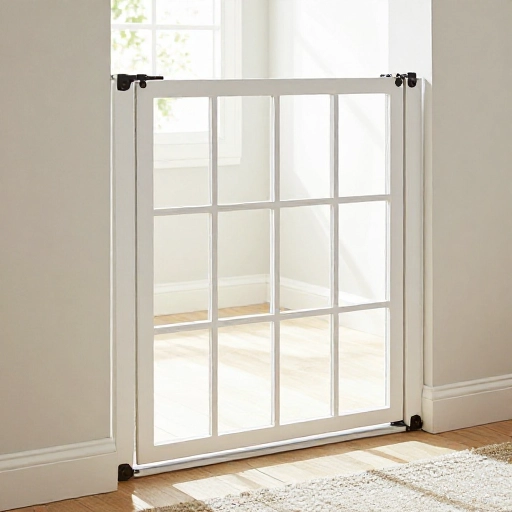
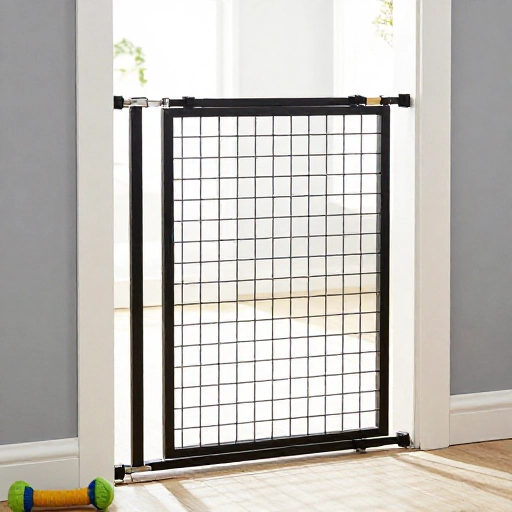
6. Wire Mesh Sliding Gate for Heavy Chewers
Some dogs see wood as a chew toy. If you have a determined chewer, a wire mesh sliding gate is the way to go. It’s strong, see-through, and impossible to gnaw through.
Build a frame from 2×2 lumber, then staple or screw wire mesh (like hardware cloth) to the inside. Attach sliding wheels to the top and a guide at the bottom. The mesh lets you see through it, so you can keep an eye on your pup without blocking your view.
7. Sliding Gate with Storage Shelf
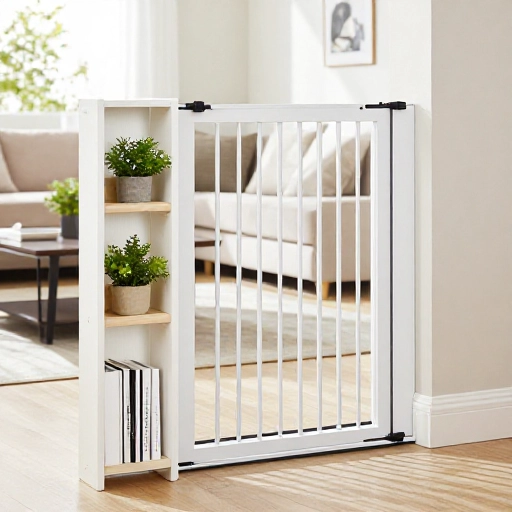
Why not make your gate work double duty? This design adds a shallow shelf on top of the sliding panel. You can store leashes, treats, or even small plants on it.
Build the gate panel a bit taller than the doorway, then add a small box shelf on top. The shelf slides with the gate. I keep my dog’s leash and poop bags on mine. It’s one of those small conveniences that makes daily life easier.
8. Floor-to-Ceiling Sliding Gate
For wide openings like archways or open-concept rooms, a floor-to-ceiling gate is your best bet. It spans the full height of the opening and slides along a top track.
Use a long piece of plywood or a hollow core door cut to size. Mount a heavy-duty sliding track at the top and a floor guide at the bottom. This one feels like a real wall when it’s closed. I use mine to block off the kitchen completely.
9. Sliding Gate with Chalkboard Surface
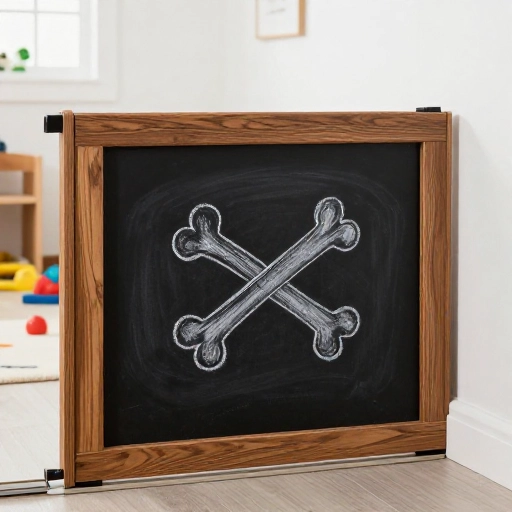
This is my favorite for families. Paint the sliding panel with chalkboard paint, and suddenly your gate becomes a message board, art station, or menu planner.
Build a simple wooden panel, sand it smooth, and apply two coats of chalkboard paint. Let it cure for a few days, then mount it on sliding hardware. My kids write notes and draw pictures on it. The gate is functional and fun at the same time.
10. Double Sliding Gate for Wide Doorways
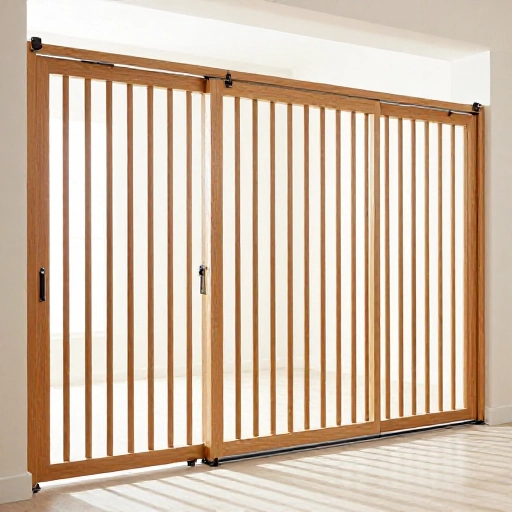
If your doorway is extra wide (like 48 inches or more), a single sliding panel might be too heavy. Instead, build two panels that slide in opposite directions, meeting in the middle.
You’ll need two tracks or one split track. Each panel slides to its own side. This looks symmetrical and balanced. I built mine from MDF and painted it to match the trim. It slides open like a Japanese shoji screen.
11. Sliding Gate with a Walk-Through Door
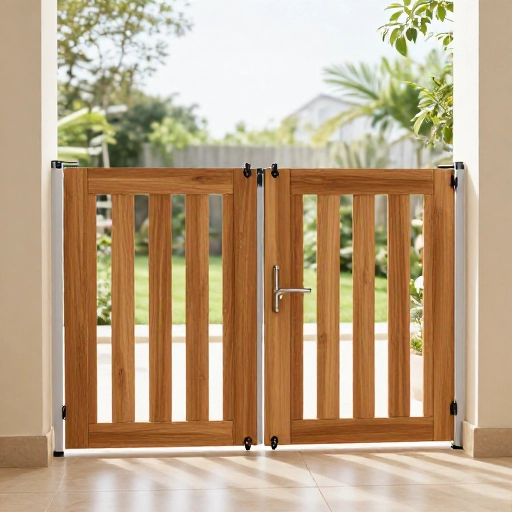
This is the ultimate convenience: a sliding gate that also has a small swinging door built in. You slide the main gate open for big items, or just open the small door to walk through quickly.
Build a sturdy frame, then cut a smaller door into the panel. Hinge the small door and add a magnetic latch. It’s a bit more work, but you’ll never have to slide the whole gate open just to grab a coffee. I use this between my living room and hallway.
Conclusion
Sliding DIY dog gates are one of those projects that make you wonder why you didn’t build one sooner. They save space, look intentional, and keep your pup safe without ruining your home’s style. Whether you go for a simple tension rod setup or a full barn door, the key is to pick a design that fits your skill level and your dog’s personality.
Frequently Asked Questions
1. Are sliding dog gates safe for puppies?
Yes, as long as the gate is tall enough and the gaps are small enough that your puppy can’t squeeze through or climb over. Always supervise a new puppy around any gate until you know they can’t escape.
2. Can I install a sliding gate without damaging my walls?
Yes, if you use tension-mounted tracks or freestanding frames. However, most sliding gates require at least a few screws for stability. For renters, look into no-drill tension rod designs or adhesive tracks (though those aren’t as strong).
3. What’s the best material for a sliding dog gate?
Wood is the most popular because it’s easy to work with and looks great. For chewers, use metal mesh or acrylic. For lightweight needs, fabric or lattice works fine.
4. How tall should my sliding dog gate be?
For most dogs, 30 to 36 inches is sufficient. For jumpers or large breeds, go for 42 inches or higher. Measure your dog’s height at the shoulder and add at least 6 inches.
5. Can I make a sliding gate that folds away completely?
Yes, a pocket-style gate (idea #2) disappears into the wall. If you can’t cut into the wall, you can build a sliding gate that tucks behind furniture or a curtain.