11 Unique Cat Trees You Can DIY This Weekend
Let’s be real for a second. Store-bought cat trees are either boring beige towers that clash with your decor or they cost as much as a small sofa. I’ve been there, staring at a sad, carpet-covered post, wondering why my living room has to look like a feline frat house. That’s when I decided to grab my glue gun and build something my cat actually deserves—and that I don’t hate looking at.
The best part? You don’t need a woodshop or a ton of experience. These DIY cat trees are built for a weekend warrior. You just need some basic tools, a little creativity, and a cat who will definitely “help” you by sitting on every piece of wood you lay down. Ready to give your kitty the climbing kingdom of their dreams? Let’s dive into 11 unique ideas you can actually finish by Sunday night.
1. The Minimalist Wall Ladder
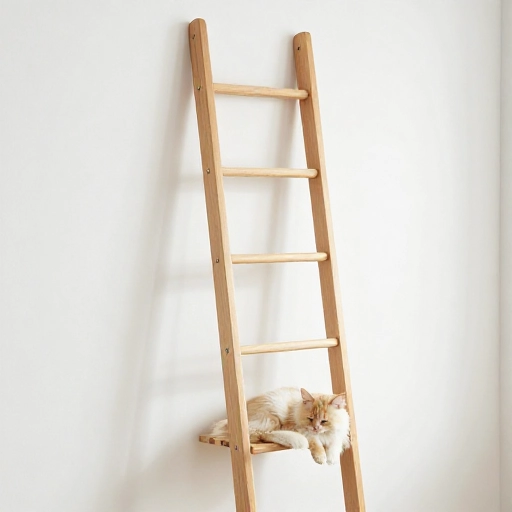
If your space is tight, go vertical. This cat tree is basically a wooden ladder you mount to the wall at a slight angle. You attach a few wooden shelves at different heights so your cat can climb, perch, and judge you from above. It’s sleek, modern, and takes up zero floor space.
I used a simple pine ladder from a flea market, sanded it down, and added a sisal rope wrap on the rungs for grip. My cat took to it instantly. It’s also a great conversation piece when guests visit—they always ask if it’s art. Just make sure you anchor it into studs so it’s safe for jumping.
2. The Branch From Nature
This one is my personal favorite because it’s basically free. Find a sturdy, dry branch with lots of forks and limbs. I grabbed one from my backyard after a storm (make sure it’s not rotting). You clean it up, sand any rough spots, and mount it on a heavy wooden base.
The result is a totally organic, sculptural cat tree. Your cat can climb up the trunk, sit in the crooks, and scratch the bark. I added a few small platforms at the ends of the branches for extra perching spots. It looks like a piece of modern art that also happens to be a cat playground.
3. The Cube Stack Tower
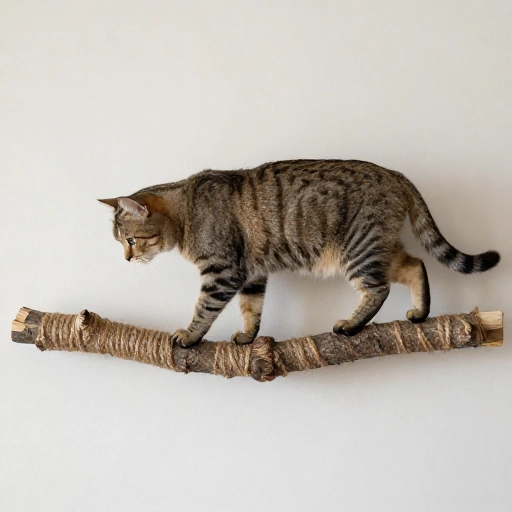
Grab a few square wooden crates or build simple plywood cubes. Stack them in a zigzag pattern, secure them with screws, and you have an instant climbing structure. Each cube becomes a cozy hideout or a stepping stone to the top.
I painted mine in pastel colors to match my living room, but you can leave them raw for a rustic look. Add a soft cushion in one cube and a dangling toy in another. It’s modular, so you can change the layout whenever you want. My cat loves leaping from cube to cube like a little parkour pro.
4. The Bookshelf Transformation
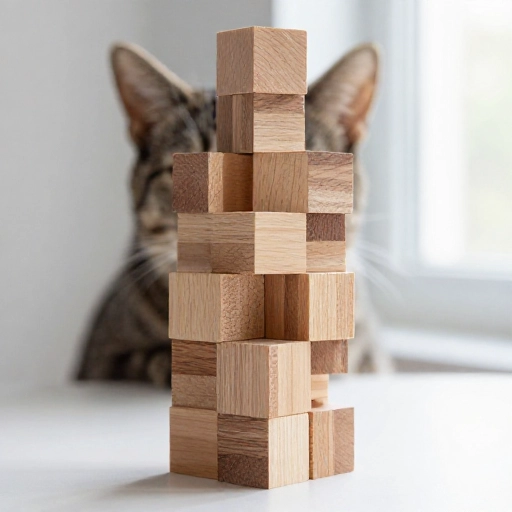
Look around your house—do you have an old bookshelf gathering dust? That’s your next cat tree. Remove a few shelves to create tall climbing spaces, then add sisal rope to the edges for scratching. Cover other shelves with carpet or faux fur for napping spots.
I turned a skinny IKEA shelf into a three-story cat condo by simply adding a few planks and a hammock on the top level. It took me less than two hours. The best part is that it blends right in with your furniture. No one will know it’s a cat tree until your feline friend hops up for a snooze.
5. The Hammock Dream
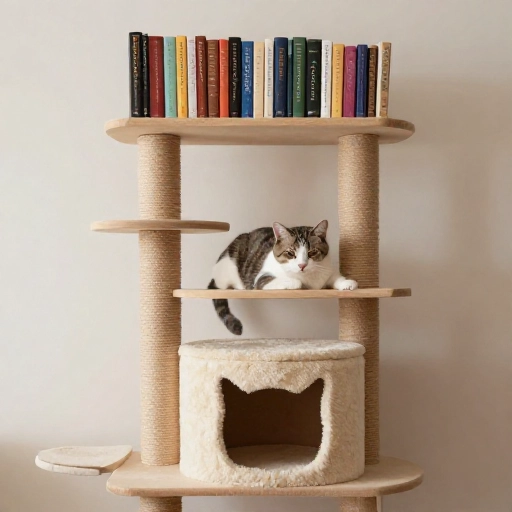
This is the easiest project on the list. You just need a sturdy wooden frame (think a small wooden stool or a custom-built rectangle) and a piece of fabric. Stretch the fabric across the frame, secure it with staples or knots, and you have a hanging hammock.
I mounted mine between two wall brackets so it swings slightly when my cat jumps in. She spends hours there, watching birds through the window. You can also make a floor version by building a simple A-frame stand. Add a soft fleece blanket, and your cat will never leave.
6. The Rope-Wrapped Column
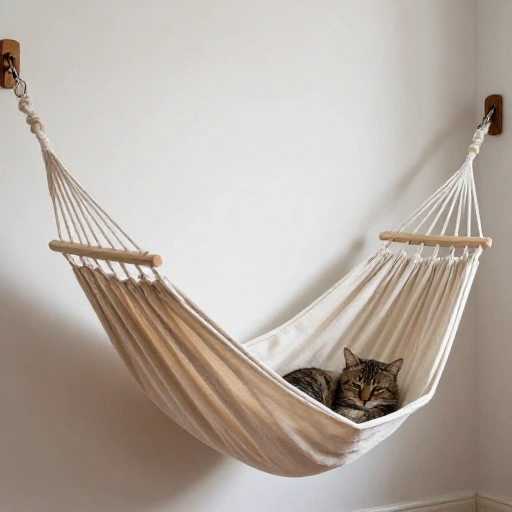
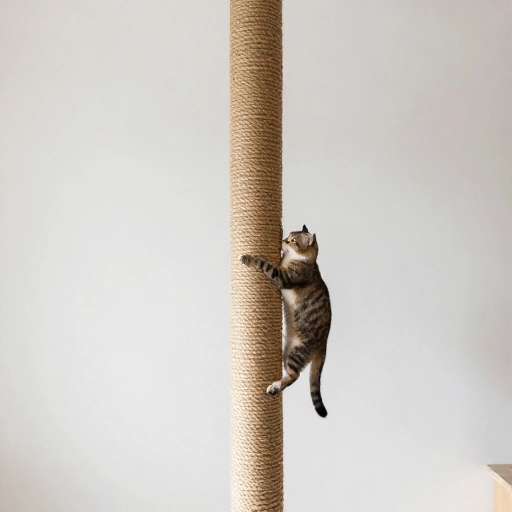
Sometimes simple is best. Get a thick wooden post or a PVC pipe (wrap it in wood veneer if you want it to look nice). Mount it on a heavy plywood base, then wrap the entire thing in sisal rope from bottom to top. Add a small wooden platform at the top for a perch.
This is a scratching post on steroids. My cat loves to stretch up and dig her claws into the rope. I added a second, shorter post next to it with a little bridge connecting the two. It’s like a mini obstacle course. You can stain the base any color you like to match your room.
7. The Window Perch Platform
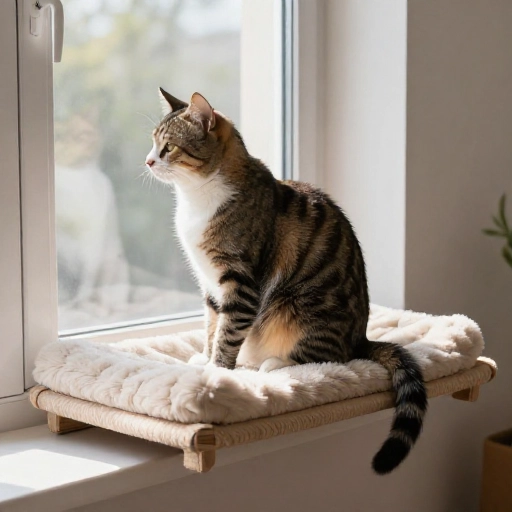
Cats are basically solar-powered. They need that window spot. Build a narrow wooden platform that fits over your windowsill or mounts to the wall below the window. Add a cushion and you’re done. It’s the ultimate bird-watching station.
I built mine from a single piece of oak, sanded it smooth, and added a non-slip rug pad on top. It extends about 18 inches from the wall so my cat can stretch out. She sits there for hours, chattering at squirrels. If you want extra flair, add a small shelf above it for climbing.
8. The Staircase Climber
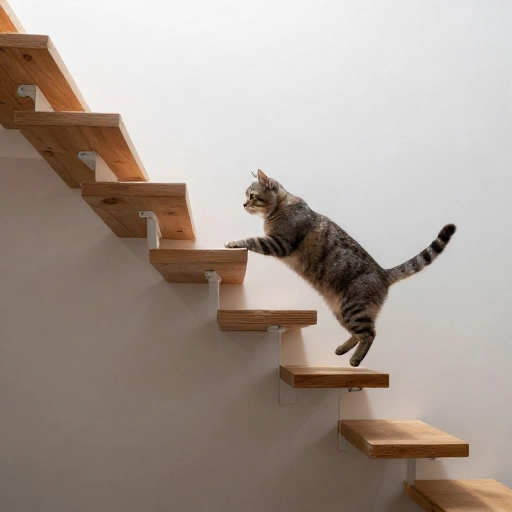
Got stairs? You can turn the wall next to your staircase into a vertical cat highway. Install a series of small wooden shelves at staggered heights, each one just big enough for your cat to leap to. Start low near the bottom of the stairs and go up high.
My cat uses this to race me up the stairs every morning. It’s hilarious. I wrapped the edges of each shelf in sisal rope so she can scratch as she climbs. It’s space-efficient and adds a playful element to an otherwise boring hallway. Just make sure the shelves are securely anchored.
9. The Cardboard Castle
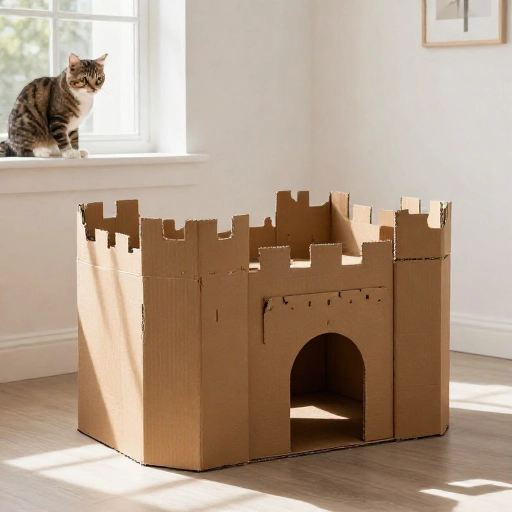
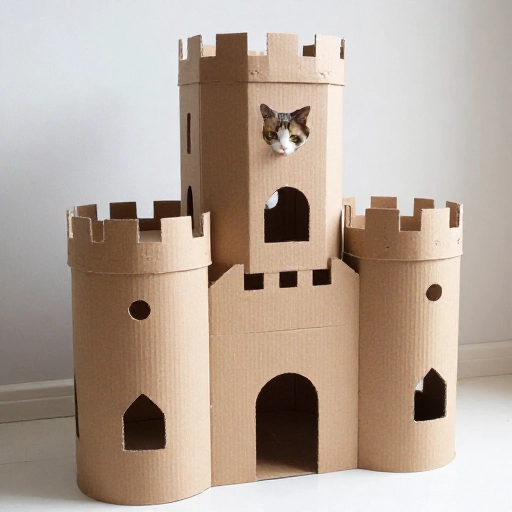
Don’t underestimate the power of cardboard. Save up your Amazon boxes and build a multi-level castle. Cut out doors, windows, and ramps. Tape or glue the boxes together in a tower formation. You can cover the whole thing in brown kraft paper for a cleaner look.
It won’t last forever, but it’s free and your cat will go nuts. I added a few cardboard tubes as tunnels between levels. My cat loves to pounce through the holes and hide in the lower chambers. When it gets worn out, just recycle it and build a new one. Zero guilt.
10. The L-Shaped Corner Tower
Corners are often wasted space. Build an L-shaped cat tree that fits snugly into a corner. Use two vertical posts (wrapped in rope) connected by a wooden platform at the top. Add a lower platform on one side and a dangling toy on the other.
I built mine from scrap 2x4s and a piece of plywood. It fits perfectly in the corner of my living room and doesn’t stick out. My cat uses it as a base camp to survey the entire room. The L-shape gives her multiple escape routes, which she loves. Paint it a bold color to make it a statement piece.
11. The Hanging Tent
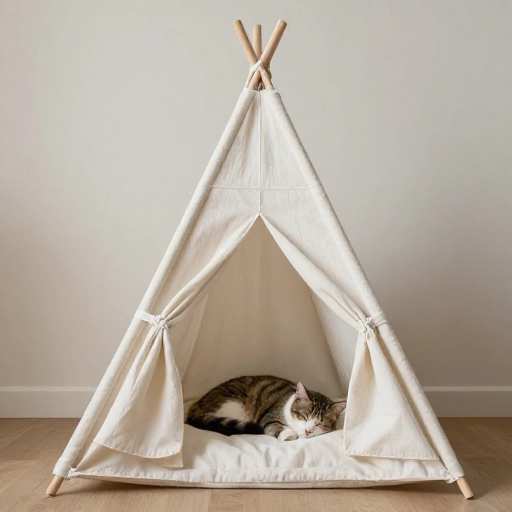
This one is for the adventurous cat. Build a small wooden frame that hangs from a ceiling hook (use a heavy-duty anchor). Drape fabric over the frame to create a tent-like hideout. Add a soft cushion inside and a small opening for your cat to crawl into.
I hung mine near a sunny window, and my cat thinks it’s her private treehouse. The gentle swaying motion is calming for her. It’s also a great conversation starter. Just make sure the hook is rated for at least 50 pounds to be safe. I used a macrame ring for the frame, which looks super boho.
Conclusion: Your Cat Will Thank You (Eventually)
Building your own cat tree isn’t just about saving money—it’s about giving your cat something truly special. Something that fits your home, your style, and their wild little heart. I’ve found that my cat uses her DIY tree way more than any store-bought one. Maybe it’s because it smells like me. Maybe it’s because she watched me build it. Or maybe it’s just way more fun.
So grab a saw, pick your favorite idea, and get started. You’ll have a happy cat and a cool new piece of furniture by Monday morning. And honestly? Watching them explore something you made with your own hands is the best feeling ever.
FAQ: Your DIY Cat Tree Questions Answered
How long does it take to build a DIY cat tree?
Most of these projects take 2 to 4 hours, depending on your skill level. The cardboard castle can be done in under an hour, while the branch tree might take a full afternoon to clean and mount.
What tools do I need for a basic cat tree?
A drill, screws, sandpaper, and a saw are the essentials. For rope-wrapped posts, you’ll also need a glue gun and sisal rope. Most items you probably already have at home.
Is it safe to build a tall cat tree myself?
Yes, as long as you secure it properly. Always anchor wall-mounted trees into studs. For floor models, make sure the base is wide and heavy enough to prevent tipping. Test it with gentle pressure before letting your cat jump on it.
What’s the best wood to use for cat trees?
Pine is affordable and easy to work with. Plywood is great for platforms. Avoid treated wood, as the chemicals can be harmful to cats. Always sand rough edges to prevent splinters.
Can I use a DIY cat tree if I’m not handy?
Absolutely. Start with the cardboard castle or the hammock—they require almost no tools. The bookshelf transformation is also beginner-friendly. You don’t need to be a carpenter. Just take your time and have fun with it.