12 Brilliant DIY Dog Gates for Large Openings
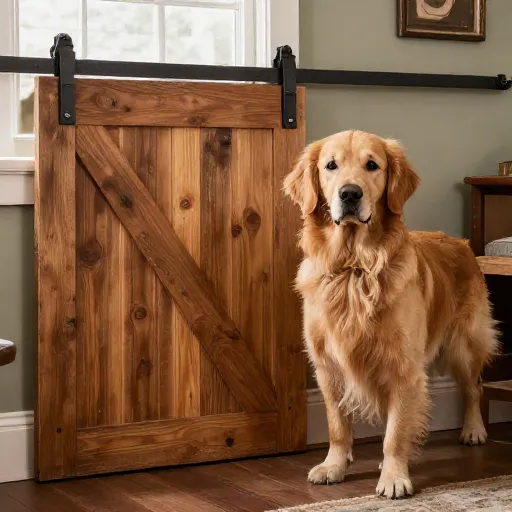
If you have a big open doorway, a wide hallway, or an extra-large entryway, you already know the struggle. Most store-bought dog gates are simply too small, and the ones that do fit cost a small fortune. I’ve been there—stacking boxes and furniture to block off rooms—and honestly, it’s exhausting.
The good news? You don’t need to be a master carpenter to build a gate that works. Over the years, I’ve tested a bunch of DIY solutions that are sturdy, look great, and actually fit those awkward, oversized spaces. Whether you need something temporary or a permanent fix, I’ve rounded up twelve clever ideas that will keep your furry friend safe without ruining your style.
1. The Classic Barn Door Slider
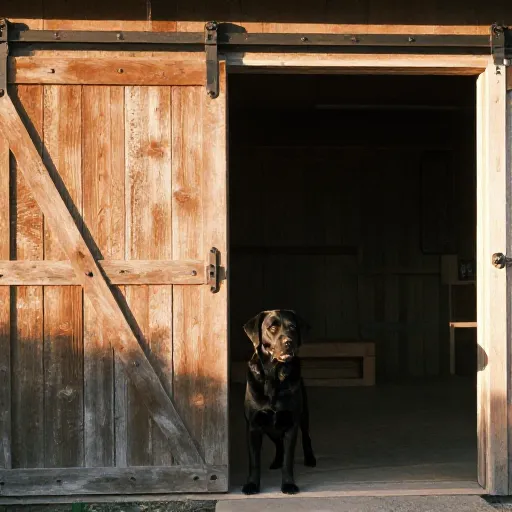
This is my absolute favorite for wide living room openings. Instead of a swinging gate, you mount a wooden panel on a sliding barn door track above the opening. It slides out of the way when you want it open, and locks securely when closed.
You can use a hollow-core door cut to size or a piece of plywood with a nice stain. The hardware is affordable and easy to install—just make sure you hit the studs above the frame.
Pro tip: Add a small window cutout in the middle so your dog can still see you. It keeps them calmer and looks super custom.
2. The Tension-Mounted Garden Trellis
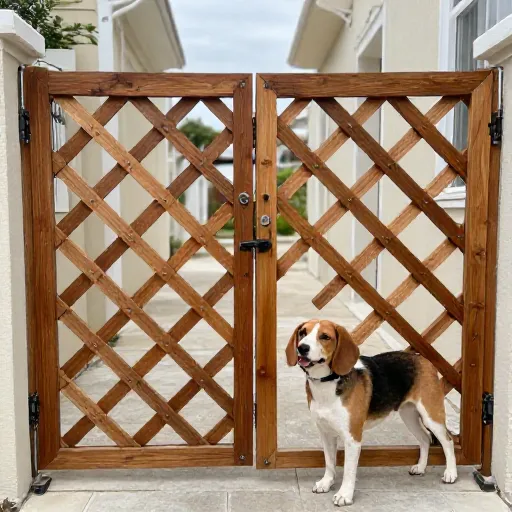
For a cheap, semi-permanent solution, look no further than your local garden center. A wooden or metal trellis panel can be wedged tightly between two walls using adjustable tension rods at the top and bottom.
The gaps in the trellis are usually small enough for most dogs, but wide enough that it doesn’t feel like a prison. You can paint it to match your trim.
- Costs less than $30.
- Comes down in seconds with zero damage.
- Looks surprisingly intentional with a coat of paint.
Just make sure the trellis is taller than your dog’s jump height, or double up two panels.
3. The Two-Panel Folding Screen
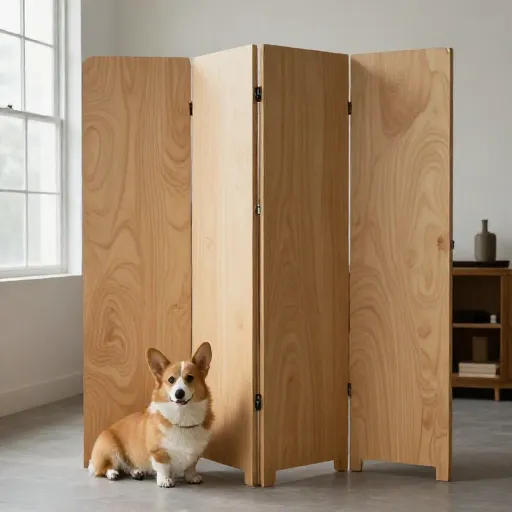
Skip the flimsy cardboard screens and build a solid wood version. Hinge two or three pieces of plywood together, cut a zigzag pattern on top, and you’ve got a freestanding barrier that can bend around corners or stretch across a wide gap.
These are great because they don’t require any mounting. The weight of the wood keeps them stable, and you can fold them flat for storage.
I like to add rubber feet to the bottom so they don’t scratch hardwood floors. You can even add a small latch to keep the panels from being pushed apart by a determined pup.
4. The Woven Rope Safety Net
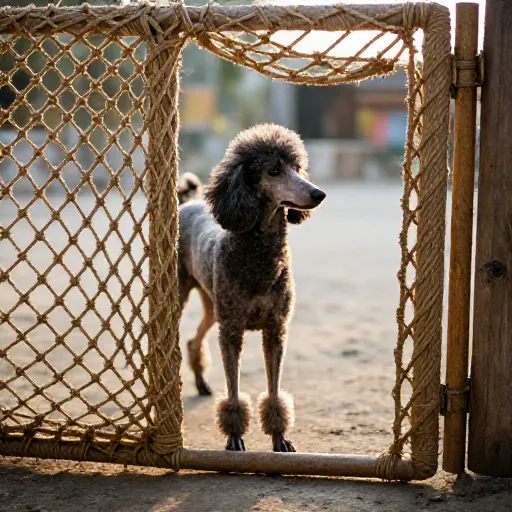
If you have a dog that doesn’t push hard but needs a visual barrier, this one’s for you. Install heavy-duty eye hooks into the wall on both sides of the opening, then weave a thick rope (like a climbing rope) back and forth vertically.
Use carabiners to secure the rope, making it easy to unhook and roll up when guests come over. It looks nautical and airy, which is perfect for coastal or farmhouse decor.
Make sure the spacing between ropes is small enough that your dog can’t squeeze through. A 4-inch gap works for most breeds, but measure your pup first.
5. The Cedar Picket Swing Gate
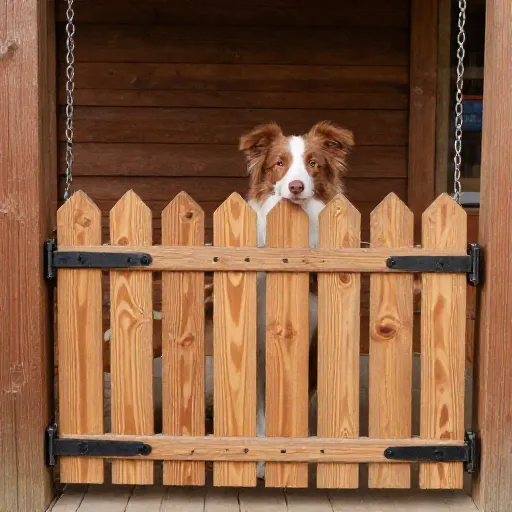
This is the gate I built for my own hallway. I took standard cedar fence pickets, screwed them horizontally onto two vertical 2×4 frames, and hung the whole thing on heavy-duty hinges.
Because it swings, you need to mount it to a solid wall stud. Add a spring-loaded latch on the other side so it clicks shut automatically—a lifesaver when your hands are full of groceries.
The cedar looks beautiful untreated, but a clear sealant will keep it from warping. It’s rustic, sturdy, and costs about half of what a custom gate would run you.
6. The Retractable Baby Gate Hack
Buy a super-wide retractable mesh gate (the kind meant for stairways) and install it higher up on the frame. This trick works wonders for large openings because you’re not relying on the width of the mesh—you’re just creating a taller barrier.
Mount the base at knee height and the catch at waist height. The mesh will stretch across the opening, and the extra height discourages jumping.
It’s not the most attractive option, but it’s the fastest to install. Perfect for renters who can’t make big holes in the walls.
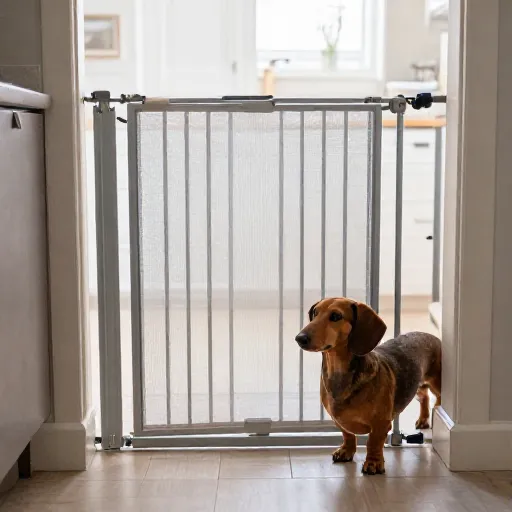
7. The PVC Pipe & Fabric Curtain
Here’s a clever one: build a frame out of PVC pipes that fits snugly inside the doorway, then hang a heavy canvas drop cloth or outdoor fabric from the top bar.
The PVC frame keeps it rigid, and the fabric acts as a visual and physical barrier. You can use velcro strips to attach the fabric so you can wash it easily.
This is a great option for wide entryways that don’t have a wall on one side. The frame stands on its own, and you can paint the PVC to look like metal.
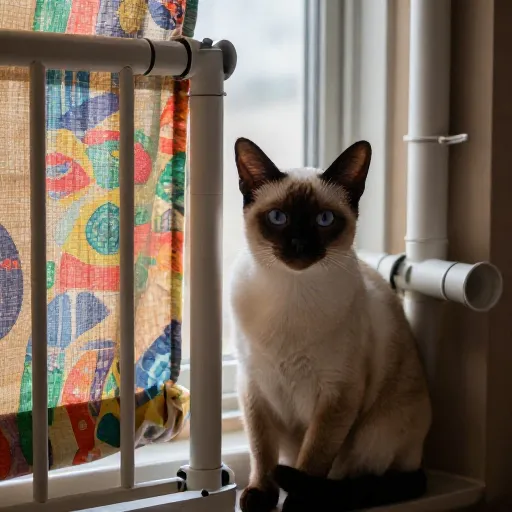
8. The Upcycled Crib Gate
Before you toss that old wooden crib, consider turning it into a gate. Remove the mattress support, then cut the crib’s front panel to match the width of your opening. Attach hinges to one side and a latch to the other.
The vertical slats are perfectly spaced for small to medium dogs, and the wood is already finished and safe. Plus, it’s a wonderful way to repurpose something sentimental.
You may need to add an extra piece of wood to the bottom if the crib panel doesn’t reach the floor.
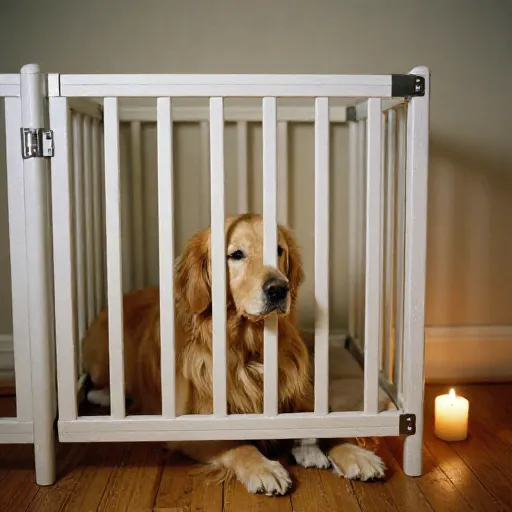
9. The Pallet Wood Sliding Gate
For a rustic, farmhouse look, nothing beats pallet wood. Disassemble a pallet, sand the boards, and attach them horizontally to a simple frame. Then mount the whole thing on a sliding track.
This gate is heavy, so make sure your track is rated for at least 50 pounds. Add a small handle on the front to pull it open and closed.
The best part? The gaps between the pallet boards are naturally perfect for airflow and visibility, so your dog won’t feel trapped.
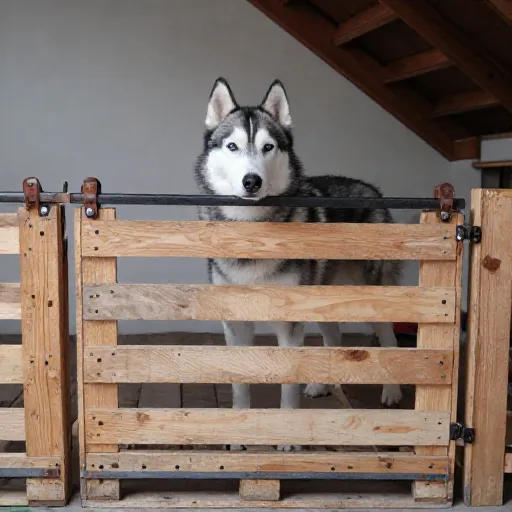
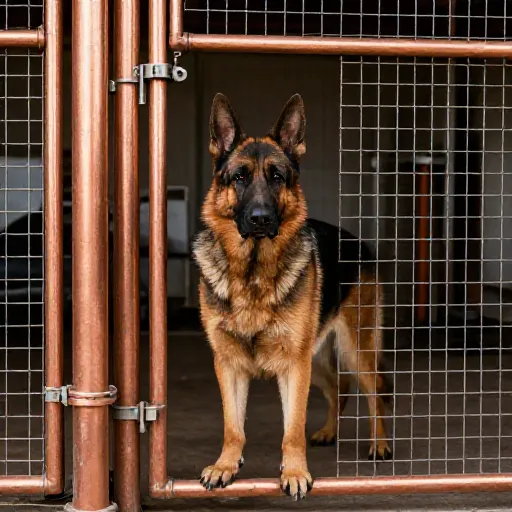
10. The Copper Pipe & Wire Mesh Gate
If you want something modern and sleek, use copper pipes and fittings to build a rectangular frame. Then, staple or zip-tie a piece of black hardware cloth (wire mesh) to the back.
The copper gives it a warm, industrial vibe, and the mesh keeps it lightweight. You can make it as wide as you want by adding more pipe sections.
This one is best for interior openings where you want to maintain a sense of openness. It’s also incredibly easy to clean—just wipe it down.
11. The Simple 2×4 & Chicken Wire Barrier
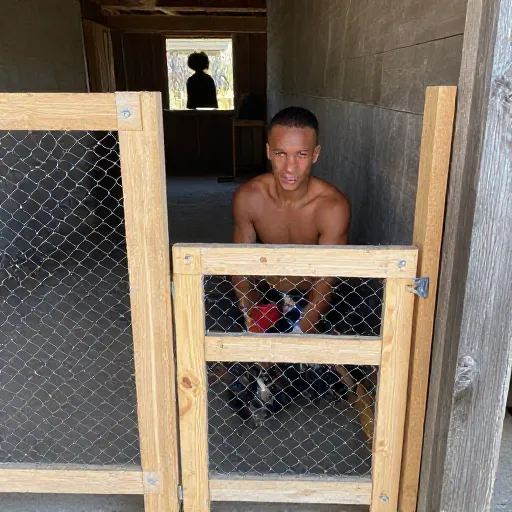
For a no-frills, budget-friendly option, build a simple rectangular frame out of 2x4s. Staple chicken wire or welded wire fencing across the back. That’s it.
To make it freestanding, attach two small feet at the bottom that extend outward. This keeps the gate from tipping over if your dog leans on it.
You can stain the wood to match your baseboards. It’s not fancy, but it’s rock solid and will last for years in a garage or mudroom.
12. The Hinged Half-Door
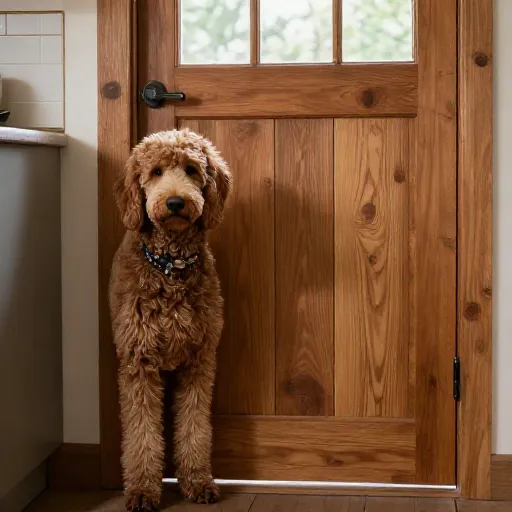
This is the ultimate permanent solution for large kitchen or laundry room openings. Build a half-wall (or use the existing wall) and mount a solid wood door on hinges at the top half.
The door should swing upward and latch to the ceiling when open, or swing outward and rest against the wall. Either way, it creates a barrier tall enough to block even the biggest jumpers.
This one takes more effort, but it looks completely built-in. You’ll never have to step over a gate again—just push it open and walk through.
Final Thoughts
You don’t have to settle for a gate that doesn’t fit. With a little creativity and some basic tools, you can build a solution that’s safe, sturdy, and actually looks like it belongs in your home. Start with the easiest option for your skill level, and don’t be afraid to mix and match ideas.
Always measure twice and cut once. And remember, the best gate is the one your dog respects—so make sure it’s tall enough and secure enough to do the job.
FAQ
Q: Can I use a DIY dog gate if I’m renting?
Yes! Look for tension-mounted or freestanding options like the trellis or folding screen. These don’t require drilling into walls.
Q: What’s the best height for a dog gate?
For most dogs, 36 inches is enough. For jumpers, go for 48 inches or taller. Always measure your dog’s jump height.
Q: How do I make a gate stable for a large, strong dog?
Mount it to wall studs with heavy-duty screws. Add a bottom support bar or feet, and use a strong latch that your dog can’t paw open.
Q: Can I paint or stain my DIY gate?
Absolutely. Use a non-toxic, pet-safe paint or sealant. Let it cure completely before letting your dog near it.
Q: What if I don’t have power tools?
You can still do the tension rod trellis, the folding screen, or the retractable mesh hack. Many hardware stores will cut wood to size for you.