Pallet Dog House Plans for Beginners: Build a Cozy Retreat on a Budget
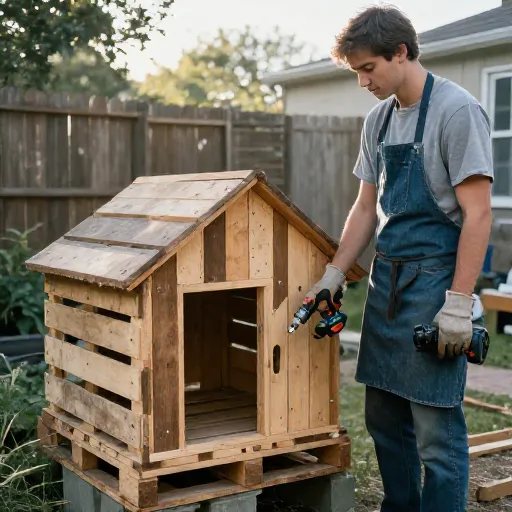
If you’re anything like me, you’ve probably stared at a pile of wooden pallets and wondered if they could become something amazing. The answer is yes—especially when your best friend deserves a spot of their own. Building a pallet dog house is one of the most rewarding weekend projects I’ve ever tackled, and you don’t need to be a master carpenter to pull it off.
I remember my first build: I was terrified of power tools, my measurements were sketchy, and yet, my golden retriever, Biscuit, ended up with the coziest little cabin on the block. The best part? I spent almost nothing. Pallets are often free, and the sense of pride you get from crafting something with your own hands is priceless. Let’s dive into some beginner-friendly plans that will have your pup wagging their tail in no time.
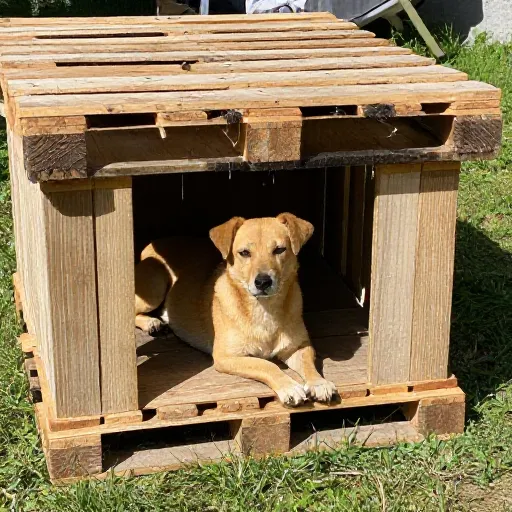
1. The Classic Flat-Out Floor Plan
This is the easiest way to start. You’re essentially building a sturdy box with a roof, and the flat pallets do most of the heavy lifting for you. I usually look for pallets that are solid and have no huge gaps between the slats.
Lay one pallet flat on the ground as your base. Then, attach four pallet pieces (or cut-down sections) vertically to create the walls. It’s like putting together a wooden fort, but for your dog.
Make sure to sand down any rough edges first. Splinters are no fun for anyone. I learned that the hard way when Biscuit refused to go near my first attempt until I smoothed everything out.
Finish it off with a simple plywood roof, and you’re done. It’s that simple.
2. The Insulated Winter Wonder
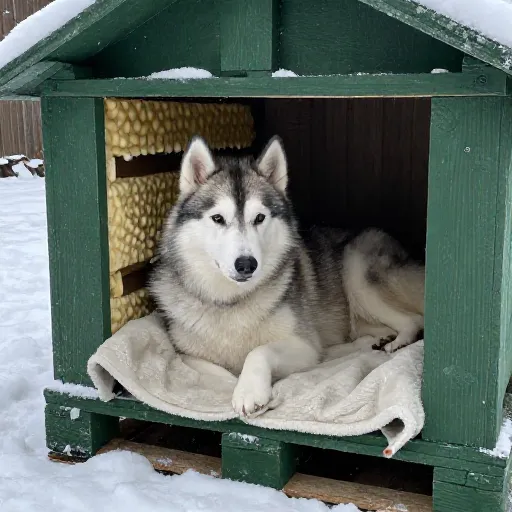
If you live somewhere with chilly winters, this plan is a game-changer. A pallet dog house doesn’t have to be a cold, drafty box. With a few extra minutes, you can make it toasty warm.
The trick is to line the inside walls with foam board insulation before you finish the interior. Cut the pallet slats off one side of the walls, pop in the insulation, and then re-attach the slats or cover with plywood.
For the door, add a heavy-duty rubber or vinyl flap. This keeps the wind out while letting your pup come and go as they please. I also add a slightly elevated floor inside, which traps a layer of air between the cold ground and your dog.
Add a thick blanket or a bed of cedar shavings, and you’ve got a five-star winter suite.
3. The Elevated Deck House
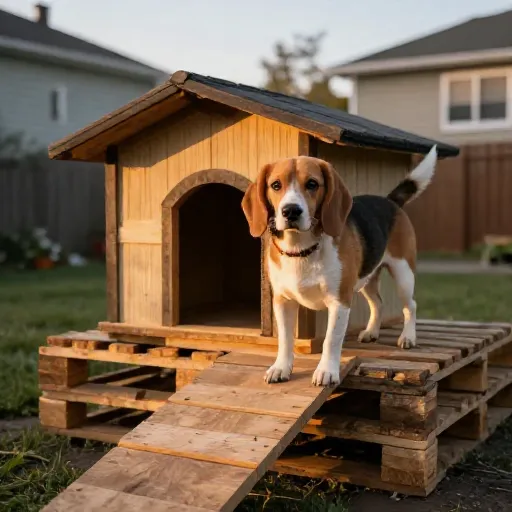
This style is fantastic for keeping things dry and cool. Instead of sitting directly on the ground, the house is built on legs made from sturdy pallet beams.
Start by building a simple square frame from the thickest pallet wood you have. Attach legs to each corner, making them about 6-8 inches tall. This keeps the floor off damp grass and prevents rotting.
Build your box frame on top of this platform. The elevated design also gives your dog a nice shaded spot to lie under during the summer months. It’s like a two-story house!
I love this plan because it’s super simple to sweep underneath, and it lasts much longer since the wood isn’t soaking up ground moisture.
4. The A-Frame Charm
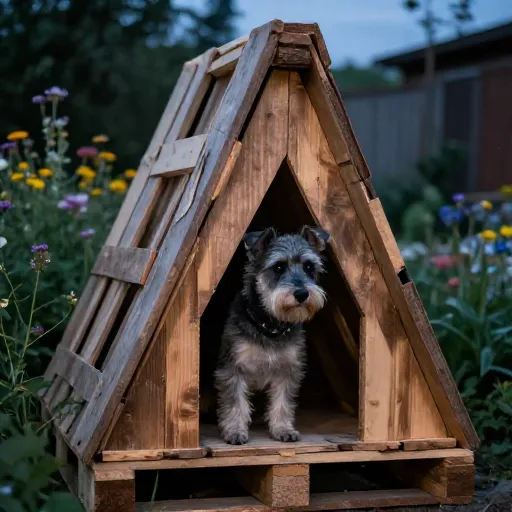
This one looks a little more complicated, but it’s actually quite forgiving for beginners. The A-frame shape is excellent for shedding rain and snow, and it’s incredibly sturdy.
You’ll need to build two triangular ends from pallet wood, then connect them with horizontal slats to form the roof and the floor. There’s no flat ceiling, which means less wasted space.
My advice here is to use a tape measure and draw out your triangle on a piece of cardboard first. It helps to visualize how big the base needs to be. You want your dog to be able to turn around comfortably inside.
This design feels like a little cave, which many dogs absolutely love for that secure, den-like feeling.
5. The Two-Story Condo
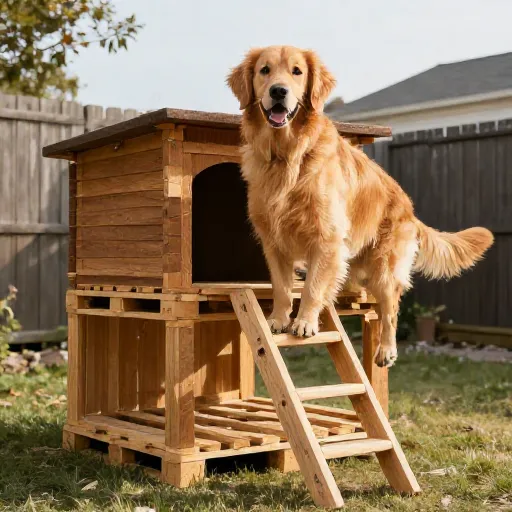
Got more than one dog, or a dog that loves to climb? The two-story condo is a fun, quirky project. It’s basically two pallet houses stacked on top of each other, connected by a ramp or a large opening.
I built this for a friend’s two terriers, and they were obsessed with the “upstairs” bedroom. The second level is perfect for a lookout spot or just a quiet nap away from the ground.
Make sure the floor of the upper level is extra reinforced. Use two layers of pallet wood or a piece of plywood to ensure it can hold your pup’s weight without flexing.
Add a little ramp on the side for easy access. It’s a quirky conversation starter, for sure.
6. The Porch Addition Plan
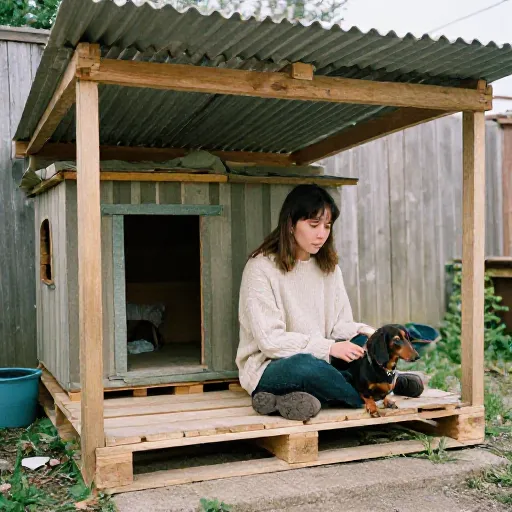
Some dogs like to sit outside their house and survey their kingdom before going in. This plan adds a little porch area for them to lounge on.
You build the main box house as you normally would, but you extend the floor base out by an extra 12-18 inches. This creates a little patio under the overhang of the roof.
The roof also needs to extend out over this porch area to keep it dry. I added a little awning using a flexible piece of pallet wood and some hinges, which looks adorable.
Biscuit loves to lie on his porch with just his head hanging off the edge. It’s the little luxuries that matter.
7. The Minimalist Modern Cube
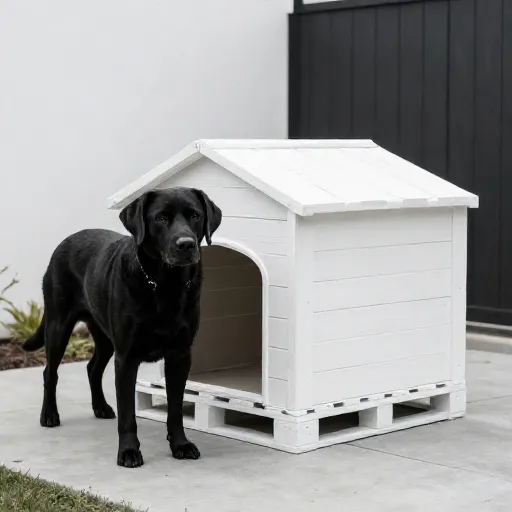
If you want something that looks sleek and fits a modern backyard aesthetic, this is your plan. It’s all about clean lines and a simple box shape.
Instead of having a slanted roof, you make a completely flat roof. Use the most uniform pallet slats you can find and arrange them tightly for a smooth finish. Sanding is critical here.
Paint it a bold, solid color or use a clear wood stain to show off the natural grain. I used a matte black paint on one, and it looked like a piece of modern art.
The key is to keep the proportions square and the lines sharp. It’s deceptively simple but looks incredibly polished.
8. The Recycled Roof Shingle Look
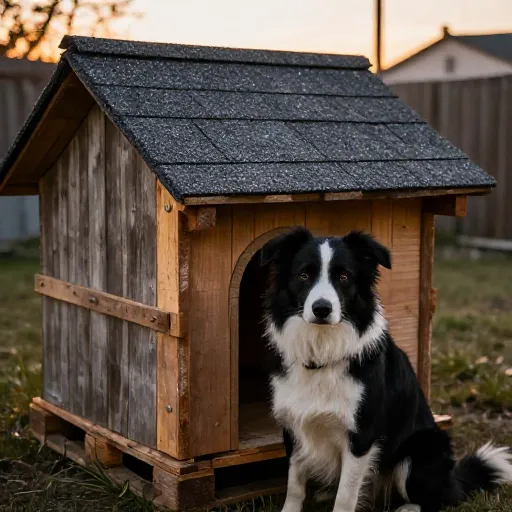
This is less about the structure and more about the finishing touches. A plain pallet roof can look a bit boring, so I like to create a shingle effect.
Cut your pallet wood into small, rectangular pieces. Then, starting from the bottom of the roof, overlap them like fish scales, nailing each row up until you reach the peak.
It takes a bit of time, but the result is a beautiful, textured roof that looks like a real cottage. It also helps channel water off the sides better.
I used pieces of different wood tones for a patchwork effect, which adds a ton of character.
9. The Space-Saver Corner Unit
Not everyone has a huge backyard. If you’re working with a small patio or a tight corner, this plan is for you. It’s designed to fit snugly into a 90-degree corner.
Instead of a rectangle, you build the house in a triangle or a quarter-circle shape. It maximizes the space you have without taking up the whole yard.
This was a bit trickier for me because of the angled cuts, but it’s totally doable with a jigsaw. Measure your corner first and create a template.
It makes use of otherwise wasted space and gives your dog a cozy, hidden nook.
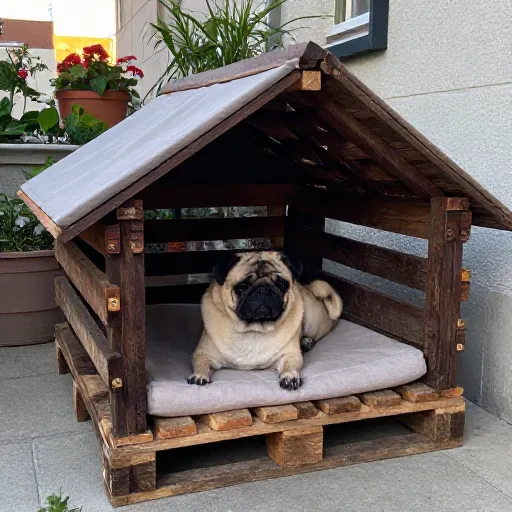
10. The Multi-Purpose Storage Bench House
This is the ultimate space-saver. The dog house is built into one end of a wooden bench, and the other end is a storage compartment for gardening tools or dog toys.
You build a long rectangular box. One third is enclosed for the dog, and the other two thirds have a hinged lid for storage. It looks like one cohesive piece of outdoor furniture.
It’s a bit more ambitious, but the payoff is huge. You get a place for your dog, a place to sit, and a place to hide your clutter.
I use mine to store Biscuit’s leash, balls, and a few extra bags. It’s incredibly practical.
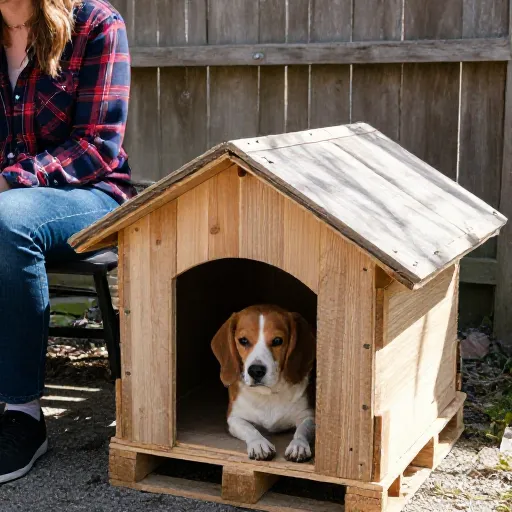
Conclusion
Building a pallet dog house is more than just a DIY project; it’s a labor of love. You’re not just giving your dog a place to sleep—you’re giving them a piece of your hard work and creativity. Every nail and every sanded edge is a little “I love you” in wooden form.
Don’t be afraid to start simple. My first build was wobbly and a bit lopsided, but Biscuit didn’t care. To him, it was the greatest palace in the world. So grab some pallets, clear a weekend, and get building. Your furry best friend will thank you for it.
Frequently Asked Questions
Are pallets safe for dog houses?
Yes, but you must check for the “HT” stamp, which means heat-treated and chemical-free. Avoid pallets marked “MB” (methyl bromide). Always sand them down to remove splinters and rough edges.
What is the best size for a pallet dog house?
It depends on your dog’s size. A good rule of thumb is to make it about 25% larger than your dog’s length from nose to tail. They should be able to stand up, turn around, and lie down comfortably.
How do I waterproof my pallet dog house?
Use a non-toxic, outdoor-grade wood sealant or paint on the exterior. Make sure the roof has a slight overhang to keep rain off the walls. You can also add a waterproof membrane under the roof slats.
What should I put inside the pallet dog house?
Start with a thick, washable dog bed or some cedar shavings. Avoid using old towels that can trap moisture. Elevate the bed slightly off the floor to keep the warmth in and the cold out.
How long will a pallet dog house last?
With proper sealing and maintenance, it can last 3-5 years. Keep it off the ground on blocks or legs to prevent rot, and re-stain it once a year to keep the wood in good condition.