12 DIY Dog Gate Installation Tips That Actually Work
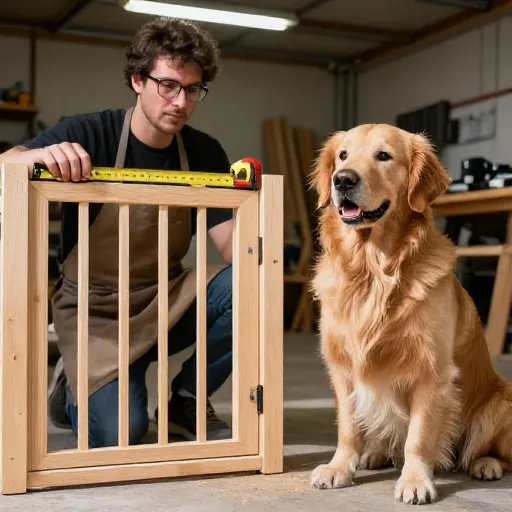
Let’s be real—store-bought dog gates are expensive, and honestly, they can be kind of an eyesore. That’s why I decided to go the DIY route for my own pup. It was a weekend project that saved me a ton of cash, and I got to customize it to match my home’s vibe. If you’re handy with a drill (or even if you’re just learning), these tips will make the whole process way smoother.
Before you start, take a deep breath. Installing a dog gate isn’t rocket science, but it does require a little planning. You need to think about your dog’s size, the doorway you’re blocking, and whether you’re renting or own your place. I’ve made all the mistakes so you don’t have to. Here are my top 12 tips to get that gate up solid and looking good.
1. Measure Three Times, Cut Once
I cannot stress this enough. Grab your tape measure and check the width of your doorway at the top, middle, and bottom. Old houses are rarely square, so the measurements might differ slightly. Always use the widest measurement as your base.
Also, measure your dog! A gate that’s too short is useless for a jumper. You want the gate to be at least 3/4 of your dog’s height at the shoulder. For little escape artists, go taller.
Write those numbers down on a sticky note and keep them on your workbench. You’ll thank me later when you don’t have to re-measure mid-project.
2. Choose the Right Wood for Your Skill Level
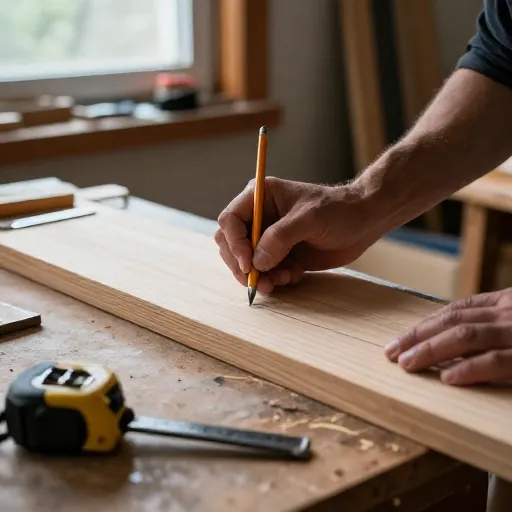
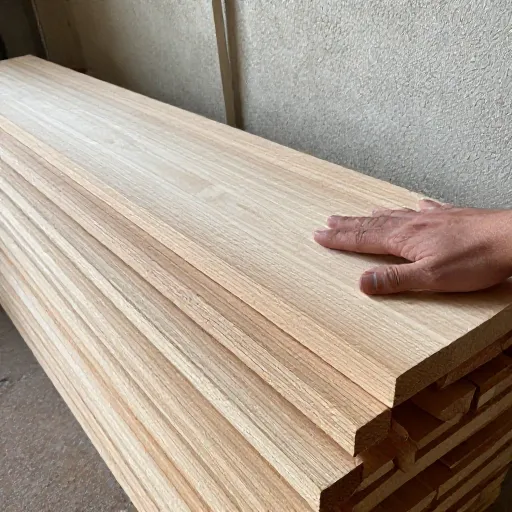
If you’re a beginner, skip the fancy hardwoods. Pine is your best friend. It’s cheap, easy to cut, and takes paint or stain really well. It’s not as durable as oak, but for a gate, it’s perfectly fine.
For a more modern look, consider using a piece of pre-finished plywood. It’s smooth, splinter-free, and you can just cut it to size without a lot of sanding. Just make sure it’s thick enough to hold screws securely.
If you want a rustic farmhouse feel, you can even use a reclaimed barn door. Just be prepared for a bit more sanding and maybe some uneven edges. It adds character, though.
3. Don’t Forget the “Swing” Factor
Think about how the gate will swing. Do you want it to push open into the room, or pull toward you? For most doorways, swinging into the room is easiest. You don’t want it hitting a wall or a piece of furniture on the other side.
Mark your hinge placement clearly. A common mistake is putting the hinges too close to the edge, which makes the door bind. Give it a little breathing room—about 2 inches from the top and bottom is a good rule.
If you’re using a tension-mounted gate, this tip doesn’t apply, but for a real swinging wood gate, it’s crucial. Plan the swing before you drill any holes.
4. Use Heavy-Duty Hinges
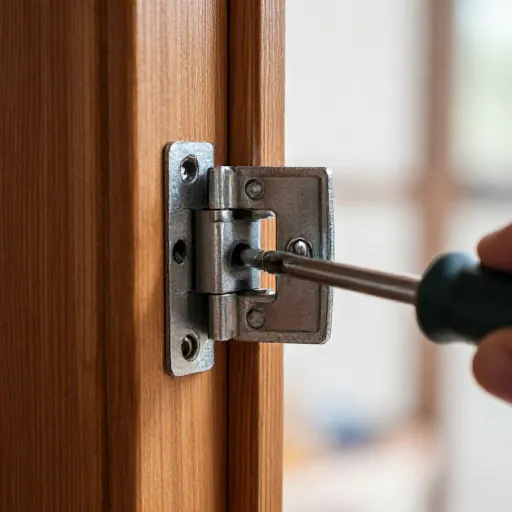
Don’t skimp on hardware. Those little flimsy hinges from the dollar store won’t hold up to a 70-pound dog pushing against them daily. Invest in heavy-duty “T” hinges or continuous hinges (piano hinges).
I learned this the hard way when my dog leaned on the gate and ripped the hinge right out of the jamb. It was a mess. Now, I use hinges rated for at least 50 pounds more than my dog weighs.
Make sure the screws that come with the hinges are long enough to bite into the solid wood, not just the trim. If you hit air, you need longer screws or a different mounting spot.
5. Locate the Studs (This is Non-Negotiable)
This is the most important step. If you screw the hinges into just the drywall, the gate will pull out and fall down in a week. You need to anchor into the wall studs. Use a stud finder—it’s a cheap tool that pays for itself instantly.
If you can’t find a stud exactly where you want the hinge, don’t panic. You can adjust the gate width slightly, or use heavy-duty drywall anchors rated for the weight. But honestly, hitting a stud is always the best option.
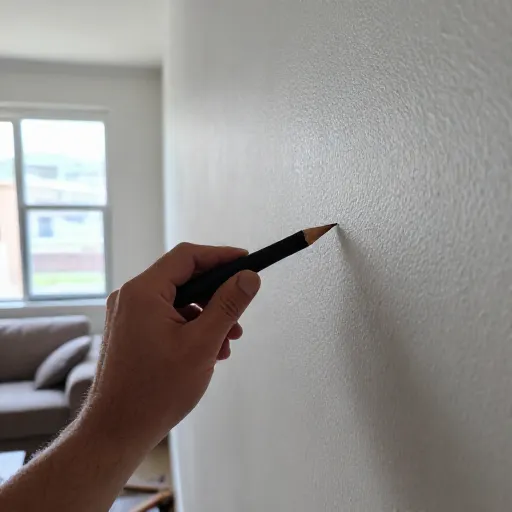
When you find the stud, mark it with a pencil line. Then, when you attach the hinge, you know exactly where your pilot holes need to go. This makes the job so much easier.
6. Pilot Holes Are Your Friend
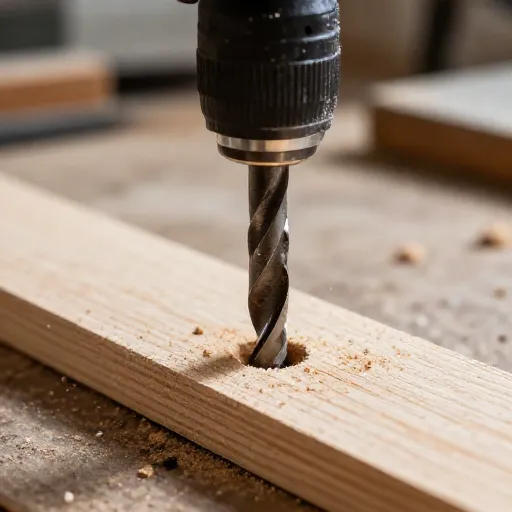
Trust me on this one. Drilling a pilot hole first prevents the wood from splitting. You’re working with wood that’s under pressure, and a screw driven in without a pilot hole can easily crack the frame or the gate itself.
Use a drill bit that’s slightly smaller than your screw. You want the screw to bite, but you don’t want to have to fight it. A little bar of soap on the screw threads helps them go in smoother, too.
This is a small step that takes an extra two minutes, but it saves you from a huge headache. It also gives you more control over the screw placement.
7. Add a “Stop” Latch for a Silent Close
There’s nothing worse than a dog gate that slams shut every time they push through it. You can buy a soft-close hinge, but that’s pricey. A simpler DIY hack is to attach a small rubber bumper or a felt pad to the top of the frame where the gate closes.
Another trick is to use a magnetic catch. You mount a small magnet on the wall and a metal plate on the gate. It holds the door open or shut, preventing it from rattling in the breeze.
It’s the little details that make a DIY project feel professional. These small additions save your sanity and keep the peace in a quiet house.
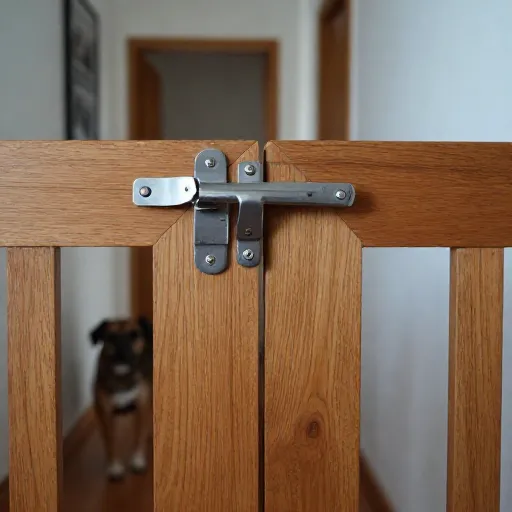
8. Go for a “Z” Frame for Extra Stability
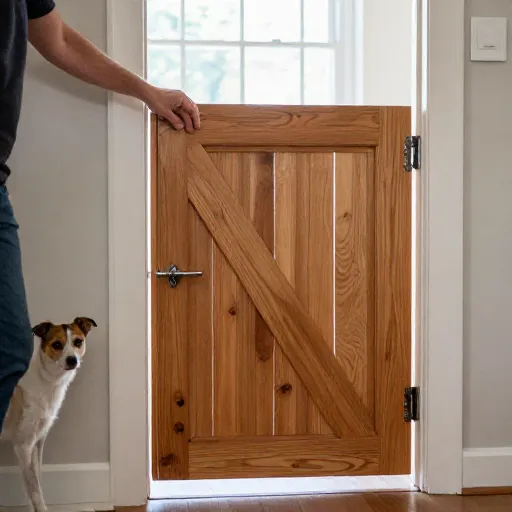
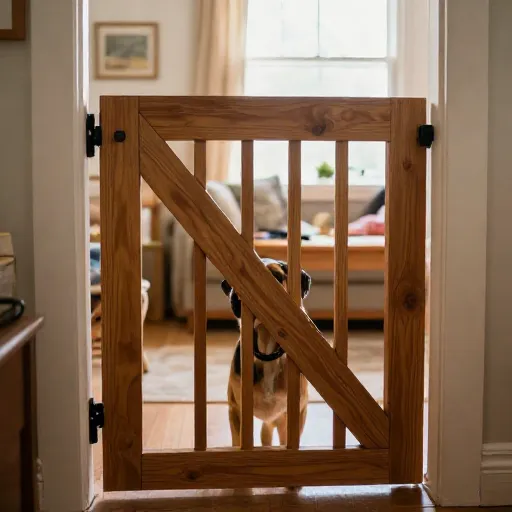
If you’re building a gate from scratch, don’t just nail a flat board across the doorway. It will warp and bow over time. Instead, build a “Z” frame. This involves adding a diagonal brace from one corner to the opposite corner.
This diagonal support stops the gate from racking (twisting into a parallelogram) when your dog leans on it. It distributes the weight evenly and keeps the gate square.
It’s a classic woodworking technique that adds a ton of strength. Plus, it looks really cool and adds a bit of a rustic, crafted look to the piece.
9. Consider a Sliding Gate for Narrow Spaces
Sometimes you don’t have room for a swinging door. If the gate would hit a stair railing or a wall, try a sliding barn-door style gate. You mount a rail above the doorway and the gate slides sideways to open.
This is a bit more complex, but it’s a lifesaver in tight hallways. You’ll need a ceiling-mount track kit and some heavy-duty wheels. But the payoff is a seamless, space-saving door.
You can even make the gate lock in place with a simple hook-and-eye latch. It’s a modern, clean look that’s very functional for small spaces.
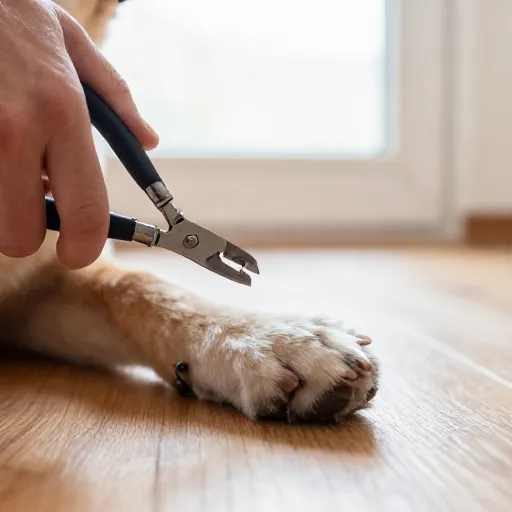
10. Don’t Forget the Dog’s Nails
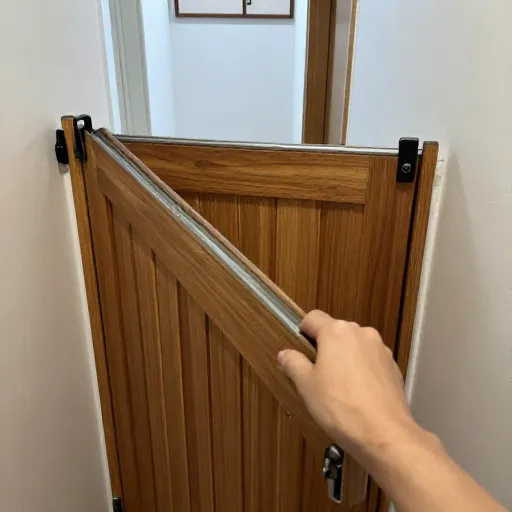
Your dog will scratch at the gate. It’s a fact of life. If you use a softwood like pine, those nails will leave deep grooves over time. To protect the bottom edge, add a piece of clear polycarbonate or a thin metal kickplate.
You can buy sticky-back plastic sheeting and just wrap it over the bottom few inches. It’s invisible and easy to clean. Or, you can attach a piece of trim molding that’s sacrificial—you can sand it down and repaint it later.
This simple addition keeps your gate looking new for years. It’s way easier to replace a plastic strip than to rebuild the whole gate.
11. Use a “Lock” That’s Easy for Humans, Hard for Pups
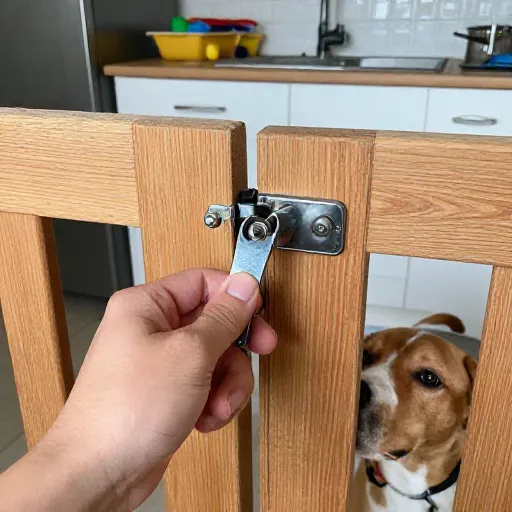
Kids and adults need to open the gate easily, but your dog shouldn’t be able to figure it out. A simple slide bolt latch is usually foolproof. Avoid those spring-loaded handles that a clever dog can paw open.
For an extra secure option, consider a childproof cabinet lock mounted on the inside. It’s a little more complex to open with one hand, but it’s virtually impossible for a dog to manipulate.
Test it a few times. If you’re struggling to open it while holding a cup of coffee, it’s not the right latch for you. You need something that works with one hand.
12. Finish with a Pet-Safe Paint or Stain
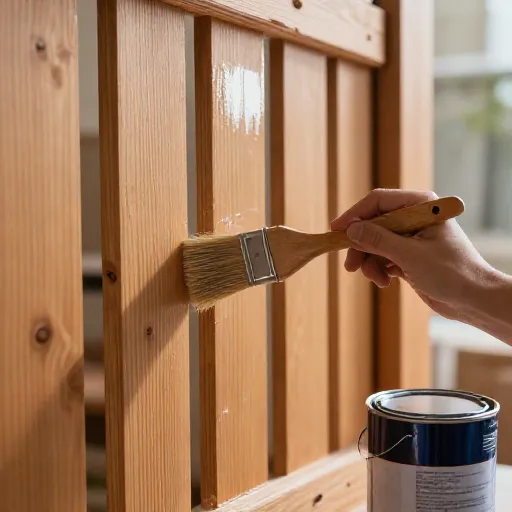
Finally, don’t skip the finishing coat. A bare wood gate will absorb odors and be impossible to clean. Use a non-toxic, water-based polyurethane or a milk paint. These are safe for pets and dry quickly.
I prefer a satin or matte finish because it hides scratches better than high-gloss. Give it two thin coats, letting it dry completely between each one. This protects the wood from moisture and drool.
It’s the last step, but it’s the one that makes your gate look like it came from a boutique store instead of a workshop. It also makes wiping off muddy paw prints a breeze.
Final Thoughts
Building your own dog gate is a rewarding project. It’s not just about saving money; it’s about creating something that fits your space and your dog’s personality perfectly. You’ll get a custom piece that you can be proud of, and your pup gets a safe boundary they can respect.
Remember, the key is to take your time and not rush the prep work. Measuring and finding studs are the boring parts, but they’re exactly what makes the finished product solid and safe. Happy building!
Frequently Asked Questions
How tall should my DIY dog gate be?
For most dogs, a gate that is 30 to 36 inches tall is sufficient. However, if you have a large or athletic dog, you should aim for a gate that reaches at least 3/4 of your dog’s height at the shoulder to prevent jumping.
Can I install a dog gate without drilling into my walls?
Yes, you can use a pressure-mounted gate. However, these are less secure and can be knocked over by larger dogs. For a permanent, sturdy solution, drilling and using anchors or studs is always the safer route.
What’s the best wood to use for an outdoor dog gate?
Cedar or pressure-treated pine are great choices for outdoor gates. They resist moisture and insects naturally. Just make sure to seal them with an exterior-grade finish to protect against the elements.
How do I stop my dog from chewing the gate?
Cover the bottom edge with a bitter apple spray or a clear plastic guard. You can also give your dog a tasty chew toy near the gate to redirect their attention. Consistency is key in training them to leave it alone.
Do I need a double gate for a stairway?
Yes, if you have a stairway, it’s highly recommended to use a gate that mounts to the wall at the top of the stairs. A pressure gate at the top of stairs is a safety hazard because it can be easily knocked loose. Drill into the studs for maximum safety.