12 DIY Dog House Outdoor Ideas That Wow
Let’s be real—our dogs deserve way better than a boring, plastic box from the store. If you’ve got a little bit of time and a spark of creativity, building an outdoor dog house can be one of the most fun projects you’ll tackle all year. Plus, you get to brag about it to your neighbors.
I’ve rounded up twelve of my favorite DIY dog house ideas that are equal parts stylish, practical, and totally doable for the average person. Whether you’re working with a tiny budget or you’re ready to go all out with a mini mansion, there’s something here that will make your pup’s tail wag like crazy. Grab your tools, and let’s get building!
1. The Classic A-Frame Cabin
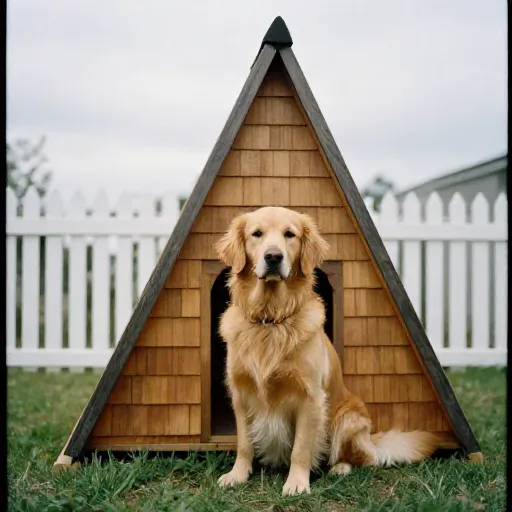
This is the bread and butter of DIY dog houses. The A-frame design is a genius choice because rain and snow slide right off the slanted roof, keeping the inside bone-dry. It’s also surprisingly sturdy without needing a ton of fancy cuts.
You can build this with just a few sheets of plywood and some 2x4s. The key is to make the entrance slightly smaller than you think you need—it traps heat better and keeps wind out. Add a little overhang at the front so your pup can sit outside the door without getting dripped on.
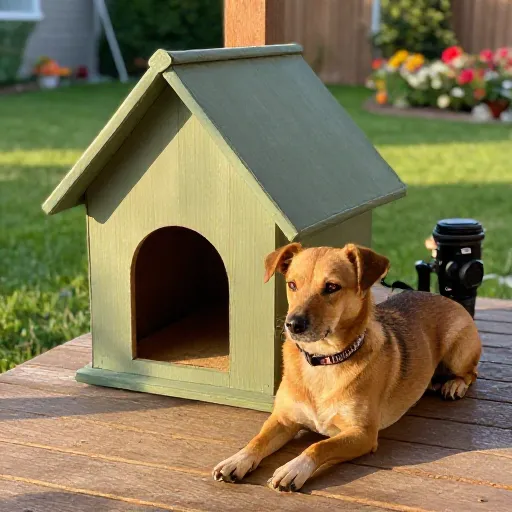
Paint it a deep forest green or leave the wood natural for that rustic cabin vibe. Throw a soft outdoor mat inside, and you’ve got a five-star retreat.
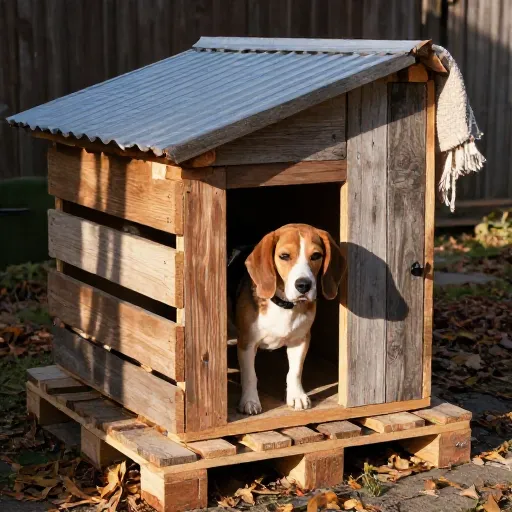
2. The Upcycled Pallet Palace
If you’re on a budget, pallets are your absolute best friend. Most hardware stores or warehouses will give them away for free. Just make sure you’re getting heat-treated pallets (stamped with “HT”) and not chemically treated ones.
Deconstruct the pallets carefully, sand everything down, and start stacking. The great thing about pallets is that the wood is already weather-resistant, so you don’t have to stress about staining it right away. Use the solid pieces for the walls and floor, and rip a few apart for the roof shingles.
This design looks super chic in a modern backyard because the wood has that reclaimed, industrial feel. Plus, it’s incredibly customizable—you can make it as big or as small as you want.
3. The Repurposed Nightstand Transformation
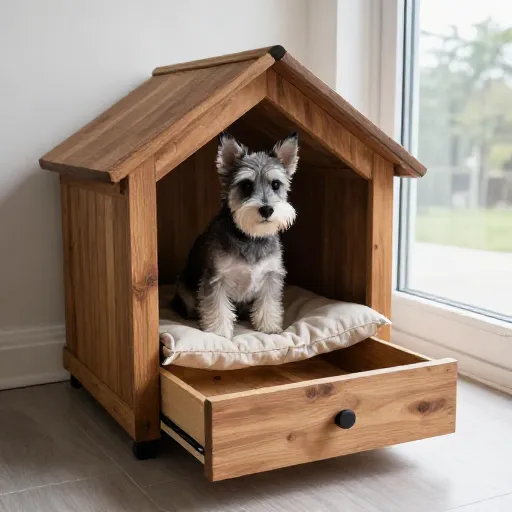
I love a good furniture flip, and this one is a showstopper. Find an old wooden nightstand or dresser at a thrift store or on the curb. You want one with a solid frame and a door or drawer that can be turned into the entrance.
Take out the drawers, cut a dog-sized hole in the side or front, and remove the back panel for ventilation. Give it a fresh coat of outdoor paint—maybe a cheerful yellow or a chic charcoal gray. Add a cute little cushion inside, and it looks like a piece of patio furniture, not a dog house.
Pro tip: Add a hinged roof or a removable top so you can easily clean the inside. It’s the perfect project if you want something unique that nobody else on your street has.
4. The Insulated Winter Wonder
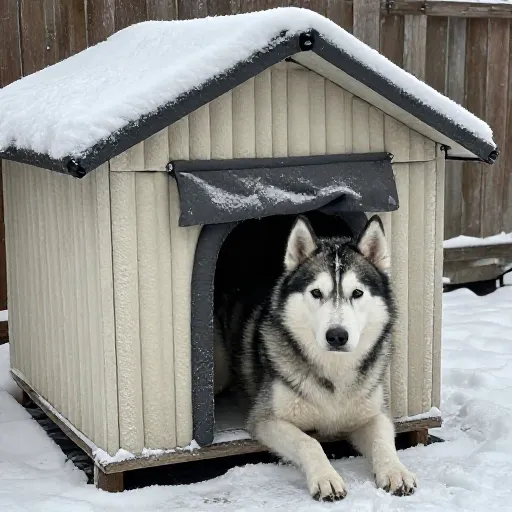
For those of us who live in chilly climates, a basic wooden box just isn’t going to cut it in January. This build is all about keeping your pup toasty. Start by building a standard box shape, but use double walls with a layer of foam board insulation sandwiched in between.
Make the door small and offset it to one side. This creates a “windbreak” so the cold air doesn’t rush straight in. A heavy-duty rubber flap over the doorway is a game-changer—it blocks the wind but is light enough for your dog to push through.
Elevate the floor on a few scrap 2x4s to keep the cold ground from seeping in. This is one of those projects that takes a bit more effort, but your pup will thank you on those frosty mornings.
5. The Modern Minimalist Cube
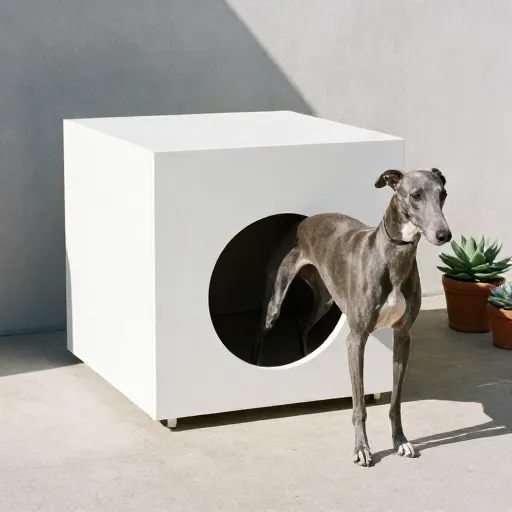
If your backyard is sleek and modern, your dog house should match. Skip the pitched roof and go for a flat, clean-lined cube. Use smooth sanded plywood and paint it a single, solid matte color—think black, white, or a warm terracotta.
The trick to making it look designer is the proportions. Make the cube slightly larger than necessary and keep the opening sharp and square. You can even add a small, modern house number or a brass letter for a touch of luxury.
This is a simple box build, but the aesthetic payoff is huge. It looks like something from a high-end catalog, not the hardware store.
6. The Raised Deck with a View
Why should we humans get to enjoy the view from a deck? Give your dog a raised platform house. Build a sturdy frame on four legs (which you can sink into the ground for stability) and build the house on top.
This is brilliant for a few reasons. It keeps your dog off the damp ground, protects them from bugs, and gives them a great vantage point to watch the neighborhood. It also makes cleaning up underneath a breeze.
Add a little ramp or a few steps leading up to the door. It’s like a tiny treehouse for your best friend, and it looks amazing when placed next to a fence line.
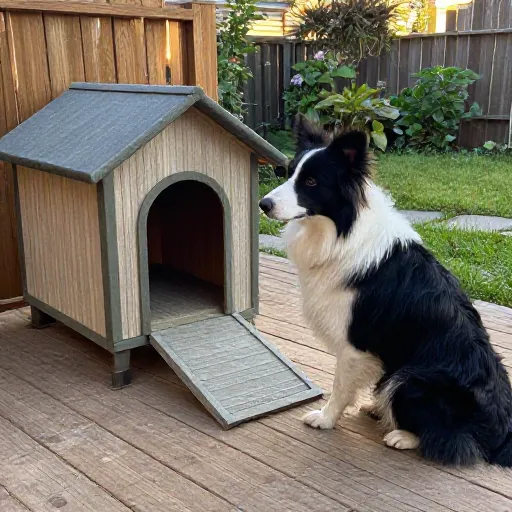
7. The Two-Story Doggy Duplex
Got more than one dog? Or a dog that loves to climb? A two-story house is the ultimate wow factor. The ground floor can be the “living room” with an open front, and the top floor is the cozy sleeping loft reached by a ramp.
You’ll need a bit more plywood for this one, but the structure is just a stack of boxes. Make sure the ramp has cleats (small wooden strips) so your dog can get traction and doesn’t slip.
If you only have one dog, the bottom floor can double as a shaded area for water bowls on a hot day. This is definitely a head-turner and the most fun to build.
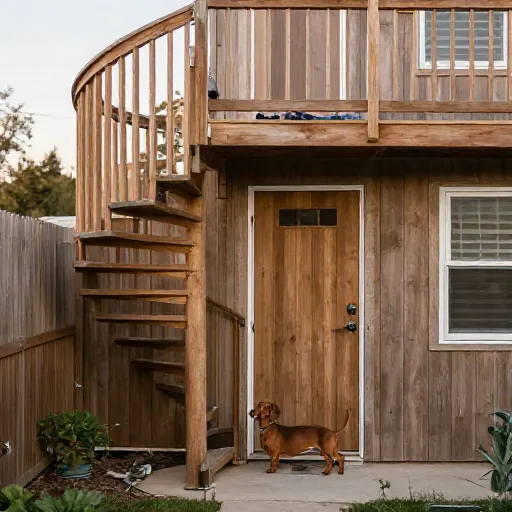
8. The Pallet and Canvas Teepee
If you want something lightweight and portable, skip the wood frame entirely. Build a simple teepee frame using three or four tall wooden poles lashed together at the top. Spread them out in a circle and secure the bottom.
Wrap a heavy-duty canvas or outdoor fabric around the frame, leaving an opening for the door. Attach it with a staple gun or some strong outdoor velcro so you can take it off for washing.
This looks adorable in a cottage-style garden or a bohemian backyard. It’s also super easy to store away in the winter. Just make sure the fabric is waterproof and that it’s anchored down well so it doesn’t blow away in a storm.
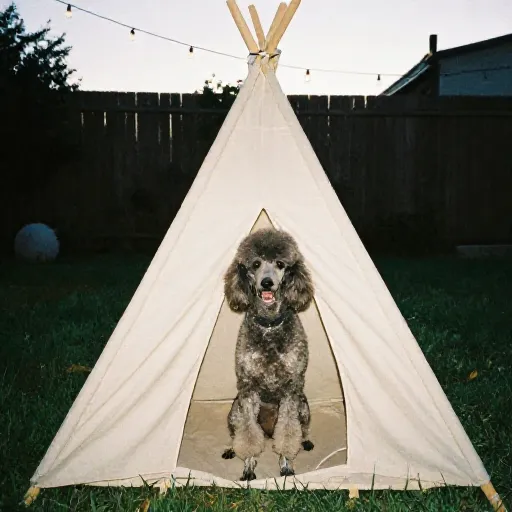
9. The Brick and Mortar Bunker
This one is for the ambitious builder. If you have leftover bricks or pavers, you can create a permanent, incredibly cool dog house that will last for decades. It’s essentially a tiny shed, so the structural skills required are a bit higher.
Use a mortar mix to lay the bricks, leaving the front open. For the roof, you can use a solid concrete board or a wooden frame covered in shingles. This house is heavy, so it won’t move an inch.
It stays cool in the summer and blocks the wind in the winter. Plus, you can paint the bricks with exterior masonry paint to match your house. It’s a serious commitment, but it’s absolutely a permanent fixture you’ll love.
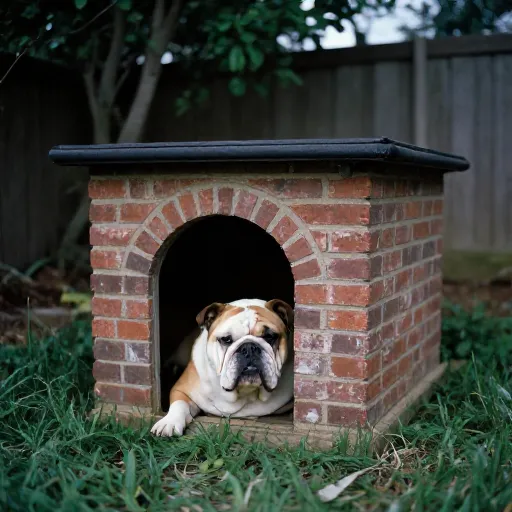
10. The Tire and Rope Cozy
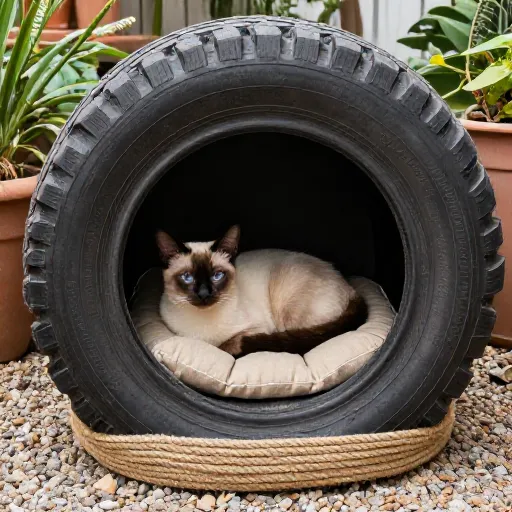
Got an old tractor tire or a giant truck tire? Turn it into a cool, industrial-looking den. Clean the tire thoroughly and let it dry. Then, use a strong outdoor adhesive to wrap sisal rope around the entire exterior. This looks amazing and gives it a beachy, nautical vibe.
Cut a piece of plywood to cover the top hole, secure it, and seal it with waterproof glue. You can even add a small wooden frame for the entrance to make it look more intentional.
This is a zero-waste project that looks surprisingly high-end. It’s also heavy enough that it won’t tip over, and the rubber insulates the ground well.
11. The Simple Shade House
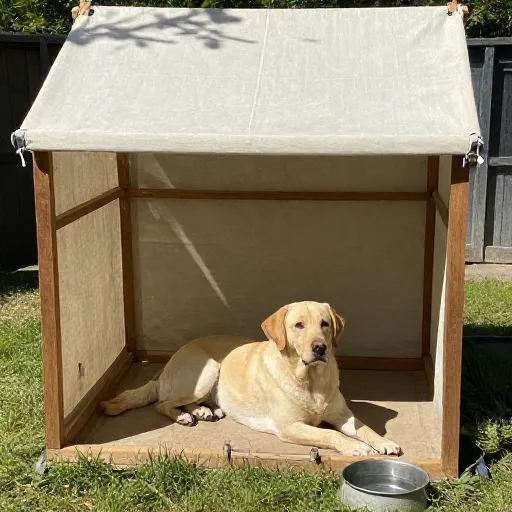
Sometimes, your dog just wants to escape the sun, not live in a fortress. This idea is more of a “shade station” than a closed house. Build a simple flat or slanted roof on four corner posts. Leave the sides completely open.
It’s incredibly easy to build—just a table with a wide roof. You can hang a curtain on one side if you want to block the wind, but generally, the open design allows for maximum airflow.
This is perfect for summer days when the heat is oppressive. Place a raised cot or a cooling mat underneath, and you’ve got the perfect summer hangout spot.
12. The Gable Roof Classic
If you want to practice your carpentry skills, this is the one. A gable roof (the traditional house shape with a triangle on each end) is a bit more complex to frame, but it offers the most headroom and feels like a real “house.”
You’ll need to cut angled rafters and a ridge beam. The walls are straight up and down, so it’s easier to furnish inside. Make sure to add a floor and paint the exterior with a primer and two coats of exterior paint.
This design looks timeless and works with any yard. You can even add a little window on the side with a hinged flap for extra style. It’s the classic dog house, elevated.
Wrapping It Up
Building a DIY dog house is one of those projects that’s just as fun to make as it is to see your dog use. It doesn’t have to be perfect—it just has to be made with love (and sturdy enough to handle a few zoomies).
Start with a plan, measure twice, and don’t be afraid to make a mistake. Your dog doesn’t care if the corners aren’t perfectly aligned; they just care that it smells like you and keeps them safe from the rain.
Frequently Asked Questions
Q: How big should my dog house be?
A: It should be just big enough for your dog to stand up, turn around, and lie down comfortably. If it’s too big, it’s harder for their body heat to warm it in the winter. Measure your dog from nose to tail and from floor to shoulders, then add a few inches.
Q: What is the best material to use?
A: Untreated pine or cedar plywood is your best bet. It’s affordable, easy to work with, and holds paint well. Avoid pressure-treated wood for the inside surfaces, as the chemicals can be harmful to pets.
Q: Do I need to insulate the dog house?
A: It depends on your climate. If you live somewhere with freezing winters or scorching summers, yes—add foam board insulation inside the walls and a raised floor. If you have mild weather, a single layer of wood is fine.
Q: How do I keep the dog house cool in the summer?
A: Place it in a shaded spot, ensure there is cross-ventilation (like a small back window), and elevate it off the ground. You can also paint the roof a light color to reflect the sun’s heat.
Q: What paint is safe for a dog house?
A: Use water-based, non-toxic acrylic or latex exterior paint. Let it cure for at least 48 hours before letting your dog inside, and avoid oil-based paints or stains that have strong fumes.