Easy Vet-Approved Homemade Dog Food: One Bowl Recipe Your Pup Will Love
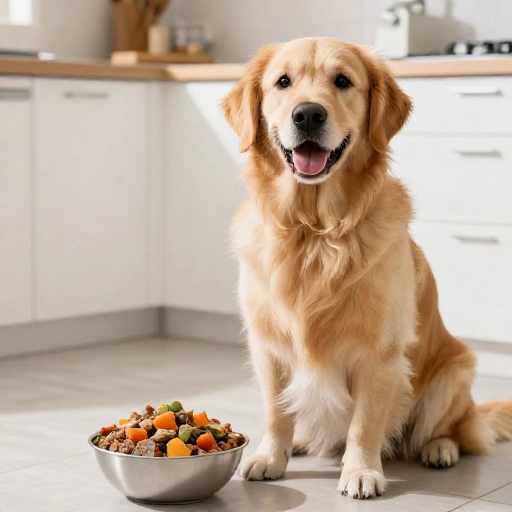
Let’s be real—our dogs are family. And just like the rest of the family, we want to feed them food that’s actually good for them, not just something that comes out of a bag. I started making my own dog food a few years ago because my golden retriever, Biscuit, had a sensitive stomach. The vet bills were piling up, and I was desperate for a change.
This recipe is the one that finally worked. It’s simple, balanced, and uses whole ingredients you can find at any grocery store. It’s not about being a gourmet chef for your pet; it’s about giving them clean, real nutrition without any mystery fillers. I promise, the smell of this cooking will have your pup doing happy circles around the kitchen.
Before we start, a quick note: this is a great foundation, but every dog is different. Always check with your vet before switching up your dog’s diet, especially if they have health issues. Now, let’s get cooking for your best friend!
Why Make This Recipe & Health Benefits
I love knowing exactly what goes into Biscuit’s bowl. No preservatives, no artificial colors, no weird by-products. Just real food. This recipe is packed with lean protein to maintain muscle mass, complex carbs for steady energy, and veggies that provide essential vitamins and fiber.
The combination here is designed to be gentle on tummies. Brown rice is easy to digest, while carrots and peas offer a boost of antioxidants. The olive oil adds healthy fats for a shiny coat and healthy skin. For dogs with allergies, controlling the ingredients is a game-changer. You can finally see what works and what doesn’t.
Plus, there’s a special joy in watching your dog devour a meal you made with your own two hands. It’s a love language, for sure.
Kitchen Equipment & Tools You’ll Need
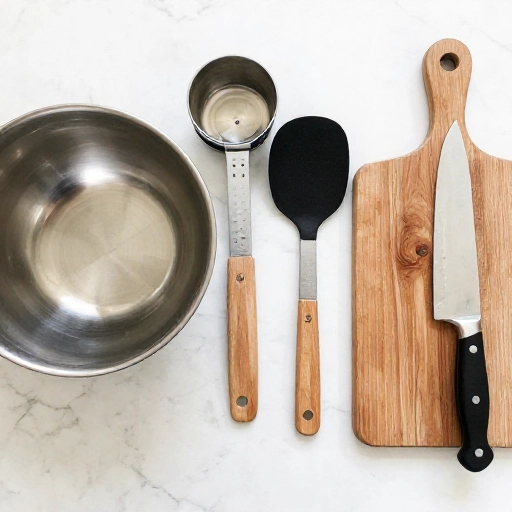
Don’t worry, you don’t need anything fancy here. I use the same stockpot I use for chili. Here’s what you’ll need to gather:
- A large stockpot or Dutch oven (at least 6 quarts).
- A sharp chef’s knife and a sturdy cutting board.
- A wooden spoon or spatula for stirring.
- Measuring cups and spoons.
- Containers for storage (glass meal-prep containers or mason jars work best).
- Optional but helpful: a food processor for chopping veggies super fine (good for picky eaters).
Having everything prepped before you start makes the process so much smoother. Chop your veggies before you even turn on the stove.
Ingredients List & Safe Substitutions
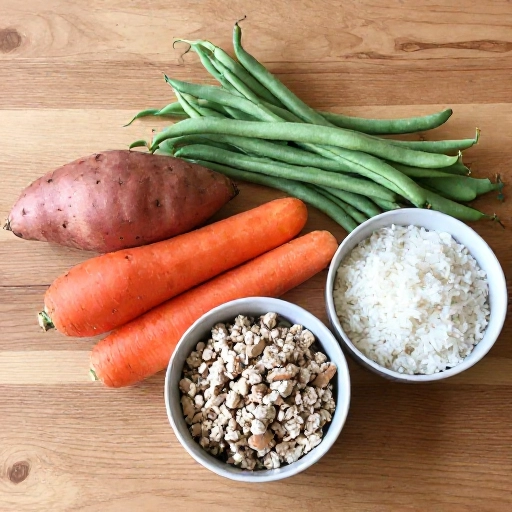
This is the exact combo I use for my 50-pound pup. It makes about 10-12 cups of food. Here is what you need:
- 2 lbs ground turkey or lean ground beef (93% lean is best).
- 2 cups brown rice (uncooked).
- 1 cup carrots, finely diced.
- 1 cup green beans, chopped (fresh or frozen).
- 1/2 cup peas (frozen is fine).
- 1/2 cup pumpkin puree (plain, not pie filling).
- 4 cups water or low-sodium chicken broth.
- 1 tbsp olive oil.
Substitutions: If your dog doesn’t do well with poultry, swap the turkey for lean beef or even canned salmon (boneless, skinless). You can use sweet potatoes instead of rice if you want a grain-free option—just steam them first. Always avoid onions, garlic, and seasonings like salt and pepper.
How to Make It: Step-by-Step Instructions
This is a one-pot wonder, so clean-up is super easy. Follow these steps and you’ll have a happy pup in no time.
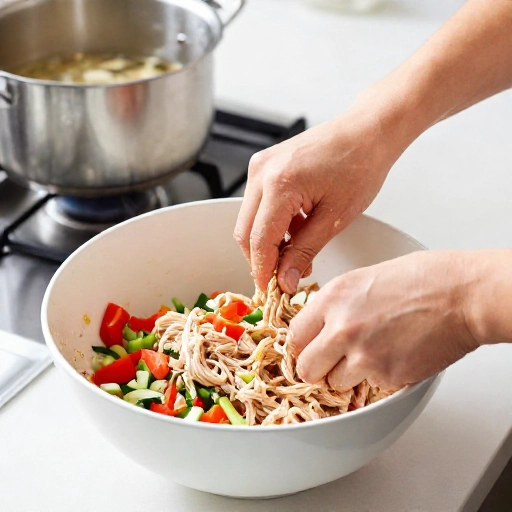
- Brown the meat: Place your stockpot over medium heat. Add the ground turkey and cook until it’s no longer pink. Break it up with your spoon as it cooks. This takes about 5-7 minutes. Don’t drain the fat—it adds flavor and nutrients, unless your vet says otherwise.
- Add dry ingredients: Stir in the uncooked brown rice and chopped carrots. Let them toast in the pan with the meat for a minute or two.
- Pour in the liquid: Add the water or broth and bring everything to a boil.
- Simmer: Once boiling, reduce the heat to low. Cover the pot and let it simmer for about 25-30 minutes, or until the rice is tender and has absorbed most of the liquid.
- Veggie time: Turn off the heat. Stir in the green beans, peas, pumpkin puree, and olive oil. The residual heat will warm them through without turning them to mush.
- Cool completely: This is the hardest part—waiting! You must let the food cool down to room temperature before serving. Hot food can burn your dog’s mouth.
Feeding Guidelines, Serving Size & Storage Tips
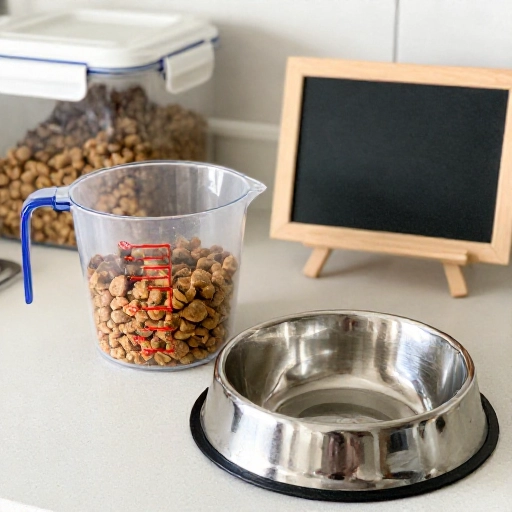
Figuring out portions can feel tricky, but a good rule of thumb is about 1/2 cup of food per 10 pounds of body weight per day. For my 50-pound golden, that’s about 2.5 cups daily, split into two meals. But every dog is different! Watch your pup’s weight and energy levels. If they are gaining weight, cut back a little. If they are looking skinny, add a bit more.
Storage: This recipe makes a lot, so I always portion it out. Store the cooled food in airtight containers in the fridge for up to 5 days. I love using glass containers because they don’t hold onto smells. You can also freeze it! Portion it into freezer bags or silicone molds and freeze for up to 3 months. Just thaw it in the fridge overnight before serving.
Always serve this at room temperature or slightly warmed. Cold food straight from the fridge isn’t as appetizing for them.
Final Verdict & Summary
Honestly, switching Biscuit to this homemade food was a turning point. His coat got shinier, his energy was more consistent, and most importantly, his stomach issues pretty much vanished. It takes about 45 minutes once a week to make, and it’s totally worth it for the peace of mind.
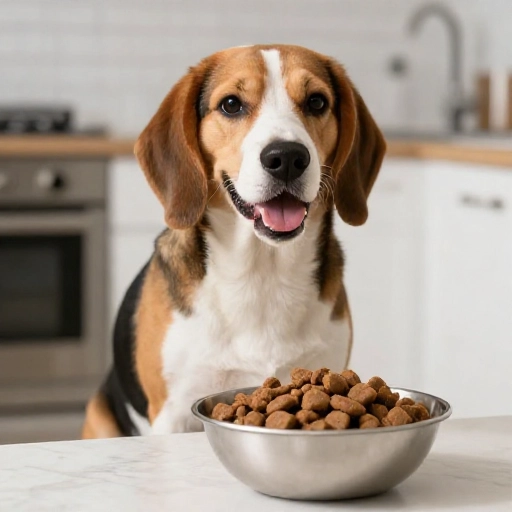
This recipe is a fantastic starting point. It’s balanced, nutritious, and made with love. Watching your dog lick the bowl clean is a feeling like no other. You’re not just feeding them; you’re investing in their health and happiness. Give it a try, and let me know how your furry friend likes it!
Frequently Asked Questions
Can I use chicken instead of turkey?
Yes, absolutely! Ground chicken or even shredded boiled chicken breast works perfectly as a substitute for ground turkey. Just make sure it’s boneless and skinless.
How do I know if I’m feeding my dog the right amount?
Start with the 1/2 cup per 10 lbs rule, but monitor your dog’s body condition. You should be able to feel their ribs without a thick layer of fat over them. Adjust portions as needed to maintain a healthy weight.
Is it okay to add supplements to this recipe?
This recipe is a great base, but it might not be 100% complete for every dog. I recommend asking your vet about a multivitamin or a fish oil supplement to ensure they are getting all the nutrients they need, especially calcium.
Can I make a big batch and freeze it?
Definitely! This recipe freezes beautifully. Let it cool completely, divide it into meal-sized portions, and freeze. It can last up to three months in the freezer, which makes weekly prep a breeze.
My dog is a picky eater. Will they like this?
Most dogs go crazy for this, but if you have a super picky pup, try mixing a small amount of this food with their regular kibble at first. Gradually increase the ratio until they are fully transitioned. The smell alone usually wins them over!