Homemade Carrot Dog Treats Your Pup Will Love (Vet-Approved & Super Easy!)
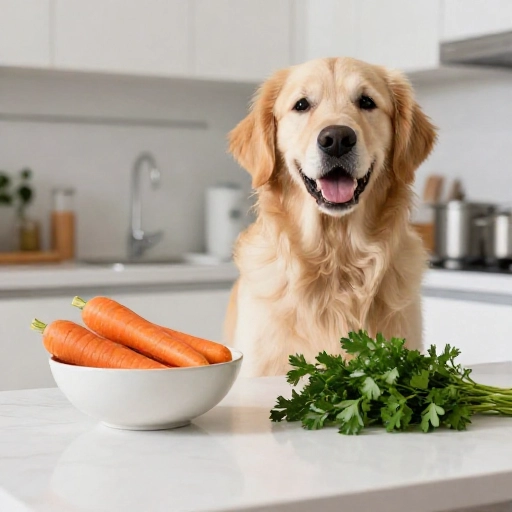
If you’re anything like me, your dog’s tail starts wagging the second you step into the kitchen. And honestly? I love it. There’s something so special about baking treats for my furry best friend—knowing exactly what’s going into every single bite. No weird preservatives, no mystery fillers, just pure, wholesome goodness.
These vet-approved carrot dog treats are my absolute go-to. They’re crunchy, slightly sweet, and packed with fiber and vitamins that support your dog’s health. Plus, the recipe is so simple that you probably have all the ingredients in your pantry right now.
Let’s be real—store-bought treats are convenient, but nothing beats the look of pure joy on your pup’s face when they taste something you made with your own two hands. Trust me, once you try this recipe, your dog will be giving you those big, pleading puppy eyes every time you head to the oven.
Why Carrot Treats Are a Smart Choice for Your Dog
Carrots are a powerhouse ingredient for dogs. They’re naturally low in calories and fat, making them a great option for pups who need to watch their waistline. But the benefits go way beyond that. Carrots are loaded with beta-carotene, which converts to vitamin A in your dog’s body—essential for healthy vision, skin, and a shiny coat.
They’re also packed with fiber, which helps keep your dog’s digestive system running smoothly. And here’s a fun bonus: the natural crunch of carrots can actually help scrub plaque off your dog’s teeth. It’s like a little dental bonus in every bite. These treats are gentle on sensitive stomachs and don’t contain any common allergens like wheat or soy. That’s a win in my book.
Kitchen Equipment & Tools You’ll Need
One of the reasons I love this recipe is that it doesn’t require any fancy gadgets. If you have a basic kitchen setup, you’re good to go. Here’s what I use every time:
- A large mixing bowl
- A wooden spoon or spatula for stirring
- A box grater or food processor for shredding carrots
- Measuring cups and spoons
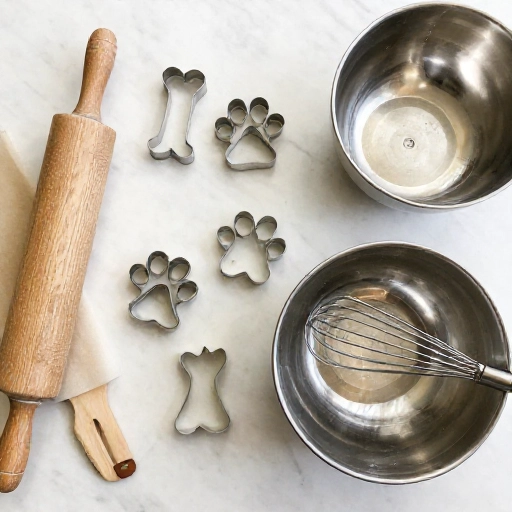
- A rolling pin (if you want to roll the dough)
- Cookie cutters in fun shapes—bones, hearts, or paws are my favorites
- A baking sheet lined with parchment paper
That’s it! Nothing complicated. If you don’t have cookie cutters, you can simply roll the dough into small balls and flatten them with your palm. Your dog won’t care about the shape—they’ll just be thrilled to get a treat.
Ingredients List & Safe Substitutions
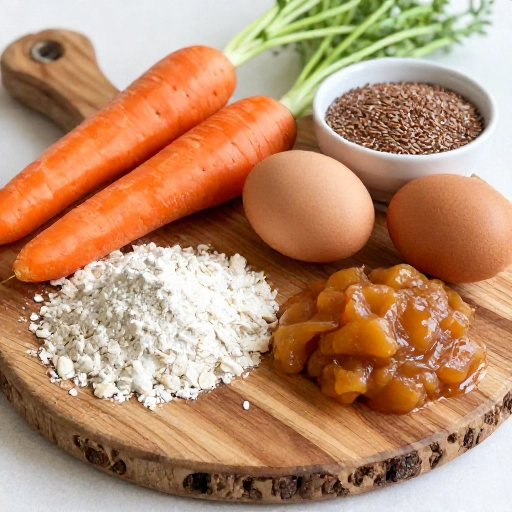
Here’s the beautiful thing about this recipe: it uses only four simple ingredients. No exotic items, no expensive specialty flours. Just clean, natural goodness that you’ll feel great about serving.
- 1 cup shredded carrots (about 2 medium carrots)
- 1 cup whole wheat flour (or oat flour for a grain-free option)
- 1/3 cup unsweetened applesauce (adds natural sweetness and moisture)
- 1 large egg (binds everything together)
Now, let’s talk swaps. If your dog has a gluten sensitivity, swap the whole wheat flour for oat flour or even coconut flour—just note that coconut flour absorbs more liquid, so you may need to add a splash of water. No applesauce on hand? Mashed banana works perfectly too. Just avoid any artificial sweeteners like xylitol, which is toxic to dogs. And always use plain, unsweetened applesauce—no added sugar or cinnamon.
Step-by-Step Instructions: How to Make These Treats
This recipe comes together in under 30 minutes, and the steps are as easy as 1-2-3. Here’s exactly how I do it:
- Preheat your oven to 350°F (175°C). Line a baking sheet with parchment paper so nothing sticks.
- Shred your carrots. I use a box grater for fine shreds, which blend seamlessly into the dough. If you’re in a hurry, a food processor works great too.
- Mix the wet ingredients. In a large bowl, whisk the egg and applesauce together until well combined.
- Add the carrots and flour. Stir in the shredded carrots, then gradually add the flour. Mix until a soft, slightly sticky dough forms.
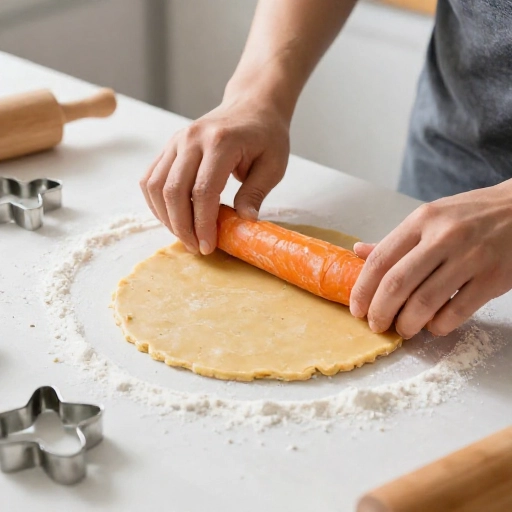
- Roll and cut. Lightly flour your surface, roll the dough to about 1/4-inch thickness, and press out your shapes with cookie cutters.
- Bake. Place the treats on your prepared baking sheet and bake for 20-25 minutes, or until they’re golden brown and firm to the touch.
- Cool completely. This is crucial—they’ll crisp up as they cool. Let them sit on a wire rack for at least 15 minutes.
That’s seriously it. The whole house will smell like a cozy bakery, and your dog will be doing little happy dances at your feet the entire time.
Feeding Guidelines, Serving Size & Storage Tips
Now that you’ve baked a batch of these delicious treats, let’s talk about how to serve and store them properly. These treats are meant to be a snack, not a meal replacement—so moderation is key.
For small dogs, give one treat per day. Medium dogs can have two, and larger breeds can handle three. Always introduce new treats gradually and watch your dog for any digestive changes. Since these are crunchy, they’re perfect for dogs who love to chew. If you have a senior dog with dental issues, you can bake them for less time—around 15 minutes—for a softer texture.
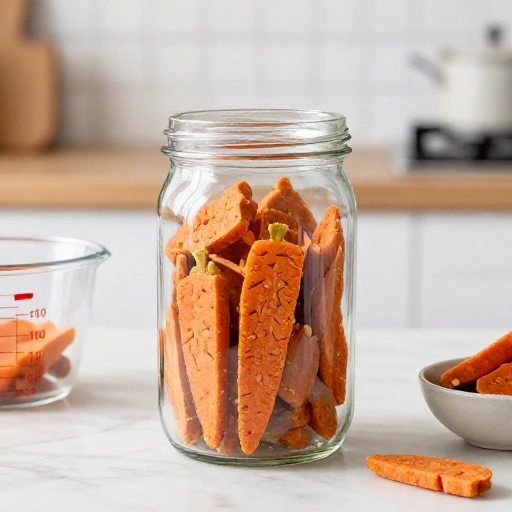
Storage is a breeze. Keep the treats in an airtight container in the refrigerator for up to two weeks. For longer storage, pop them in the freezer—they’ll stay fresh for up to three months. Just thaw a few at a time in the fridge or at room temperature. I like to keep a small jar on the counter for daily treats and stash the rest in the freezer so they never go stale.
Final Verdict: Why This Recipe Earns Five Paws Up
Honestly, this is the recipe I come back to again and again. It’s foolproof, budget-friendly, and uses ingredients that are actually good for my dog. I love that I can pronounce every single ingredient on the list—no chemical names, no artificial dyes, no fillers.
The treats come out perfectly crunchy on the outside with a slight softness in the middle, which my dog absolutely adores. They’re great for training, rewarding good behavior, or just showing your furry friend how much you care. And the best part? Your kitchen will smell amazing, and you’ll have the satisfaction of knowing exactly what went into your pup’s snack.
So go ahead, give this recipe a try. Your dog will thank you with sloppy kisses, happy zoomies, and maybe a little drool on the kitchen floor. It’s all worth it for that look of pure joy.
Frequently Asked Questions
Can I use baby carrots instead of regular carrots?
Absolutely! Baby carrots work just as well. Just give them a quick rinse and shred them using the same method. They’re a bit more convenient since you don’t have to peel them.
Are these treats safe for puppies?
Yes, but I’d recommend waiting until your puppy is at least 8 weeks old. Start with a tiny piece to make sure they can chew it properly. Puppies have sensitive tummies, so introduce new foods slowly.
How long do these treats last at room temperature?
They’ll stay fresh in an airtight container at room temperature for about 4-5 days. Since they don’t contain preservatives, I recommend refrigerating them if you’re not going to use them within a few days.
Can I add other dog-safe ingredients like peanut butter?
Of course! You can swap the applesauce for 1/3 cup of natural, unsweetened peanut butter (make sure it doesn’t contain xylitol). Just note that peanut butter adds more fat, so adjust the serving size accordingly.
Why are my treats too hard?
That usually means they were baked a little too long or rolled too thin. Next time, check them at the 18-minute mark and pull them out as soon as they’re golden. Also, try rolling the dough to about 1/4-inch thickness for the perfect crunch.