Healthy Homemade Vegan Peanut Butter Oat Dog Cookies Your Pup Will Beg For
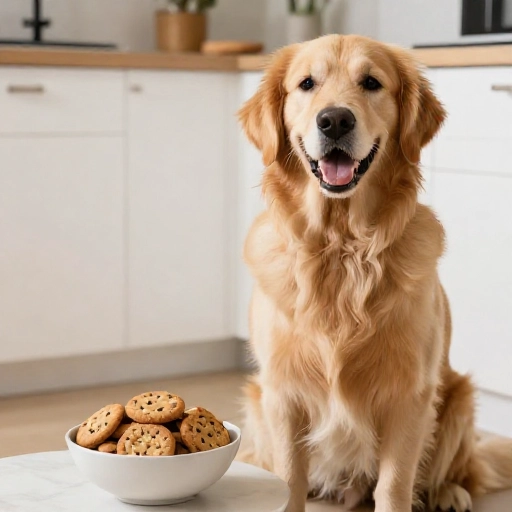
You know that feeling when you’re baking something delicious and your dog is just staring at you with those big, hopeful eyes? I hate giving them store-bought treats full of weird preservatives. So, I started making my own, and let me tell you, this vegan peanut butter oat dog cookie recipe is a total game-changer.
These cookies are seriously simple. They use just a handful of pantry staples you probably already have, and they come together in about 20 minutes. The best part? The smell of peanut butter and oats baking will have your furry friend doing happy spins in the kitchen before they’re even out of the oven.
Plus, these are completely vegan, which is perfect for dogs with sensitive tummies or for pet parents who want to keep things plant-based. They’re crunchy, tasty, and loaded with good-for-them ingredients that make treat time feel a little bit better. Let’s get baking for your best buddy!
Why Make This Recipe & Health Benefits for Dogs
I love this recipe because it cuts out all the junk. When you make treats at home, you control exactly what goes into them. No artificial colors, no weird by-products, and no excessive sugar or salt. It’s just pure, simple goodness that you can feel confident giving your dog.
Oats are a fantastic source of soluble fiber, which is great for digestion and helps keep your dog feeling full and satisfied. They’re also a gentle grain for most pups, providing steady energy. Then you have peanut butter, which is packed with healthy fats and protein. Just make sure you’re using a natural, unsweetened kind that doesn’t contain xylitol, as that’s toxic to dogs.
These cookies are also oil-free and low in sugar, making them a smart choice for everyday rewards or for dogs who might be watching their weight. They offer a nice, satisfying crunch that also helps with dental health by scraping away a bit of plaque as they chew. It’s a win-win in my book!
Kitchen Equipment & Tools You’ll Need
You don’t need any fancy gadgets for this. I love recipes that don’t require a bunch of cleanup, and this one is definitely in that category. You can easily mix this dough by hand with a sturdy spoon.
Here is what you’ll need to have on hand:
- A large mixing bowl
- A measuring cup and measuring spoons
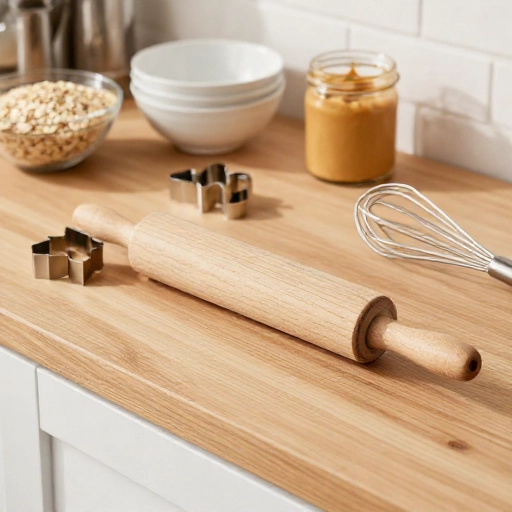
- A rolling pin (or just your hands to flatten the dough)
- A cookie cutter in a fun shape (a bone shape is always a hit, but a circle works great too)
- A baking sheet lined with parchment paper
- A fork (for crimping the edges or poking holes)
- An oven preheated to 350°F (175°C)
That’s it! Super simple stuff. If you don’t have a cookie cutter, you can just roll the dough into little balls and flatten them with a fork, just like you would for a classic peanut butter cookie. It gives them a cute, homemade look.
Ingredients List & Safe Substitutions
The ingredient list is beautifully short. You probably have all of these things in your kitchen right now. I love recipes that are spontaneous and don’t require a special trip to the store.
Here is what you’ll need:
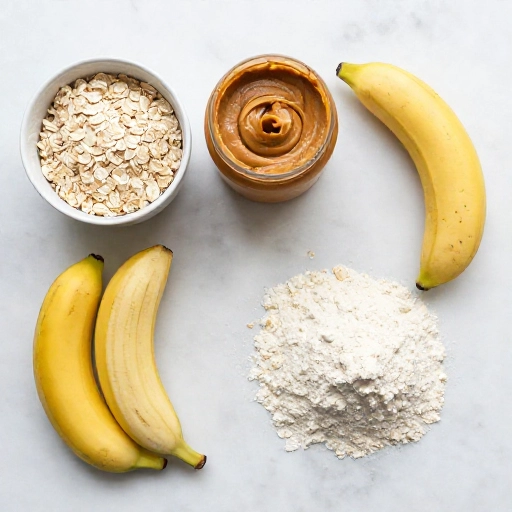
- 2 cups old-fashioned rolled oats
- 1 cup whole wheat flour (or all-purpose flour)
- 1/2 cup natural, unsalted peanut butter (make sure it’s xylitol-free!)
- 1/2 cup water (you may need a little more)
- 1 tablespoon ground flaxseed mixed with 3 tablespoons water (this is your “flax egg” to help bind everything)
For substitutions, you can easily swap the whole wheat flour for oat flour or even a gluten-free 1:1 baking blend if your dog has a sensitivity. If you don’t have flaxseed, you can just omit the “egg” and add a little more water until the dough comes together. The recipe is super forgiving, so don’t stress about being precise.
Also, make sure your oats are rolled oats and not the instant or quick-cooking kind. Rolled oats give the cookies a better texture. And again, a big reminder: always double-check that your peanut butter does not contain xylitol. It’s a sugar substitute that is extremely dangerous for dogs.
Step-by-Step Instructions & Preparation Guide
Alright, let’s get to the fun part! This process is so quick and easy. I promise you’ll have a happy dog munching on these in no time. Just follow these simple steps.
Step 1: Prepare your “flax egg”. In a small bowl, mix the ground flaxseed with 3 tablespoons of water. Set it aside for about 5 minutes to let it thicken up into a gel-like consistency.
Step 2: Mix the dry ingredients. In your large mixing bowl, combine the rolled oats and the whole wheat flour. Give them a quick stir so they are well incorporated.
Step 3: Add the wet ingredients. Add the peanut butter, water, and your prepared flax egg to the dry ingredients. Stir everything together with a spoon or your hands until a dough forms. If it seems too dry and crumbly, add a tablespoon of water at a time until it holds together.
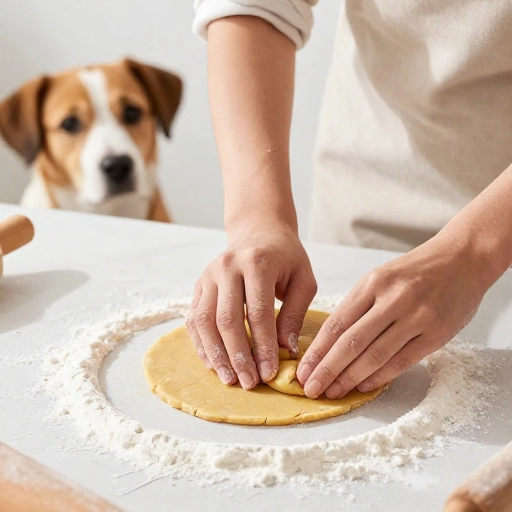
Step 4: Roll out the dough. On a lightly floured surface, roll the dough out to about 1/4-inch thickness. It doesn’t need to be perfect, just even.
Step 5: Cut out your shapes. Use your cookie cutter to press out as many cookies as you can. Gently gather the scraps, re-roll, and cut them again until you’ve used up all the dough.
Step 6: Bake. Place the cookies on your prepared baking sheet. Use a fork to poke a few holes in the top of each cookie or make a cute criss-cross pattern. Bake for 20-25 minutes, or until they are golden brown and firm to the touch. Let them cool completely on a wire rack—they will continue to harden as they cool.
Feeding Guidelines, Serving Size & Storage Tips
Now that you have a batch of yummy cookies, let’s talk about how to serve them. Remember, these are treats, not a meal replacement. Moderation is key to keeping your pup healthy and happy.
For serving size, it really depends on your dog’s size. A good rule of thumb is to give one small cookie to small breeds, 1-2 cookies to medium breeds, and maybe 2-3 to large breeds per day. Always start with a small amount to see how your dog’s stomach handles them, especially if they are new to homemade treats.
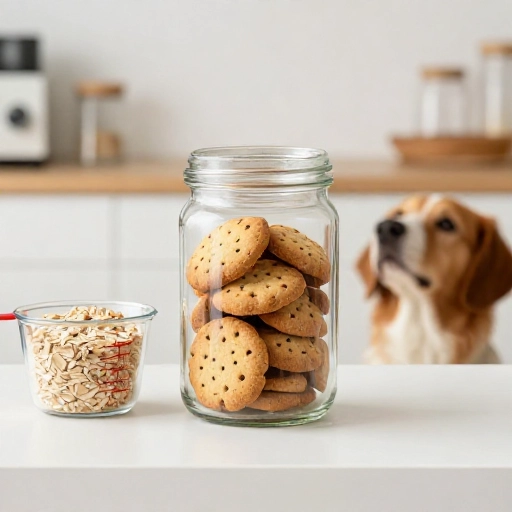
For storage, these cookies don’t have any preservatives, so they won’t last as long as store-bought ones. Keep them in an airtight container in the refrigerator. They should stay fresh and crunchy for up to two weeks. You can also freeze them! Just pop them in a freezer-safe bag or container and they’ll keep for up to three months. You can give them frozen on a hot day as a chewy treat, or let them thaw in the fridge for a few hours before serving.
Always make sure your dog has access to plenty of fresh, clean water, especially when they are enjoying crunchy treats.
Final Verdict & Summary
I absolutely love this recipe, and I know your dog will too. It’s the perfect balance of simple, healthy, and delicious. There is something so special about giving your furry family member a treat you made yourself with love. It’s a great weekend baking project that yields a big batch of tail-wagging rewards.
These vegan peanut butter oat cookies are a fantastic alternative to processed store-bought snacks. They’re crunchy, full of flavor, and made with ingredients you can actually pronounce. I love that I can feel good about giving them to my pup on a daily basis as a token of my affection.
So, go ahead and preheat that oven. Your dog will be your new best friend (even more than they already are) once they get a whiff of these baking. This is one recipe you’ll definitely want to keep in your regular rotation. Happy baking to you and happy snacking to your favorite four-legged friend!
Frequently Asked Questions
Here are some common questions I get about making these treats, so you can bake with total confidence.
Can I use crunchy peanut butter instead of creamy?
Yes, absolutely! Crunchy peanut butter will work just fine in this recipe. It might just give the cookies a little more texture and a few unexpected peanut pieces, which most dogs love. Just remember to keep it natural and xylitol-free.
My dough is too crumbly. What should I do?
Don’t worry, this is a common issue that’s easy to fix. The dough can be a bit dry depending on the flour you use or the consistency of your peanut butter. Simply add water one tablespoon at a time and keep mixing until the dough comes together into a ball. It should be pliable but not sticky.
Can I make these cookies grain-free?
Yes, you can! To make this recipe grain-free, simply substitute the whole wheat flour with a cup of oat flour or even a fine almond flour. The texture might be slightly different, but they will still be a delicious and safe treat for your dog. Start with a little less liquid and add as needed.
How do I know when the cookies are done baking?
The cookies are done when they are golden brown around the edges and feel firm to the touch. They will look similar to a human cookie, but a little less sweet. It’s important to let them cool completely on a wire rack, as they will continue to crisp up as they cool down.
Can puppies eat these treats?
Yes, these treats are generally safe for puppies, but you should always introduce new foods gradually. Puppies have sensitive digestive systems, so start with a tiny piece to see how they react. Also, since these are crunchy, they are great for teething puppies, but always supervise them while they chew.