12 Pallet Dog House Plans Step-by-Step: Build a Cozy DIY Haven for Your Furry Friend
Let’s be honest—dog houses can be ridiculously expensive. And half the time, they look like boring plastic boxes that don’t match your backyard vibe. That’s why I’m obsessed with pallet wood. It’s free (or nearly free), it’s sturdy, and it gives your pup a rustic, charming home that you built with your own two hands.
Over the years, I’ve scavenged pallets from local hardware stores and even behind grocery stores. I’ve learned that not all pallets are created equal, and I’ve definitely made my fair share of splinters. But the payoff? Watching my golden retriever curl up in a house I built for under $20. In this guide, I’m walking you through 12 different pallet dog house plans—from the super simple to the slightly more ambitious. Grab your hammer, put on some work gloves, and let’s get building.
1. The Classic A-Frame Pallet Dog House
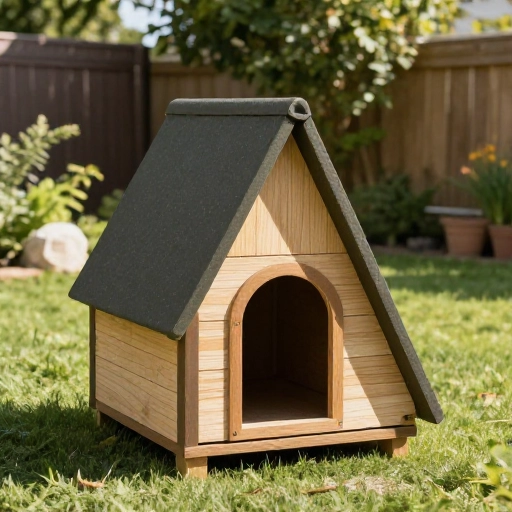
This is the blueprint that started it all for me. The A-frame is iconic because it sheds rain and snow like a champ. You’ll want to break down your pallets into individual planks first, then cut them at a 45-degree angle for the roof peak. The key is to build the triangular ends first, then attach the side panels.
I recommend using exterior wood screws instead of nails—they hold up way better against a dog that likes to scratch. Leave the front open slightly higher than the back so water runs off completely. Add a small lip at the bottom front to keep the bedding inside.
This design is perfect for medium-sized dogs. It’s narrow at the top but surprisingly roomy at the base, giving your dog a snug, den-like feeling that they naturally love.
2. The Raised Deck Palace
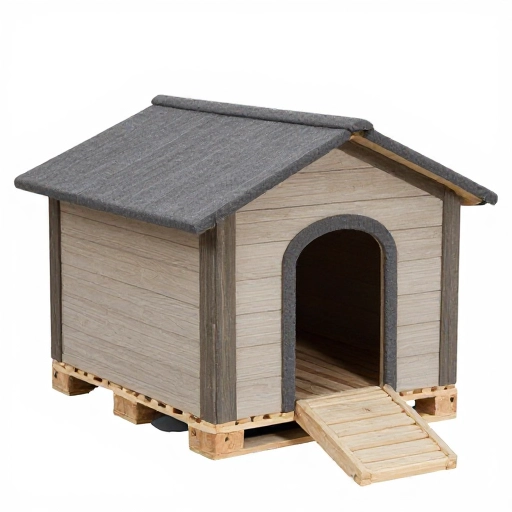
If you live in a humid area or have a yard that gets soggy, elevating your dog house is a game-changer. This plan involves building a simple box frame from pallet wood, then attaching four sturdy legs made from stacked pallet boards. You’ll want to treat the legs with a non-toxic sealant to prevent rot.
The floor is where this plan shines. Instead of leaving gaps between the planks, I like to run the wood horizontally and tightly together. This creates a solid, insulated floor that keeps your pup off the cold ground. Add a small ramp if you have a senior dog or a tiny breed.
I added a little porch area to mine—just an extra plank extending out the front. My dog loves to sit there in the morning sun before going back inside for a nap.
3. The Insulated Winter Cabin
Don’t let thin pallet boards fool you—with the right technique, you can make a seriously warm winter shelter. The secret is double-layering the walls. You’ll build the inner box first, then attach the outer layer of pallet wood with a gap in between. Fill that gap with straw or rigid foam insulation boards cut to size.
Make sure the entrance is offset to the side rather than dead center. This creates a windbreak inside. It’s a classic doghouse trick that keeps cold drafts from blowing directly onto your sleeping pup. For the door flap, use a heavy-duty vinyl strip curtain or a piece of canvas weighted at the bottom.
One caution: never use fiberglass insulation in a dog house. Dogs can scratch through it, and tiny glass fibers are dangerous for their lungs. Stick with straw or pet-safe foam.
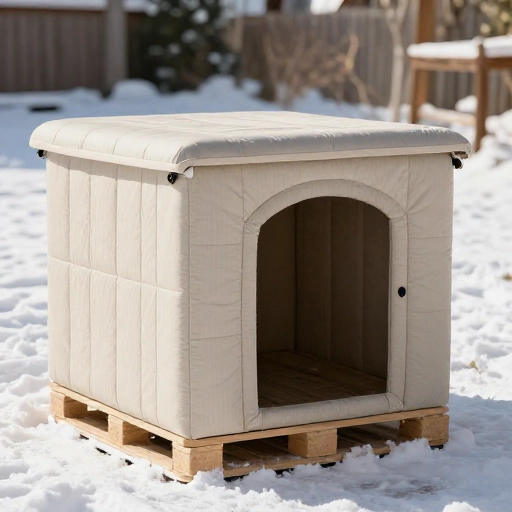
4. The Two-Story Bunkhouse
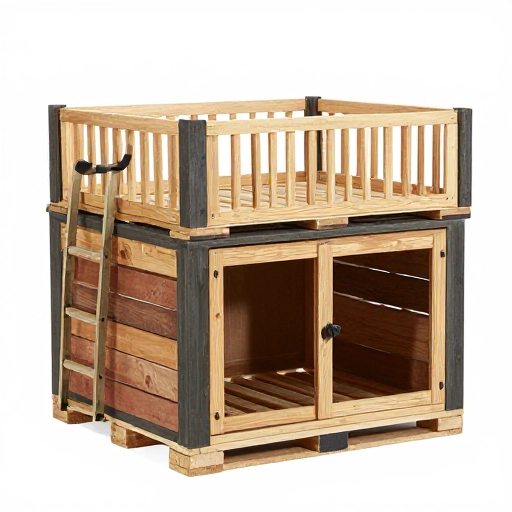
Got more than one dog? Or maybe one dog who thinks they’re royalty? This double-decker is a fun weekend project. You’re essentially building two standard box-style pallet houses and stacking them. The bottom unit sits directly on a pallet base, while the upper unit needs a reinforced floor to hold the weight.
I built a little ladder for my smaller dog to climb to the top bunk. It’s basically two long planks with smaller blocks nailed across as rungs. The top floor gets warmer (since heat rises), so it’s perfect for the dog that likes to burrow. The bottom floor stays cooler in the summer.
When stacking, always screw the upper box into the lower box’s frame, not just the floorboards. You want them locked together tightly so the whole structure doesn’t wobble in the wind. This is also a great way to save space in a small yard.
5. The Minimalist Flat Roof Shelter
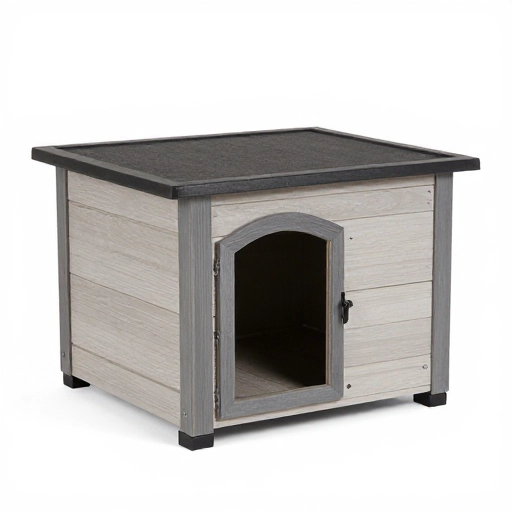
This is the quickest build on the list—perfect for a beginner or a lazy Sunday afternoon. You only need roughly 12 pallet boards. The design is just a simple rectangular box with a flat roof that slopes slightly toward the back. That slope is crucial; you need about a 2-inch drop to let water run off the back edge.
For the roof, use the heavier, thicker pallet planks. You don’t want a flimsy top that bends under weight. I sealed the roof with a coat of weatherproof paint and then added a layer of roofing shingles I found at a salvage yard. It looks super cute and adds a ton of durability.
Keep the entrance low but wide. The goal is to keep the warmth inside. If the door is too tall, you lose all that cozy heat. Measure your dog’s shoulder height and add just an inch or two.
6. The Porch Bungalow with Overhang
This one’s for the aesthetic. I love the look of a little front porch on a dog house. The build is similar to the flat roof, but you extend the roof rafters out by about 12 inches past the front wall. This creates a shaded, dry spot for your dog to sit and watch the world go by without being in the rain.
Support the overhang with two angled corner posts made from leftover pallet wood. This adds stability and frames the entrance beautifully. I added a small “welcome mat” at the entrance—just a flat piece of wood—to give the porch a finished look.
This is a fantastic plan if your dog likes to be outside with you but still wants a protected spot.
7. The Barn-Style Gable Roof House
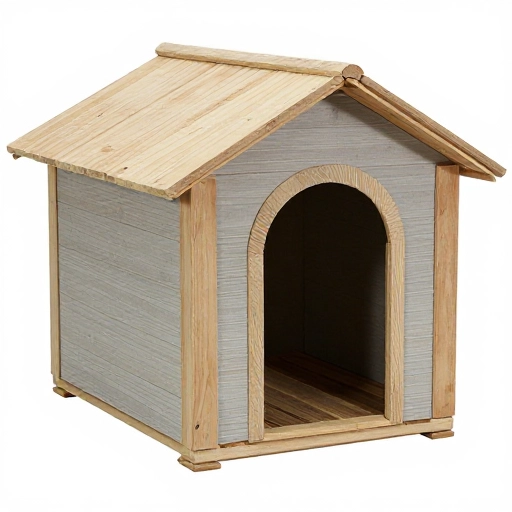
Similar to the A-frame, but this one has vertical walls that go up about a foot before the roof starts sloping. This gives your dog more headroom to stand up and turn around. It’s a bit more complex because you have to cut the gable ends (the triangular sections) perfectly.
I highly recommend making a cardboard template for the gable ends first. That way, you can test the fit before cutting into your good pallet wood. The roof is simply two flat panels that meet at the peak. Use a ridge cap (a strip of wood covering the seam) to prevent water from dripping inside.
This plan gives you bonus storage space on top! I actually rest a heavy flower pot on mine to keep the roof secure during big storms.
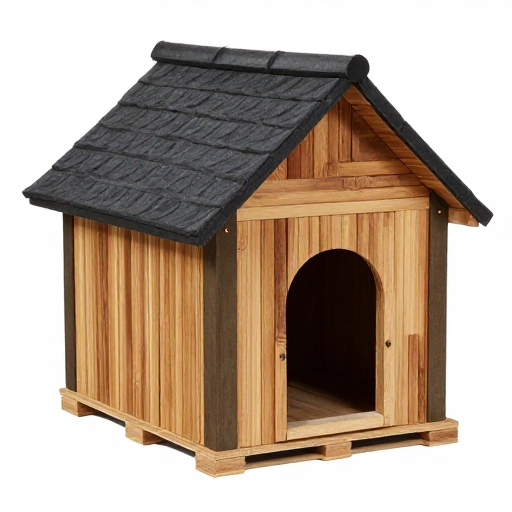
8. The Mobile Dog House on Wheels
Do you follow the sun around your yard? Or maybe you want to move the house to mow the lawn without dragging it. This plan is exactly the same as the basic box, but you mount the entire base onto heavy-duty casters. You can find these at any hardware store for about $10.
You need to make the base frame extra thick to support the wheels. Use two pallets stacked on top of each other for the floor, then screw the casters into the bottom pallet. Make sure the casters lock, otherwise, the house might roll away when your dog jumps in and out.
It’s also a lifesaver for cleaning. Instead of crawling inside to change the bedding, I just wheel it over to the driveway and hose it out. If you have a dog with anxiety, being able to move the house to a quieter spot in the yard is a huge bonus.
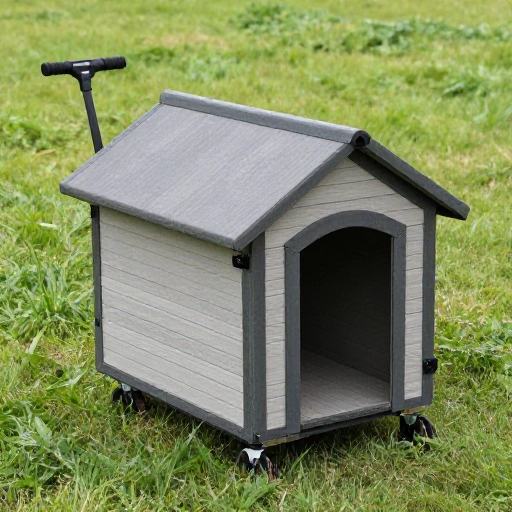
9. The Upcycled Pallet Shed with Window
Dogs get hot in the summer just like we do. Adding a window provides cross-ventilation that keeps the air moving. This plan is a standard box build but with a cutout on one side. I like to position the window facing east so it catches the morning breeze but avoids the harsh afternoon sun.
For the window, I used a piece of acrylic plexiglass instead of glass for safety. I made a simple wooden frame that hinges from the top, so I can prop it open with a stick. It acts like a little awning when it’s open.
Make sure to sand the edges of the window cutout really well. You don’t want any splinters catching your dog’s fur or skin when they rub against it.
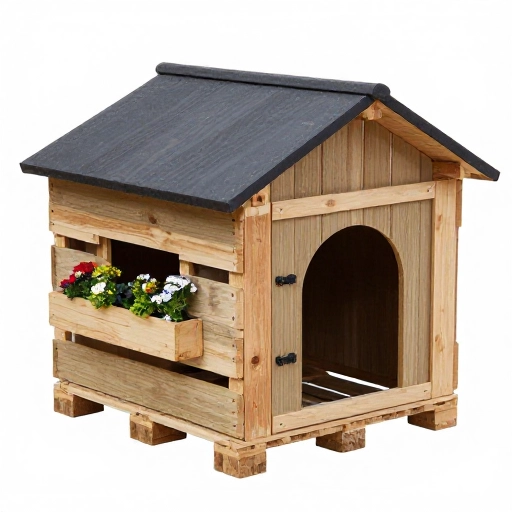
10. The Quilted Blanket Box House
This is more of a coziness upgrade to a basic frame. The structure is a simple open-faced box, but the interior is lined with a soft, removable blanket. The trick is to create a “furring strip” ledge inside the walls so you can tuck the blanket edges under, keeping it taught and snug.
On the outside, I painted this one with a bright, cheerful color and added a scalloped trim along the roof edge. It looks like a little cottage. Inside, I used an old fleece blanket that I stapled to wooden dowels. The dowels fit onto small hooks inside the house, making the blanket easy to remove for washing.
This design is best for indoor or covered porch use, as the blanket isn’t weatherproof.
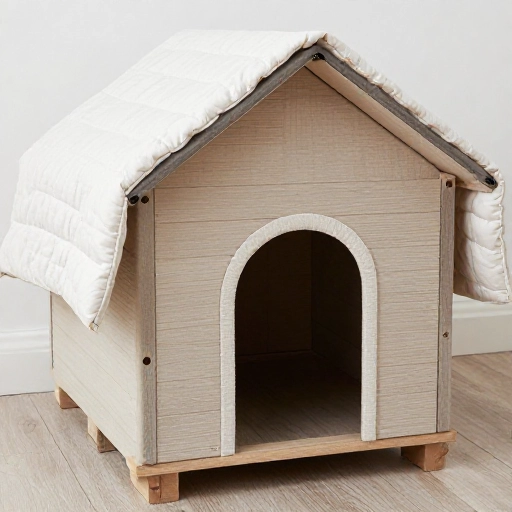
11. The L-Shaped Corner House
If you have an awkward corner in your patio or a small yard, this is the space-saver you need. Instead of a square footprint, the house wraps around the corner of your fence or deck. You build two box sections that connect at a 90-degree angle, sharing one common wall.
This gives you two rooms! One side can be the sleeping area, and the other can be a “hangout” spot. Or, if you have two dogs, they can each have their own separate den. I built a small interior doorway connecting the two sections so my dogs can move between them.
Because this is a custom fit, you’ll need to measure your specific corner carefully. It’s a bit more complex, but it looks incredibly intentional and sleek.
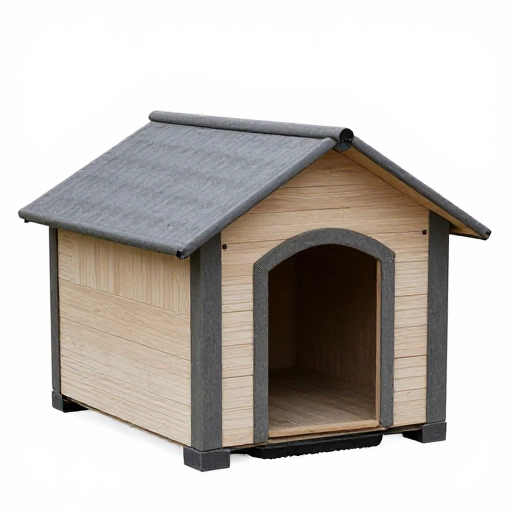
12. The Pallet & PVC Dome House
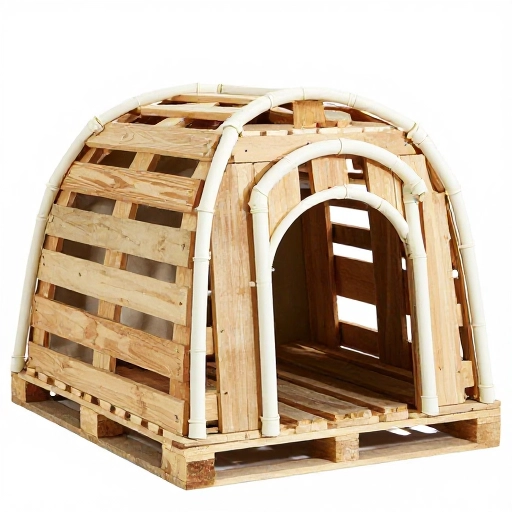
For the adventurous builder, this one is a real head-turner. Instead of straight walls, you create a frame using flexible PVC pipe bent into an arch, then you attach pallet boards horizontally to the outside. It looks like a little Quonset hut.
You’ll need to drill pilot holes through the pallet boards and screw them into the PVC. Space the boards about half an inch apart for ventilation. At the front, you’ll have a flat wood panel cut into a wide arch shape with a door cut out.
This is the most wind-resistant design I’ve ever built because there are no flat walls for the wind to push against. It’s surprisingly sturdy and looks amazing with a coat of outdoor wood stain.
There you have it—12 ways to turn scrap wood into a palace for your pup. I won’t lie, some of these builds are a weekend project, and some are a full weekend. But every single one is doable with basic tools and a little patience. The best part is seeing your dog sniff around it for the first time and finally stepping inside. That’s the real payment.
Remember to always use heat-treated pallets (stamped with “HT”) rather than chemically treated ones (marked “MB”). Give them a good scrub and let them dry before you start building. Your dog’s new home is going to be the envy of the neighborhood.
Frequently Asked Questions
1. How long do pallet dog houses last?
If you seal the wood properly with a pet-safe weatherproof stain or paint, a pallet dog house can easily last 5 to 7 years outdoors. If you keep it on a covered porch, even longer. The key is keeping the bottom off the ground to prevent rot.
2. Are pallets safe for dogs?
Yes, as long as you use “HT” (heat-treated) pallets. Never use “MB” (methyl bromide) treated pallets—that chemical is toxic. Also, always sand down rough edges and splinters before letting your dog near the house.
3. What is the best insulation for a pallet dog house?
Straw (not hay) is excellent because it breathes and wicks moisture away. You can also use rigid foam board insulation between the double walls. Avoid fiberglass insulation—it’s dangerous if scratched and inhaled.
4. Do I need a roof overhang on a dog house?
Yes, absolutely. A 2 to 4-inch overhang on all sides prevents rain from running down the walls and seeping into the seams. It also keeps the entrance area dry, which prevents mud from being tracked inside.
5. How big should the entrance hole be?
Measure your dog’s height from the floor to their shoulder. The door should be about 1 to 2 inches taller than that. The width should be about 75% of your dog’s body length (nose to tail base). This keeps warmth inside while allowing easy access.