12 Quick DIY Dog Recovery Collar Ideas You Can Make Right Now (No Sew & Easy)
If your dog just had surgery or a minor injury, you already know the plastic cone of shame can be stressful—for both of you. My pup hates the hard edges, the constant bumping into doorframes, and the sad look that says “why me?” So I started testing homemade recovery collar alternatives.
These 12 quick DIY dog collar ideas use stuff you likely already have at home. Most are no-sew, take under 15 minutes, and give your dog a softer, calmer healing experience. Just remember to watch your dog the first time they wear any new collar to make sure they can’t reach the healing spot.
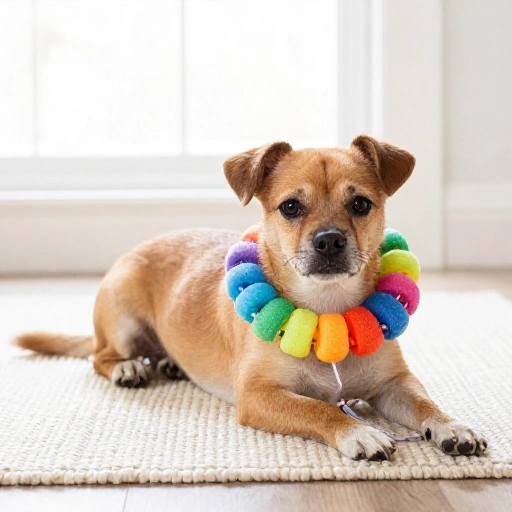
1. Pool Noodle Segments Collar
Pool noodles are my favorite base for a bulky but lightweight recovery collar. Cut a pool noodle into 3–4 inch segments, thread a flat collar or ribbon through the center hole, and space the pieces around your dog’s neck like beads.
This creates a soft barrier that stops most dogs from bending their neck to lick. It works best for medium to large dogs. If your dog is a chewer, supervise because a determined pup can bite chunks out of a noodle.
2. Rolled Towel Collar
Grab a hand towel or small bath towel, roll it tightly lengthwise, and wrap it around your dog’s neck. Secure the ends with medical tape, a hair tie, or a thin strip of Velcro. You want it snug but loose enough to fit two fingers underneath.
This is a classic no-sew option for short-term recovery. It is surprisingly good at limiting head movement. I keep one in the car for emergencies. Just check the towel doesn’t absorb too much drool and become heavy.

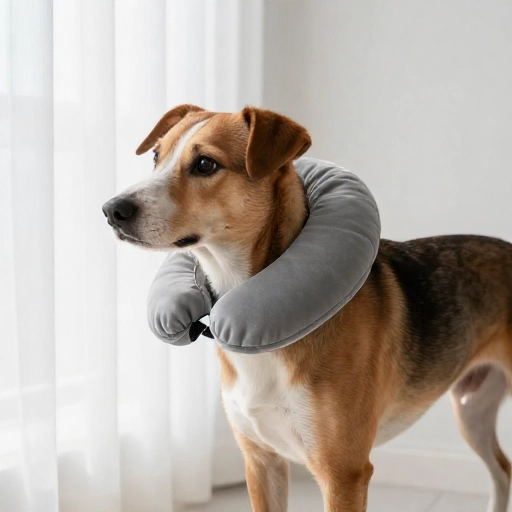
3. Travel Neck Pillow Collar
That U-shaped travel pillow gathering dust in your closet can become a soft recovery collar in seconds. Wrap it around your dog’s neck with the opening at the back, then secure the ends with a shoelace or zip tie through the pillow’s snap loop.
This one is already shaped for neck comfort. It is best for dogs with long necks or mild mobility restrictions. Choose a pillow that is not too thick, or your dog may struggle to eat and drink.
4. No-Sew Fabric Cone from an Old T-Shirt
Cut a large rectangle from an old cotton t-shirt, fold it into a wide strip, and wrap it around your dog’s neck like a soft cone. Use fabric glue or safety pins to hold the overlap. For more stiffness, slide a piece of cardboard between two layers of fabric.
This DIY cone is machine washable and way softer than plastic. It is not fully rigid, so it works for dogs that only need gentle discouragement, not a hard barrier. My dog actually napped in his without complaints.
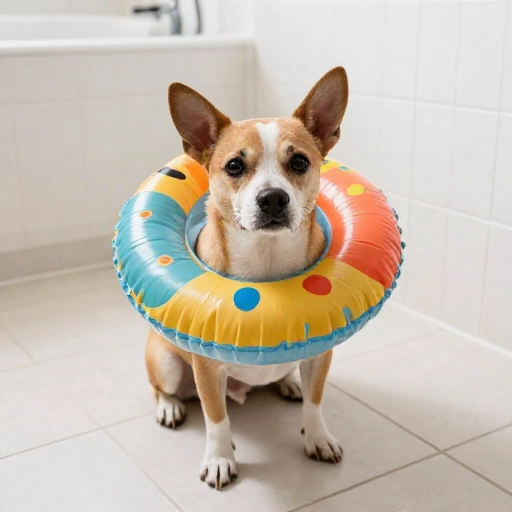
5. Inflatable Pool Floatie Collar
Small inflatable pool floats or kids’ arm floaties can be repurposed into an air-filled recovery collar. Deflate the floatie slightly, wrap it around your dog’s neck, and secure the ends with duct tape or a nylon strap. Make sure the valve is on the outside so your dog can’t chew it.
This gives a soft, pillow-like barrier that is easy to wipe clean. It is best for calm dogs, because sharp nails can puncture the material. I like this option for indoor use during the day.
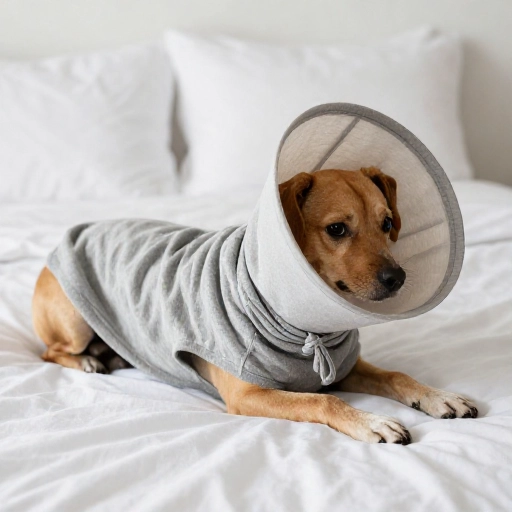
6. T-Shirt Wrap Recovery Suit
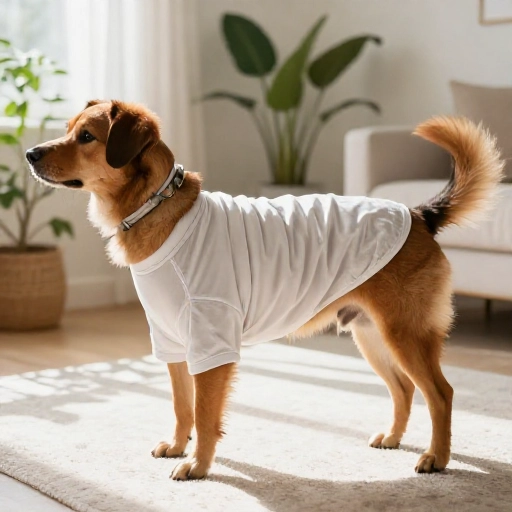
Not every recovery collar has to be a cone. For wounds on the chest, belly, or back, a snug t-shirt can cover the area and block licking. Put your dog’s hind legs through the arm holes and pull the shirt over their back, then knot the extra fabric at the waist.
This is my go-to for spay incisions. It keeps the area clean and gives a calming hug. Use a shirt that is fitted but not tight, and change it daily to prevent bacteria buildup.
7. Cereal Box Cardboard Collar
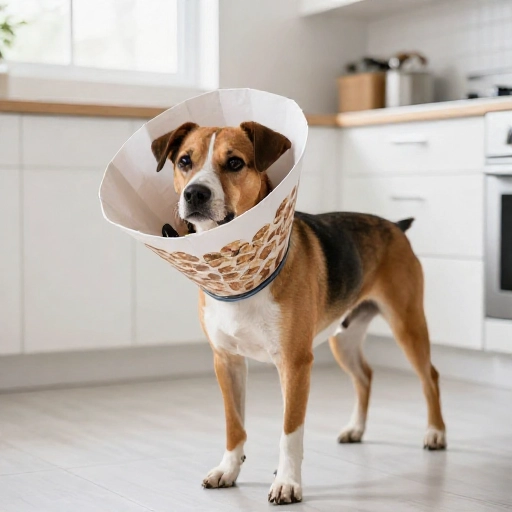
Cut a large circle from a flattened cereal box, then cut a smaller circle in the center for your dog’s neck. Slit one side so you can open it, fit it around the neck, and tape it closed. Round the edges to avoid poking.
This is a true no-sew cone replacement using recycled cardboard. It is lightweight but sturdy enough for small dogs. I add a layer of duct tape around the neck hole to keep it from tearing or getting soggy.
8. Paper Plate Collar
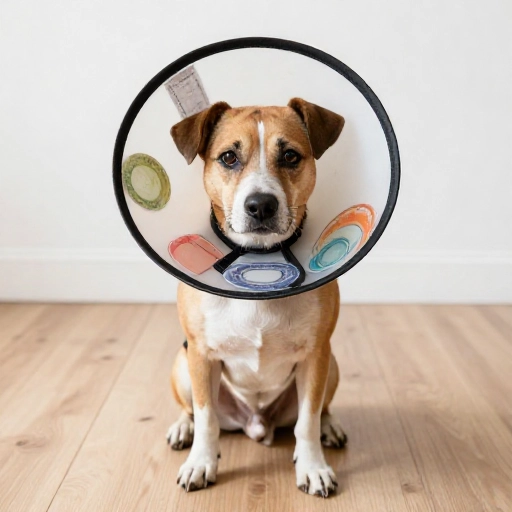
For tiny breeds or short-term use, a heavy-duty paper plate works like a mini cone. Cut a hole in the center, slit one side from edge to center, then overlap and tape the slit to form a shallow cone. Reinforce the neck hole with tape.
This is a five-minute fix when you need something immediately. It is not as durable as plastic, so replace it if it gets wet or chewed. My chiweenie wore one for one afternoon after a hot spot treatment and couldn’t reach her paw.
9. Sock Collar for Small Dogs
A long tube sock can become a soft neck brace for dogs under 15 pounds. Cut the toe off the sock, roll the remaining tube into a doughnut shape, and slide it over your dog’s head. Add a second sock over the first if you need more thickness.
This is ridiculously easy and washable. It works best for preventing head turns rather than full-body licking. Keep an eye on the fit around the ears and throat.
10. Foam Pipe Insulation Collar
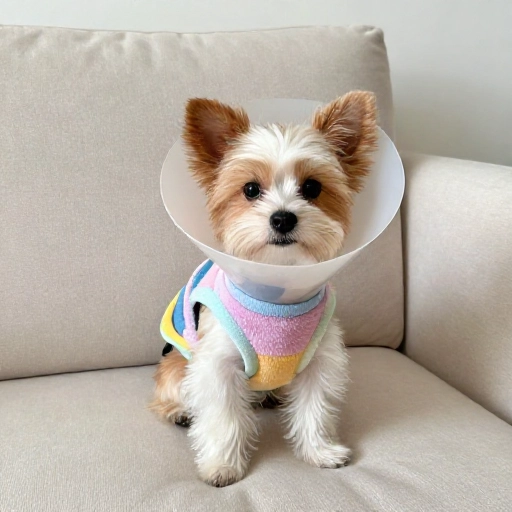
Foam pipe insulation from the hardware store is basically a pre-slit pool noodle with a smaller diameter. Cut a piece the length of your dog’s neck circumference, wrap it around, and secure with zip ties or Velcro strips through the slit.
The foam is soft, waterproof, and more resistant to chewing than a pool noodle. It has a neat, uniform look. I use this for medium dogs that need to eat and drink while wearing a barrier.
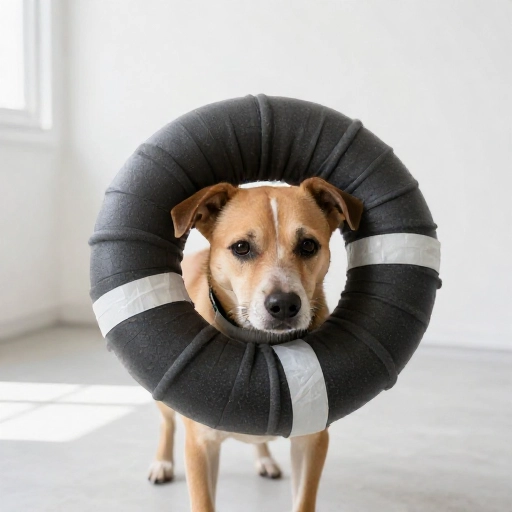
11. Yoga Mat Ring Collar
Cut a 4–5 inch wide strip from an old yoga mat, wrap it around your dog’s neck once or twice to create a thick ring, and secure with strong tape or a belt. The dense foam holds its shape better than a towel but stays light.
This option molds to your dog’s neck shape and doesn’t flop around. It is easy to wipe clean. I prefer a thinner yoga mat so the ring isn’t too heavy for small shoulders.
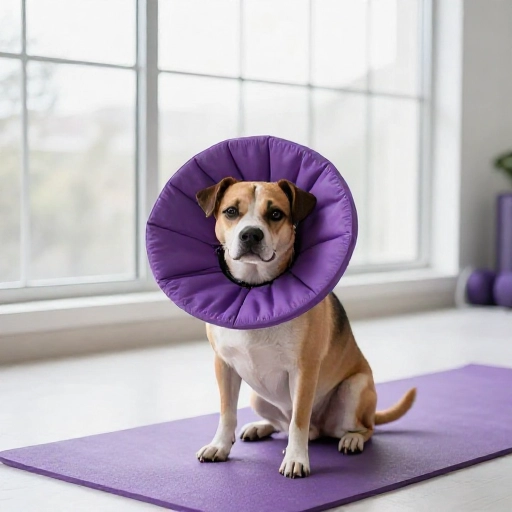
12. Fleece Scarf Snood Collar
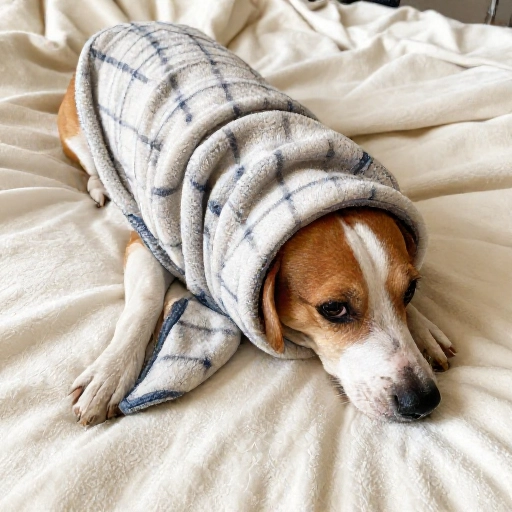
Grab a strip of fleece or an old winter scarf. Wrap it around your dog’s neck like a thick cowl, overlapping several times. Tie the ends or secure with a snap clip. The key is to make the wrap tall enough that your dog can’t easily bend past it.
Fleece is cozy, non-irritating, and quiet. It works well as a nighttime collar alternative. However, it is not a hard barrier, so only use this for mild licking or after the worst healing phase is over.
Conclusion
You don’t need to spend money on a store-bought recovery collar when you have these fast and gentle alternatives. I always keep a rolled towel and a pool noodle on hand just in case. The right DIY collar depends on your dog’s size, the location of the wound, and how determined they are to lick.
Remember to check the fit every few hours, watch for signs of irritation or chewing, and call your vet if the collar seems unsafe or your dog still reaches the healing area. A little creativity goes a long way toward a calmer recovery.
Frequently Asked Questions
1. How do I know if a DIY recovery collar is safe for my dog?
Make sure you can slip two fingers between the collar and your dog’s neck. Watch for pawing, chewing, or difficulty breathing. Any collar that shifts, gets wet, or blocks the eyes or mouth should be adjusted or removed immediately.
2. Can I leave a homemade recovery collar on my dog overnight?
It depends on the material and your dog’s behavior. Soft collars made from fabric or foam are usually fine for supervised overnight wear, but I do not leave cardboard or paper plate collars on unattended because they can tear and become a choking hazard.
3. What is the best DIY recovery collar for a dog that licks aggressively?
A more rigid option like the cereal box cardboard collar or a doubled yoga mat collar works better for determined lickers. You can also combine a soft collar with a t-shirt wrap for extra protection on the body.
4. How do I measure my dog for a homemade cone or collar?
Use a flexible measuring tape around the widest part of your dog’s neck. Add about 2 inches for comfort and fastening. For cone shapes, measure from the neck to the tip of the nose, then add 2–3 inches so the cone extends past the snout.
5. How long can my dog wear a DIY recovery collar?
Most homemade collars are best for short-term use, from a few hours to a few days. Wash fabric versions daily and replace cardboard or paper versions when they get damaged. Always follow your vet’s advice for the full healing period.