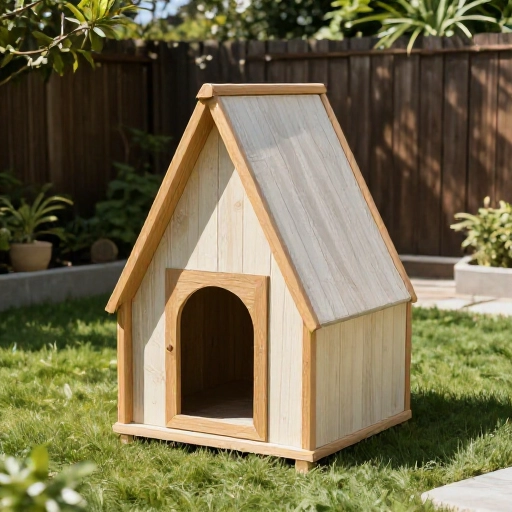
13 Cozy Outdoor Cat House Ideas for Cold Weather
When winter winds start howling, I always worry about the outdoor cats in my neighborhood. Whether they’re your own free-roaming feline or a community stray, keeping them warm and safe during chilly months is a priority. Over the years, I’ve tested and spotted some truly clever outdoor cat shelters that combine comfort with practicality.
You don’t need to spend a fortune or be a DIY expert to give a cat a warm spot to escape the cold. From upcycled coolers to heated deluxe cabins, these 13 ideas prove that a little creativity goes a long way. Let’s walk through my favorite cozy setups that will make any outdoor cat purr.
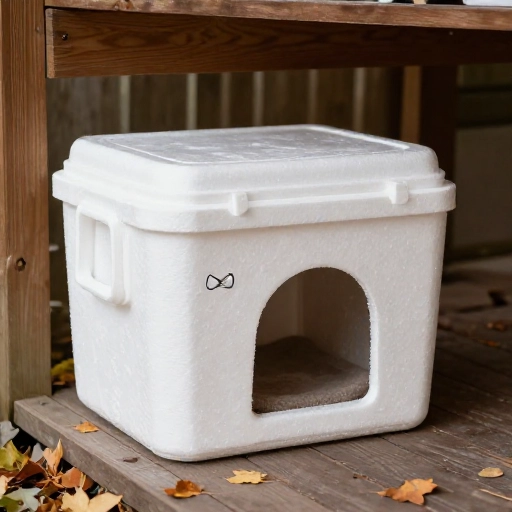
1. The Classic Styrofoam Cooler Shelter
This is the budget champion that works like a charm. Grab a large Styrofoam cooler, cut a small cat-sized entrance (about 6 inches wide), and line the inside with straw—not hay, because straw doesn’t trap moisture. The thick walls keep body heat inside while blocking the wind.
I always place the entrance facing away from prevailing winds. For extra protection, you can drop the whole thing into a plastic storage tote with a lid. Cats feel safe in tight spaces, and this setup is surprisingly toasty even in freezing temps.
Just check it every few days to make sure the straw stays dry. This is the shelter I recommend to anyone starting out.
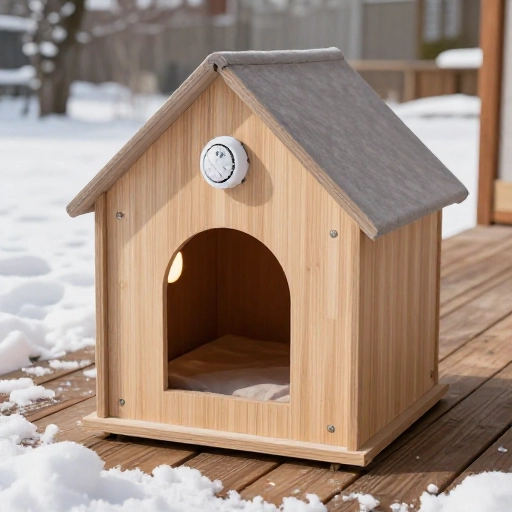
2. Heated Cat House With a Thermostat
If you have access to an outdoor outlet, a heated cat house is next-level luxury. These come with a built-in heated pad that only turns on when the temperature drops, so it’s safe and energy-efficient. The plastic walls are insulated and waterproof.
I love models that have a removable roof for easy cleaning. Some even have a flap door to block drafts but let the cat push through easily. It’s not the cheapest option, but it’s practically a warm hug for a cat on a snowy night.
Make sure to place it on a flat, slightly elevated surface to prevent water from seeping in.
3. The DIY Tote Bin Transformation
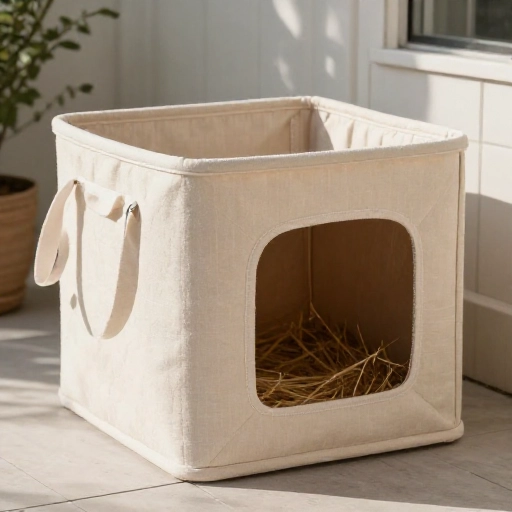
Take a large plastic storage bin with a lid. Cut a cat door into one side using a utility knife, then line the inside with rigid foam insulation boards. Seal the edges with duct tape. Fill the floor with clean straw.
This is one of my go-to builds because the materials are cheap and easy to find. The foam boards make a huge difference—they block the cold plastic from sucking out the cat’s body heat. I paint the outside a dark color to absorb more sun during the day.
Weight the lid with a brick so raccoons or wind don’t lift it. It’s simple, sturdy, and cats love it.
4. Wooden Cabin With a Porch
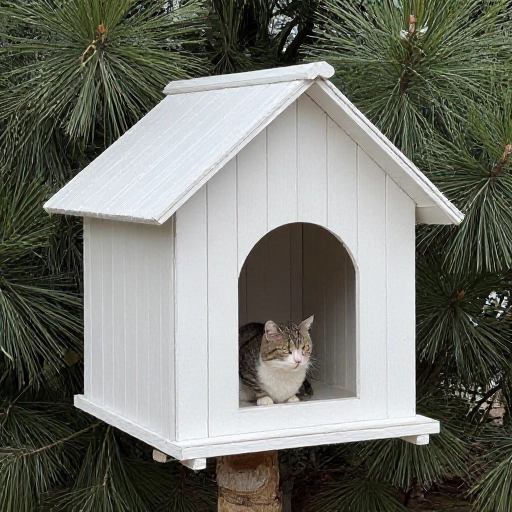
For a more permanent structure, I built a small wooden cabin with a little roof overhang. It looks like a tiny dog house but sized for a cat. The raised floor keeps moisture away, and the porch gives the cat a place to sit and observe without being fully exposed.
I used untreated plywood and painted it with outdoor latex paint. Inside, I added a layer of foam insulation and straw. The sloped roof sheds rain easily. This one takes a weekend to build but lasts for years.
Cats appreciate having a dry spot to watch the yard. It becomes their little lookout post.
5. Igloo-Style Dome House
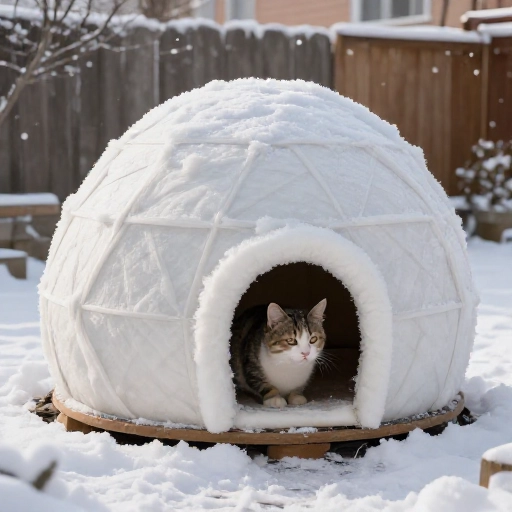
You’ve probably seen those round, dome-shaped cat houses at pet stores. They’re made of thick, molded plastic and look like a little igloo. These are incredibly wind-resistant because of their shape. The entrance is usually a small tunnel that keeps drafts out.
I line the inside with a self-warming pet pad (no electricity needed) and add a layer of straw. These houses are easy to clean—just hose them down in spring. They’re lightweight, so I stake them down with tent pegs to prevent tipping.
They’re not the most stylish, but for pure function in harsh weather, they’re hard to beat.
6. Repurposed Dog House With Modifications
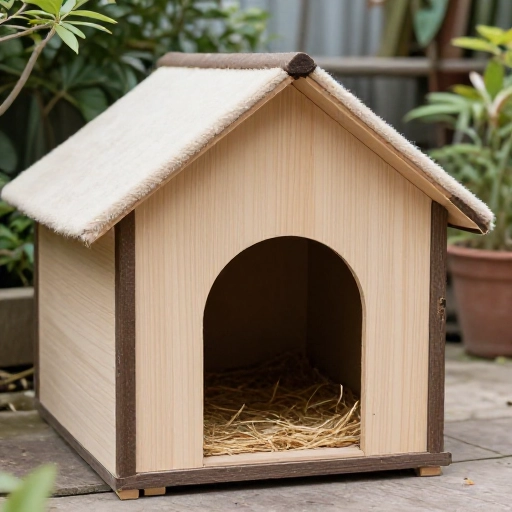
Got an old dog house lying around? It can work perfectly for a cat. The main issue is that dog houses are often too big, which means heat escapes. Fix this by adding a false ceiling—install a sheet of plywood about six inches below the actual roof. Fill that gap with insulation.
Shrink the doorway by nailing a piece of wood with a smaller cat-sized hole over the original opening. Add a flap or a piece of heavy fabric to block wind. I also stuff the interior walls with straw bales to reduce the empty space.
The result is a warm, sturdy castle for a cold cat. Plus, you’re recycling something that might otherwise be trash.
7. Heated Pet Mat Inside a Dry Shelter
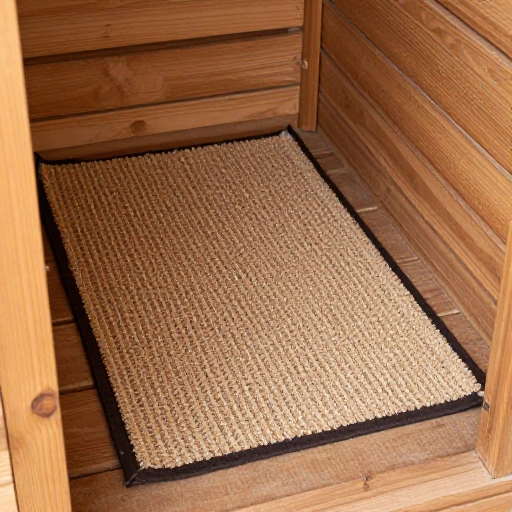
If you already have a basic shelter, you can upgrade it with a heated pet mat. These mats are designed for outdoor use and have a chew-resistant cord. I place the mat inside the shelter on top of the straw, then cover it with a thin towel (the cat will adjust it).
The heat radiates upward, creating a warm spot even if the shelter isn’t perfectly insulated. This is my favorite solution for cats who are picky about their bedding. Some mats have a pressure sensor so they only heat when the cat is lying on them.
Just make sure the cord is protected and runs through a hole sealed with silicone to keep water out.
8. The Two-Bucket Nesting Method
This is a clever trick: use two buckets—one large and one small. Place the small bucket inside the large one, and fill the gap between them with spray foam insulation or rigid foam. Cut an entrance in both buckets, aligned so the cat can crawl through.
The small bucket becomes the cozy inner chamber. I line it with straw and a piece of fleece. The gap acts like a thermos, keeping the interior temperature stable. The lids of the buckets can be used as a roof.
This shelter is compact, portable, and almost indestructible. I keep one in my car for emergency rescues.
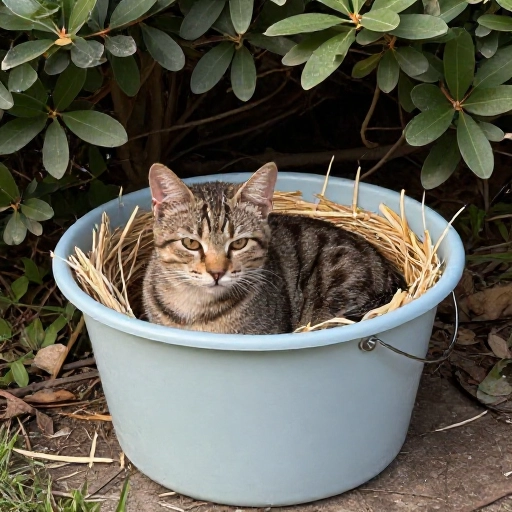
9. Straw Bale Shelter With a Tarp Roof
For a truly rustic option, stack straw bales into a U-shape, leaving a small opening. Place a piece of plywood on top as a roof, then cover everything with a heavy-duty tarp. Weigh the tarp down with rocks or bricks. Inside, fill the floor with loose straw.
Straw bales are incredible insulators. They block wind completely and hold warmth. The tarp keeps rain and snow off. I’ve seen feral cats choose this over fancier houses because it feels so natural and hidden.
The downside is that it’s not portable, and you need to replace the straw in spring. But for a winter-only solution, it’s cheap and effective.
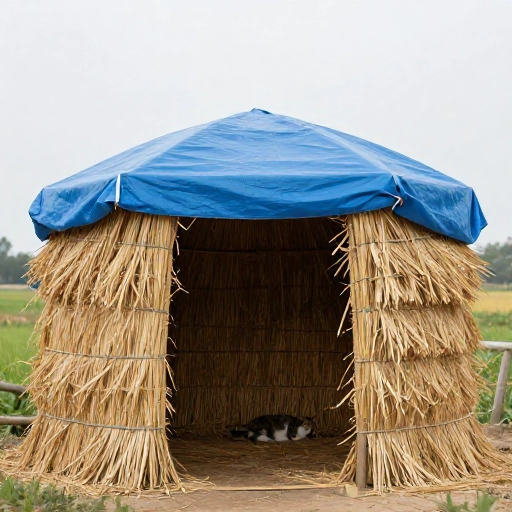
10. Styrofoam Fish Box Upcycle
Fish markets and grocery stores often throw away large Styrofoam boxes used to ship seafood. These are thick and sturdy. I clean one thoroughly, cut a small door, and add straw. The lid can be taped shut for a roof.
The box is already waterproof and has great insulation. I paint the outside with non-toxic outdoor paint to make it less conspicuous. Sometimes I stack two boxes—one for sleeping, one for eating—so the cat has a little complex.
These boxes are free, which makes this my favorite zero-cost option. Just make sure there are no sharp edges from the cut door.
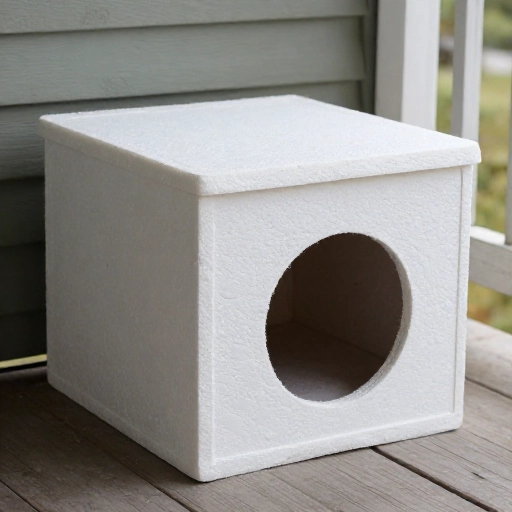
11. Elevated Platform House With a View
Some cats feel safer off the ground. Build a small house on legs—about two feet high—with a platform on top. The enclosed lower part is the sleeping area, and the upper platform is for lounging. I use cedar because it resists rot naturally.
Add a ramp or a series of shelves so the cat can climb up. The sleeping area should have a wind-blocking entrance and straw inside. Elevating the house keeps it dry and prevents snow from piling against the door.
This design is perfect for barn cats or cats that live in areas with deep snow. They can still access their house even after a storm.
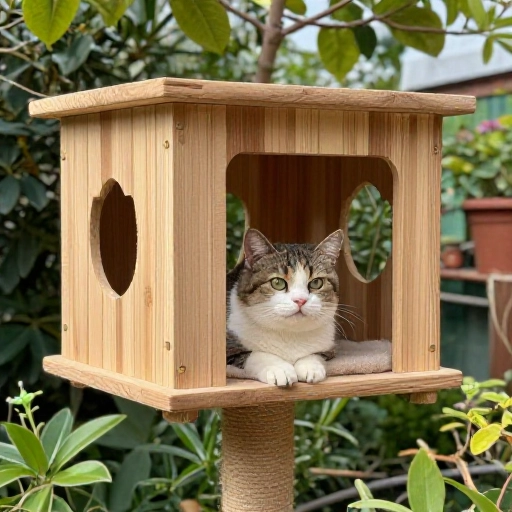
12. Tented Cat Shelter With Reflective Blanket
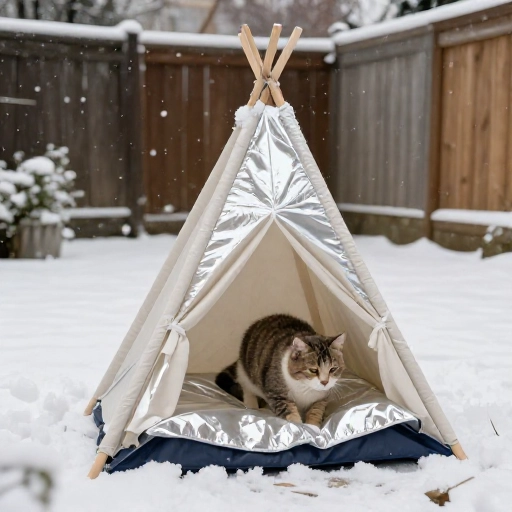
Buy a small tent meant for pets or children’s play. Set it up in a sheltered spot like a porch or under a deck. Line the inside with a mylar emergency blanket (the shiny kind) to reflect body heat, then add a thick layer of straw and a fleece bed.
The tent provides a windbreak, and the mylar blanket makes a huge difference in retaining warmth. I weigh the tent down with sandbags so it doesn’t blow away. The zipper door can be left partially open for easy access.
This is a temporary solution that works great for a few cold weeks. It’s also easy to fold up and store.
13. The Sunken Shovel Shelter
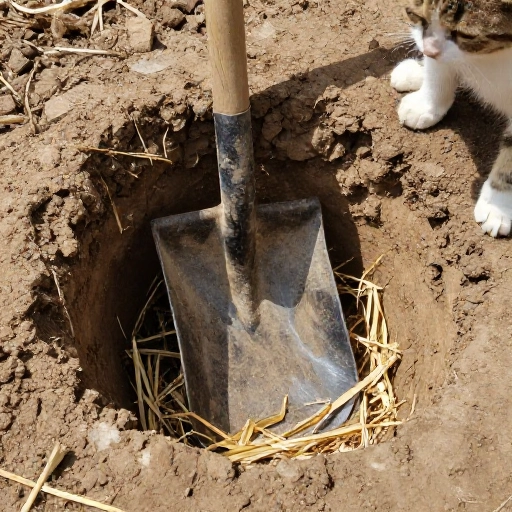
This is an old trick from rural cat caretakers. Dig a shallow hole in the ground—about two feet deep—and line it with straw bales or foam. Place a sheet of plywood over the top, leaving a small opening at one end. Cover the plywood with dirt and snow for extra insulation.
The ground stays at a more constant temperature than the air above, so this shelter is naturally warmer. I add a small tarp flap over the entrance. Cats that are wary of above-ground houses often relax in this den-like space.
It’s almost invisible, which makes it great for shy ferals. Just mark the spot so you don’t accidentally step on it.
Conclusion
Keeping outdoor cats warm doesn’t have to be complicated or expensive. Whether you choose a simple Styrofoam cooler or build a wooden cabin, the key is insulation, dryness, and a wind-blocking entrance. Straw is your best friend—never use blankets or towels, which get wet and freeze. I’ve seen cats thrive in the harshest winters with just a little help. Pick the idea that fits your space and budget, and you’ll have a grateful feline visitor all season long.
Frequently Asked Questions
What is the best material to use inside a cat shelter?
Straw is the best because it doesn’t absorb moisture and stays fluffy. Avoid hay, blankets, or towels—they get damp and freeze, which can make the cat colder.
How small should the entrance hole be?
About 5 to 6 inches wide. Just big enough for a cat to squeeze through, but small enough to keep out larger animals like raccoons or dogs. A smaller hole also holds heat better.
Do outdoor cats need heated houses?
Not necessarily. A well-insulated, dry shelter with straw can keep a cat safe in below-freezing temperatures. Heated pads are a bonus but not required. Always provide a non-heated option nearby so the cat can choose.
Where should I place an outdoor cat house?
In a sheltered spot away from wind and rain—under a porch, beside a building, or behind a bush. Elevate it slightly off the ground to prevent flooding. Face the entrance away from prevailing winds.
How often should I clean the shelter?
Check it every few days in winter. Remove wet or dirty straw and replace it with fresh, dry straw. In spring, do a deep clean with mild soap and water to prevent mold and parasites.