13 DIY Dog Bowl Stand Plans You Can Build Fast (Easy & Stylish)
Raised dog bowls aren’t just a trend. They can help your pup eat more comfortably, reduce neck strain, and keep your floors cleaner. I’ve built several stands for my own dogs, and I love how a simple DIY project can make mealtime better for both of us.
The best part? You don’t need a full workshop or weeks of free time. These 13 plans are quick, beginner-friendly, and use affordable materials you might already have. Most take an afternoon or less.
I’ve tested and tweaked each one, so you can pick the style that fits your home and your dog’s size. Let’s dive in.
1. Pallet Wood Stand
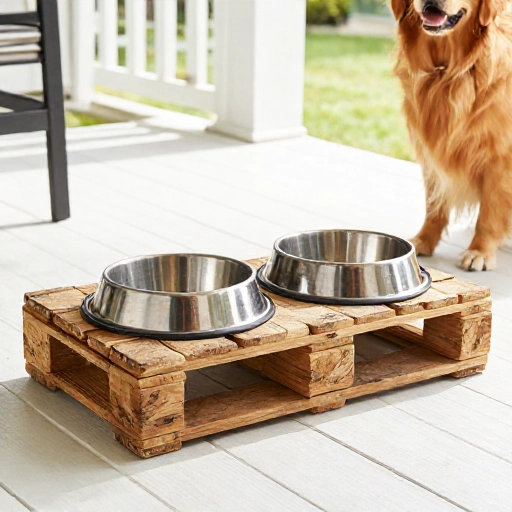
Pallet wood is my go-to for rustic projects. I grabbed a free pallet, pulled it apart, and sanded the boards smooth. Then I cut two circles in a wide board using a jigsaw—those become the bowl holes.
I built a simple U-shaped frame underneath with shorter boards and wood screws. A coat of food-safe oil finished it off. It took me about two hours from start to finish.
This stand looks great on a porch or in a farmhouse kitchen. Just make sure the pallet is stamped “HT” (heat treated) and not chemically treated.
2. PVC Pipe Elevated Feeder
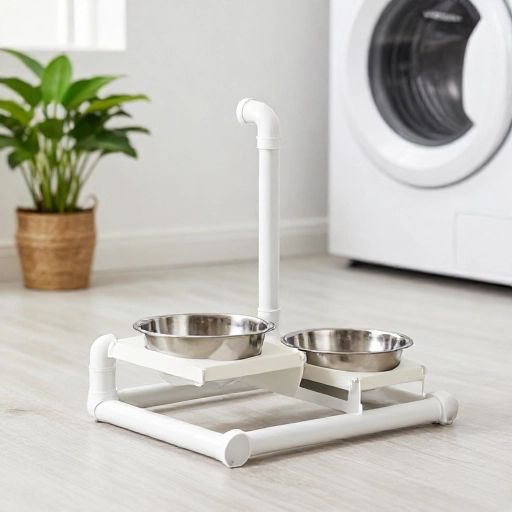
If you want cheap and lightweight, PVC is your friend. I cut four pipes to the same height, then attached them to a wooden base and a top board with holes for the bowls.
Spray paint the PVC to match your decor—black, white, or even a fun color. Assembly is as easy as drilling pilot holes and screwing everything together.
This one is perfect for outdoor use because it wipes clean and won’t rot. I built mine in under an hour.
3. Upcycled Drawer Stand
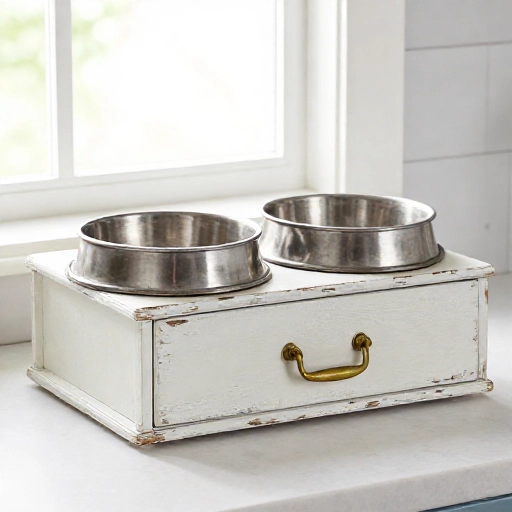
I found an old dresser drawer at a flea market for five dollars. I flipped it upside down, cut two holes in what was the bottom (now the top), and gave it a fresh coat of paint.
The drawer already has sides, so it’s sturdy and looks intentional. I added small felt pads to the bottom to protect my floors.
This is a genius way to repurpose something that would otherwise be trash. It took me about 45 minutes, including drying time.
4. Modern Hairpin Leg Stand
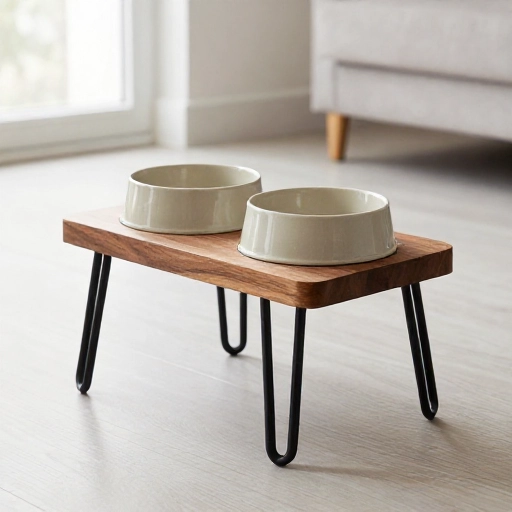
For a sleek, mid-century look, I bought a nice piece of walnut and four hairpin legs. I cut two bowl holes with a hole saw, then screwed the legs into the corners.
No complicated joinery. The key is choosing a thick board (at least 1 inch) so it doesn’t sag. I sealed it with a matte polyurethane.
This stand looks like it came from a fancy pet boutique, but it cost me under $30 and took 30 minutes to assemble.
5. Crate-Style Double Bowl Holder
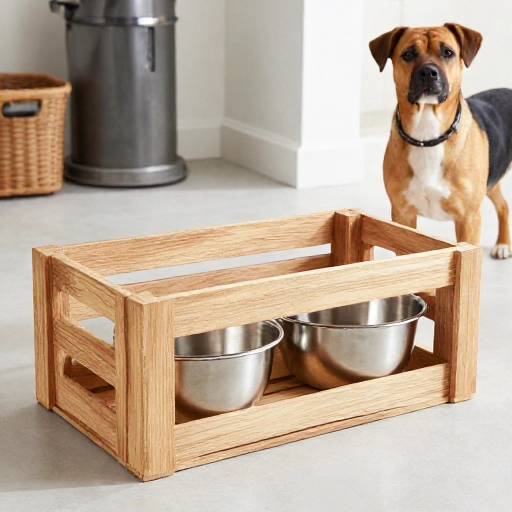
I used a wooden crate from a craft store as the base. I cut a top board to fit over the crate, then cut two holes for the bowls.
I stained the crate and top to match, then attached the top with L-brackets inside. It’s a great way to hide dog food bags or toys underneath.
This plan is super fast—maybe 40 minutes. I love how it doubles as storage.
6. Adjustable Height Stand with Threaded Rods
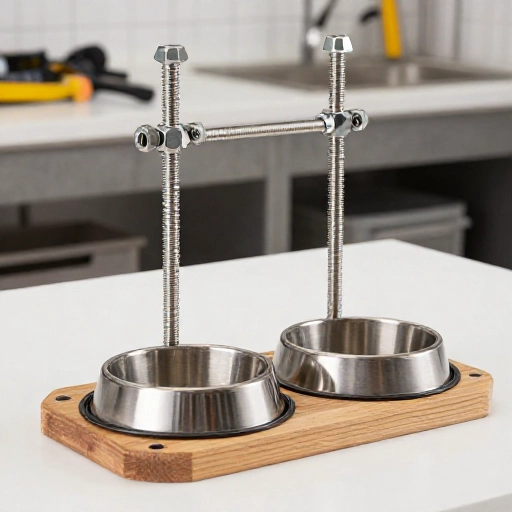
Dogs grow, and so do their needs. I made an adjustable stand using two wooden boards, four threaded rods, and nuts and washers.
I drilled holes in the corners of both boards, slid the rods through, and used nuts to set the height. You can raise it as your puppy grows.
No cutting wood if you buy pre-cut boards. I assembled mine in about 20 minutes. It’s a smart investment for large breed puppies.
7. Rustic Log Slice Stand
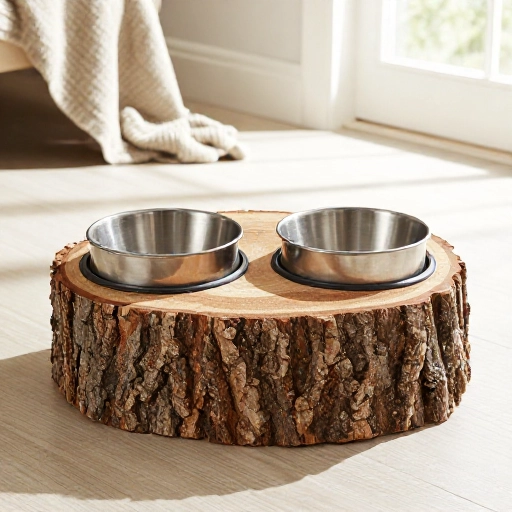
I had a thick log slice from a fallen tree. I sanded it smooth, then drilled two shallow depressions for bowls using a router or a chisel.
If you don’t want to carve, just place the bowls on top and add a small lip around the edge. The log’s natural bark adds charm.
This stand is heavy and stable, so it won’t slide around. Build time depends on drying, but the actual work is under an hour.
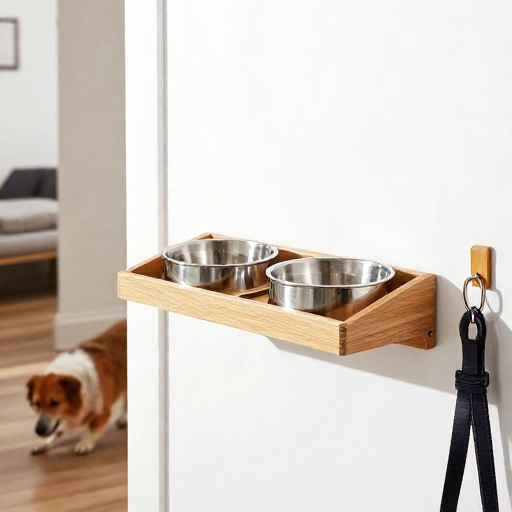
8. Wall-Mounted Space Saver
Short on floor space? I mounted a sturdy shelf to the wall at my dog’s shoulder height. I cut two holes for the bowls and secured the shelf with heavy-duty brackets.
Make sure you screw into studs or use toggle bolts. I added a small backsplash to catch splashes.
This took me about 30 minutes and freed up valuable floor space in my small kitchen. My dog loves it.
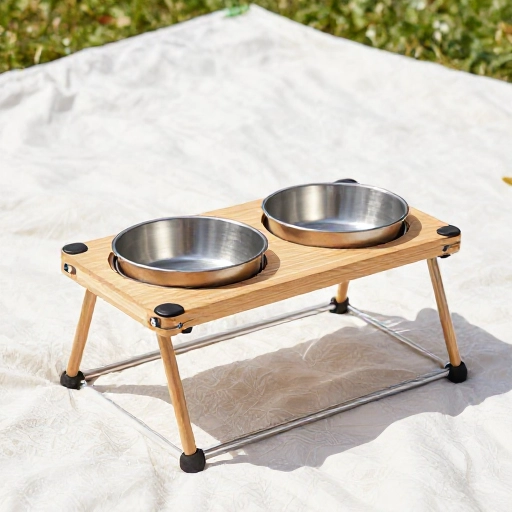
9. Portable Folding Travel Stand
For camping or road trips, I built a folding stand using two wooden X-frames and a canvas sling. Actually, I used a folding stool I already had.
I cut two holes in a piece of plywood that fits on top of the stool. The stool folds flat, so it slides behind my car seat.
This is the fastest plan on the list—15 minutes if you have the stool. Just add non-slip pads to the bottom of the bowls.
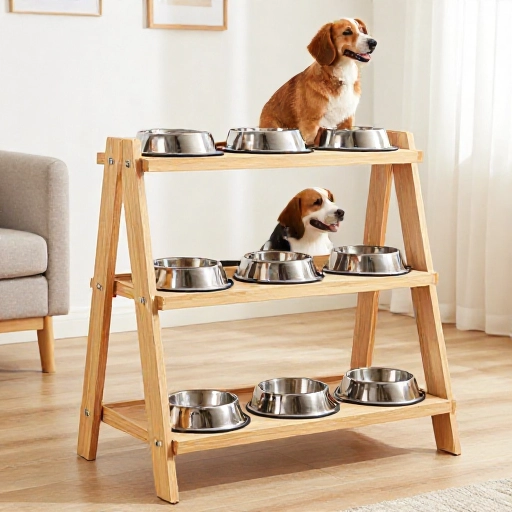
10. Tiered Stand for Multi-Dog Homes
With two dogs, I needed two bowls at different heights. I built a two-tier stand using 2x4s for legs and plywood for shelves.
I cut holes in each shelf for a bowl, then screwed the legs together. A coat of paint made it look custom.
Assembly took about an hour. It’s a great way to feed a small dog and a large dog without them stealing each other’s food.
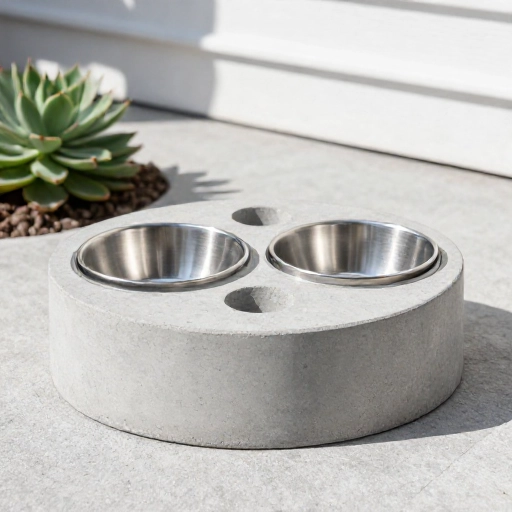
11. Concrete Bowl Stand
Concrete sounds heavy, but it’s surprisingly easy. I used a plastic tub as a mold, poured quick-set concrete, and embedded two stainless steel bowls.
Once cured, I popped it out and sanded the edges. The result is a modern, indestructible stand that stays put.
Build time is short, but you need 24 hours for curing. I made mine on a Saturday morning and used it Sunday.
12. Repurposed Step Stool Stand
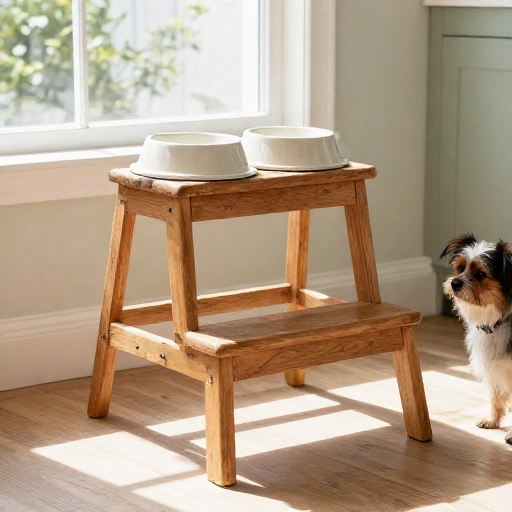
I found a wooden step stool at a thrift store for $3. I cut two holes in the top step and painted it a cheerful color.
The stool already has a stable base, so no extra work. I added rubber feet to prevent sliding.
This is a 20-minute project. It’s perfect for a small dog or cat, and it looks adorable in a laundry room or mudroom.
13. Customizable IKEA Hack
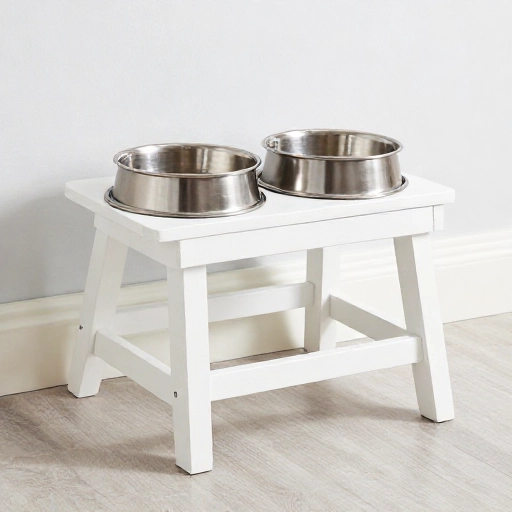
I grabbed a cheap IKEA Lack table from the as-is section. I cut two holes in the top, then reinforced the legs with metal brackets.
You can paint or stain it however you like. The table is lightweight but sturdy enough for medium dogs.
This hack took me 25 minutes. It’s a budget-friendly way to get a modern raised feeder without any woodworking skills.
Conclusion
Building a DIY dog bowl stand is one of those projects that pays off every single day. You save money, reduce clutter, and give your dog a more comfortable eating spot.
My advice? Start with the simplest plan that matches your tools and style. Pallet wood and PVC are great for beginners. If you want a challenge, try the concrete or tiered stand.
Always use food-safe finishes, sand rough edges, and test the stand for stability before letting your dog use it. Happy building!
FAQ
What height should a dog bowl stand be?
Ideally, the bowl should be at your dog’s lower chest or shoulder height. For most dogs, that’s about 4 to 12 inches off the ground. Measure your dog while standing.
Do raised bowls really help dogs?
They can reduce neck strain and help with digestion, especially for large breeds and senior dogs. Some vets recommend them for dogs with arthritis or bloat risk.
What tools do I need for these DIY plans?
A drill, jigsaw, sander, and screwdriver will cover most projects. A hole saw is handy for perfect circles, but a jigsaw works too.
How do I make sure the stand is safe and stable?
Use non-slip pads, avoid sharp edges, and choose a wide base. Test it with empty bowls first, then add water to check for tipping.
Can I use these plans for cats too?
Absolutely. Just scale down the height and bowl size. Cats benefit from raised bowls too, especially if they have arthritis or whisker fatigue.