15 Crochet Cat Caves That Make Perfect Napping Spots
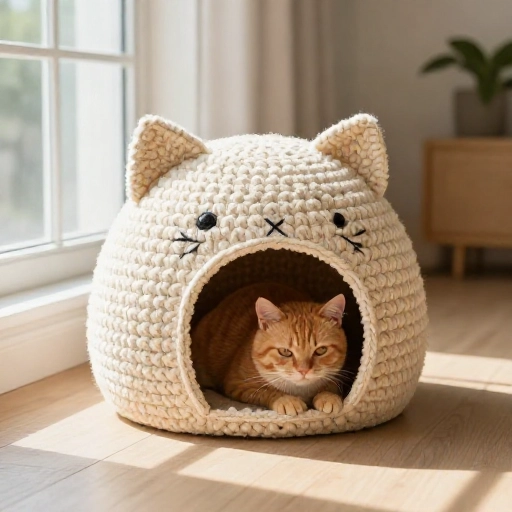
There’s something about watching a cat squeeze into a tiny box that just makes you smile. But let’s be honest—cardboard boxes get flimsy, and your cat deserves something way cuter. That’s where crochet cat caves come in. They’re cozy, stylish, and honestly, they look like little works of art sitting in your living room.
I’ve rounded up 15 different crochet cat cave ideas that range from super simple for beginners to a little more advanced for the yarn lovers out there. Whether your cat likes to burrow, sprawl, or just judge you from a cozy spot, there’s a pattern here that’ll become their new favorite hangout.
1. The Classic Cozy Cave
This is the one you see everywhere, and for good reason. It’s a simple dome shape with a round opening that lets your cat curl up inside like a little donut. The thick yarn makes it sturdy enough to hold its shape, but soft enough for serious napping.
You’ll want to use a bulky weight yarn for this one, something like a chunky chenille or a wool blend. The key is working in continuous rounds so there are no weird seams. It takes a few evenings, but the result is a cave that looks store-bought.
Add a little cushion inside or just leave it as is—most cats love the texture of the crochet itself. Just be prepared for your cat to claim it immediately.
2. The Hungry Hippo Hideout
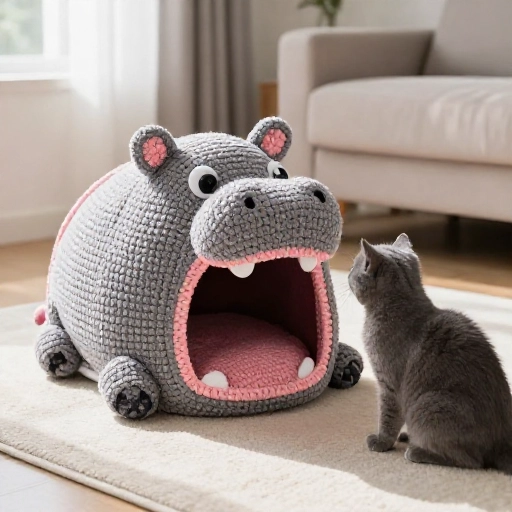
Okay, this one is pure fun. Imagine a cat cave that looks like a hippo’s head with a giant mouth opening. Your cat literally crawls into the hippo’s mouth for a nap. It’s silly, it’s adorable, and it’s guaranteed to be a conversation starter.
The pattern uses basic amigurumi techniques but scaled way up. You’ll crochet the head shape, add nostrils and eyes, and then create the cave body behind it. It’s a bigger project, but totally worth it for the wow factor.
If you’re making this for a friend, it’s an instant hit. Just make sure you use a washable yarn because, let’s be real, cats bring dirt everywhere.
3. The Boho Macramé Mashup
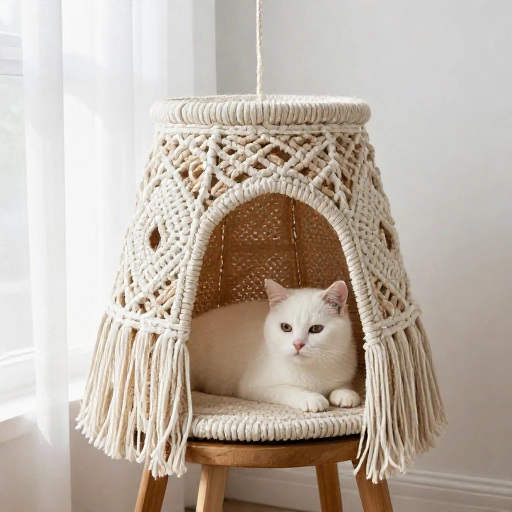
If your home has that boho aesthetic with plants and woven wall hangings, this cave is for you. It combines crochet with macramé techniques to create a cave that has those beautiful chunky tassels and a more open, airy weave.
Instead of a solid fabric, you’re working with a more open stitch pattern that lets your cat see out while still feeling hidden. It’s less insulated, making it perfect for warmer climates or cats who run hot.
The fringe details on the bottom give it that boho vibe, and you can customize the colors to match your rug or throw pillows. It’s more decorative than functional, but your cat will still love lounging in it.
4. The Extra-Large Family Cave
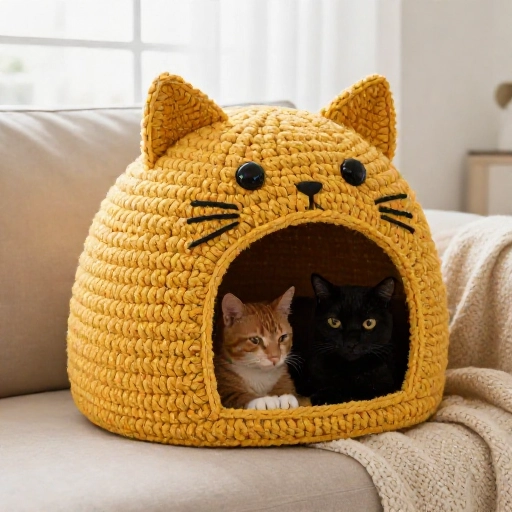
Got two cats that insist on sleeping together? Or maybe you have a Maine Coon that’s basically the size of a small dog. This extra-large cave pattern gives you more room to work with—think a wider base and a taller dome.
You’ll need to double up on your yarn or use a super bulky weight to keep the structure from collapsing under the weight of a bigger cat. I like to add a bit of stiffening spray to the inside to help it hold its shape better.
The opening is also wider, so your cat can see more of the room. It’s a great project if you want to make something that feels substantial and cozy, like a little igloo for your furry friend.
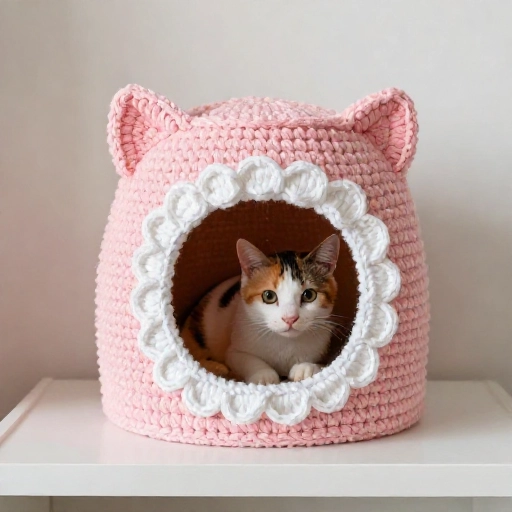
5. The Scalloped Edge Dream
This cave has a delicate, almost seashell-like look to it because of the scalloped edges around the opening and the base. It’s a pattern that looks way more complicated than it actually is, so it’s a great “fancy” project for an intermediate crocheter.
The scallops are created with simple shell stitches that flare out beautifully. You can use a lighter weight yarn for a more drapey feel, or stick with bulky yarn for more structure.
I love this one in soft pastel colors—it looks like something out of a fairy tale. Your cat might not appreciate the aesthetics, but you definitely will.
6. The Reversible Snuggle Pod
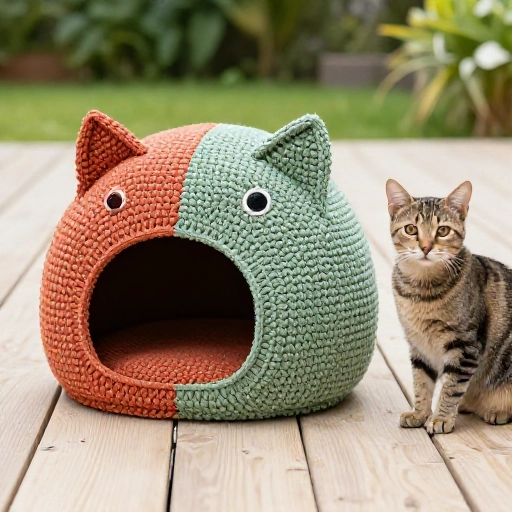
This is a two-for-one deal. You crochet two different cave shapes and then seam them together at the base, creating a pod that can be flipped inside out. One side might be a solid color, and the other side is striped or patterned.
It’s a clever way to get two looks without making two full caves. The pattern is a bit more involved because you’re working with two separate pieces, but the payoff is having a cave that matches your changing decor.
Plus, when one side gets dirty or full of fur, you can just flip it and have a fresh-looking cave instantly. It’s practical and cute.
7. The Minimalist Modern Cave
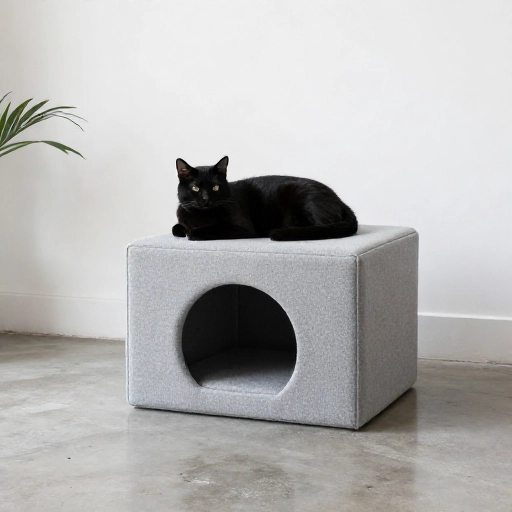
If you’re not into frills or animal shapes, this is the pattern for you. It’s a clean, simple cylinder with a flat top and a neat, round opening. No fuss, no extra decorations—just a solid, well-made cave.
The trick to this one is using a uniform, high-quality yarn and keeping your tension super even. You want the stitches to look crisp and uniform, like something from a design catalog.
It works best in neutral tones—gray, beige, or charcoal. It blends into any room and looks like a pricey designer piece rather than a craft project.
8. The Granny Square Patchwork Cave
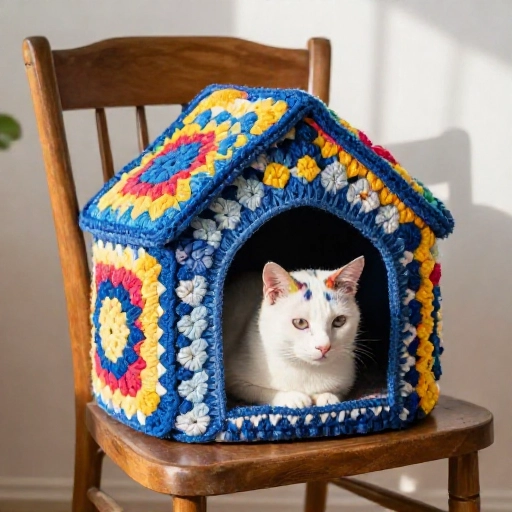
This is a fun one for using up your yarn scraps. Instead of working in continuous rounds, you crochet a bunch of classic granny squares and then sew them together to form the cave shape.
You can mix and match colors however you want—go wild with bright rainbow colors or keep it cohesive with a few shades of the same color. The patchwork look adds a retro, handmade charm that’s really endearing.
The sewing part takes a little patience, but the result is a unique cave that nobody else will have. It’s also a great way to get rid of that stash you’ve been hoarding.
9. The Tassel-Topped Teepee
This one has a bit of a bohemian teepee vibe. Instead of a rounded dome, the top comes to a slight point, and you add a big pom-pom or tassel at the very peak. It’s got that playful, festival-chic look.
The construction is similar to a regular cave, but you decrease more aggressively at the top to create the point. You’ll want to stuff the top with a little poly-fil to keep it perky and prevent it from flopping over.
The tassel at the top is the star of the show. You can make it from the same yarn or use a contrasting color for a pop of fun.
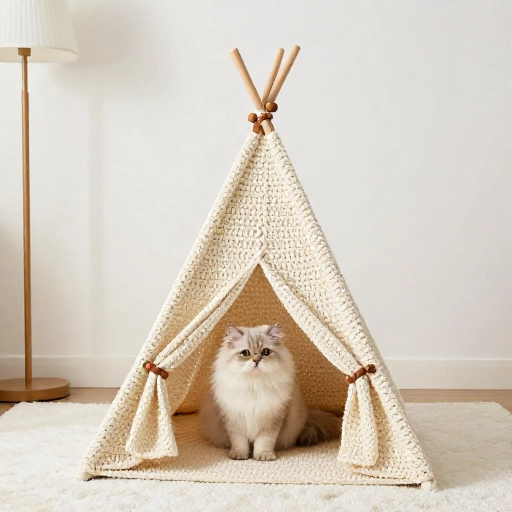
10. The Cat Cave with a Built-In Mat
Sometimes, the cave slides around on the floor, which can be annoying. This pattern solves that by incorporating a flat, circular mat that extends out from the base of the cave. Your cat can lie inside the cave or sprawl out on the mat in front of it.
It’s like a cave and a bed in one. The mat part is easy to crochet—it’s just a flat circle that you attach to the base of the cave. You can make it wide or narrow, depending on your space.
This is a great option if you want to give your cat the option to be half-in and half-out. They can keep their head poking out while their body is all cozied up inside.
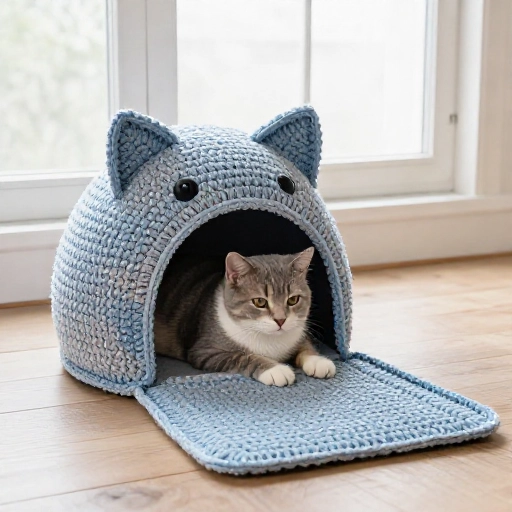
11. The Lacy Summer Cave
Most crochet cat caves are made with thick, warm yarn, but that’s not great for summer. This pattern uses a lighter weight cotton yarn and an open, lacy stitch pattern that allows for lots of air circulation.
It’s still a cave shape, but the holes in the pattern are bigger, so it feels cooler and more breathable. Your cat can still feel that sense of security without getting overheated.
I like this one in a bright, cheerful color like turquoise or coral. It brightens up the room and gives your cat a cool place to chill on hot days.
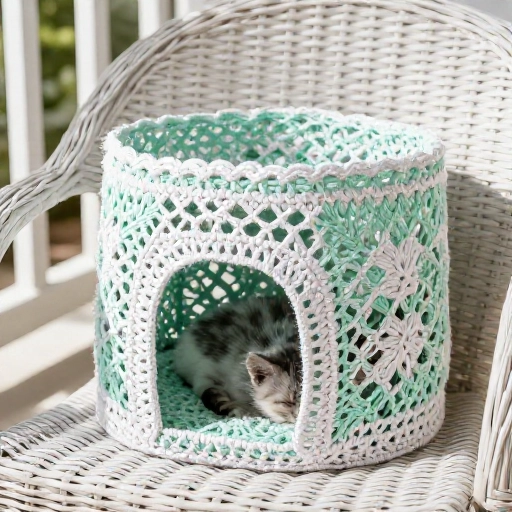
12. The Amigurumi Animal Cave
Like the hippo, but for other animals. Think a whale, a turtle, or even a unicorn. These caves are basically giant amigurumi projects where the animal’s mouth or shell becomes the cave opening.
They’re more complex, requiring you to crochet separate parts like fins, ears, or horns and attach them. But the result is a super playful, whimsical cave that’s as fun for you to look at as it is for your cat to sleep in.
These make incredible gifts. If you know someone who loves a specific animal, this is the ultimate handmade present.
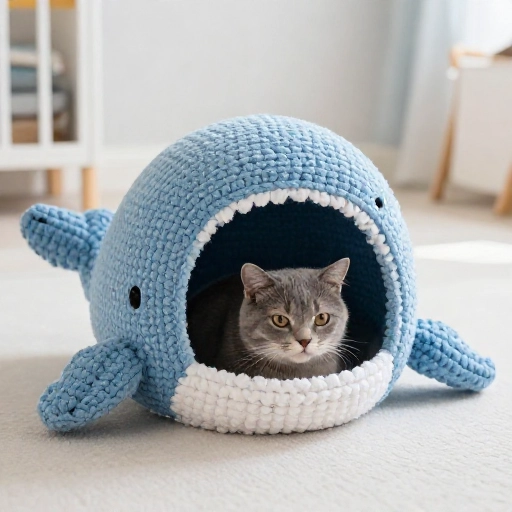
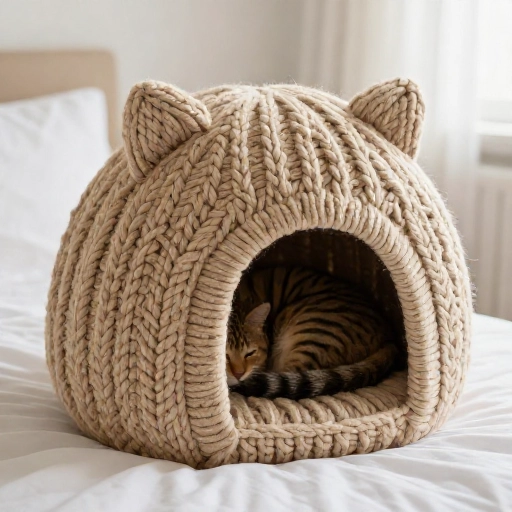
13. The Chunky Arm-Knit Cave
Forget hooks for a second. If you use roving yarn that’s super thick, you can actually arm-knit a cat cave. It’s a much faster process than traditional crochet, and the result is a super chunky, squishy, cloud-like cave.
Arm knitting uses your forearms as the needles, so you’re working with giant loops of yarn. You’ll create a big tube and then stitch the ends together to form the cave shape. It’s more freeform and less precise, which is part of its charm.
This one is less structured and more like a fluffy nest. It might not hold a perfect dome shape, but it will be the comfiest thing your cat has ever flopped on.
14. The Two-Tone Colorblock Cave
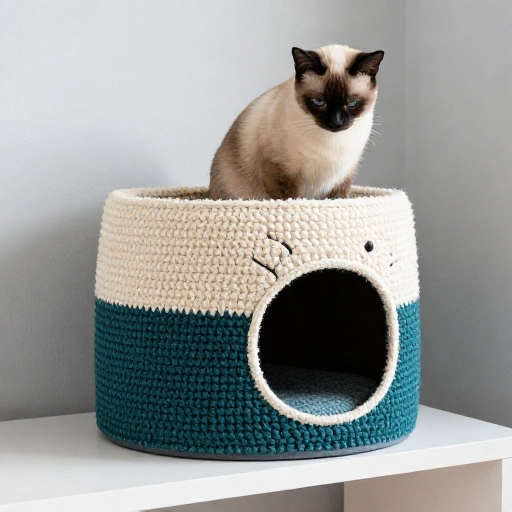
This is a simple design tweak that makes a big visual impact. You simply crochet the bottom half of the cave in one color and the top half in another. You can change colors right at the midpoint to create a clean horizontal line.
It’s a great way to match your cave to your existing decor without having to learn a new stitch. You can do a bold contrast like black and white, or something more subtle like blush pink and cream.
The color change is easy, but the effect is very polished. It looks like you bought it from a high-end boutique.
15. The “No-Sew” Simple Cave
If you hate sewing pieces together, this is the pattern for you. It’s worked in one continuous piece, starting from the base and working your way up in a spiral until you reach the top, and then you just fasten off. No seams, no joining, just pure crochet.
This is the best project for beginners. It’s repetitive and easy to memorize, so you can do it while watching TV. The only tricky part is making sure your tension stays consistent so the cave doesn’t flare out too much.
It’s not fancy, but it’s functional and honest. Your cat won’t care about the seams anyway—they just want somewhere soft to sleep.
Conclusion
There you have it—15 different ways to crochet your cat the perfect napping spot. Whether you’re a beginner looking for a simple weekend project or an expert who wants to tackle a giant animal-shaped cave, there’s a pattern here for your skill level and style.
The best part about making a crochet cat cave is seeing your cat immediately claim it as their own. It’s a handmade gift filled with love, and honestly, it’s way cuter than a cardboard box. So grab your yarn, pick a pattern, and get ready to make something your cat will adore.
FAQ
What is the best yarn for a crochet cat cave?
You want something sturdy but soft. Bulky or super bulky weight yarn is best because it holds the shape of the cave. Wool blends are great, but make sure it’s washable. Chenille yarn is super soft and cozy, but it can stretch out over time.
How long does it take to crochet a cat cave?
It really depends on the pattern and your skill level. A simple, chunky yarn cave can be done in a few hours. A more detailed pattern with animal shapes or multiple pieces could take a few days of dedicated work. Plan for a weekend project at minimum.
Will my cat actually use a crochet cave?
Most cats love them because they provide a sense of security and warmth. However, some cats are picky. Try putting a familiar blanket or a piece of your clothing inside to attract them. You can also sprinkle a little catnip inside to encourage them to explore.
How do I clean a crochet cat cave?
First, check your yarn label. Most acrylic yarns can be machine washed on a gentle cycle with cold water. Wool needs to be hand-washed. Always air dry it flat to avoid ruining the shape. You can use a lint roller to remove fur in between washes.
Can I make a cat cave without a pattern?
Yes, you can! The basic concept is just a circle base that you work up into a tube and then close the top. You can freehand it by increasing stitches to widen it and decreasing to close it. It’s a great way to experiment with your own design.